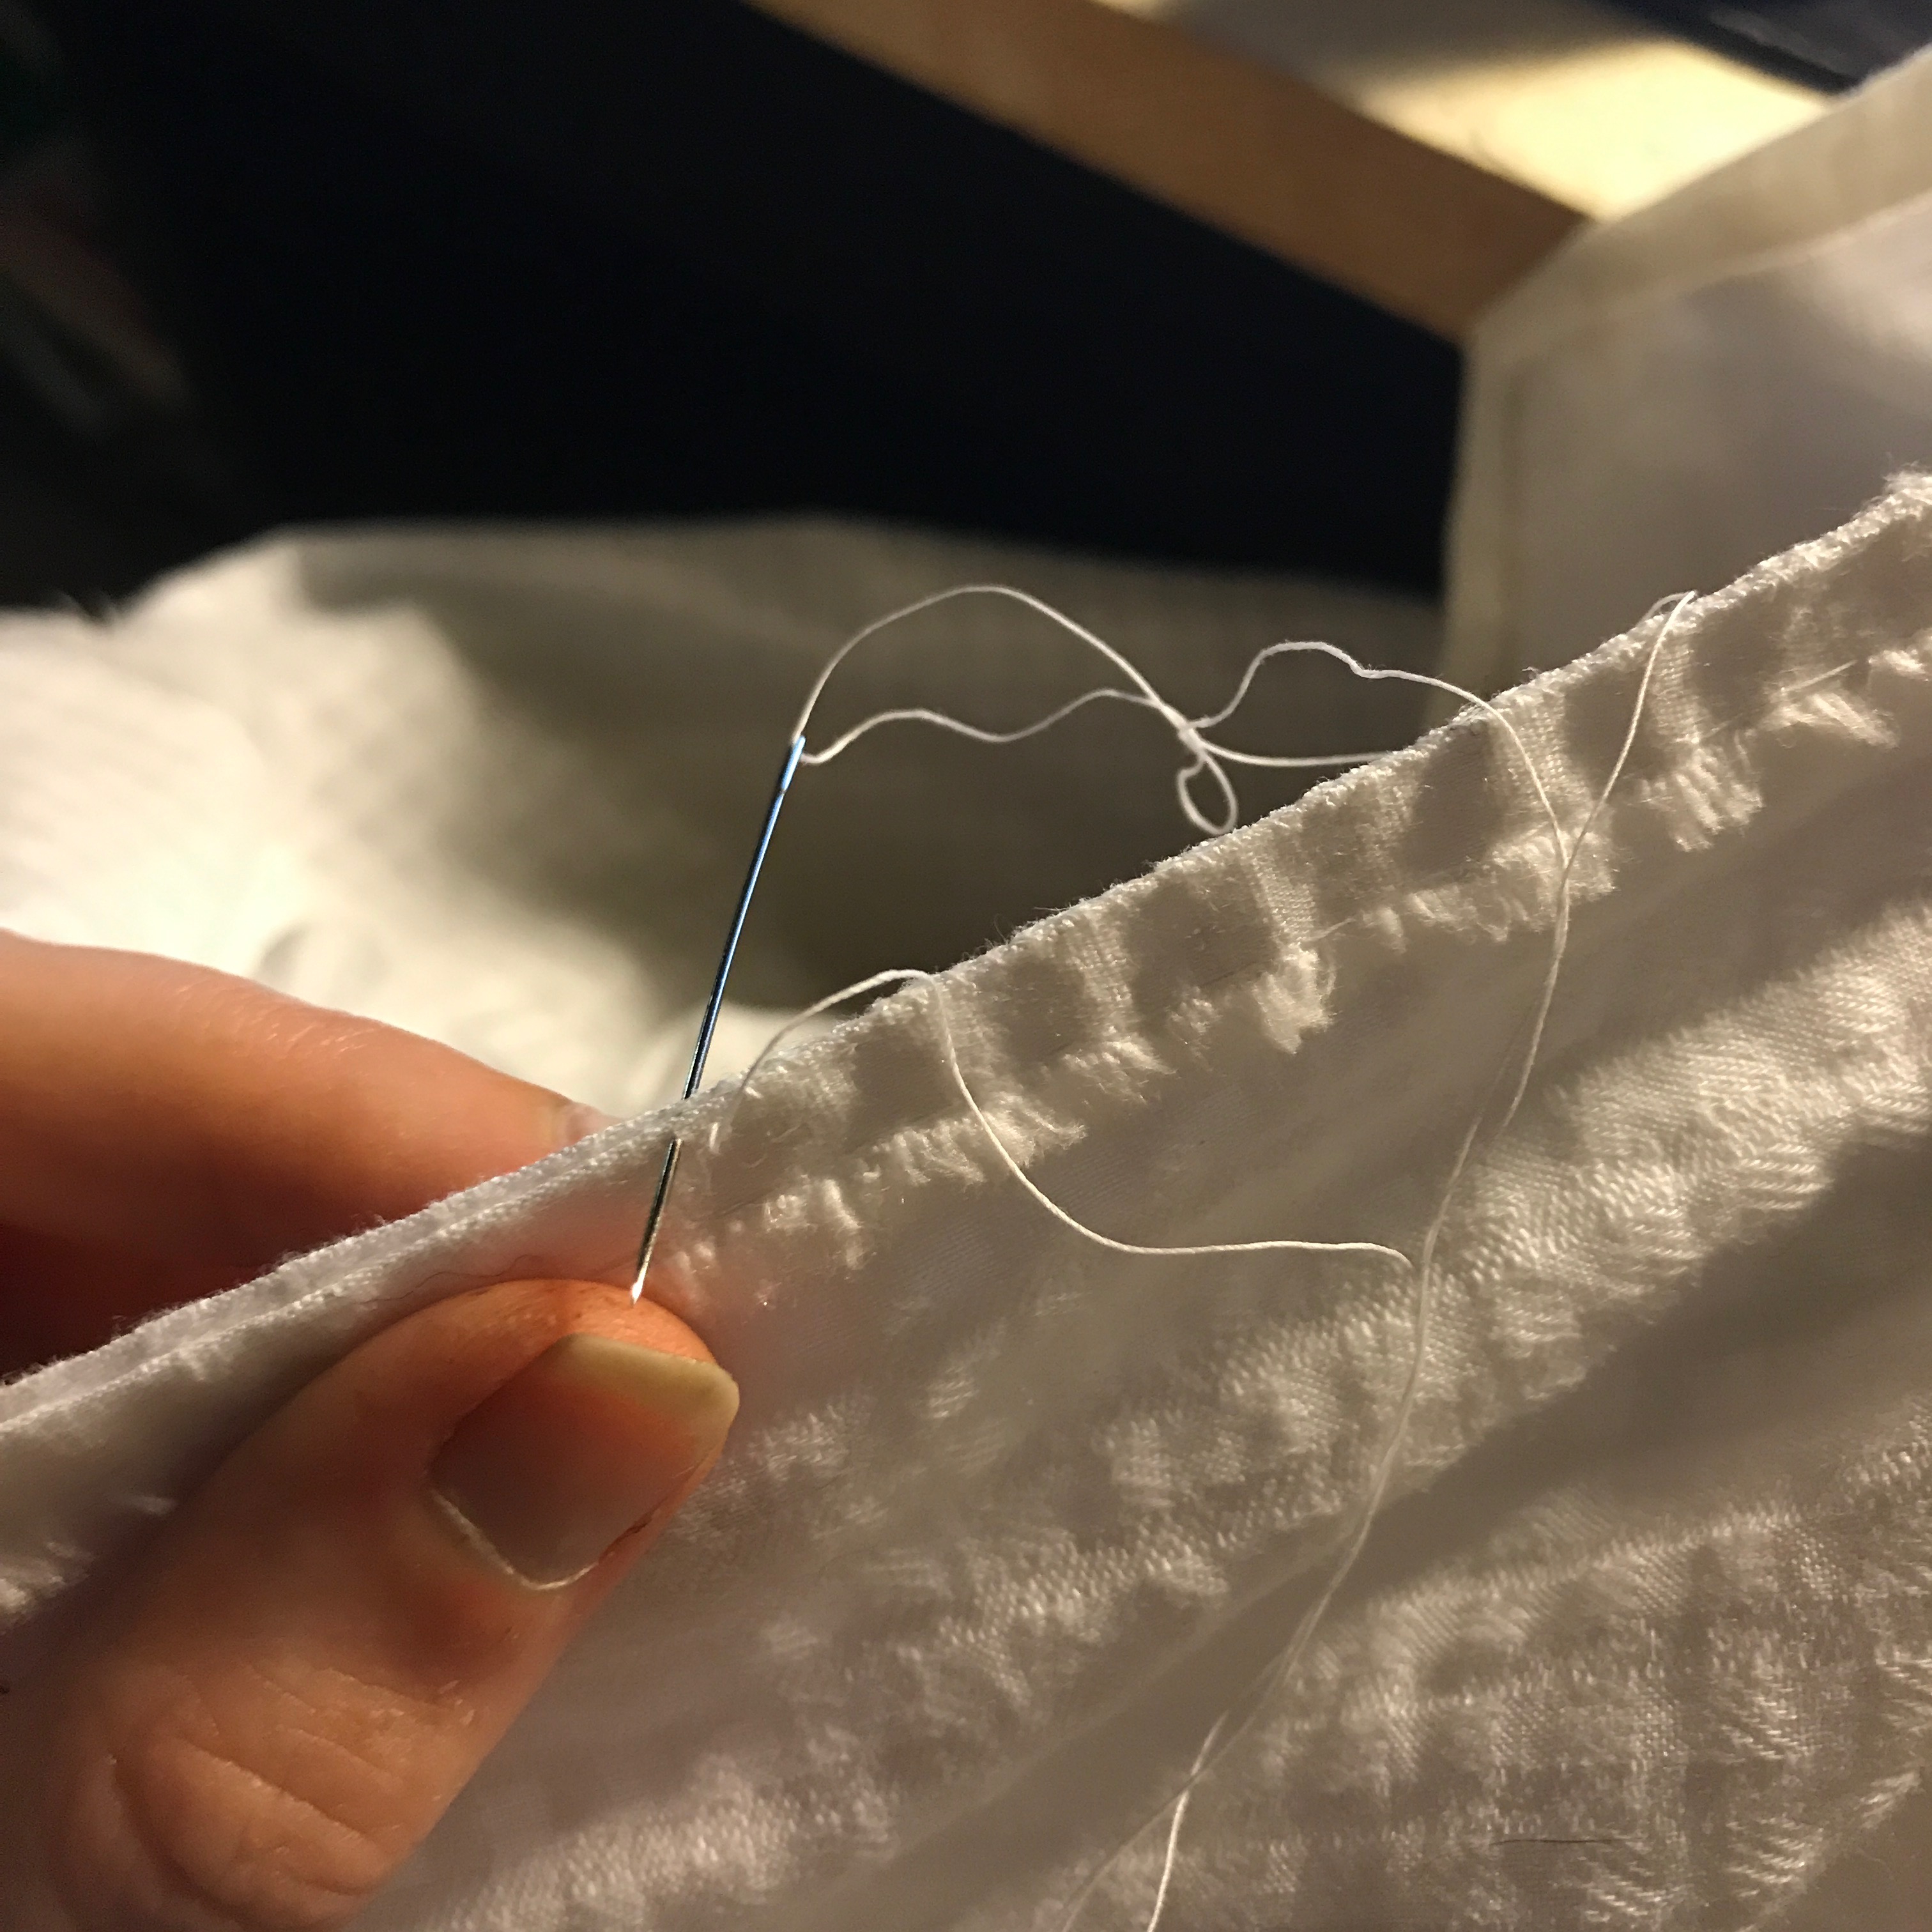
After taking forever over the Part 2 of my Dragonstone Landing post, it’s nice to be able to write about a construction that was both very simple and very satisfying. This is a gown with no embellishment: no embroidery, no ruffles, no lace, no anything! But, it was constructed entirely by hand using historical techniques that I’ve learned over the several Burnley & Trowbridge workshops I’ve been to (these workshops are so worth the money and the drive to Williamsburg! If you’re interested in jumping into full-on period garment construction, there’s nothing I would recommend more highly!). I loved every stitch of making this gown, and I didn’t want to take it off the day I wore it! After a long day in the booth in the KY heat, that’s saying something.
Chemises à la Reine are frothy confections of fine, usually (but not always!) white fabric, which came into fashion in the 1780s and began the slide from 18th century fashion to Empire/Regency fashion. They are lightweight and heavily gathered. Many have poofy, gathered sleeves unusual earlier in the 18th century. There is a lot of variety in the sleeves–some have a single row of gathering, some two, some three, some are gathered in at the bottom, some end in a ruffle. Some gowns have straight sleeves or shaped sleeves–some full length, some shorter. There are a huge variety of ruffles on the necklines and hems of these gowns as well. So, while the base of the gown: gathered, white cotton, can seem very repetitive, there is actually a huge variety of designs within the category of Chemise à la Reine.

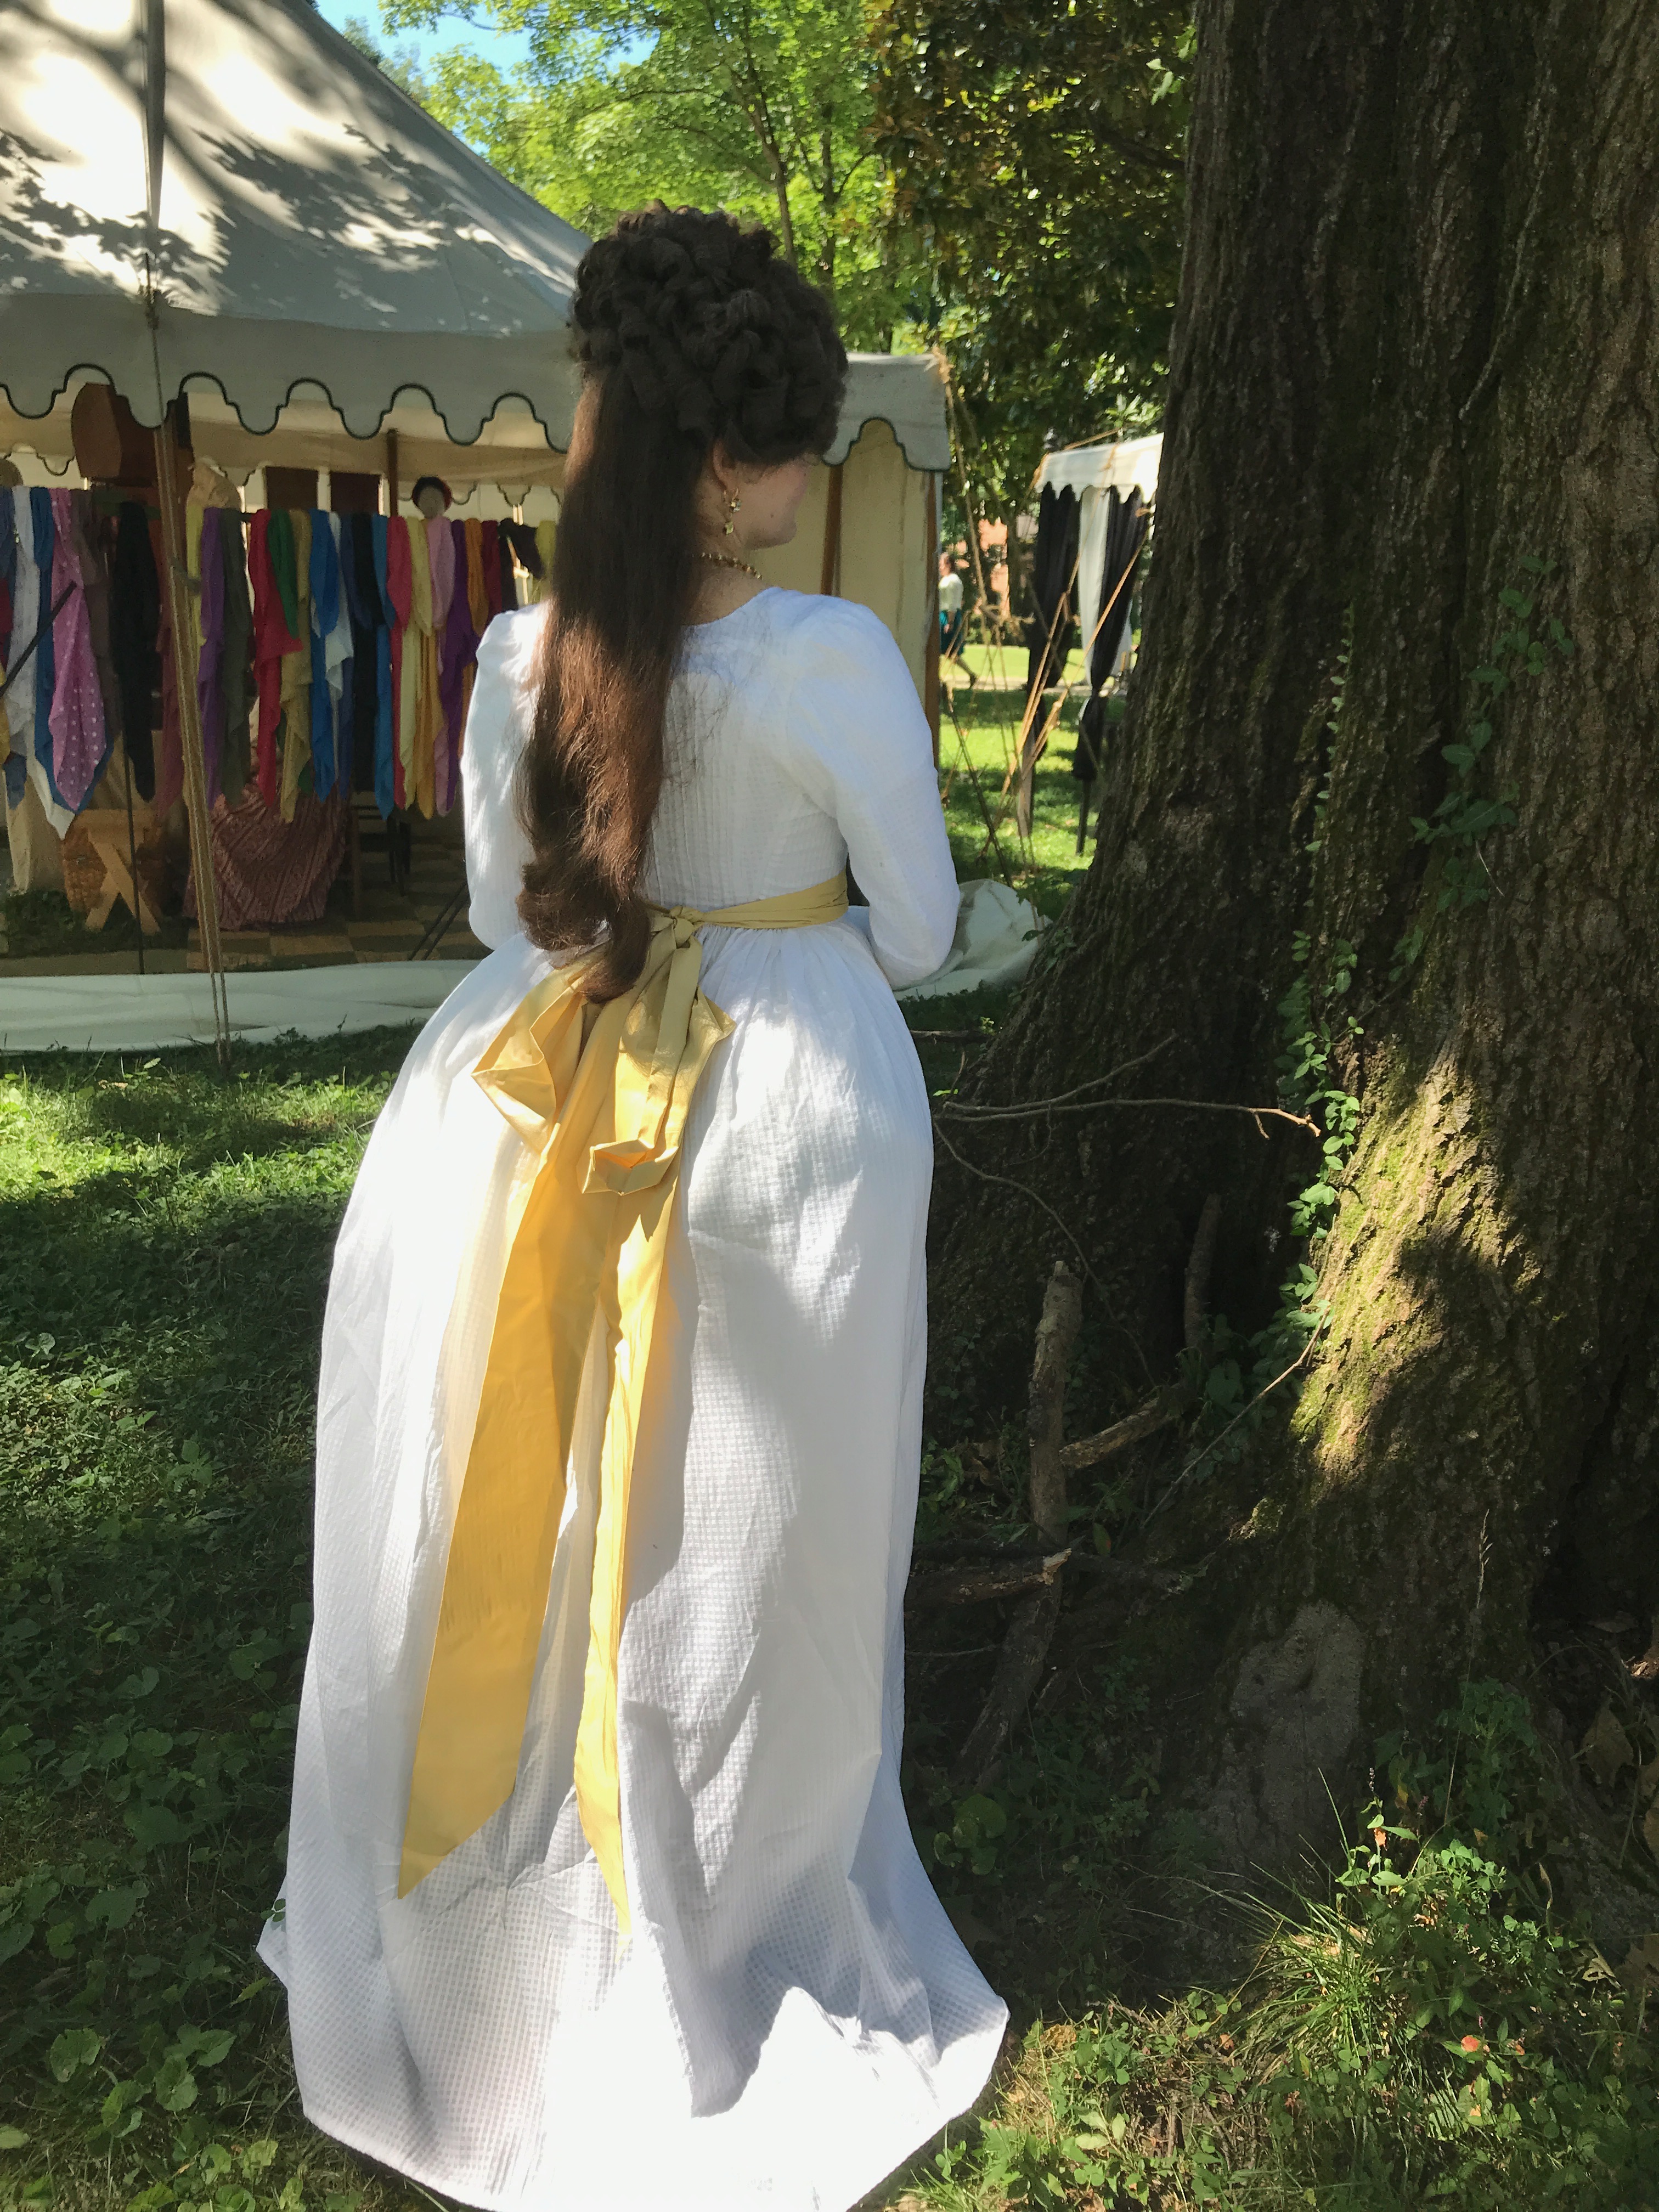
For the Jane Austen Festival this year, we at Custom Wig Company wanted to have coordinating outfits to wear in the booth. We all loved the idea of showing off some fabulous hedgehog hair, so our uniforms became chemises à la Reine with colored sashes. We wanted to make sure that we weren’t all wearing exactly the same dress, though, so we played with different variations of the look.
I wasn’t sure exactly where I wanted to go with my chemise gown until I saw this one from the Musée de la Toile de Jouy. It was featured in episode 6 of A Stitch in Time with Amber Butchart.

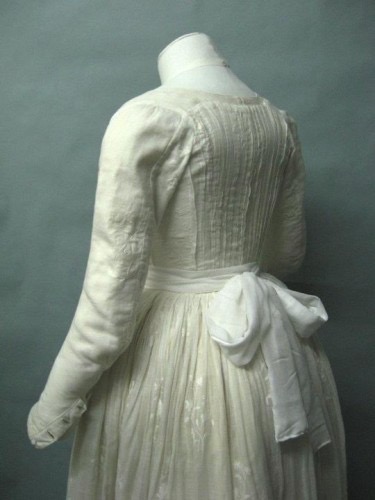
Rather than being gathered all the way around, it has a pleated back, and flat sides, with an enormous gathered skirt and front, and plain straight sleeves. I liked the way that it took the airy, frothy chemise gown, and gave it a slightly sleeker look.
I really wanted to have my new 1780s stays done before I started the gown, but finally I had to accept that that wasn’t going to happen, and I started this with less than two weeks to go until Jane Austen Festival!
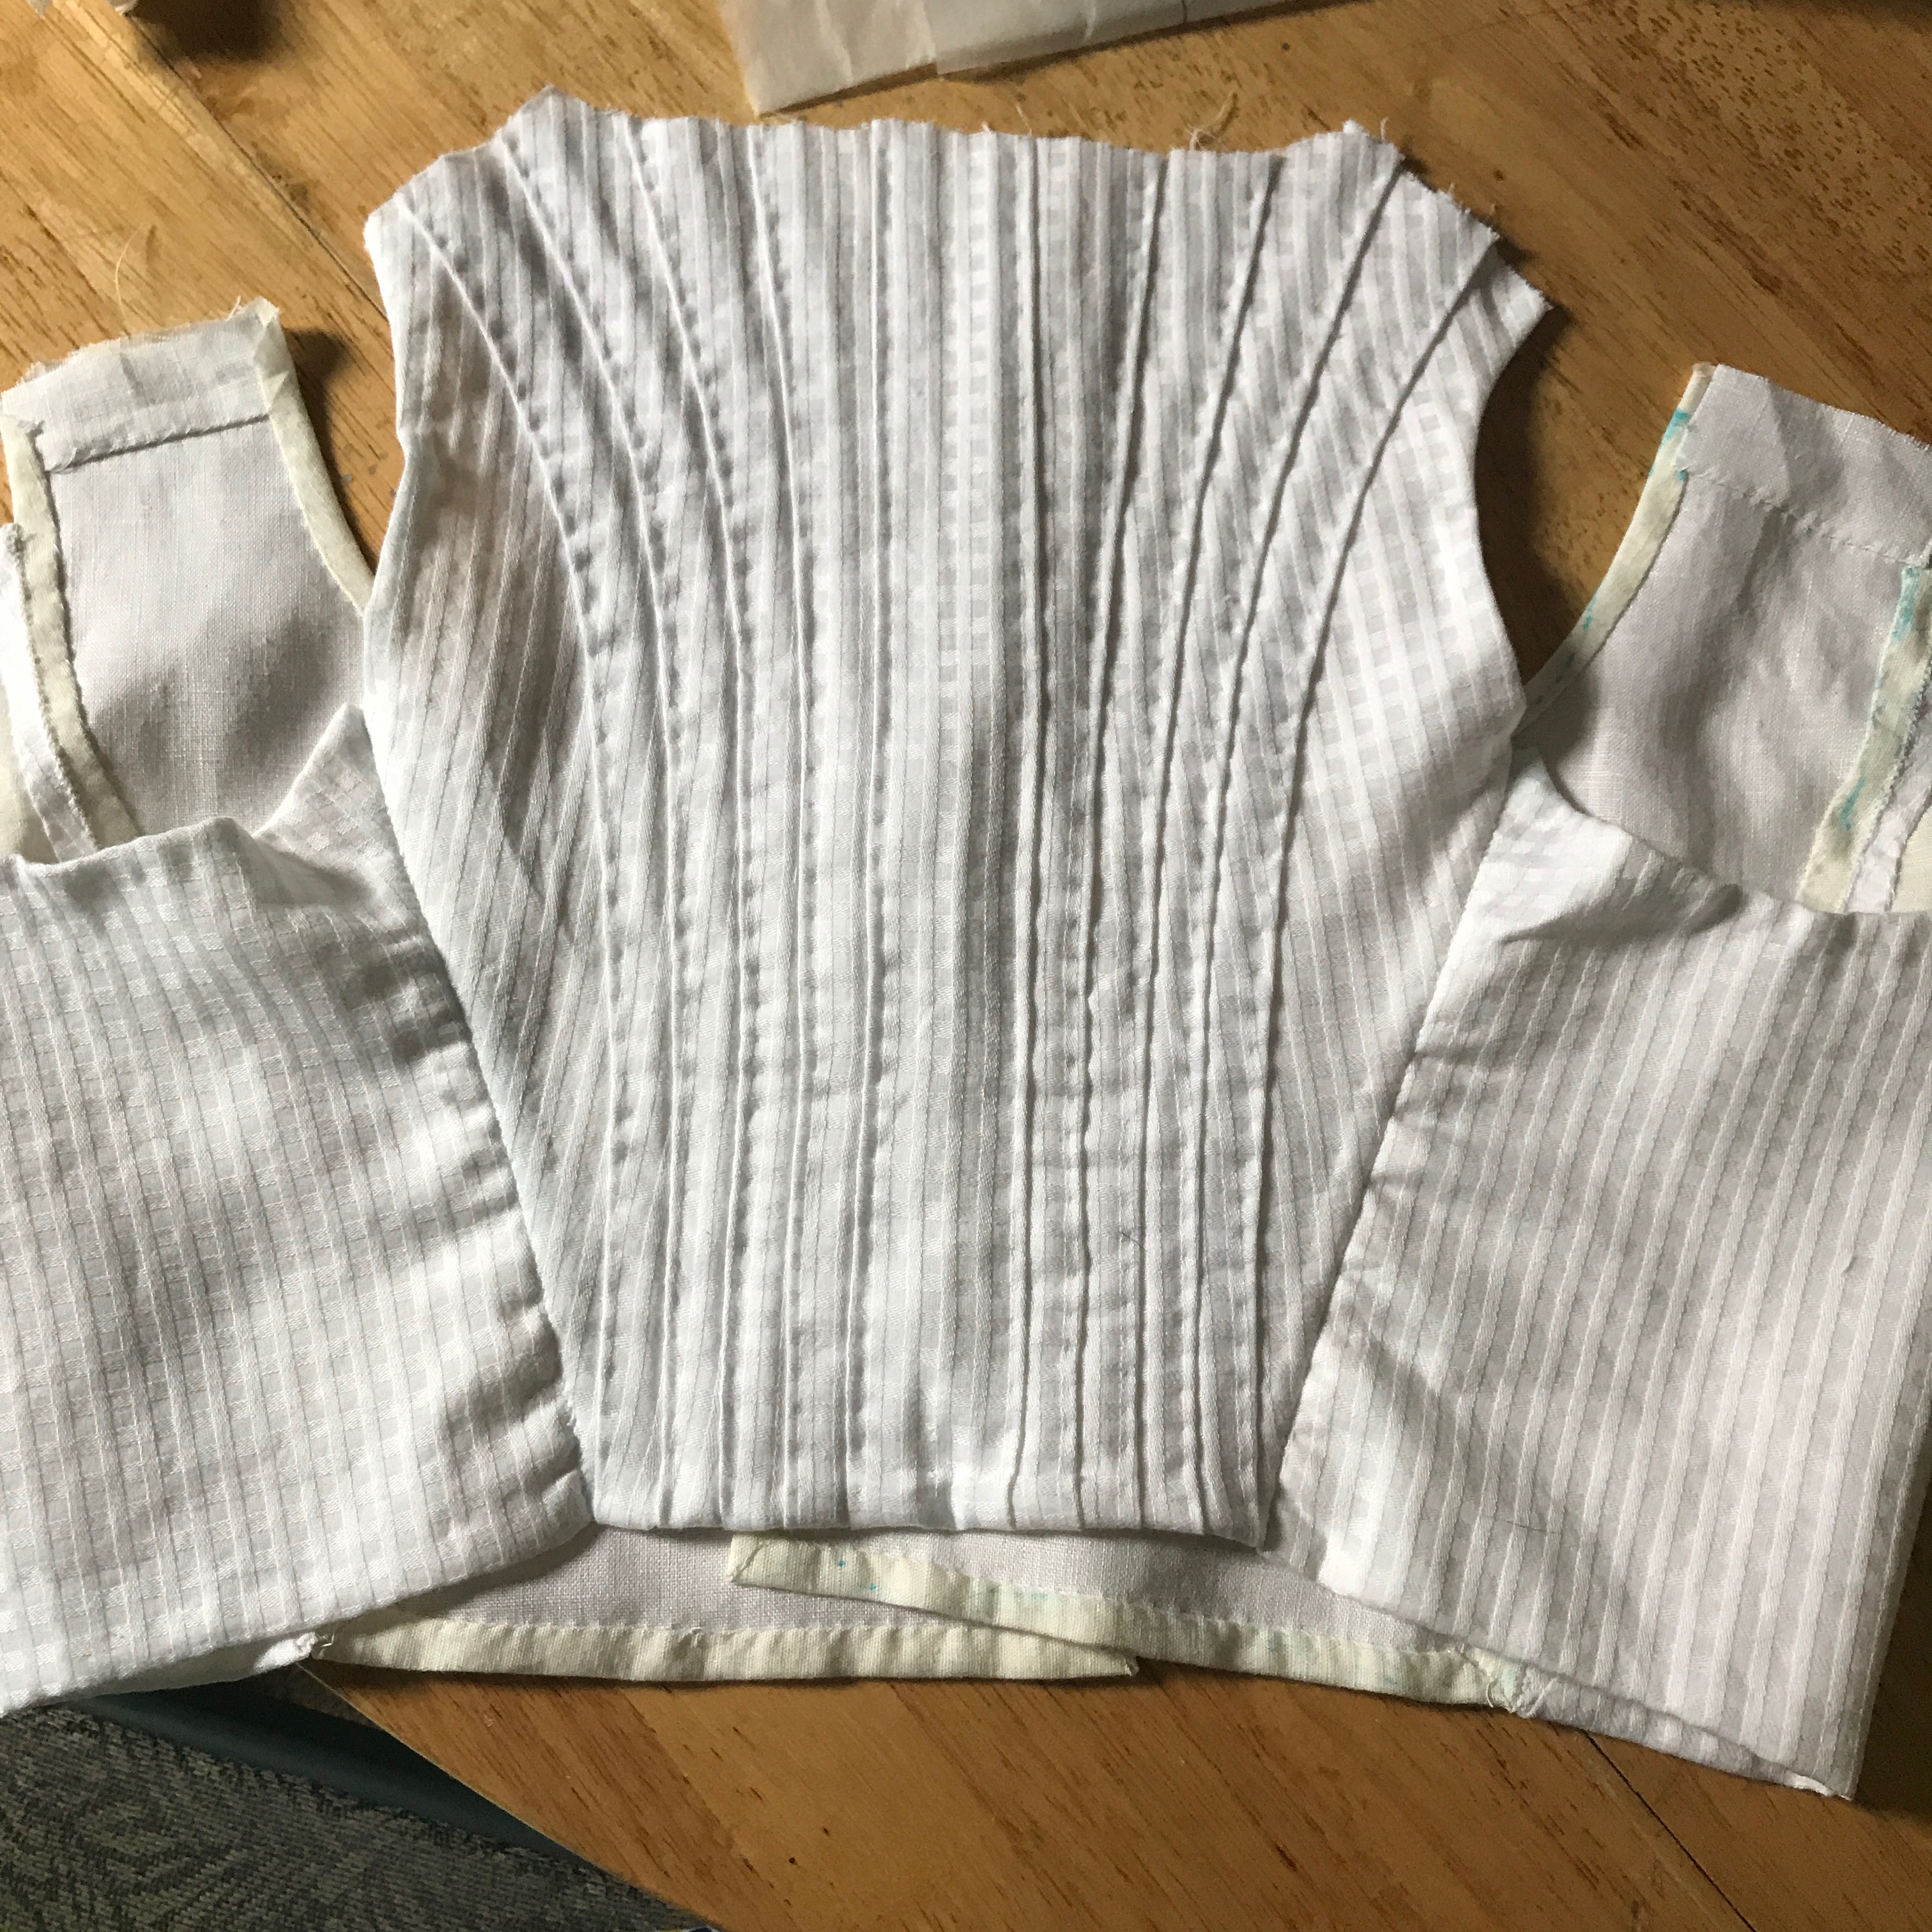
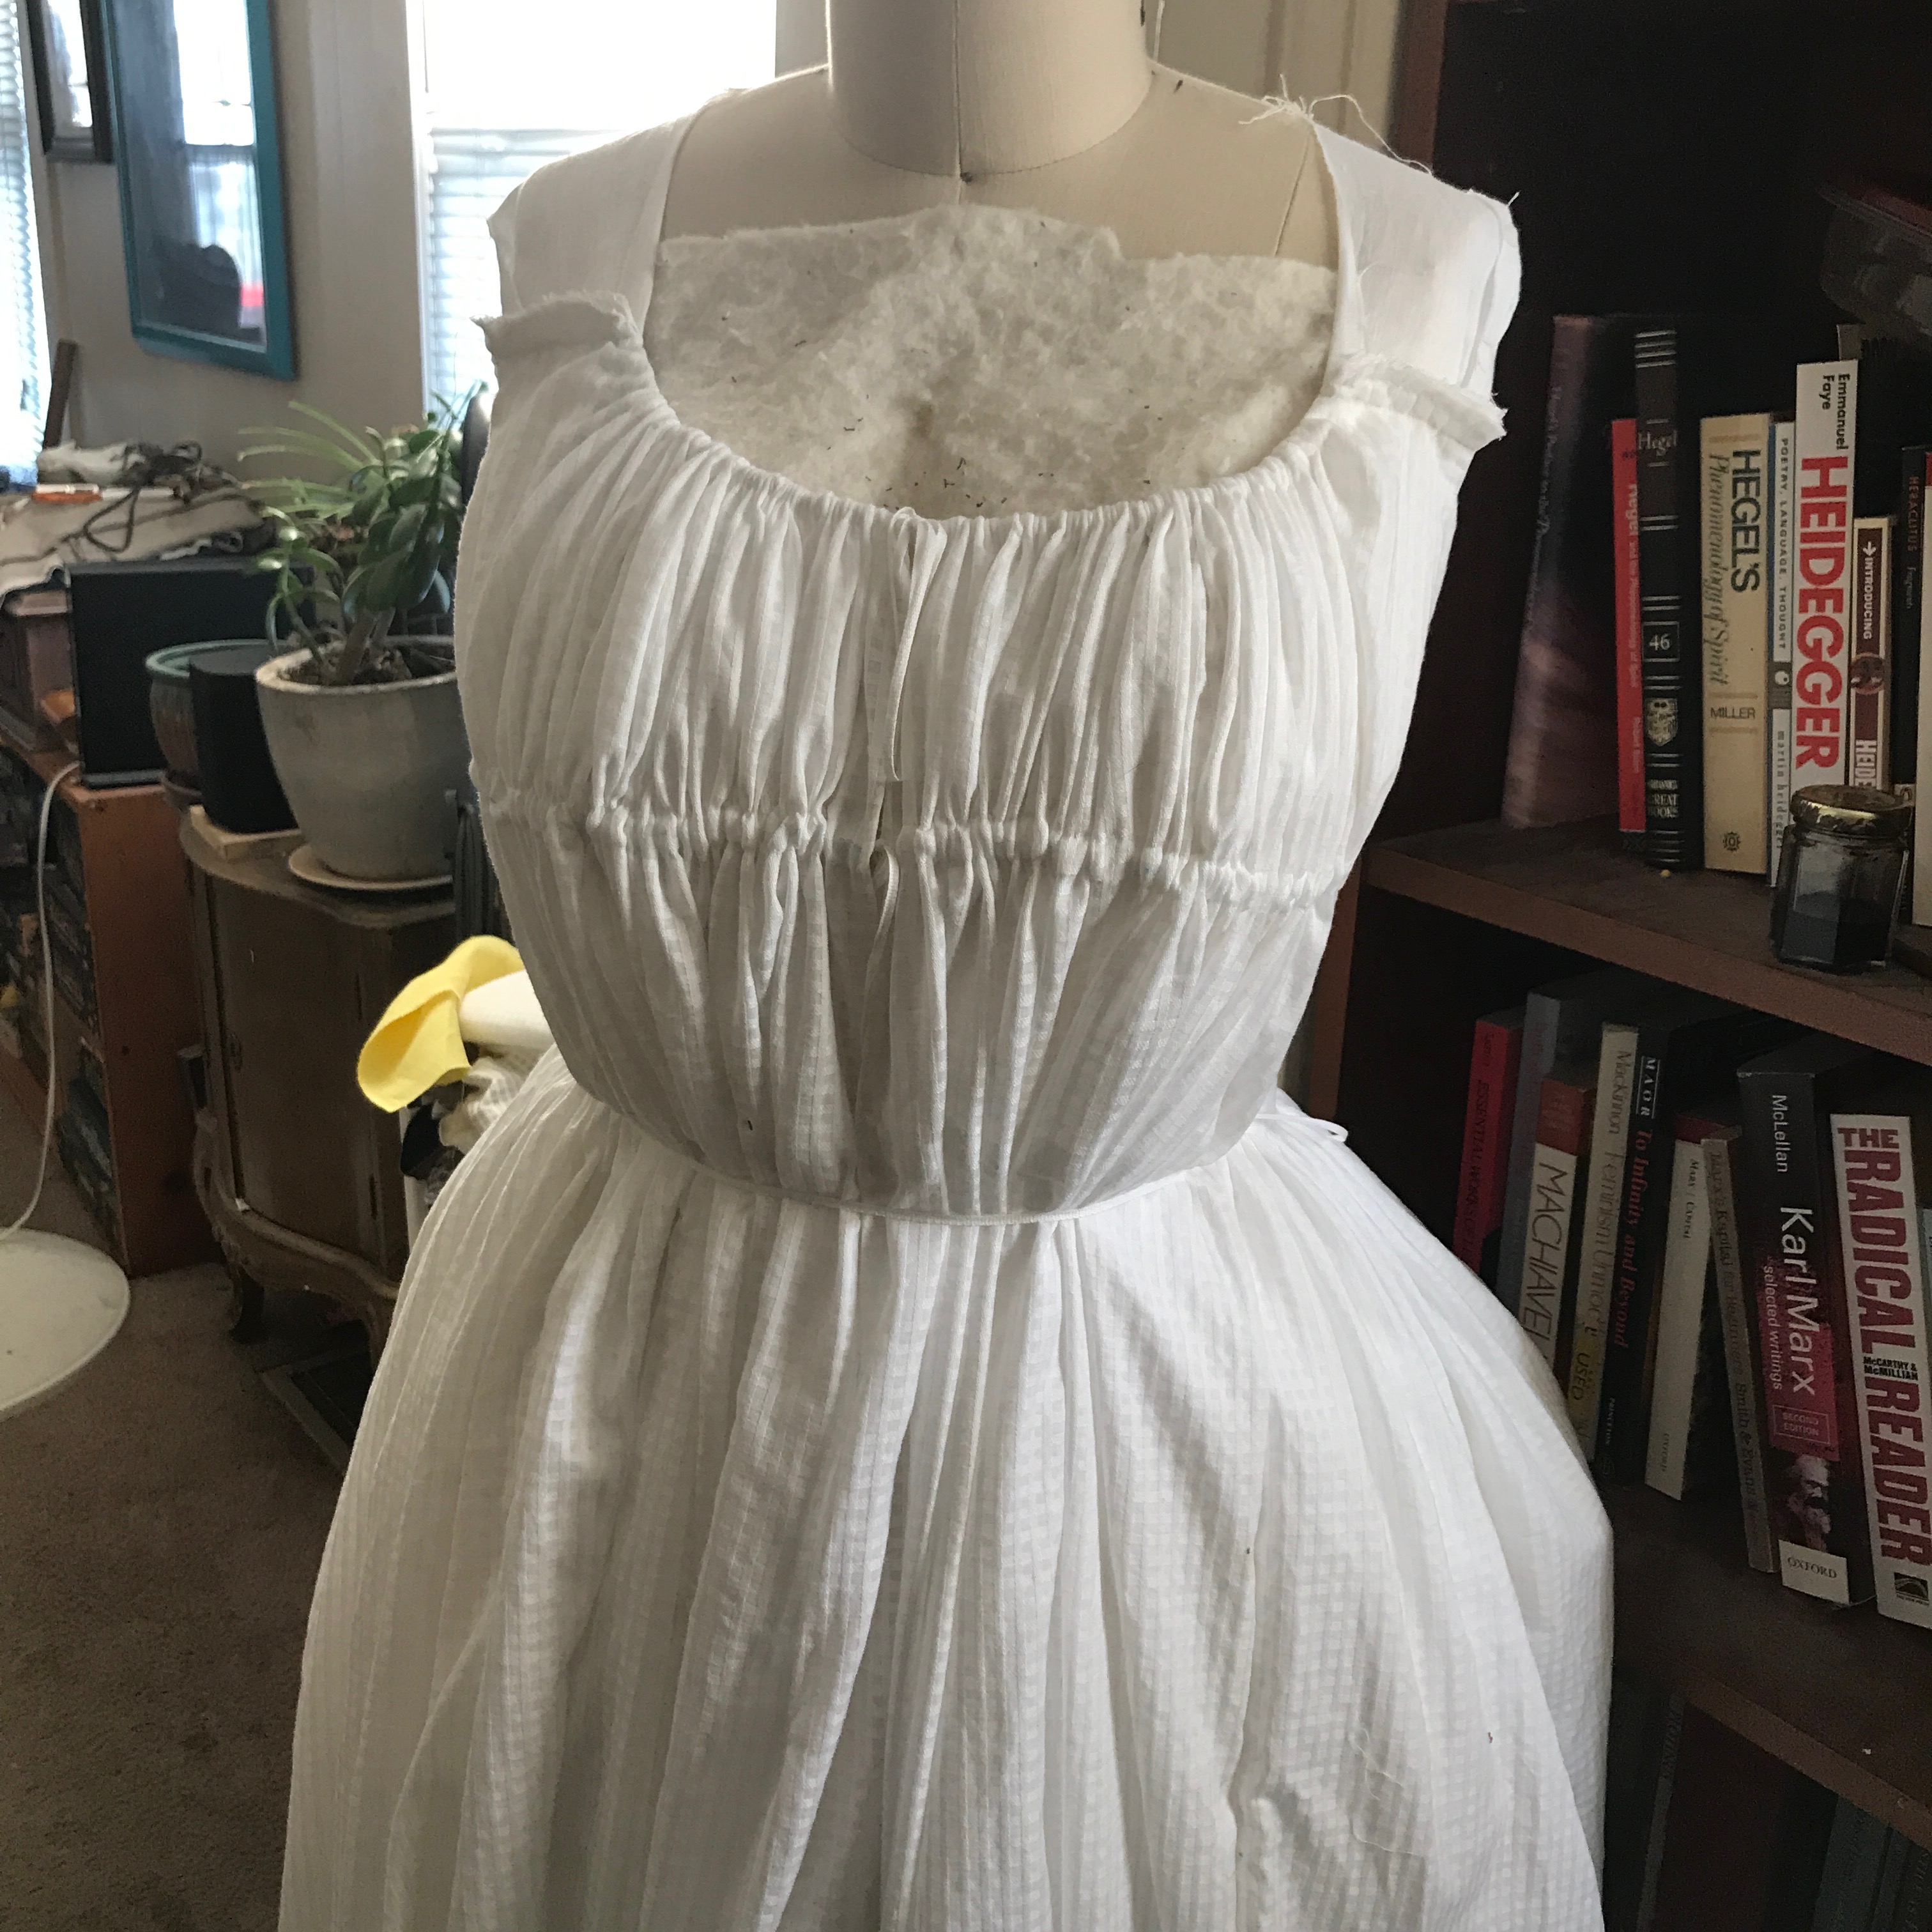
I started with the bodice pieces, which Brandon helped me drape. I used a technique wherein the pieces are hemmed around the lining before assembly, so all the seams get finished before they actually get sewn. The gorgeous sheer, checked cotton is from William Booth, Draper.

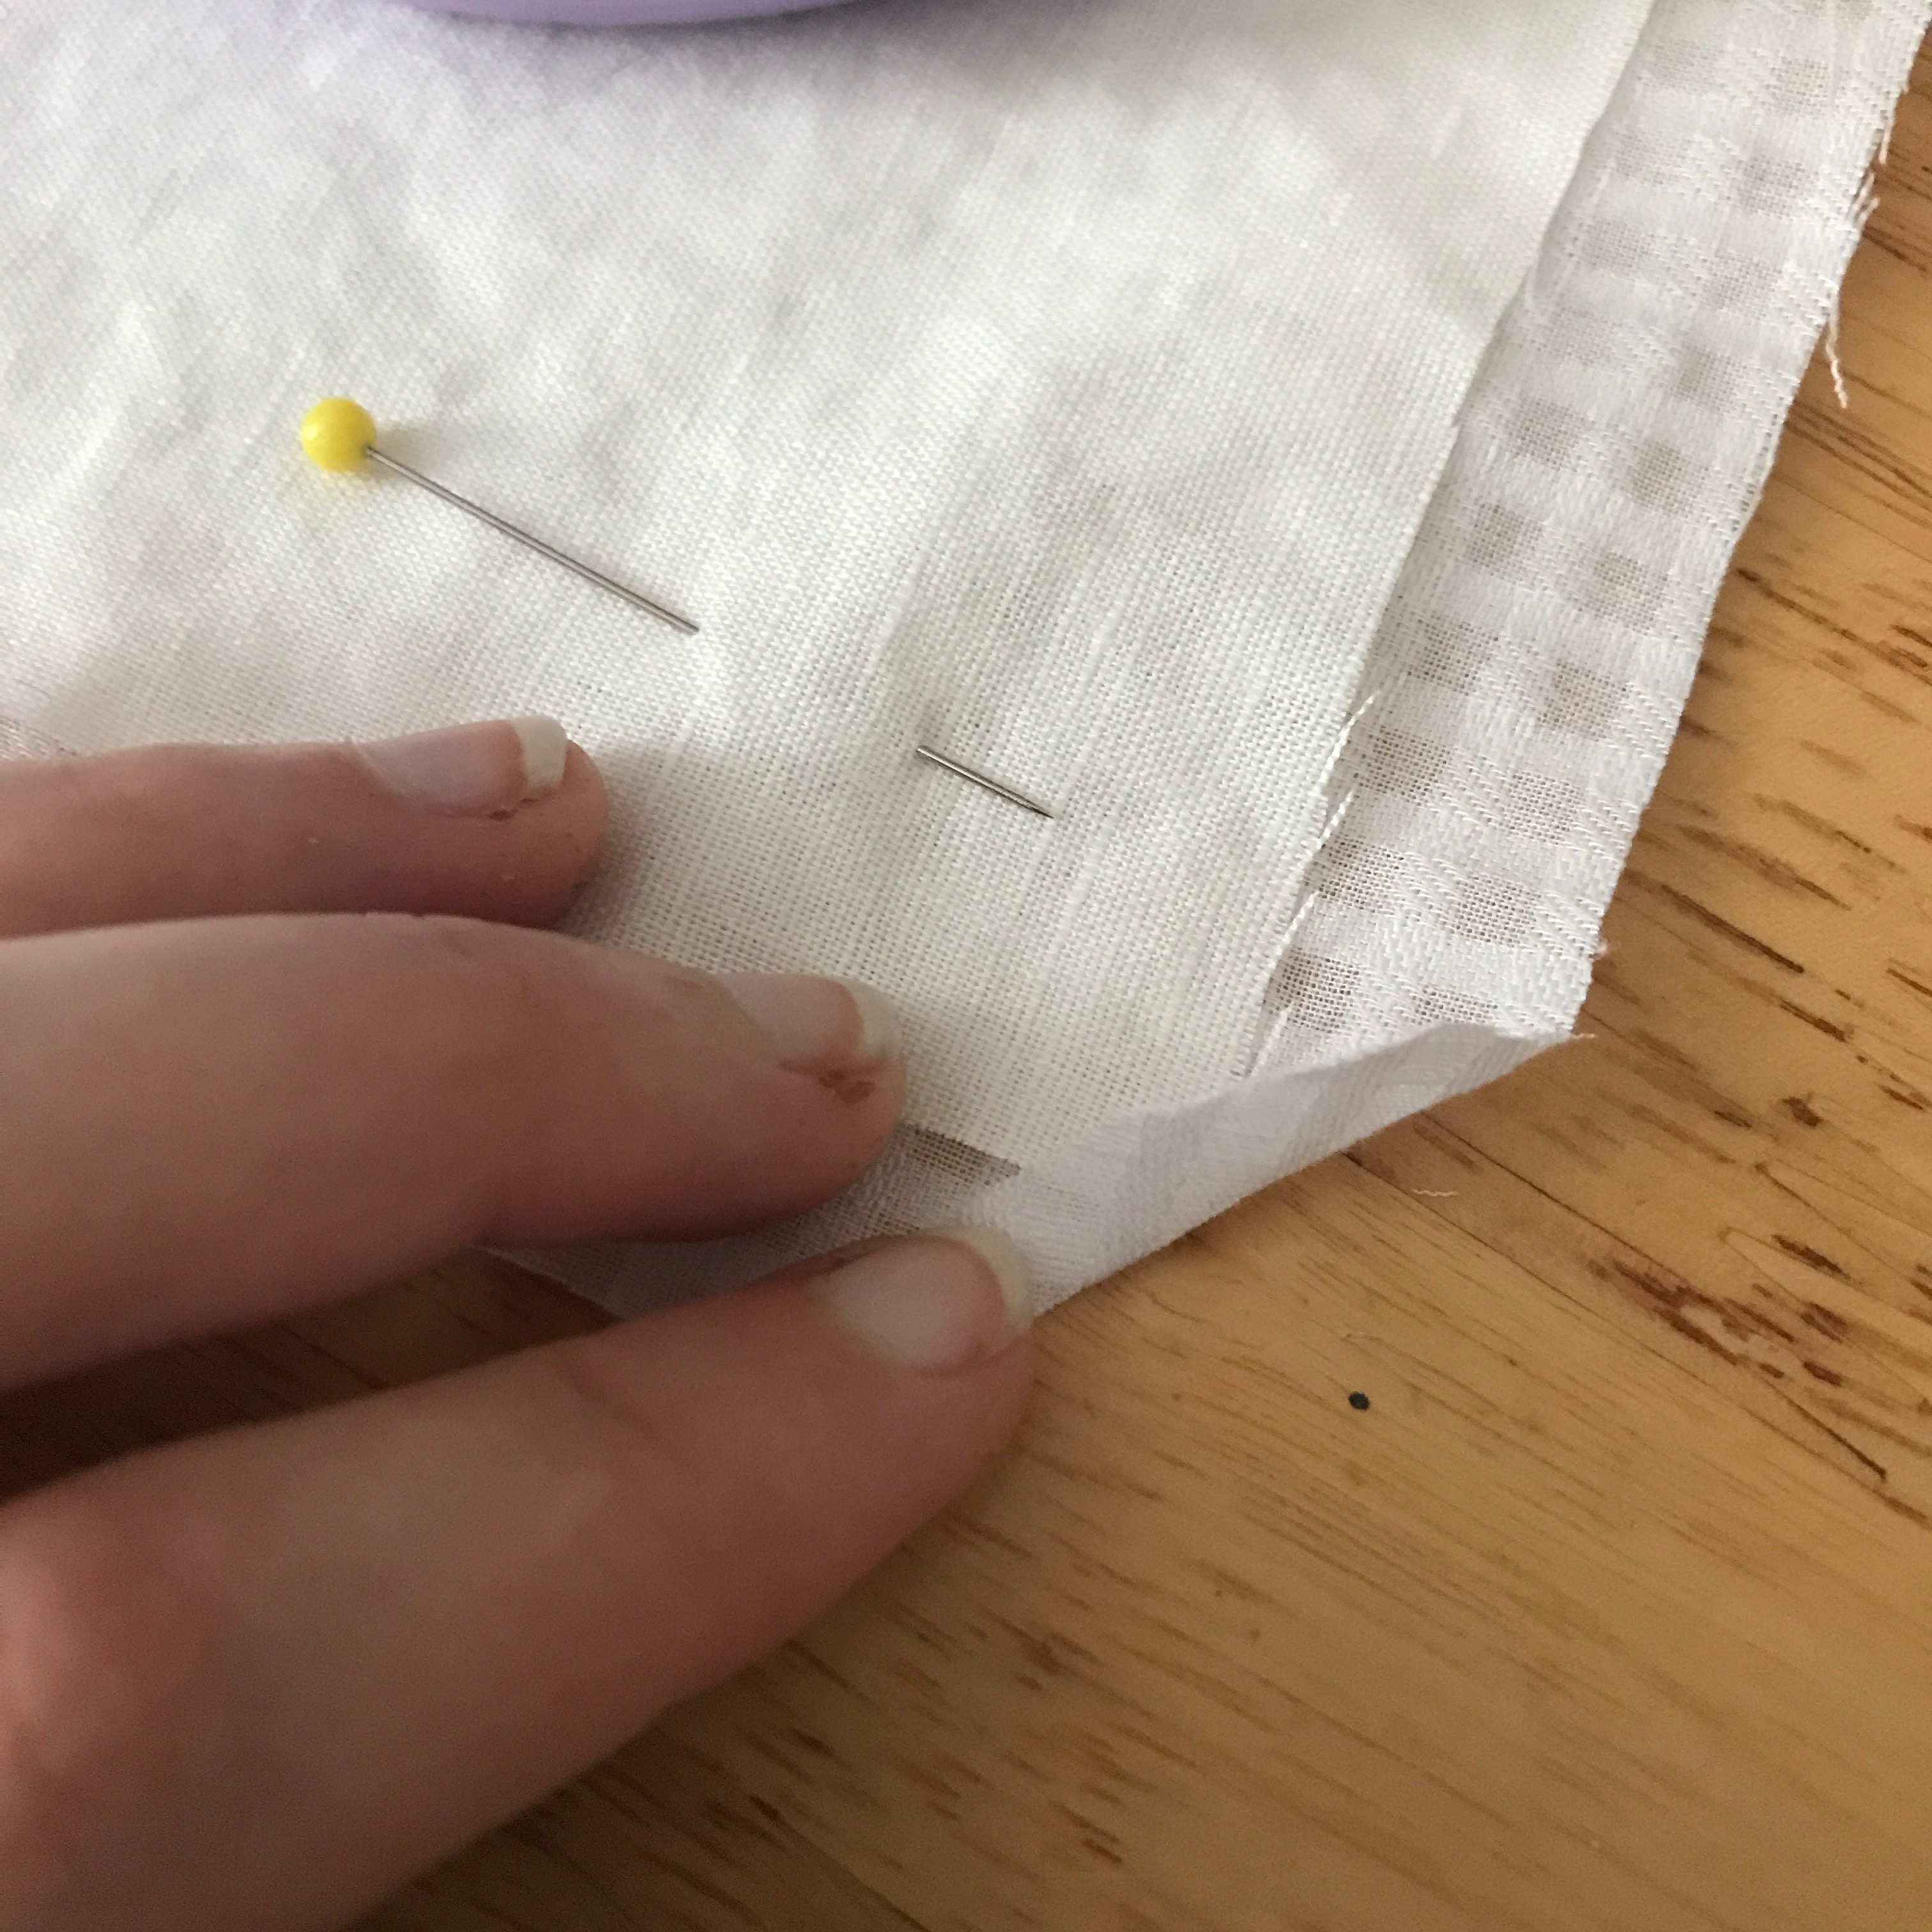


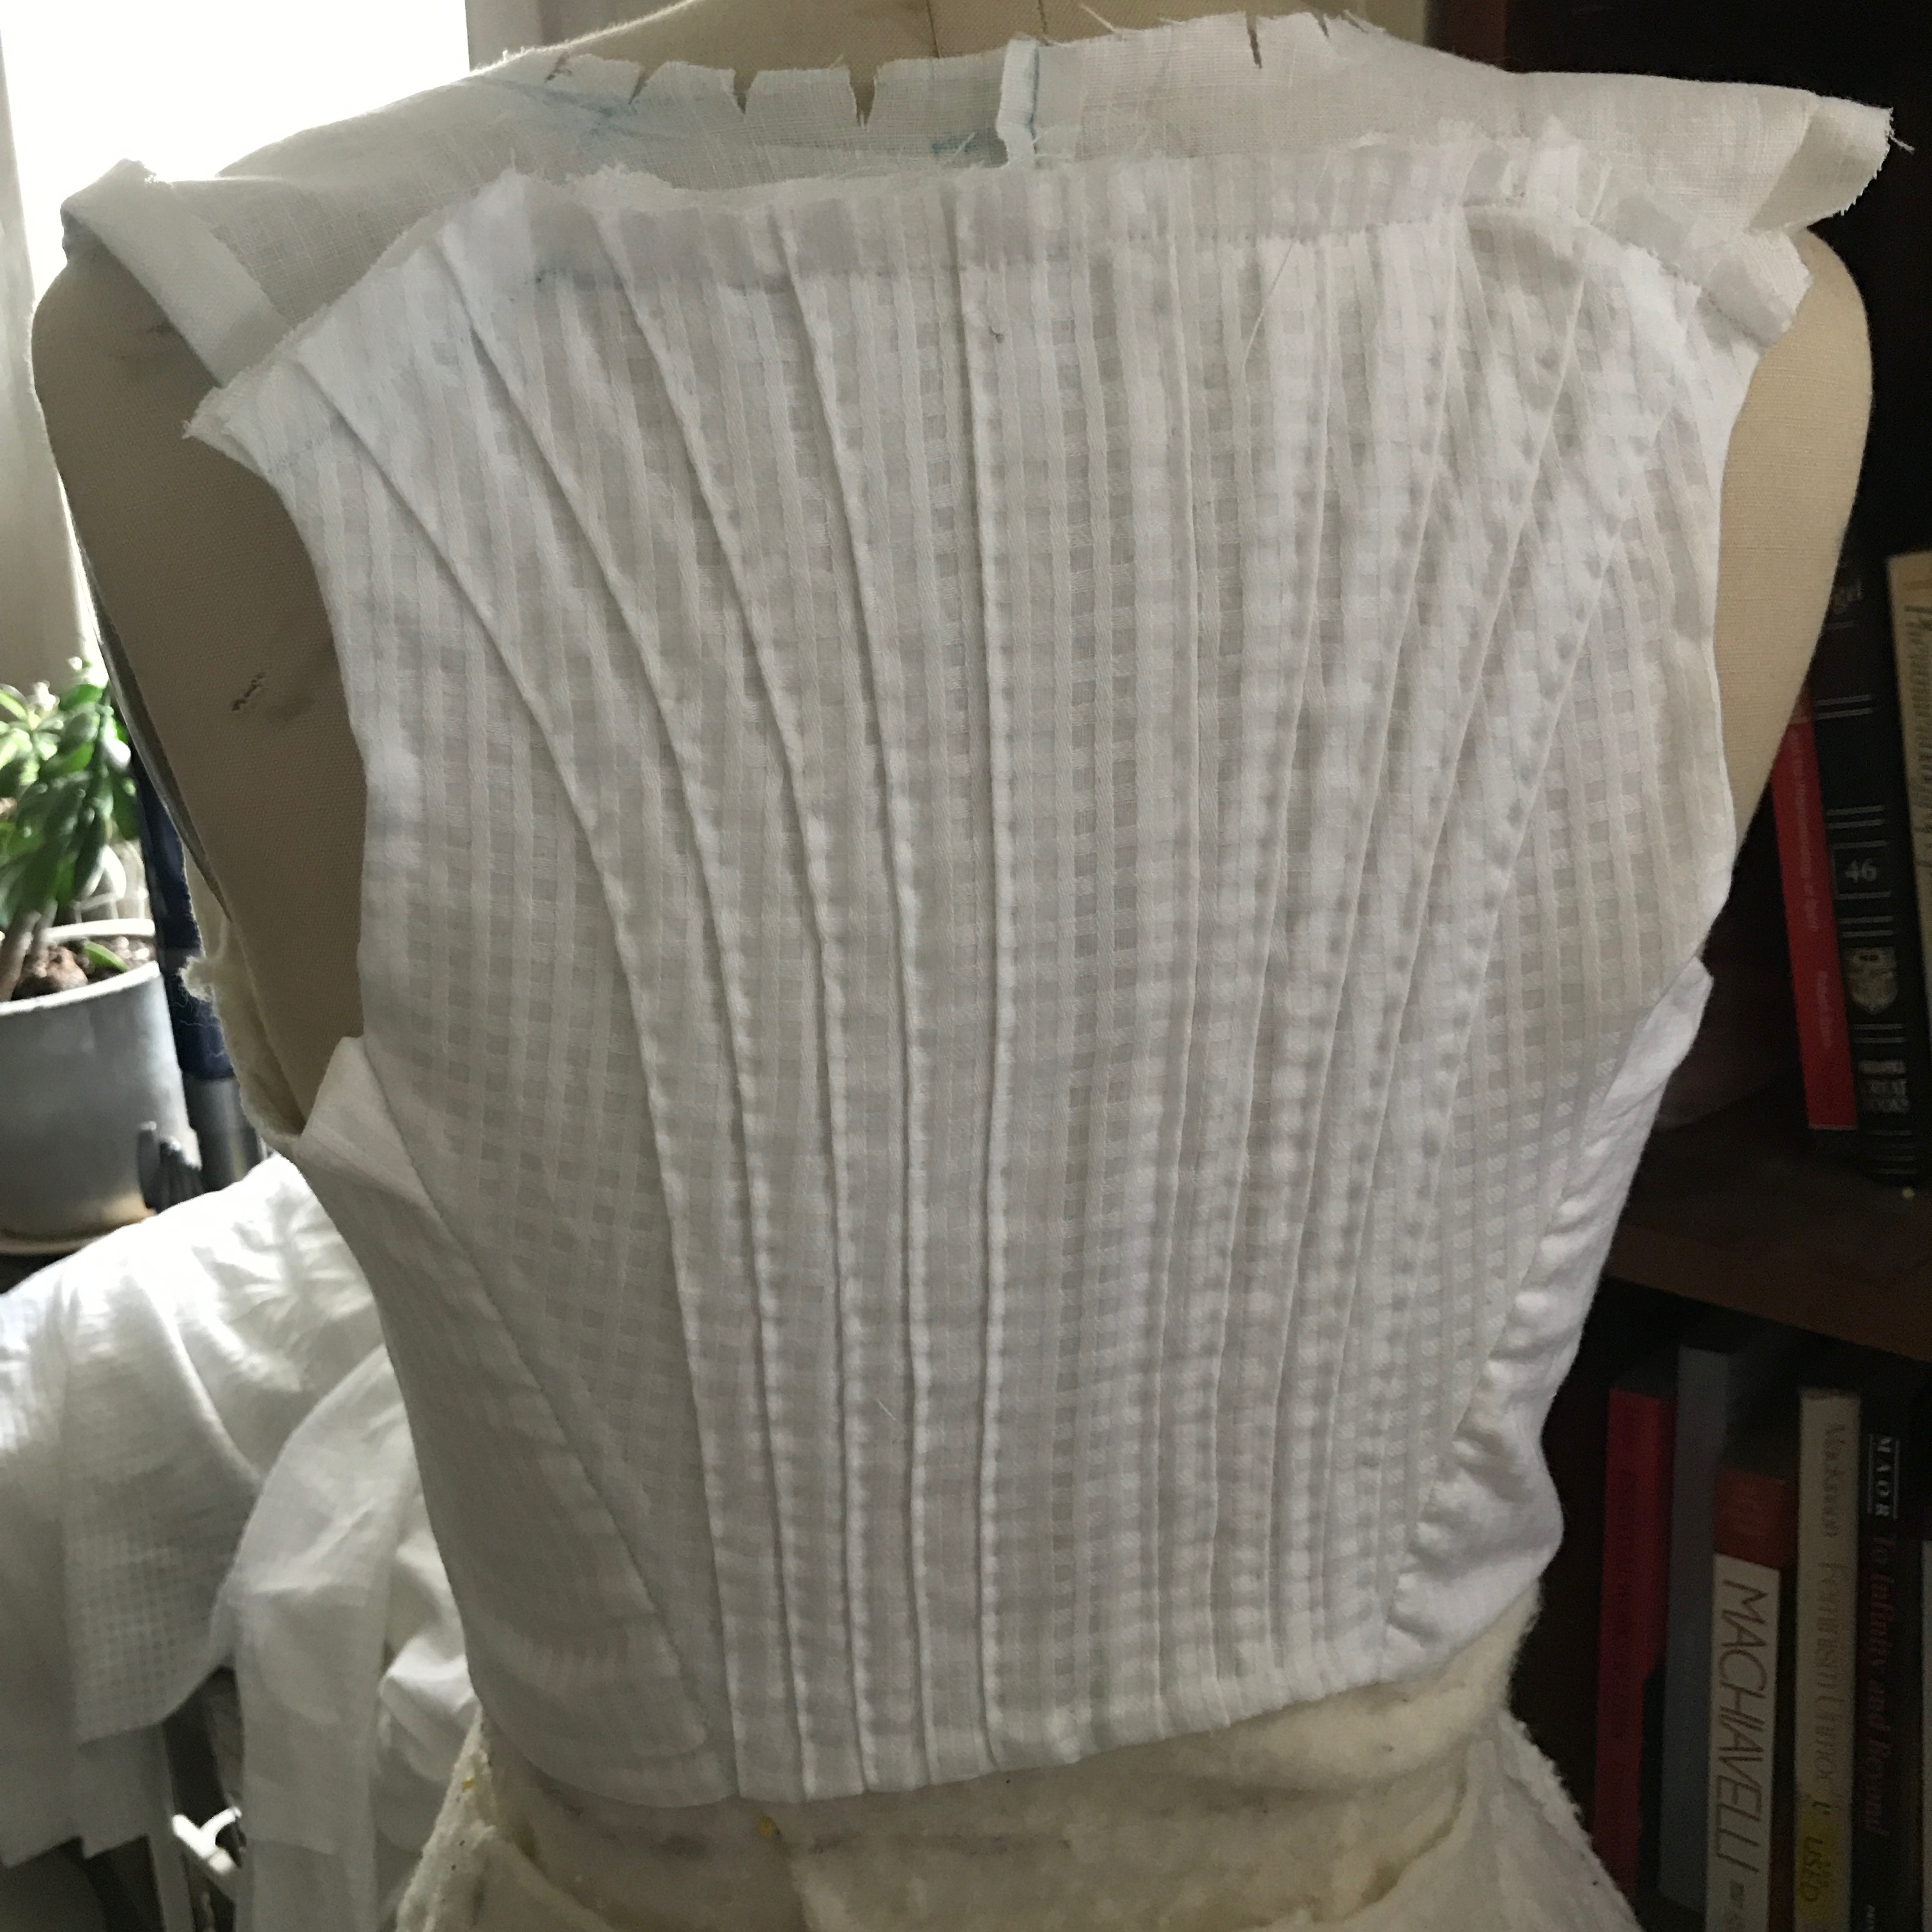
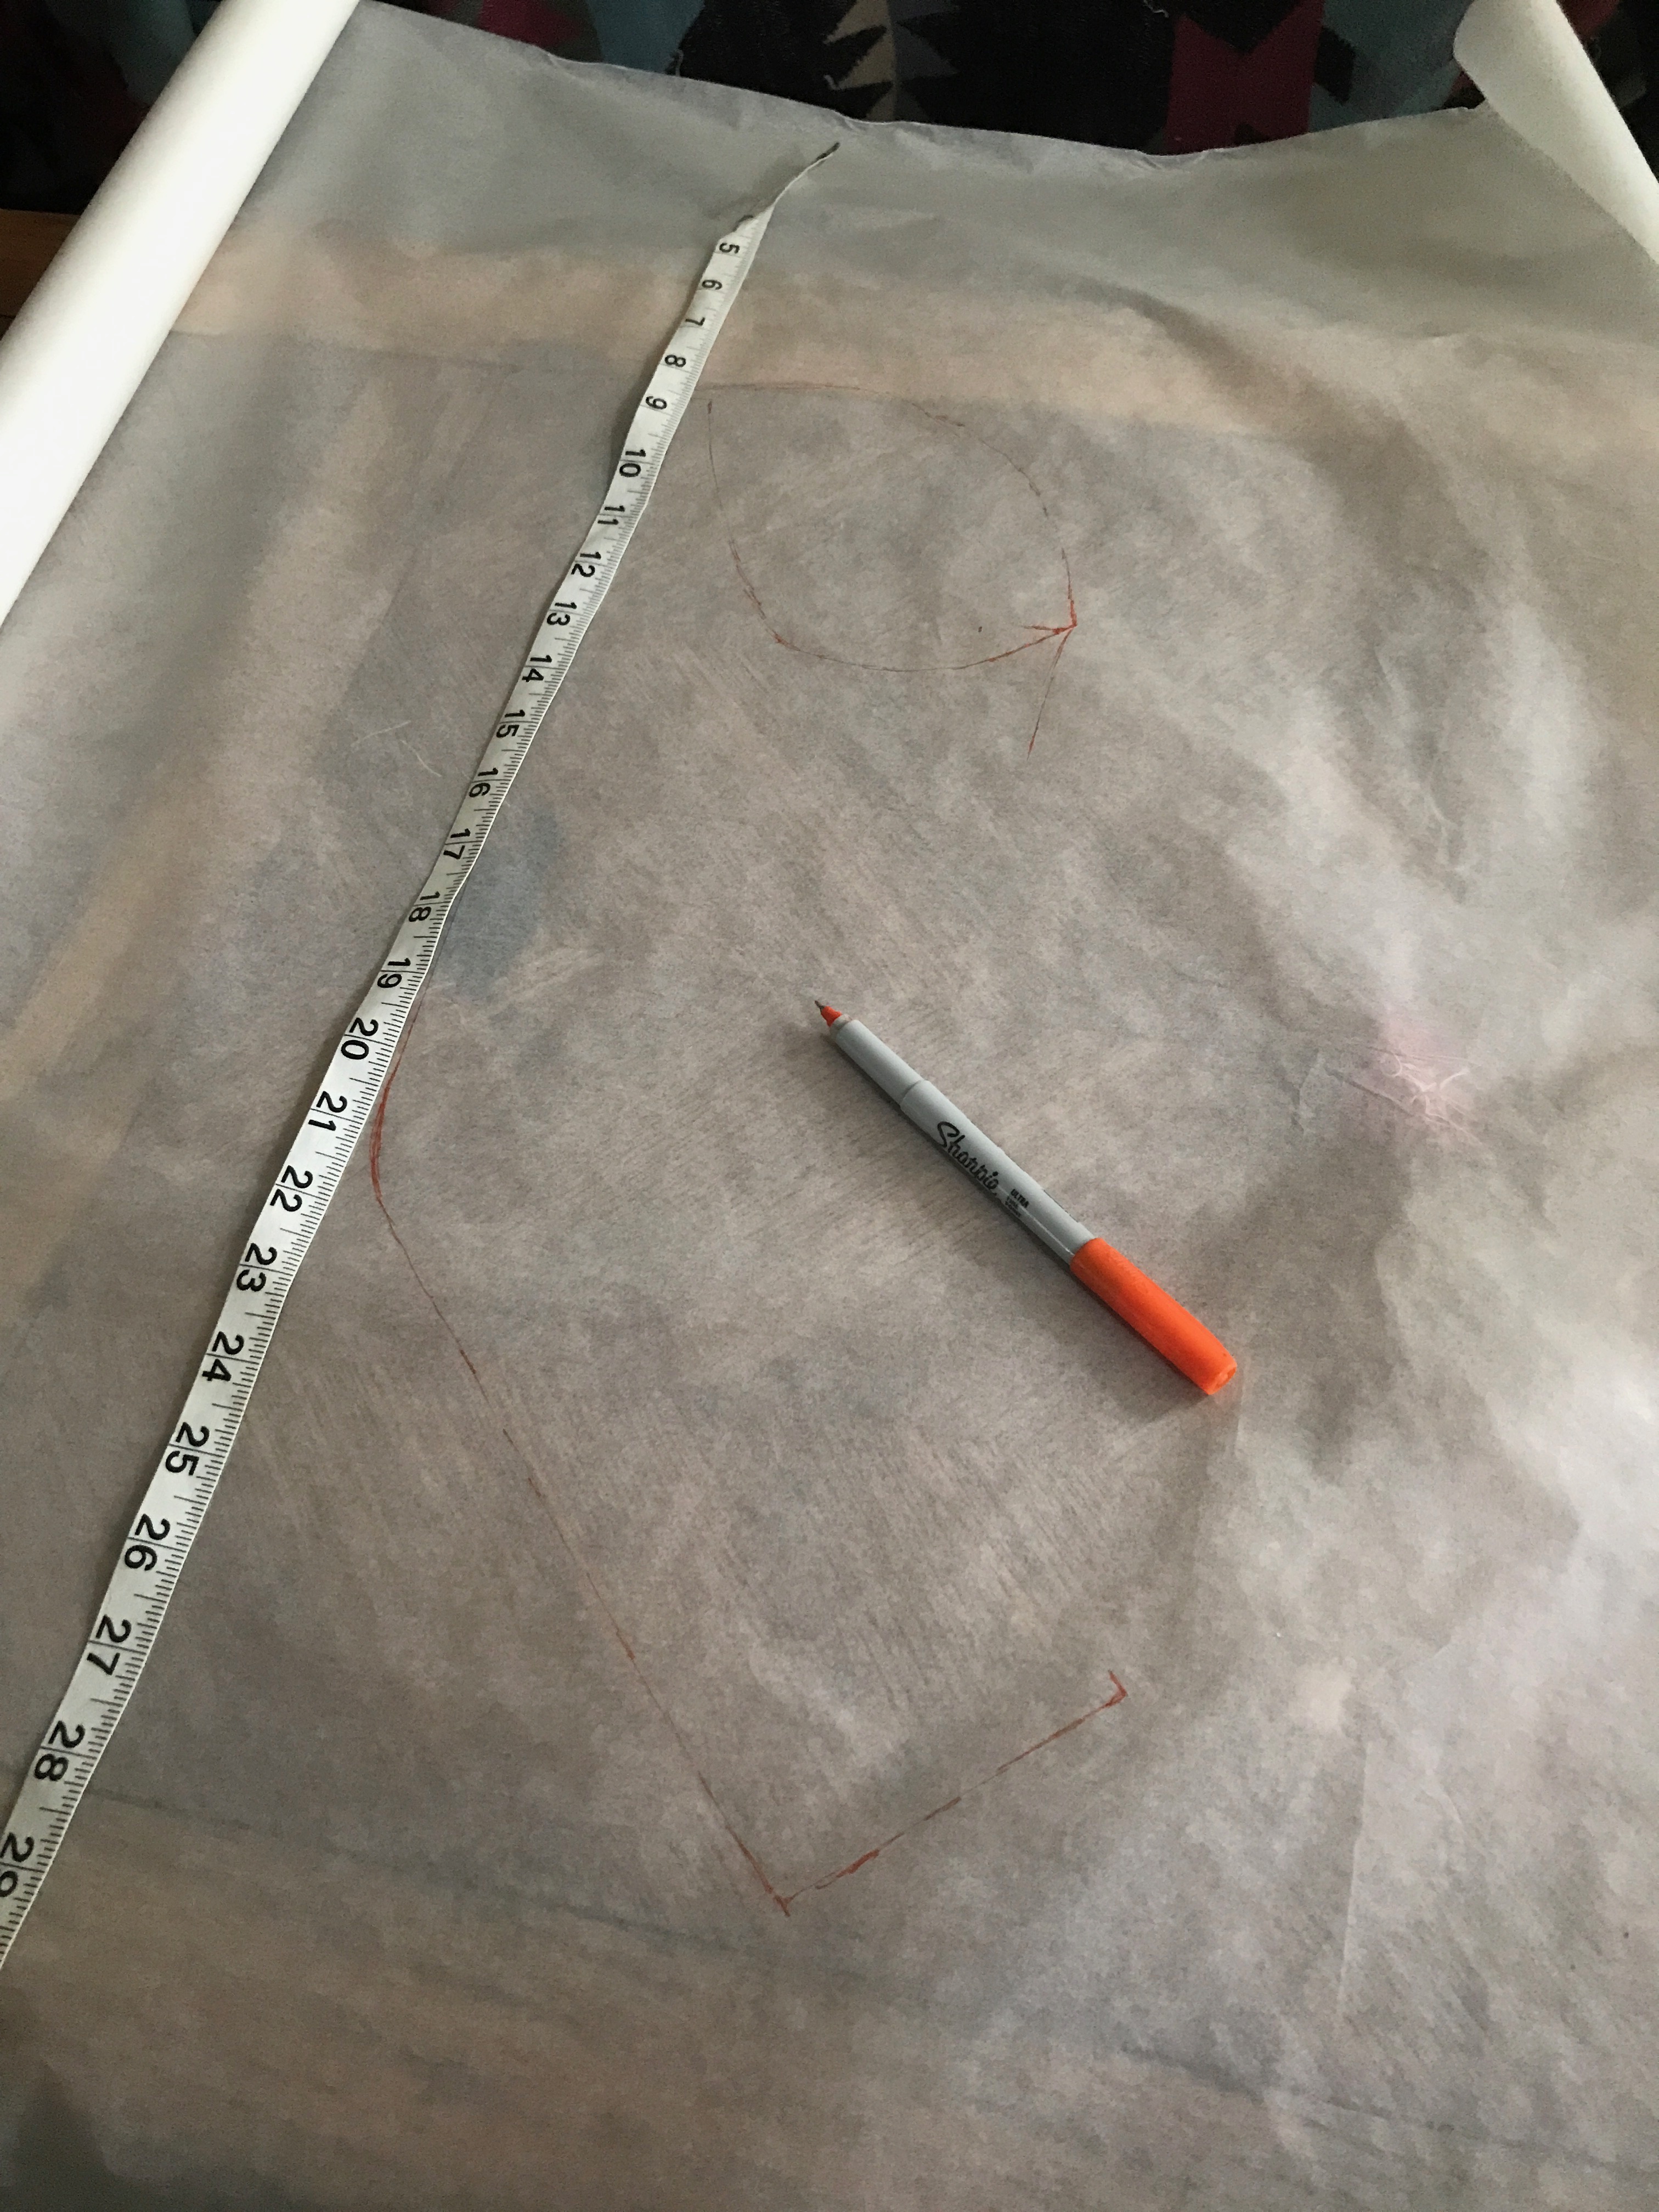
To make the pleated back, I cut the lining according to the pattern we draped, then cut a larger rectangle of my fashion fabric. I pleated the fashion fabric onto the lining and cut away the excess fashion fabric to leave just a hem allowance around the edges.


I made front pieces for the bodice out of two layers of plain linen. These will be pinned together at the front, underneath the gathered portion, which will give the gown structure that the gathered fabric alone couldn’t give.
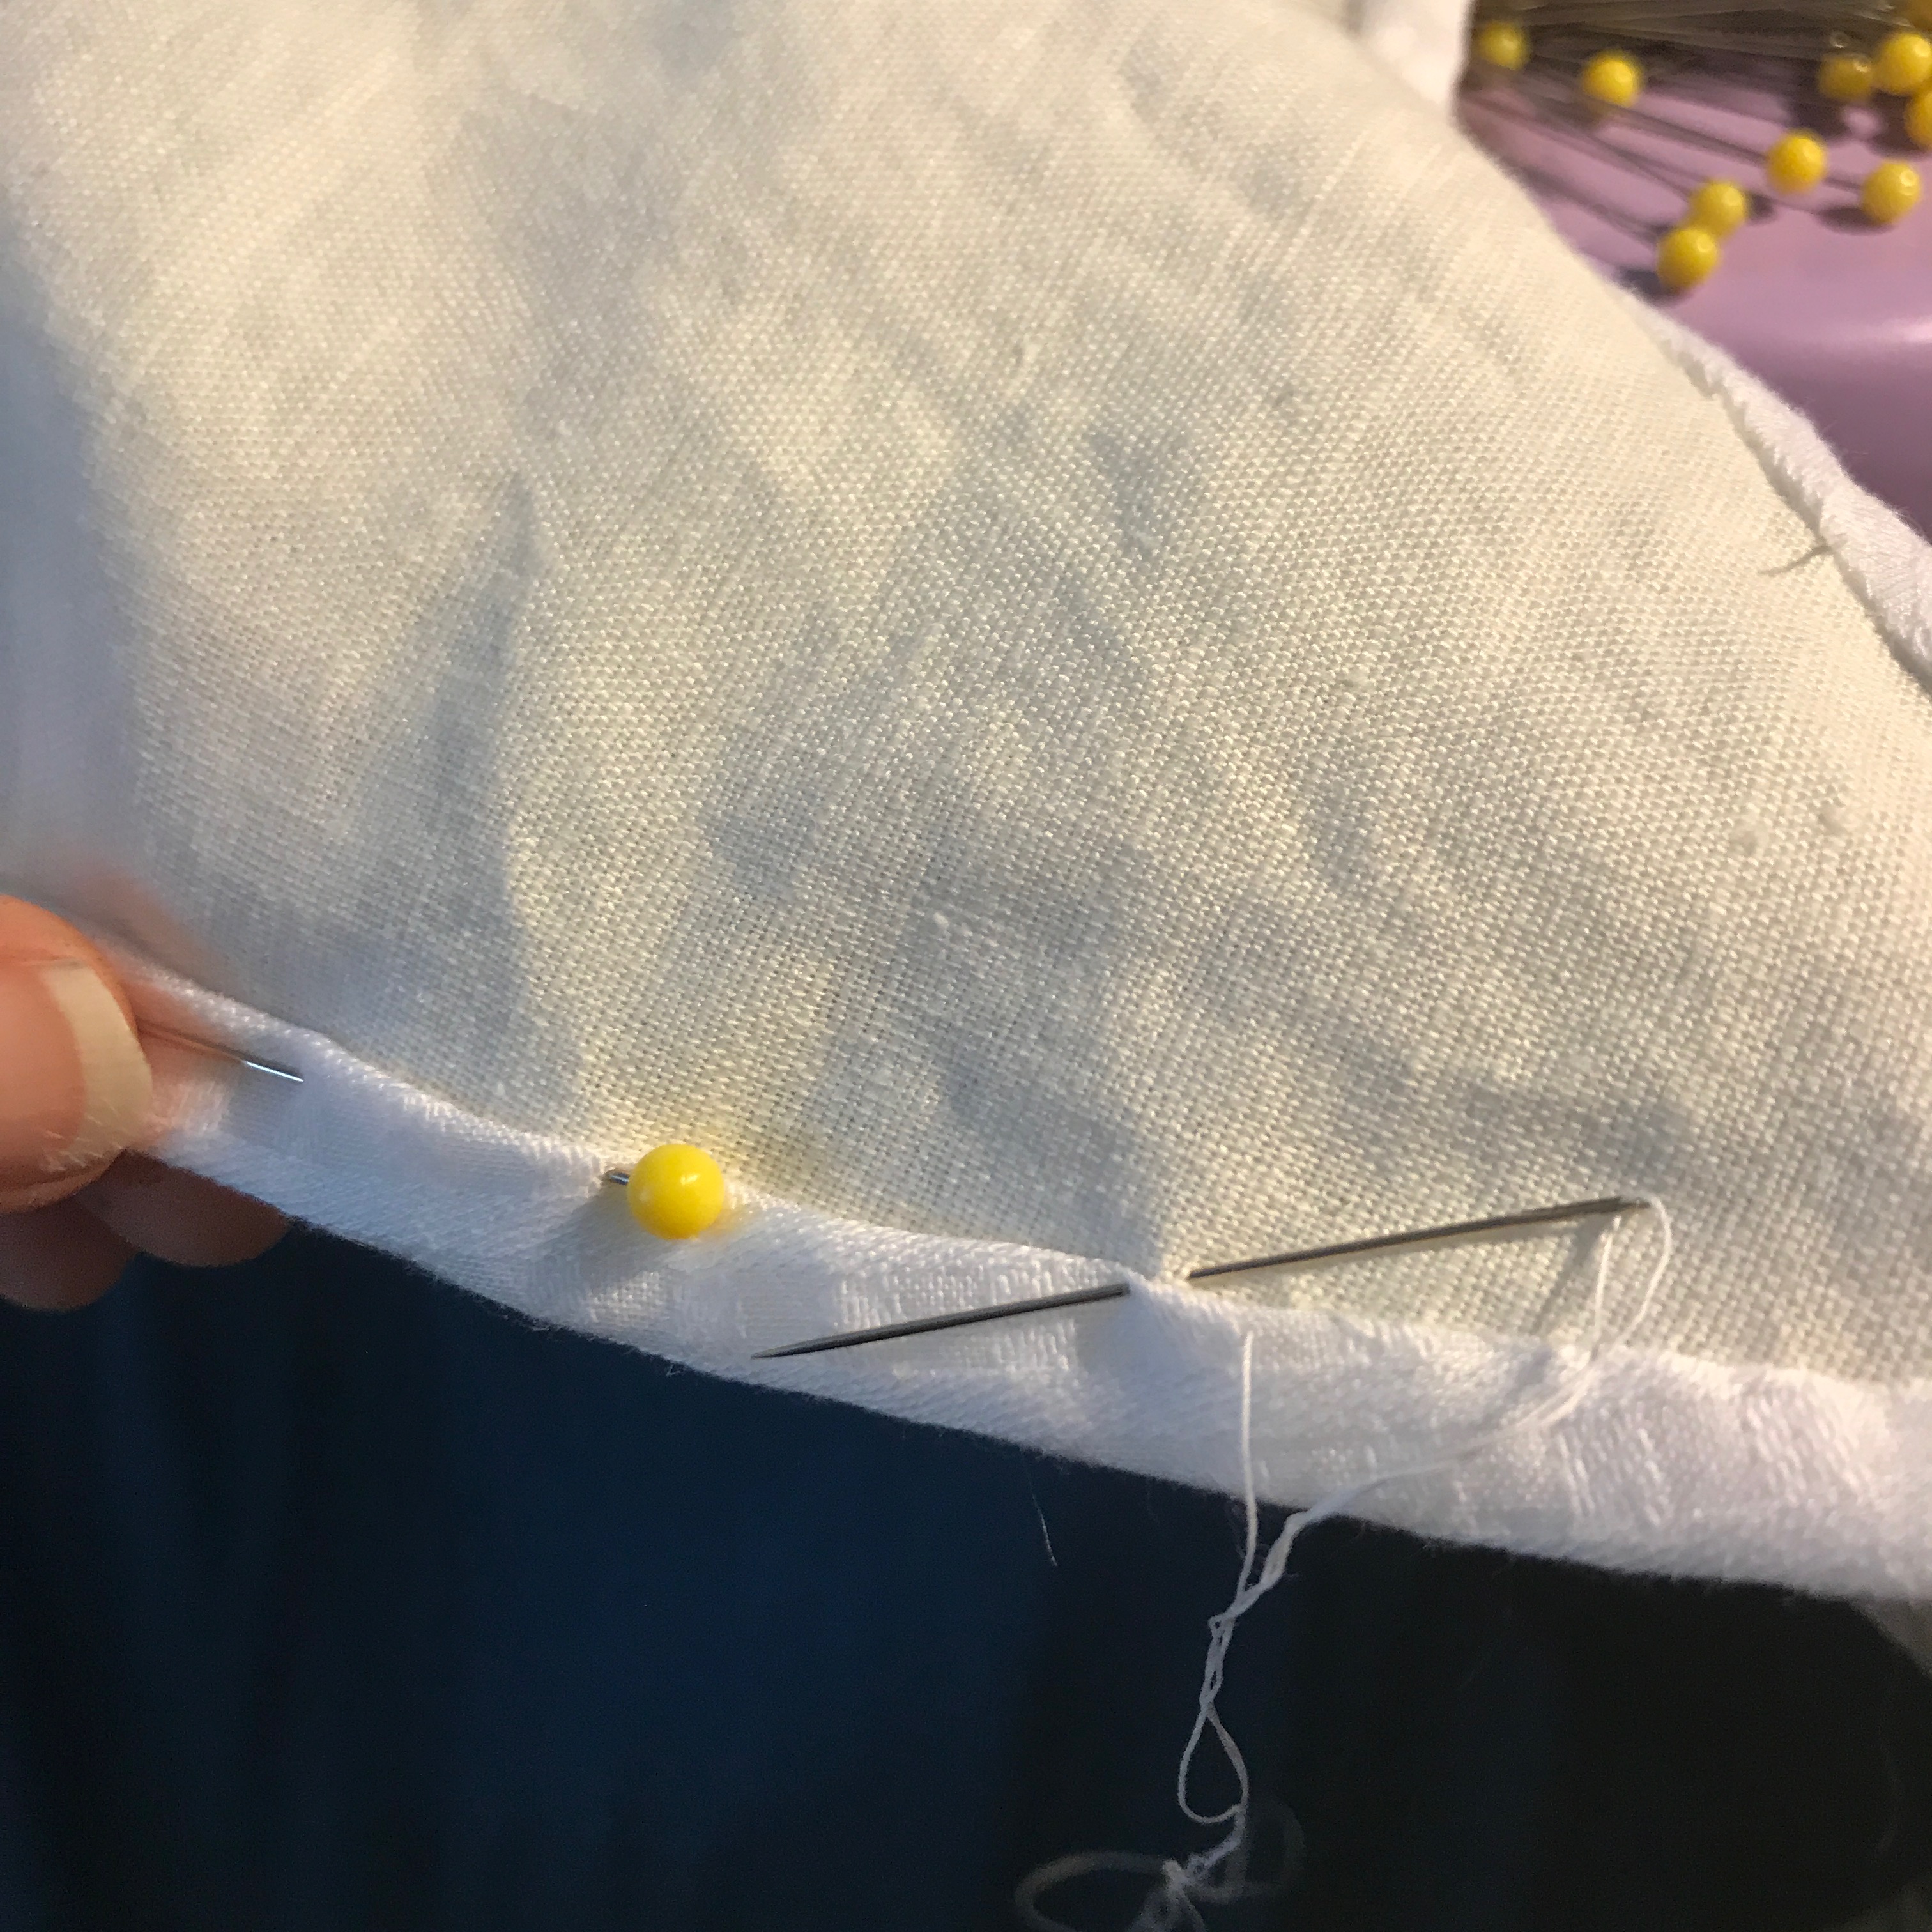
The bodice pieces are then stitched together. This could be done with a whip stitch, but I went with something like an English stitch, except that I was only dealing with one edge on each piece, rather than a lining and a fabric edge for each. I found that this fishbone-like stitch allowed the pieces to open out flatter than a whip stitch would.


The shoulder straps on this gown are unusual. Rather than simply going from shoulder front to shoulder back, with a gap between, these ones come around the neck in the back and meet in the middle. I though it was an interesting element on the original dress, and decided to replicate it.
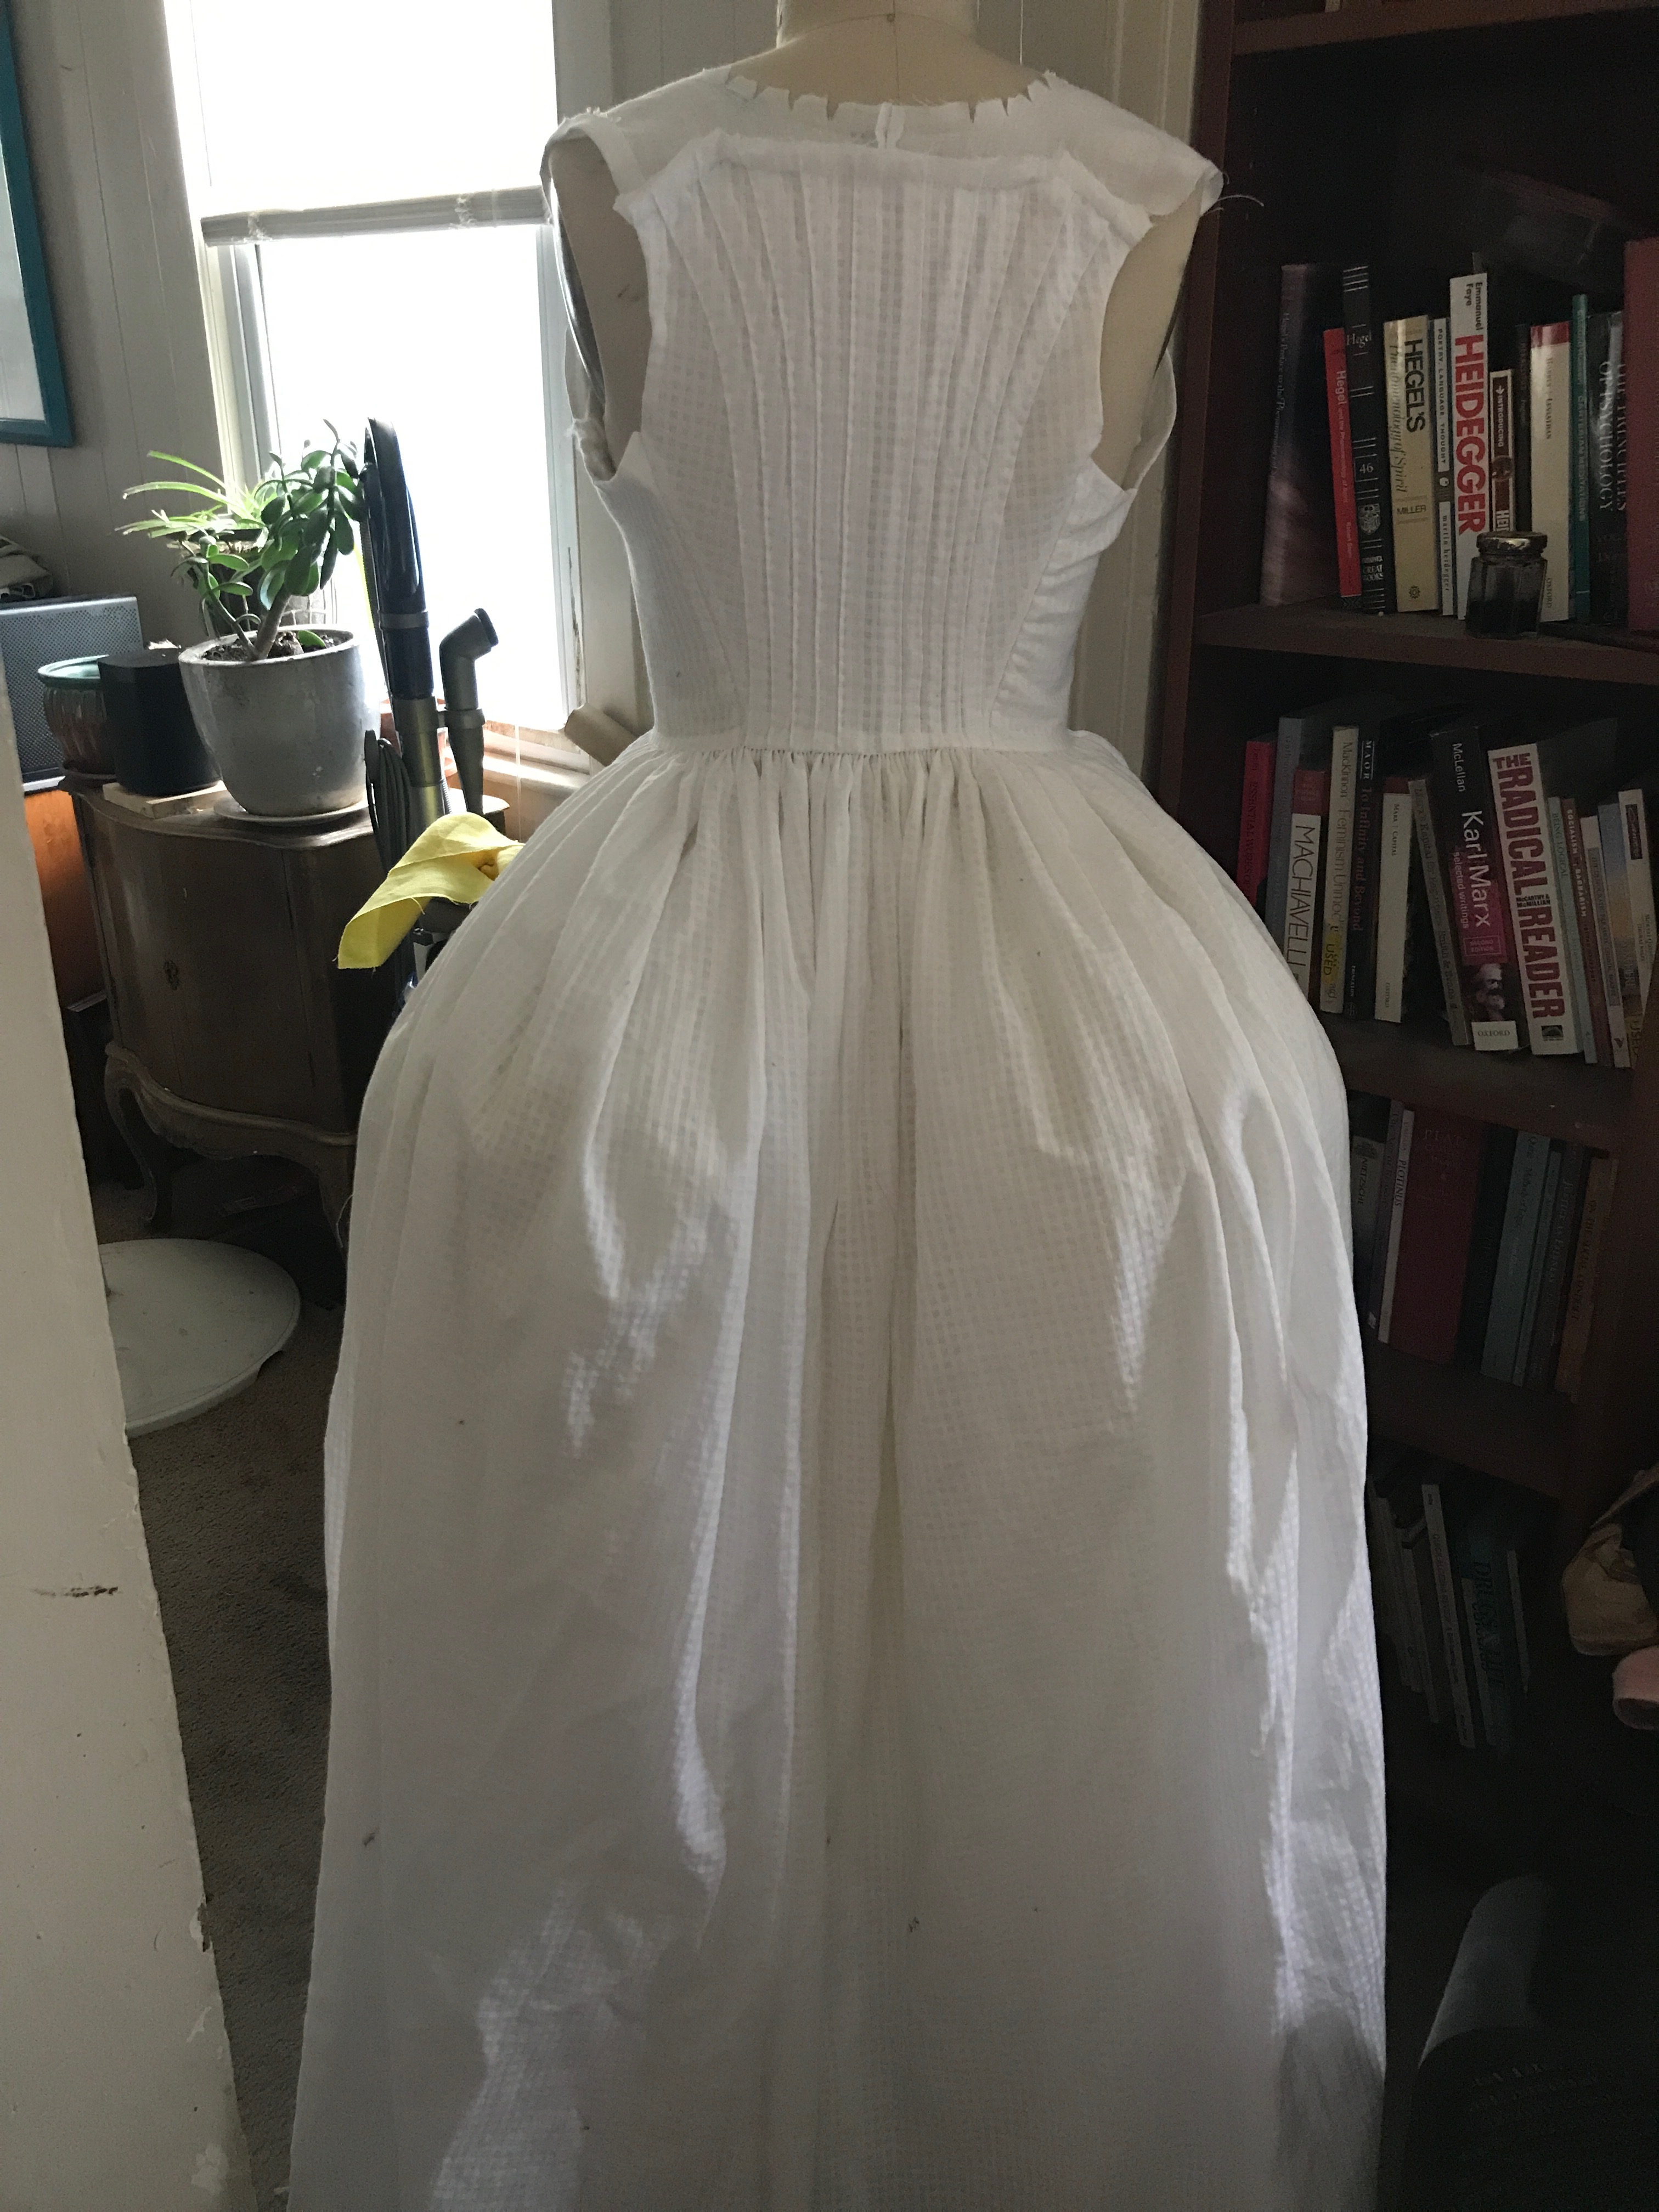
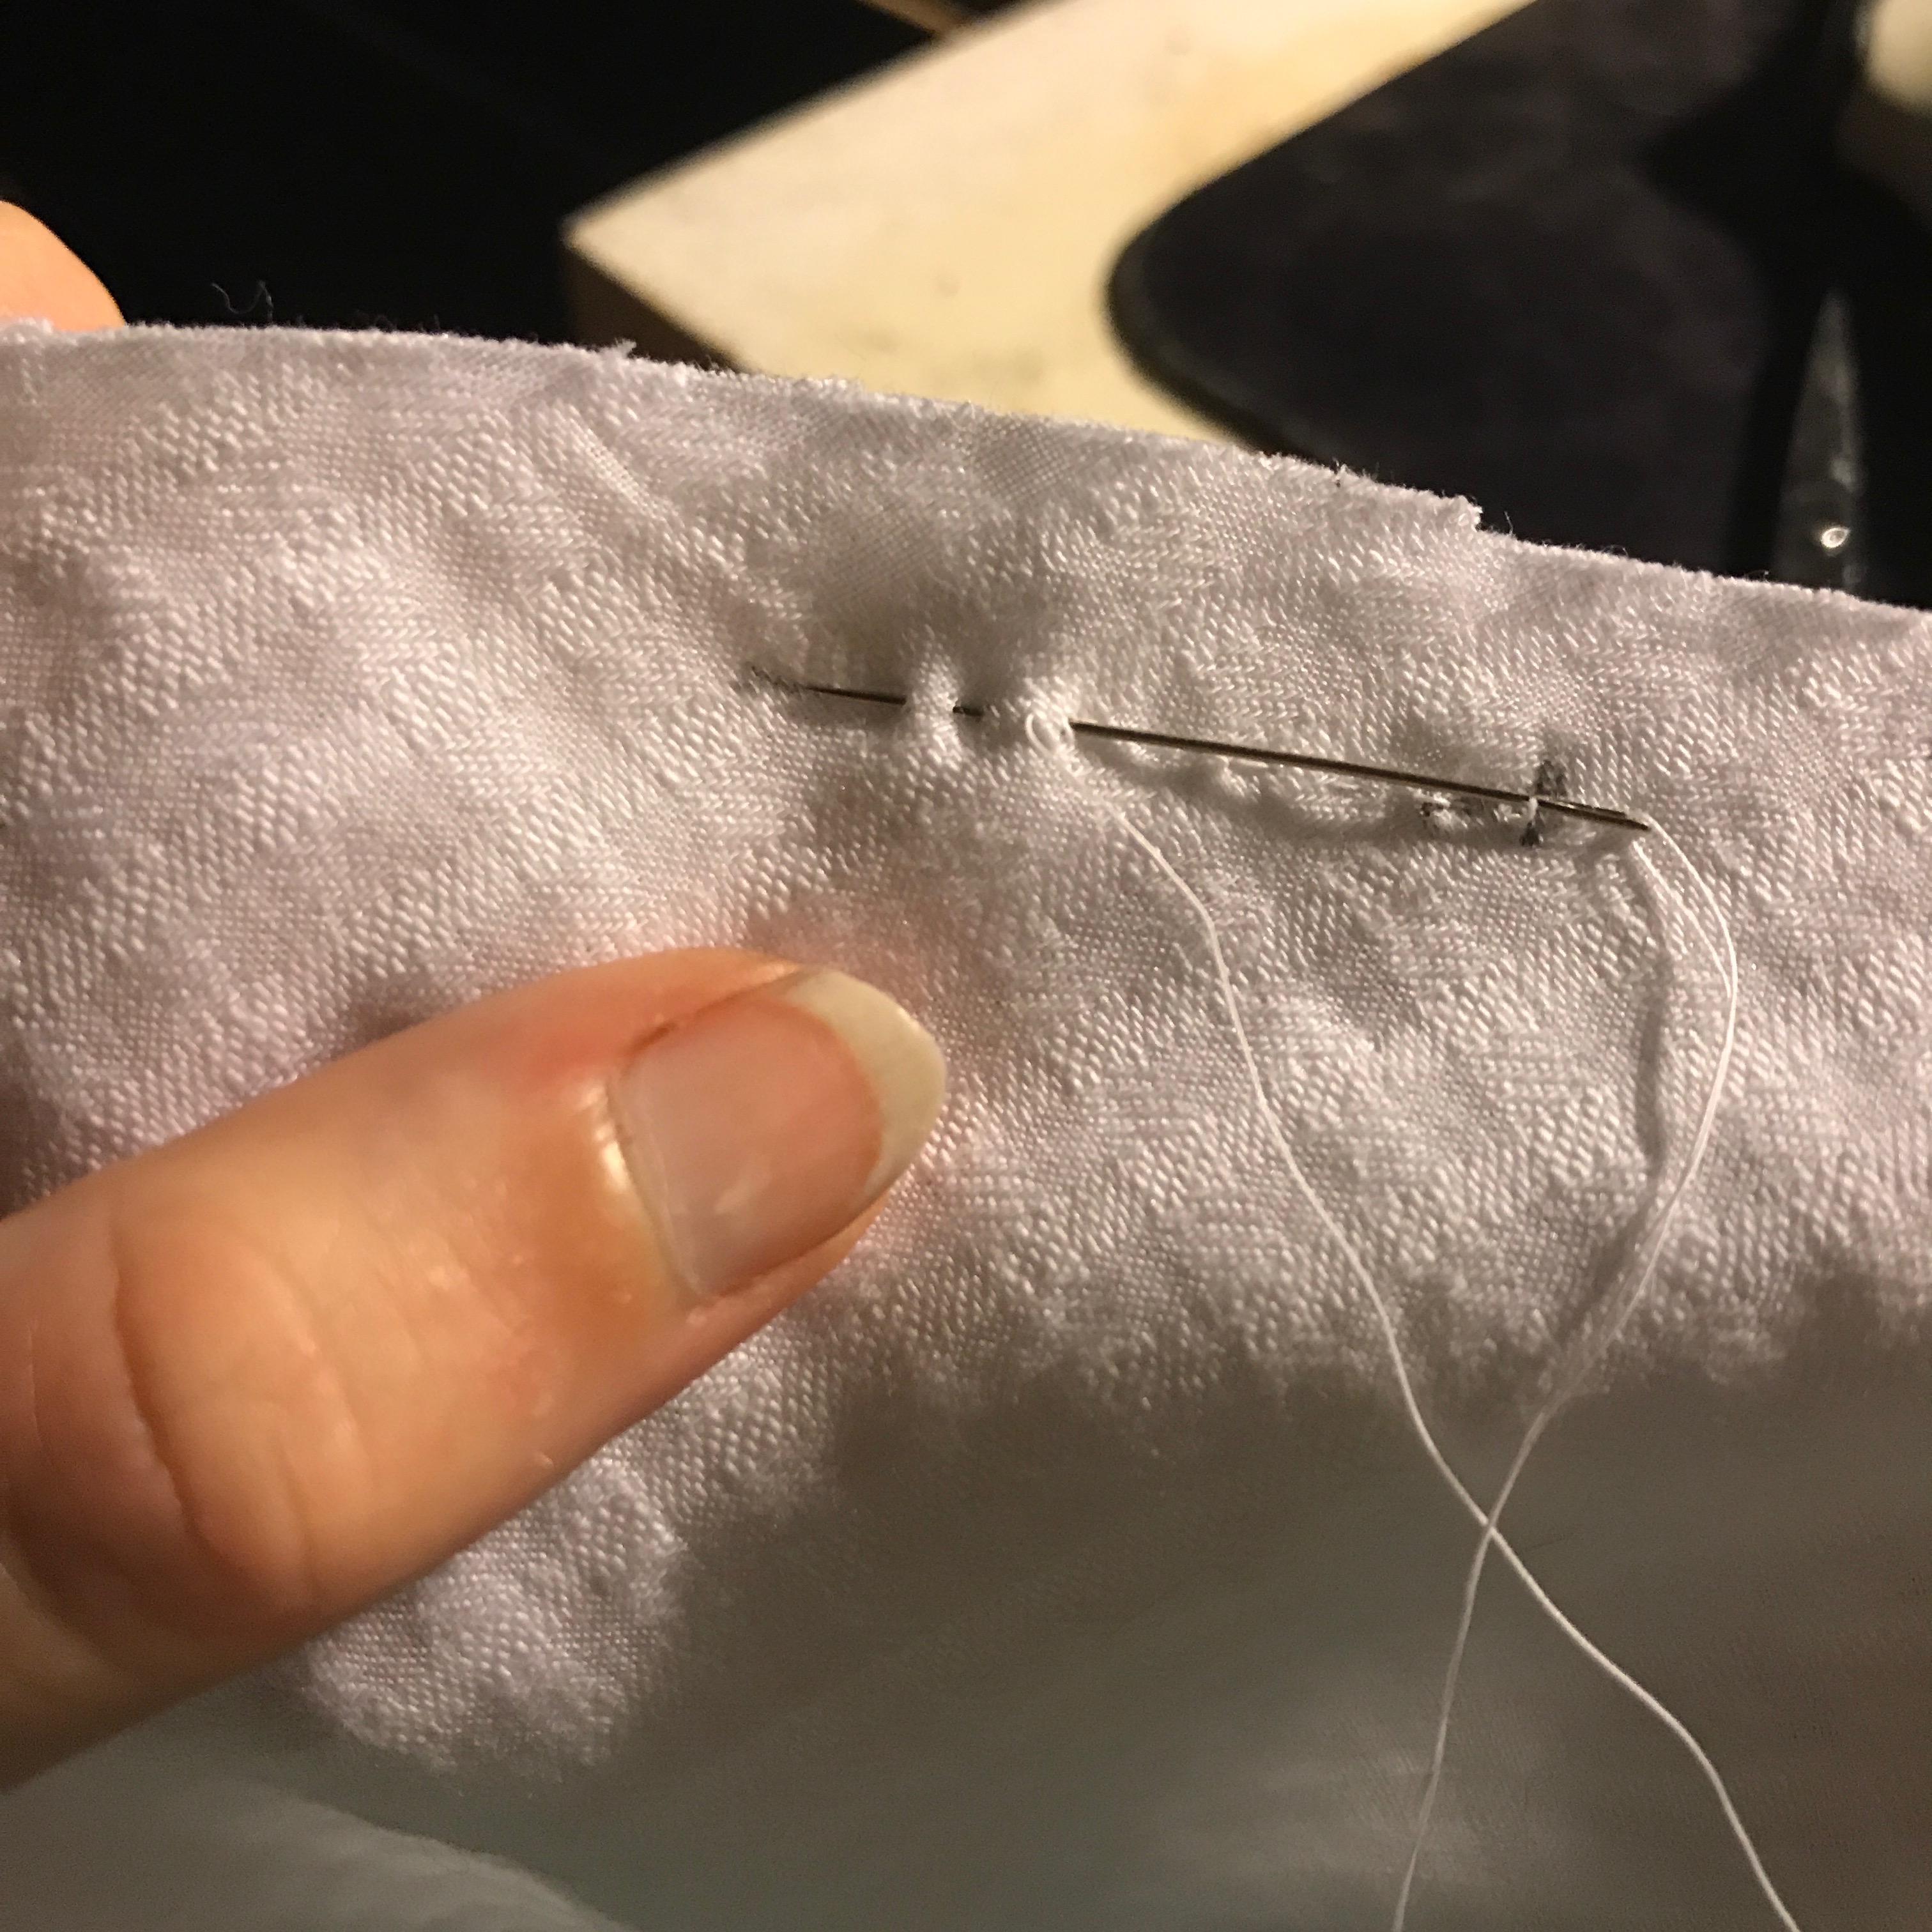
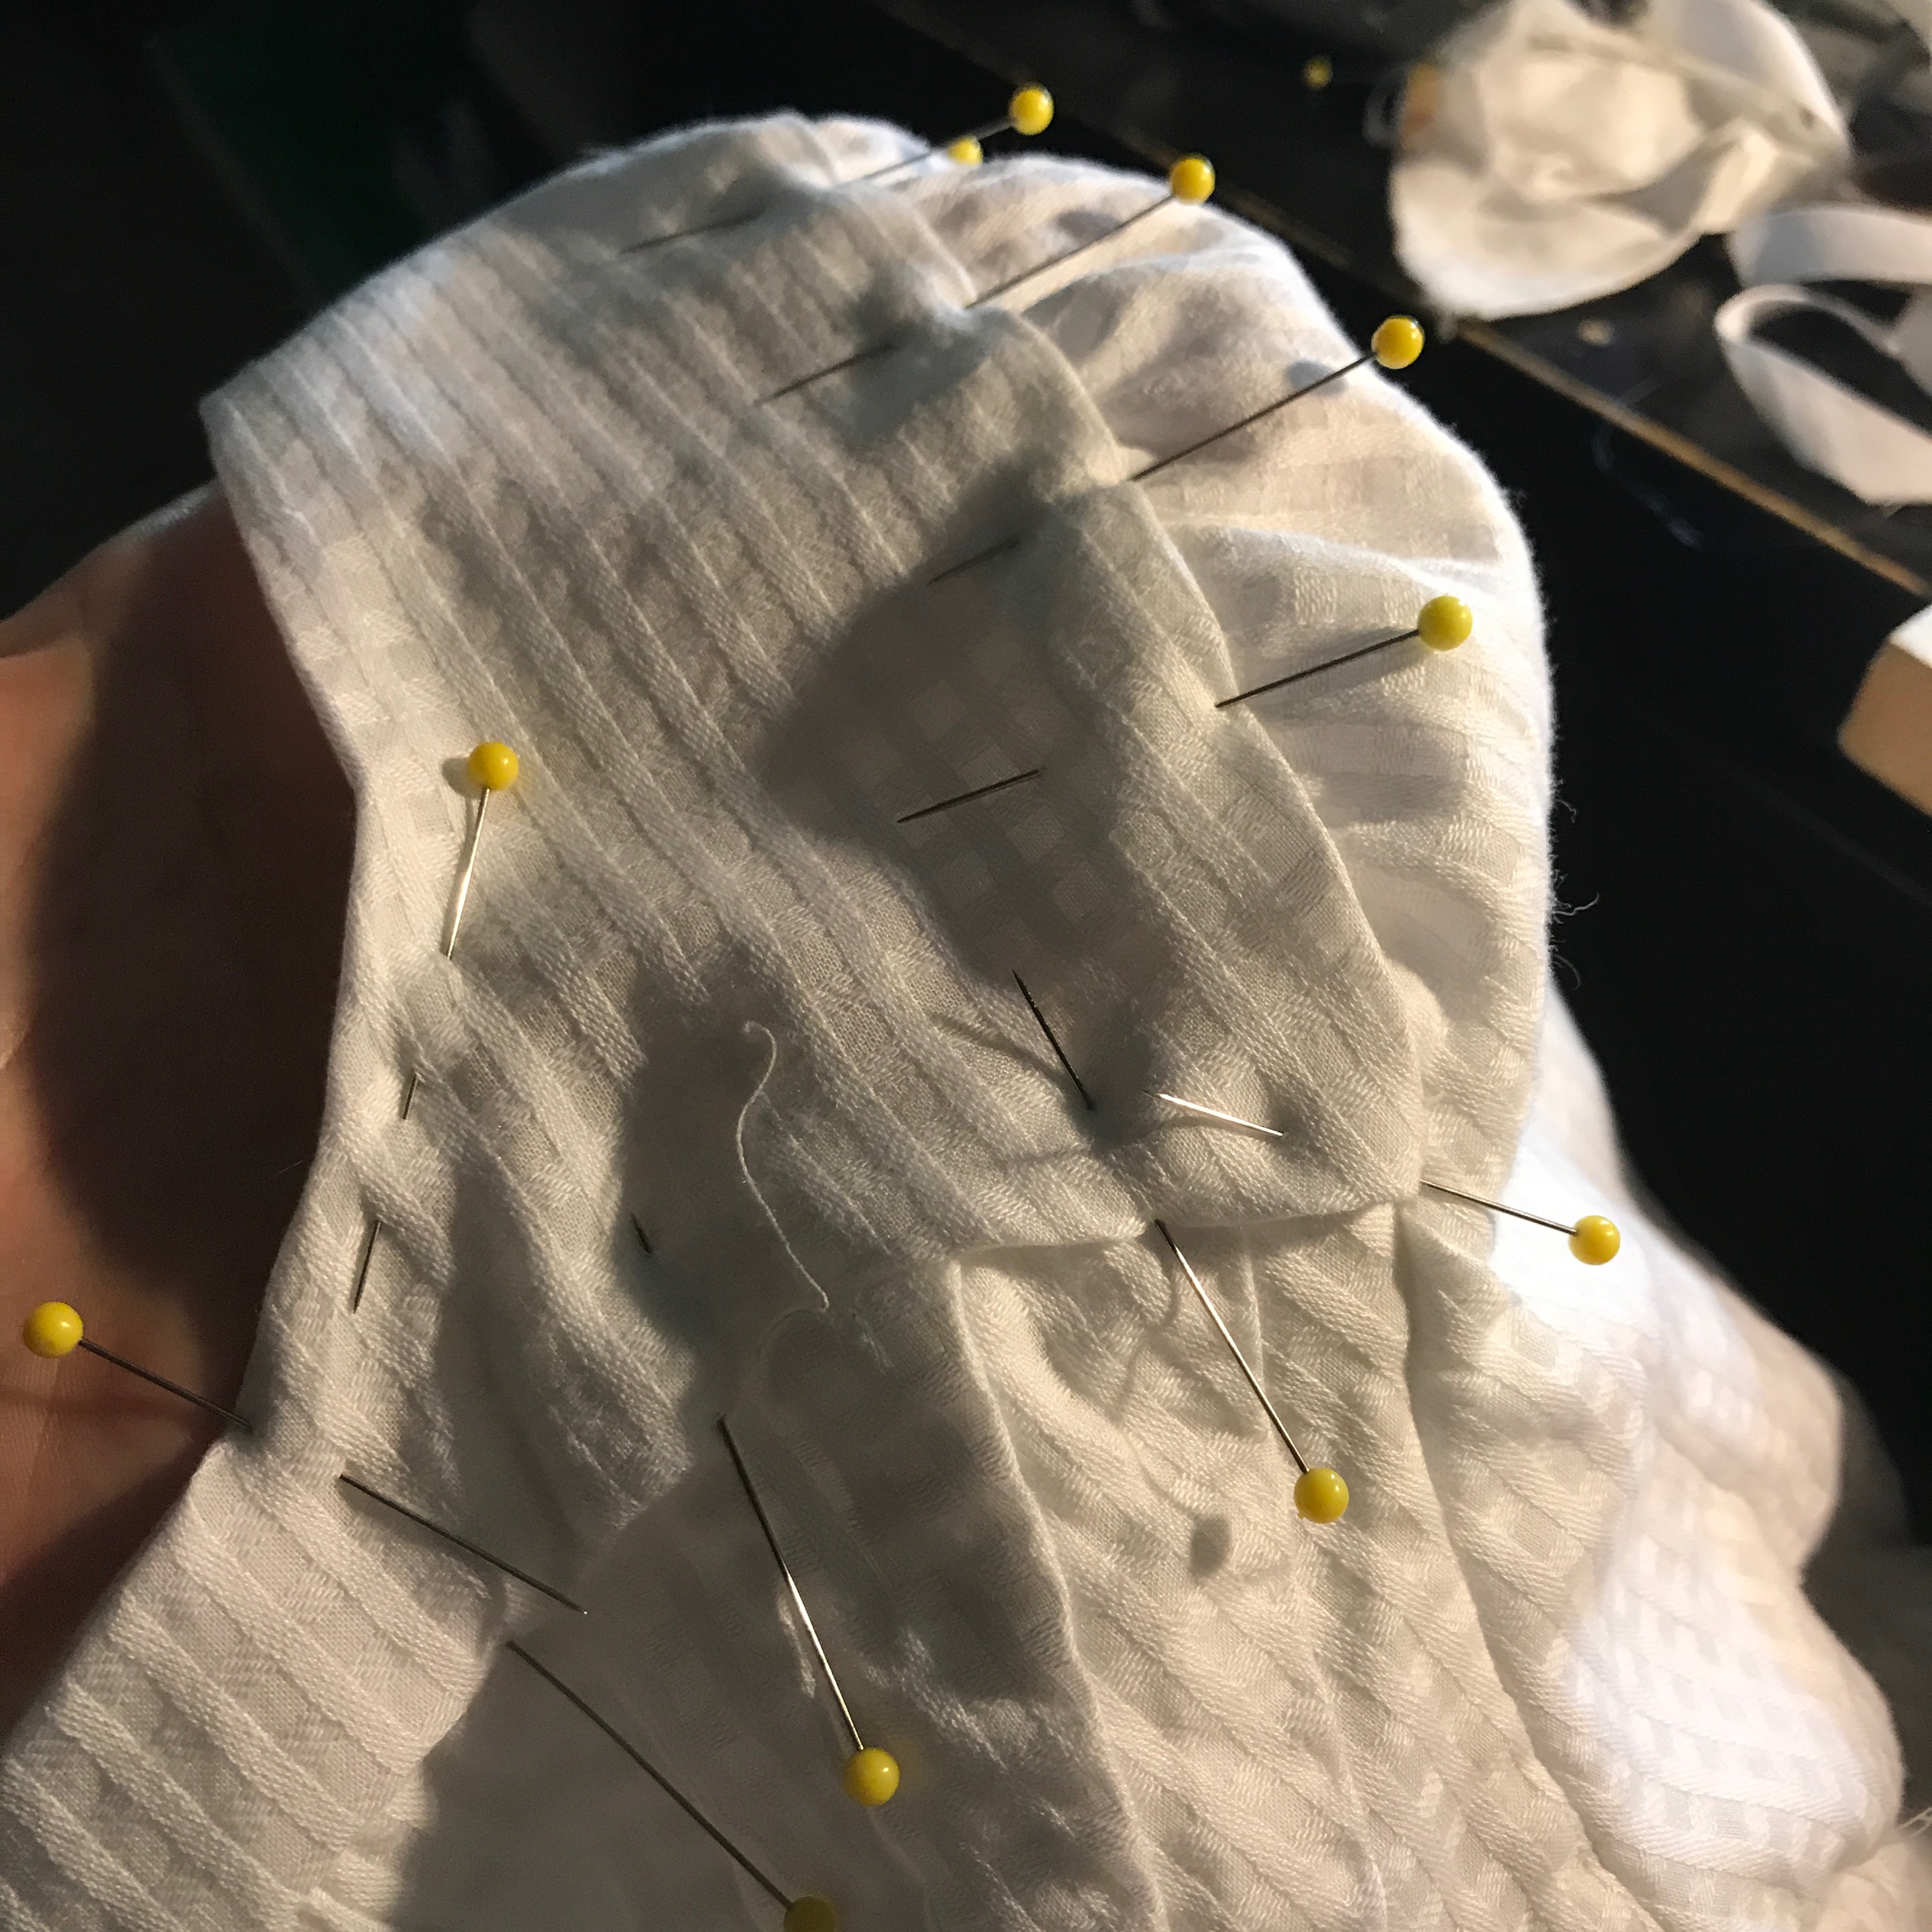
A lot of the work on the skirt was done during the Independence Day event at Locust Grove. The skirt is made in three panels: two back/side panels, and one front panel that includes the gathered portion of the bodice. On the 4th of July, I finished the side edges of the back skirt panels, hemmed them, and put the gathering stitches in half of the top.

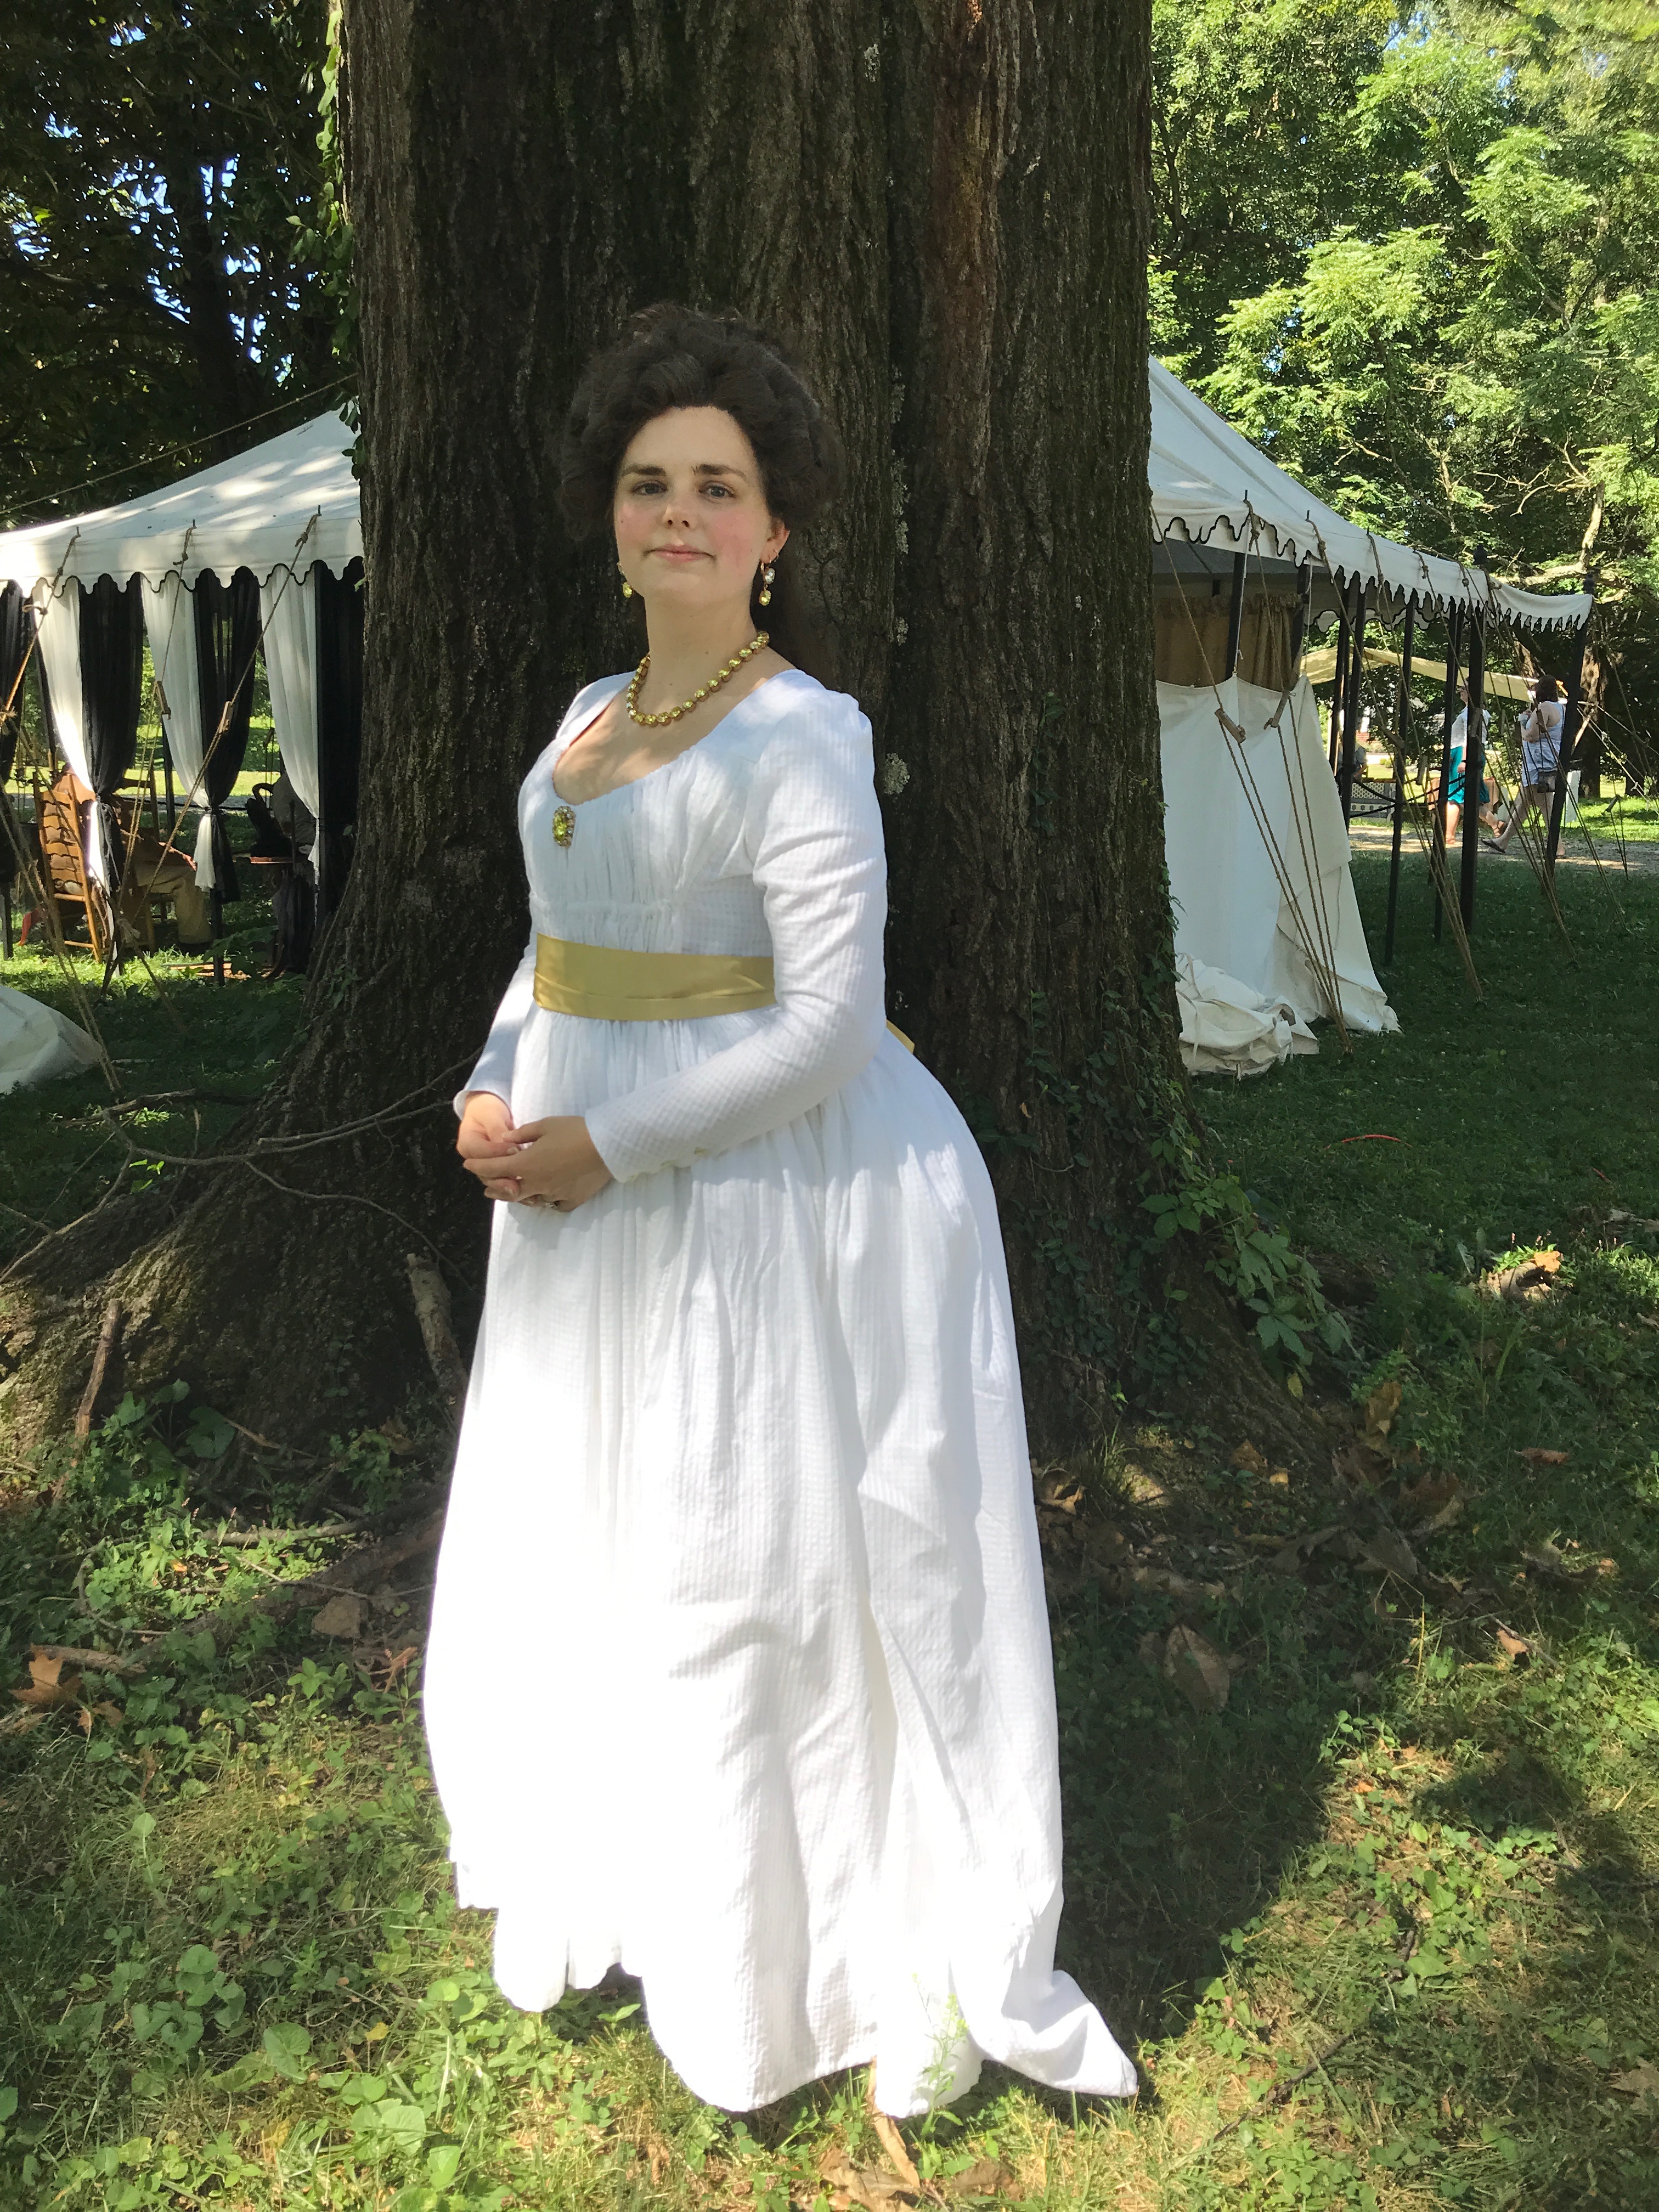
This is my Lydia Fast bonnet, and of course I’m wearing a Custom Wig Company wig! The jewelry is from Dames à la Mode.

I pulled up the gathers and stroked them to get them to line up nicely, then put the finished bottom edge of the bodice over the seamline. Then I stitched the skirt to the bodice, being careful to put a stitch through each gather. The two back skirt panels go from the front/side front seam on one side to the same seam on the other side.


Next, it was time to deal with the large panel that forms the front of the skirt and bodice. This is just a large rectangle with a slight dip in the top to make the shape of the neckline.
The sides are both selvedges, so they just got turned and stitched down. There is a slit cut in the center from neck to about hip level. This slit is what allows me to get in and out of the dress. It is finished with a narrow hem. The bottom of the slit is re-enforced with buttonhole stitches and a bar tack to prevent it from tearing.


The top edge of the front piece is hemmed to make a drawstring casing, with a piece of narrow cotton tape from Burnley & Trowbridge tacked to the shoulder strap seam for the drawstring. The bottom of the piece also got a hem, though apparently not a picture.


The front piece is then whip stitched to the skirt back, and blind stitched along the front/side front bodice seam so that it will cover the plain linen, fitted portion of the bodice.


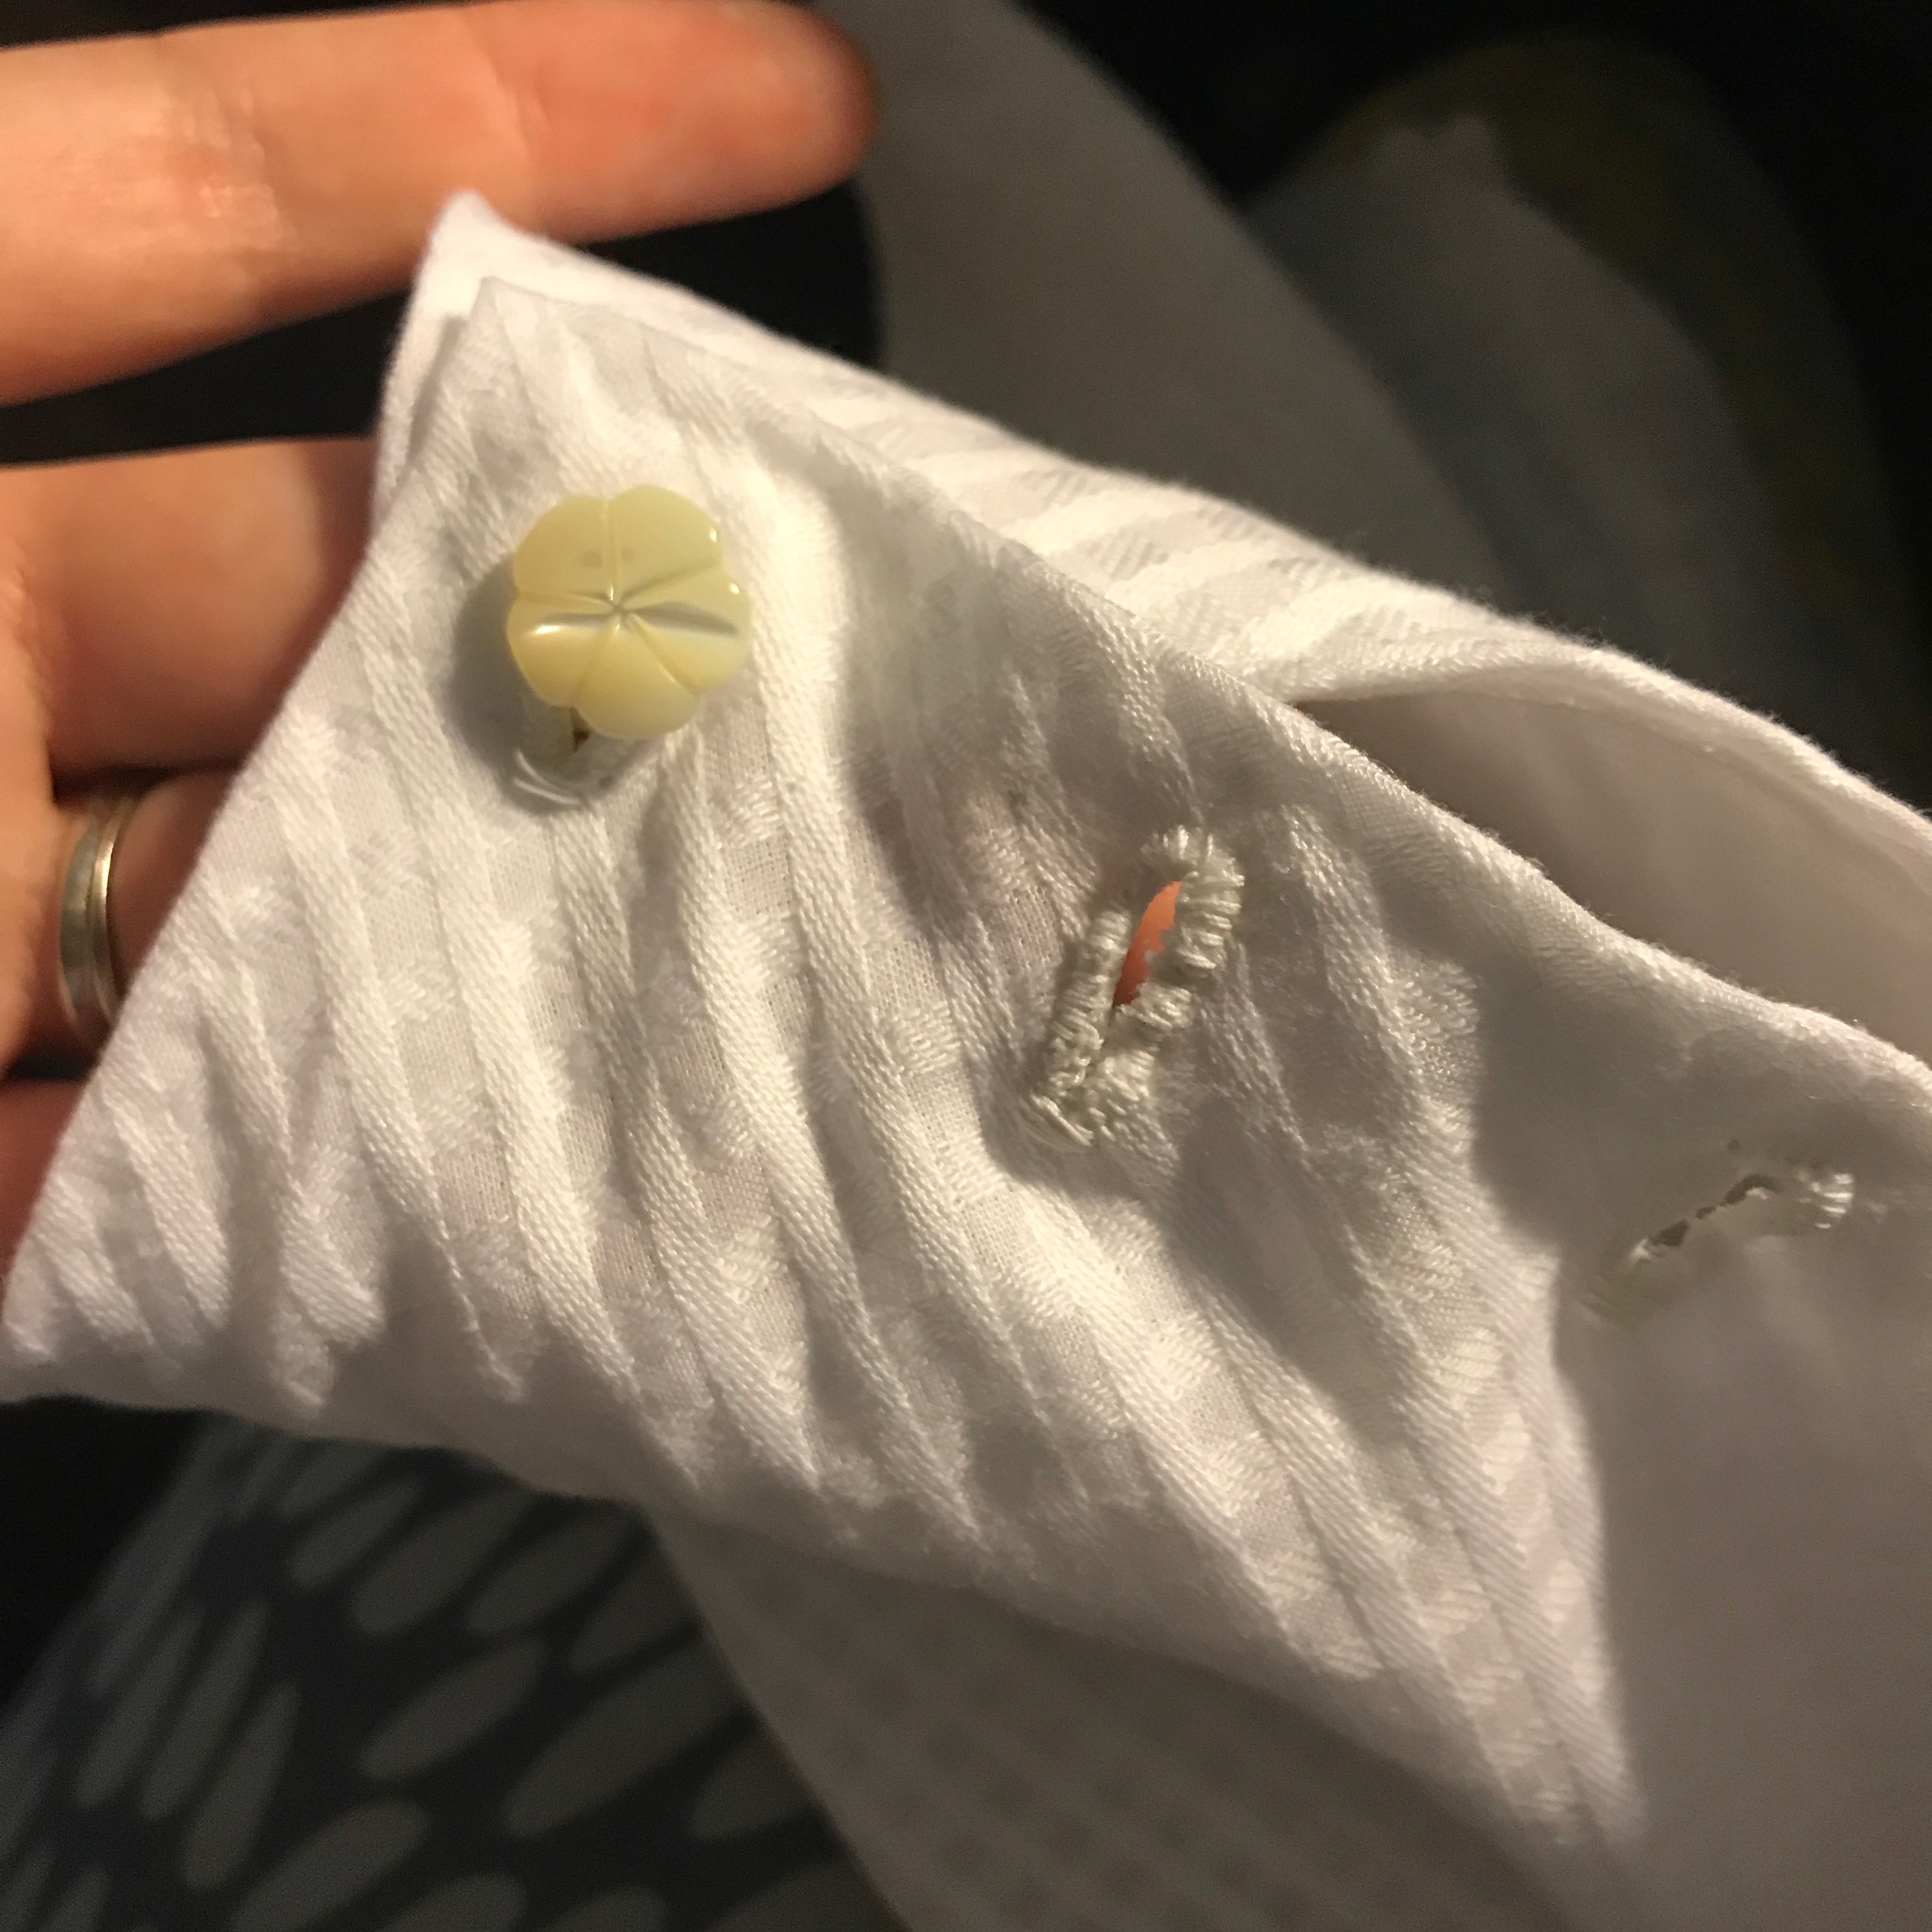
The back sleeve seams are open at the wrist to leave room for the hand to get through. These adorable flower-shaped mother-of-pearl buttons were left over from another project.

I was attaching the sleeves on Friday night at the Jane Austen Festival! Down to the wire for a dress I planned to wear on Saturday!


The final step when I got home Friday night was to stitch the fabric shoulder straps over the top–blind stitched along the seams, and prick stitched at the neckline edge.


I’m head over heels with this dress; I really am. It really reminded me why I love hand sewing, and why I try to do it on any garment from before sewing machines were widely available. I just enjoy hand construction so much more than machine. Machine sewing is all about the end goal for me, but when hand sewing I love the process as well. Loving the outcome is just the cherry on the cake! The jewelry in these photos is from Dames à la Mode, the wig from Custom Wig Company, and the makeup from LBCC Historical.


Here are some comparisons of the original dress from the Musée de la Toile de Jouy and mine. I didn’t have enough fabric (or enough time!) to do the skirt ruffle, and Wm. Booth is sold out of this fabric now! But, I wasn’t sure that I wanted to do it anyway, so that’s okay.


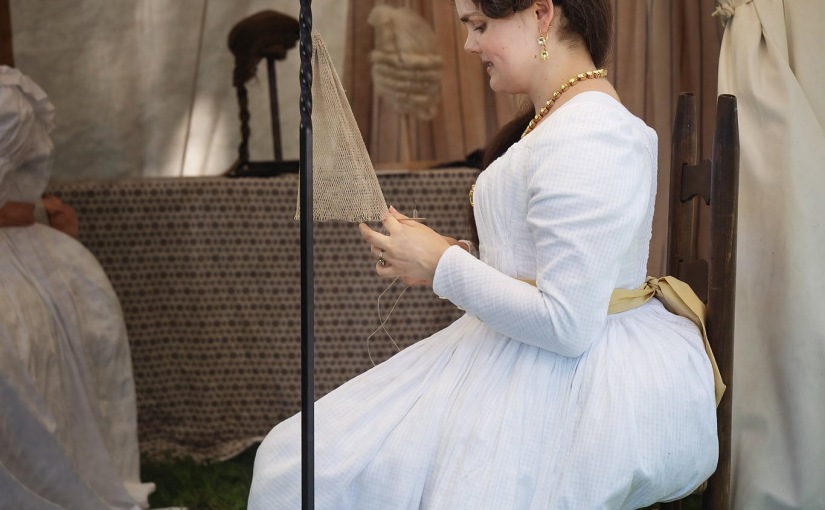
And here are a couple of photos by Fox & Rose Photography, which show me at work netting the cap for an 18th century men’s wig.


Gorgeous! thank you for sharing.
LikeLike
Oh I couldn’t have enjoyed that article more! Thanks so much for all the detail and process, seeing how you made it makes me feel I might be able to make a chemise a la reine one day.
Kind regards
Katy
LikeLike
Amazing! Even if it is a “simple” dress it looks abcolutely gorgeous.
LikeLike
so regret that I always had something to do every time I walked past you at Locust Grove; would have LOVED to stop and chat about this and check it out. Great photos!
LikeLike