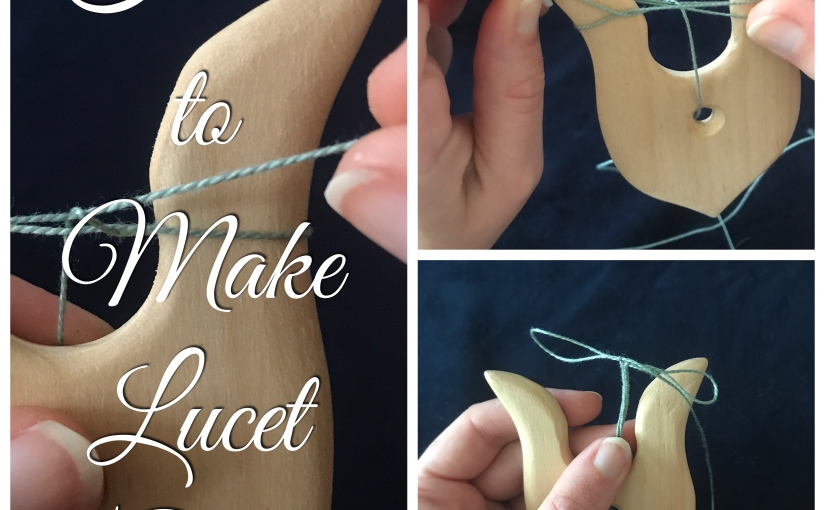
If you’re just getting into historical crafts, and you need a little something to do with your hands while at an event that is cheap, portable, and easy to pick up, lucet cord may be a great option for you!
There is some controversy about when exactly throughout the course of history lucets were used: if you are interpreting in the medieval period, or in the 19th century, you’re probably pretty safe–between those two periods you may want to do a bit of your own research or check with the site or group that you are interpreting with before you demonstrate it at an event.
That said, lucet cord is simple to make, and makes a nice, strong cord that can be used for drawstrings, lacing, trimming, and any other use you can find for a nice bit of string.
What You Need
Here’s the great thing about luceting: you only need two things!
A lucet. This is the shaped wood that you will use to hold your loops of thread as you work. You can buy a basic one for $5-$10, or spend a bit more if you want one with some pretty fretwork or other ornamentation. Just search the word ‘lucet’ and you’ll come up with plenty of options, and you can also usually see them around at events from vendors that sell basic sewing supplies.
Thread or yarn. Exactly what you want to use will depend on the final use and look you are going for. Basic heavy linen thread will make a nice strong cord. Making a cord from yarn can make a great accent for knitting or crochet projects. In these photos I am using a green size 10 crochet thread because I was looking to match the color of a particular fabric. Experiment away!
The Process
I will go through the process in pictures first–there will be a video of the process lower down!
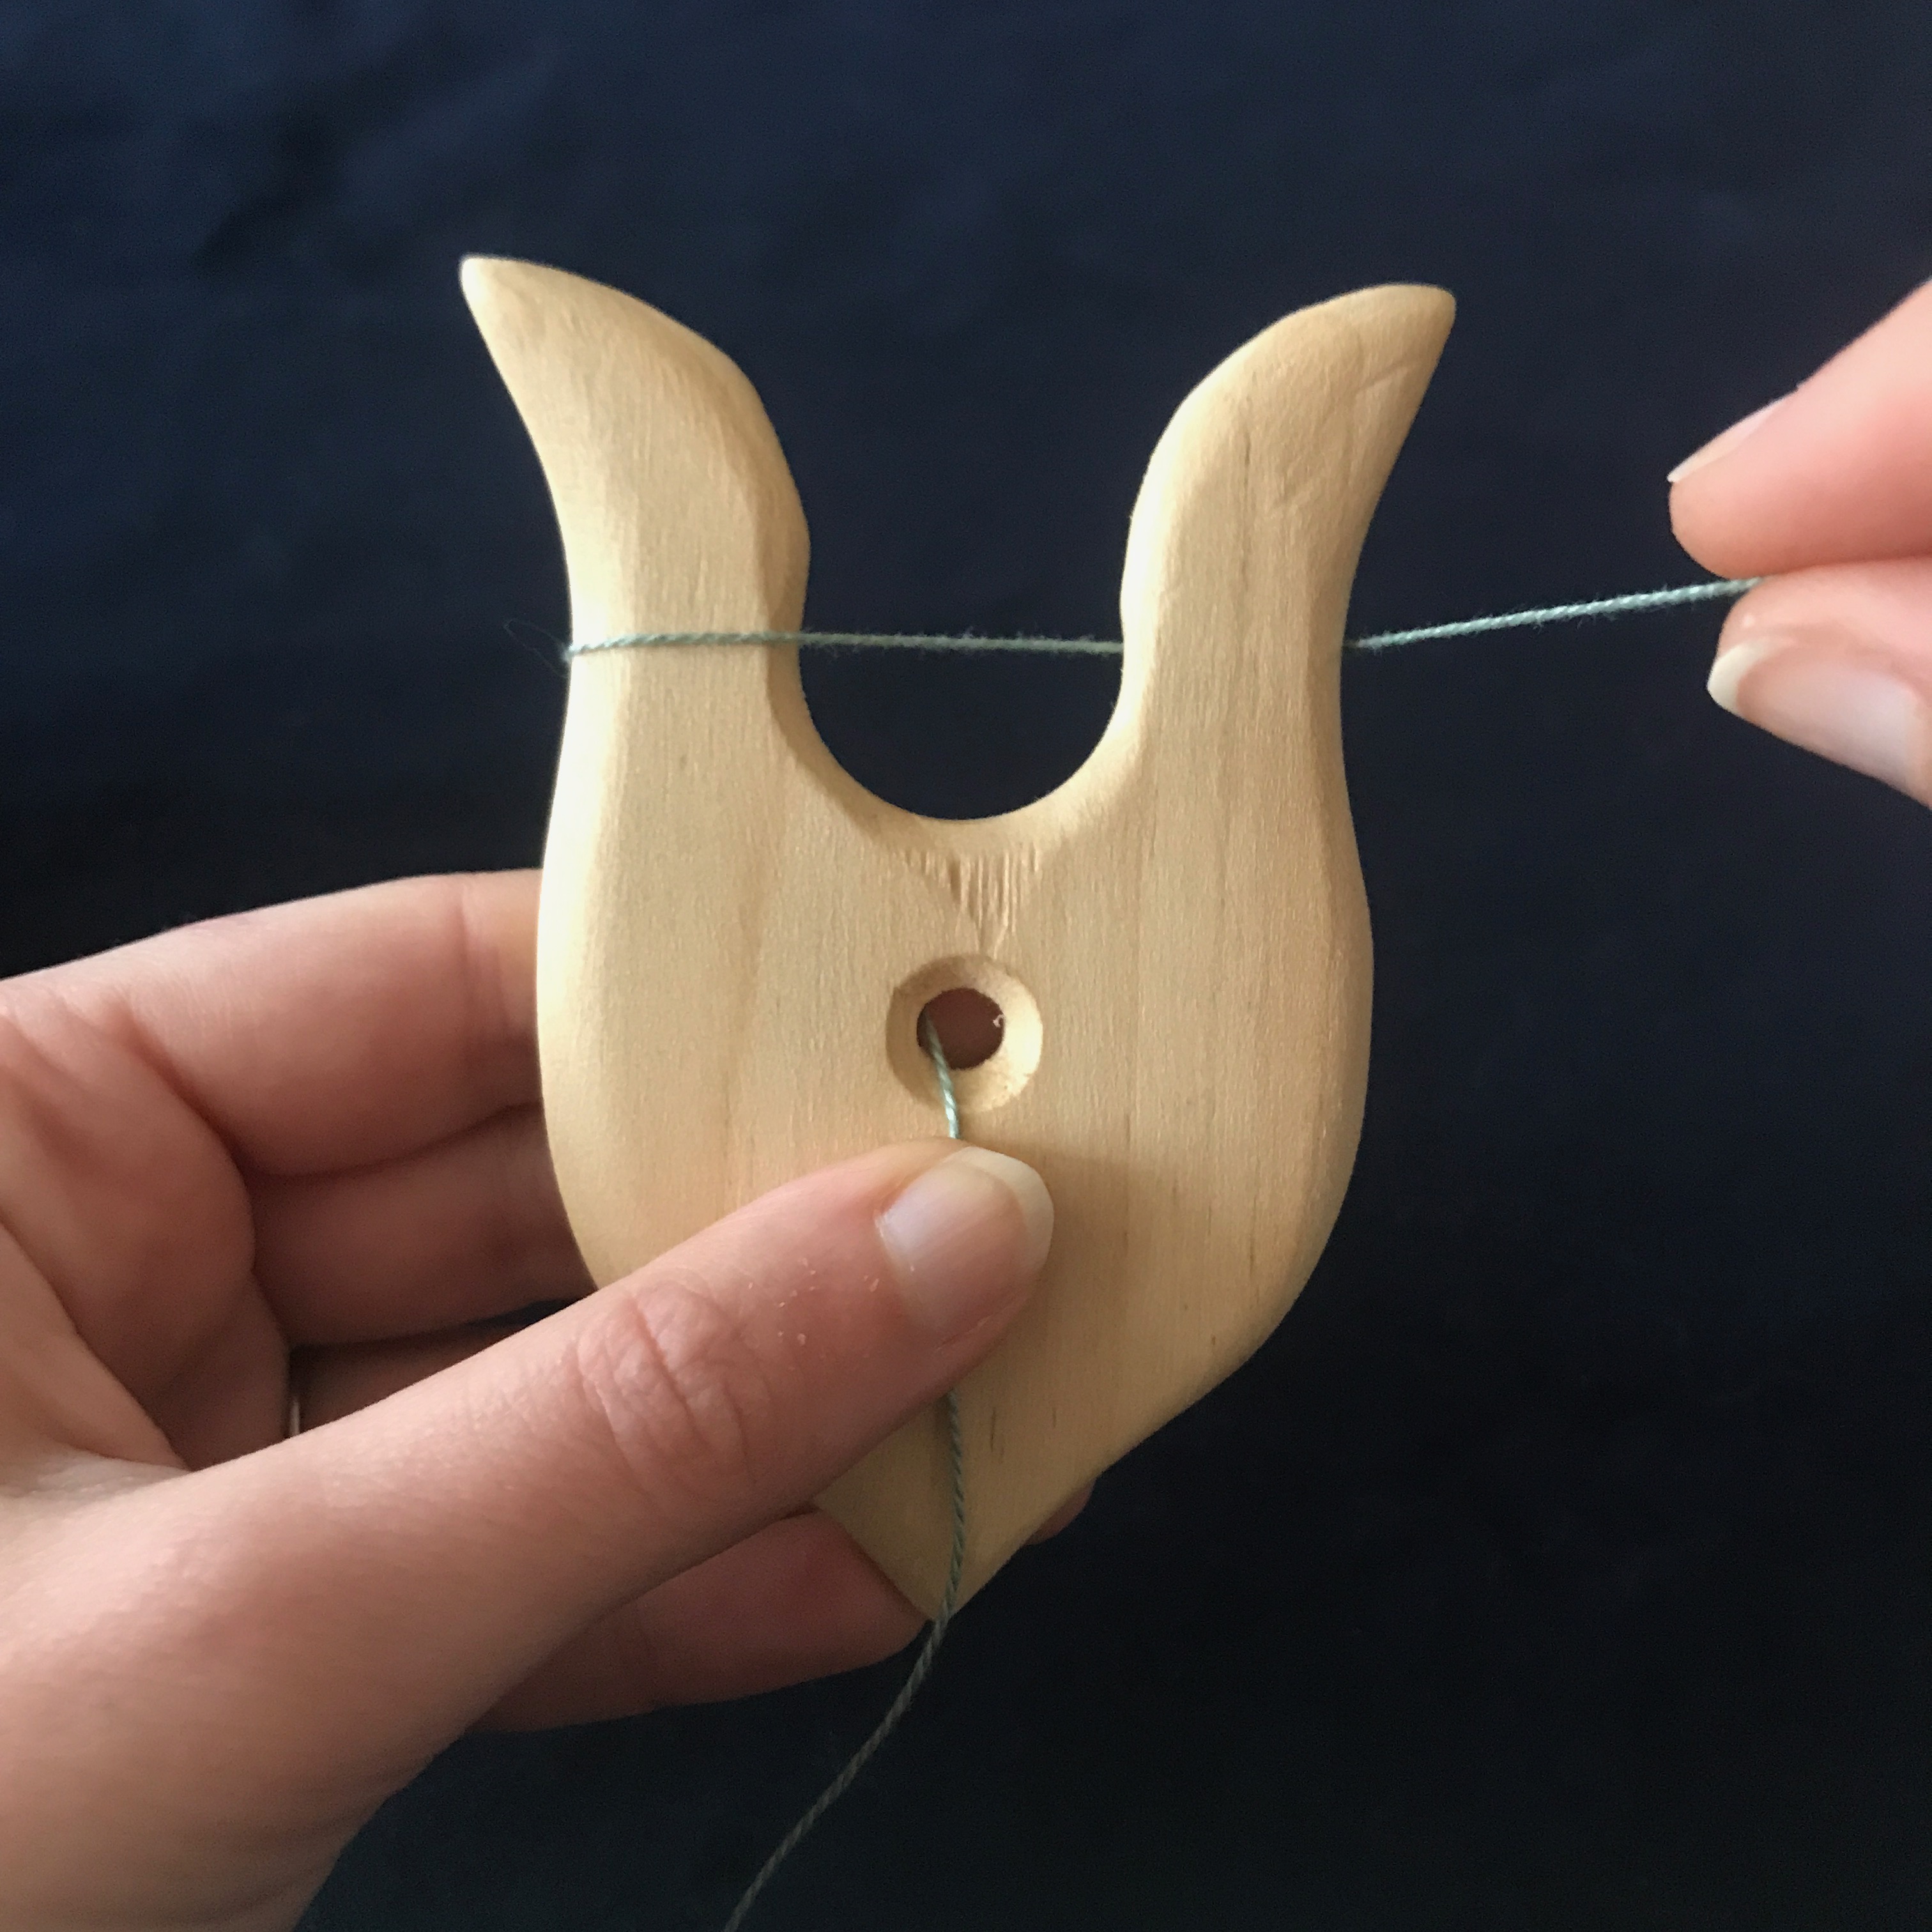
Put your thread through the hole in the middle of the lucet. Contrary to this photo, you should do this from back to front. Whoops, sorry!
Let an 8″ or so tail hang down the front of your lucet, and hold it in place with your thumb.
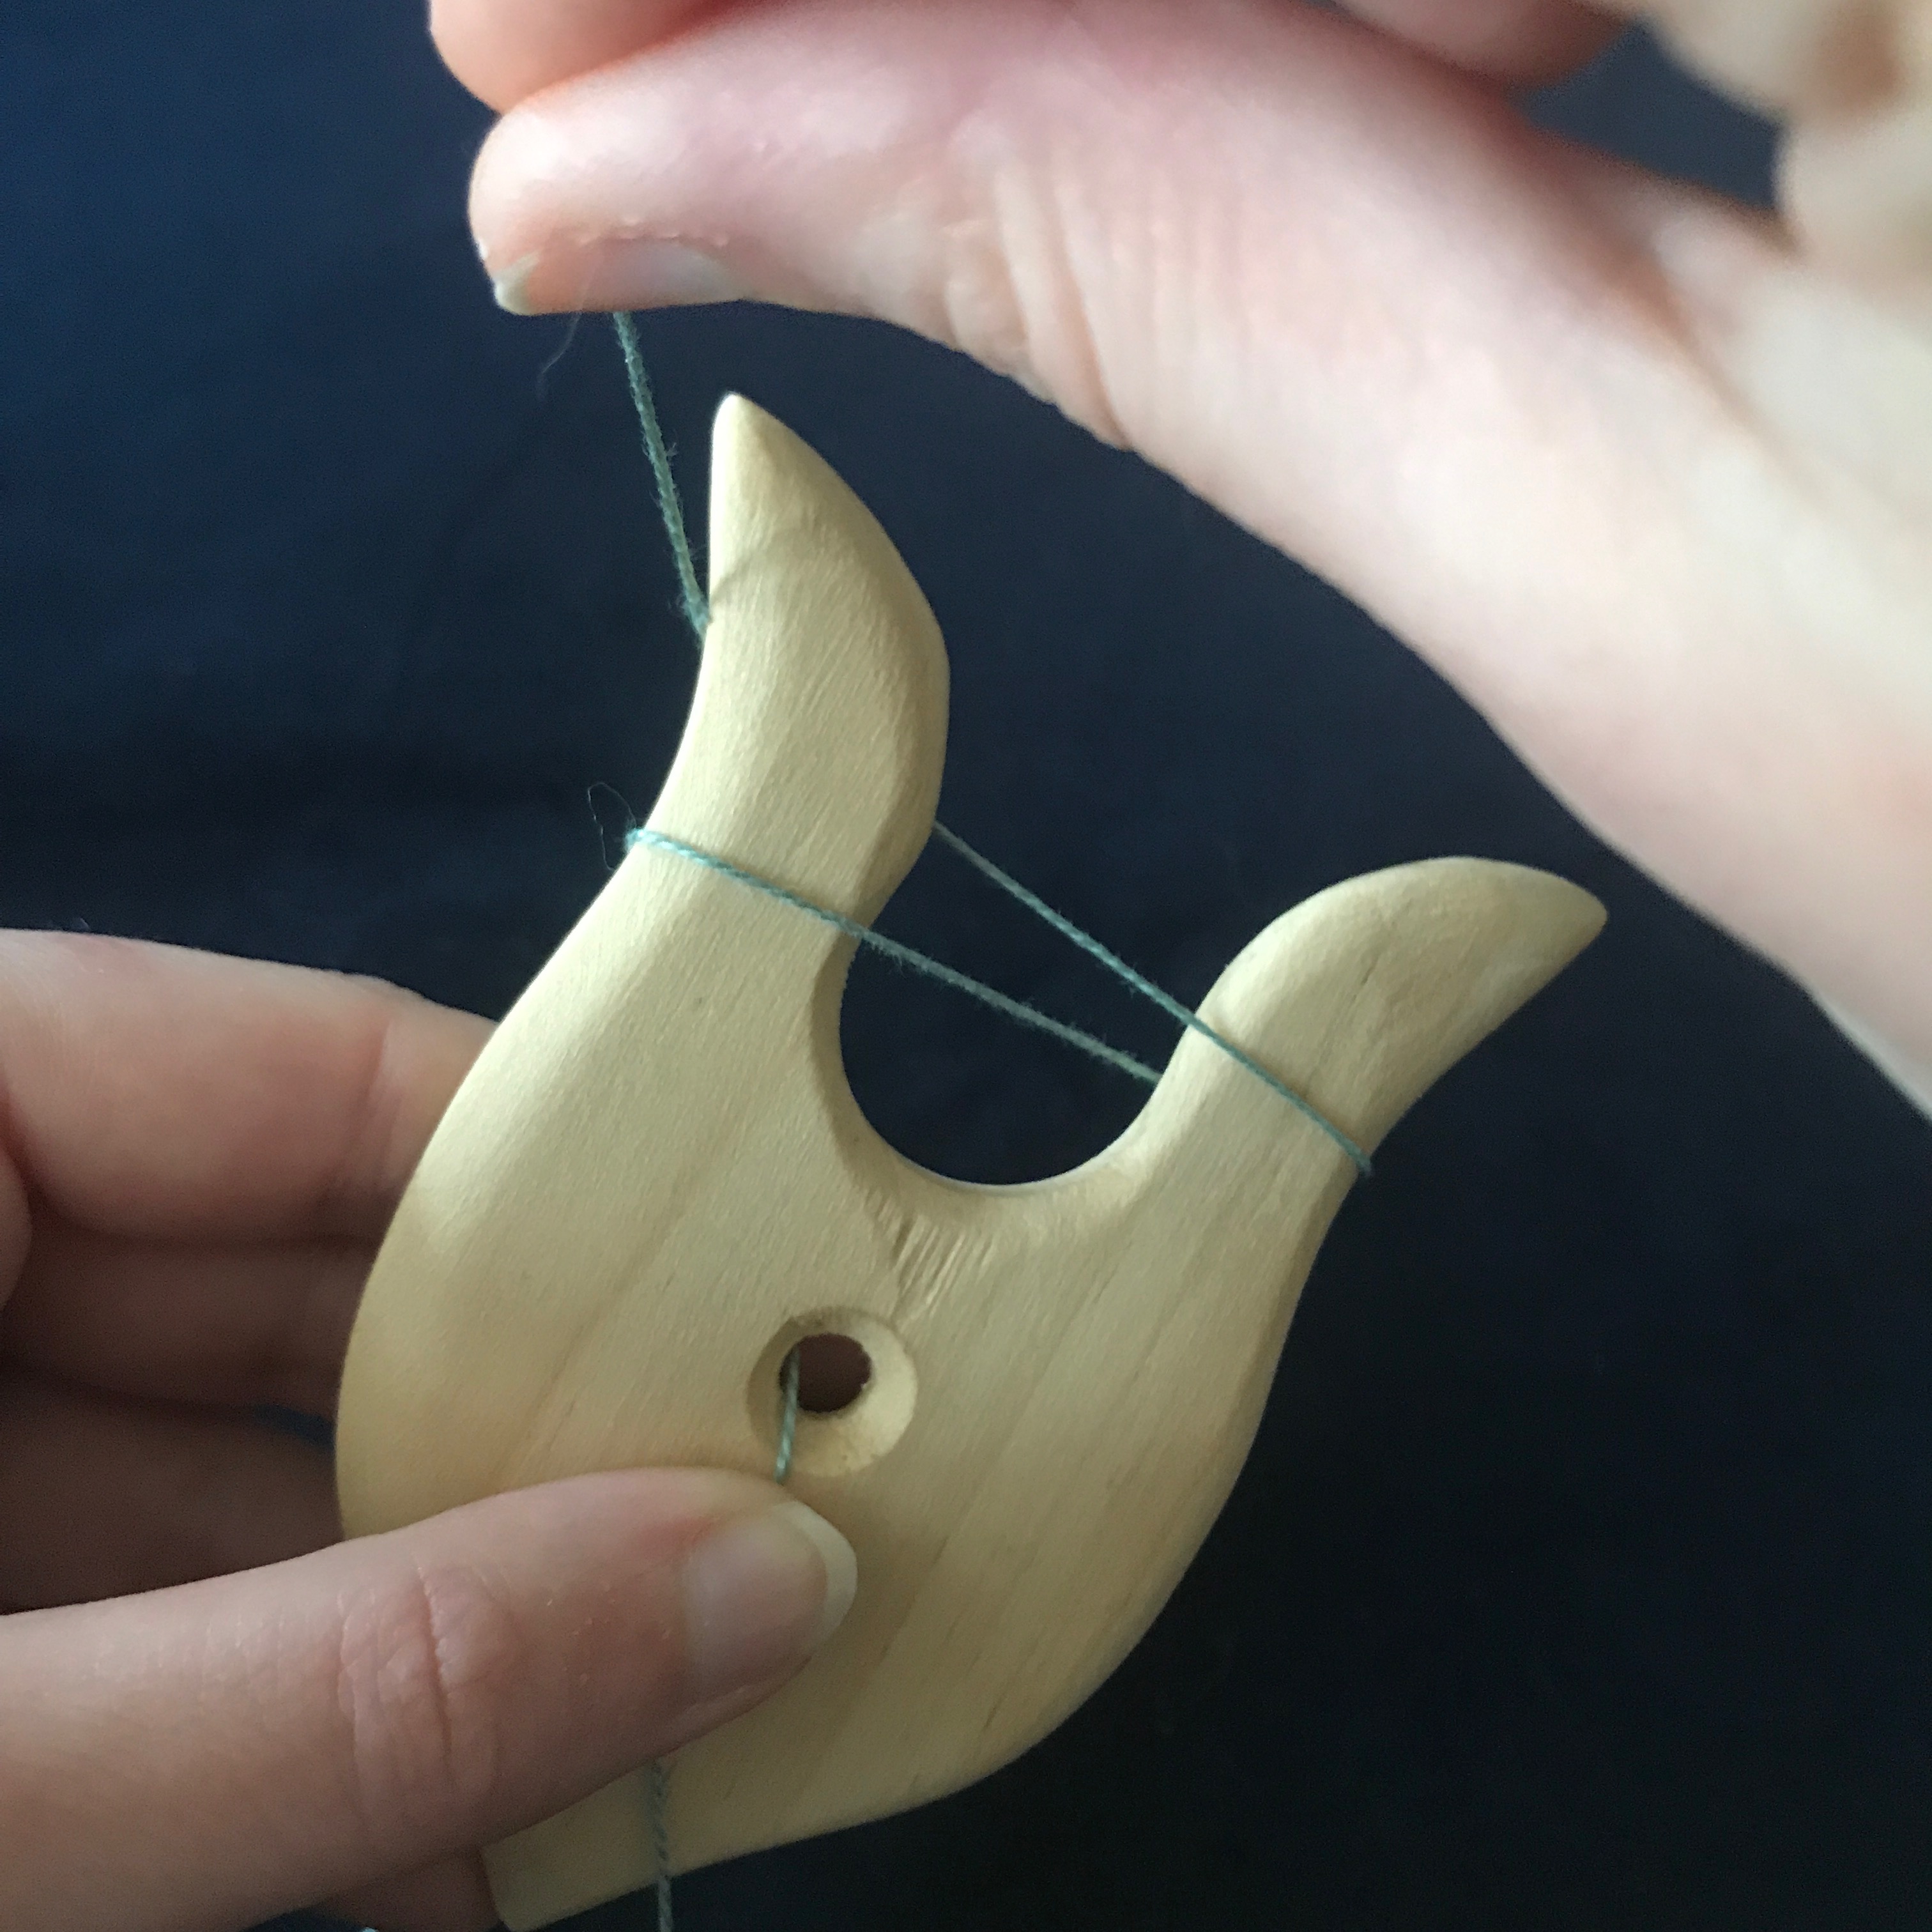
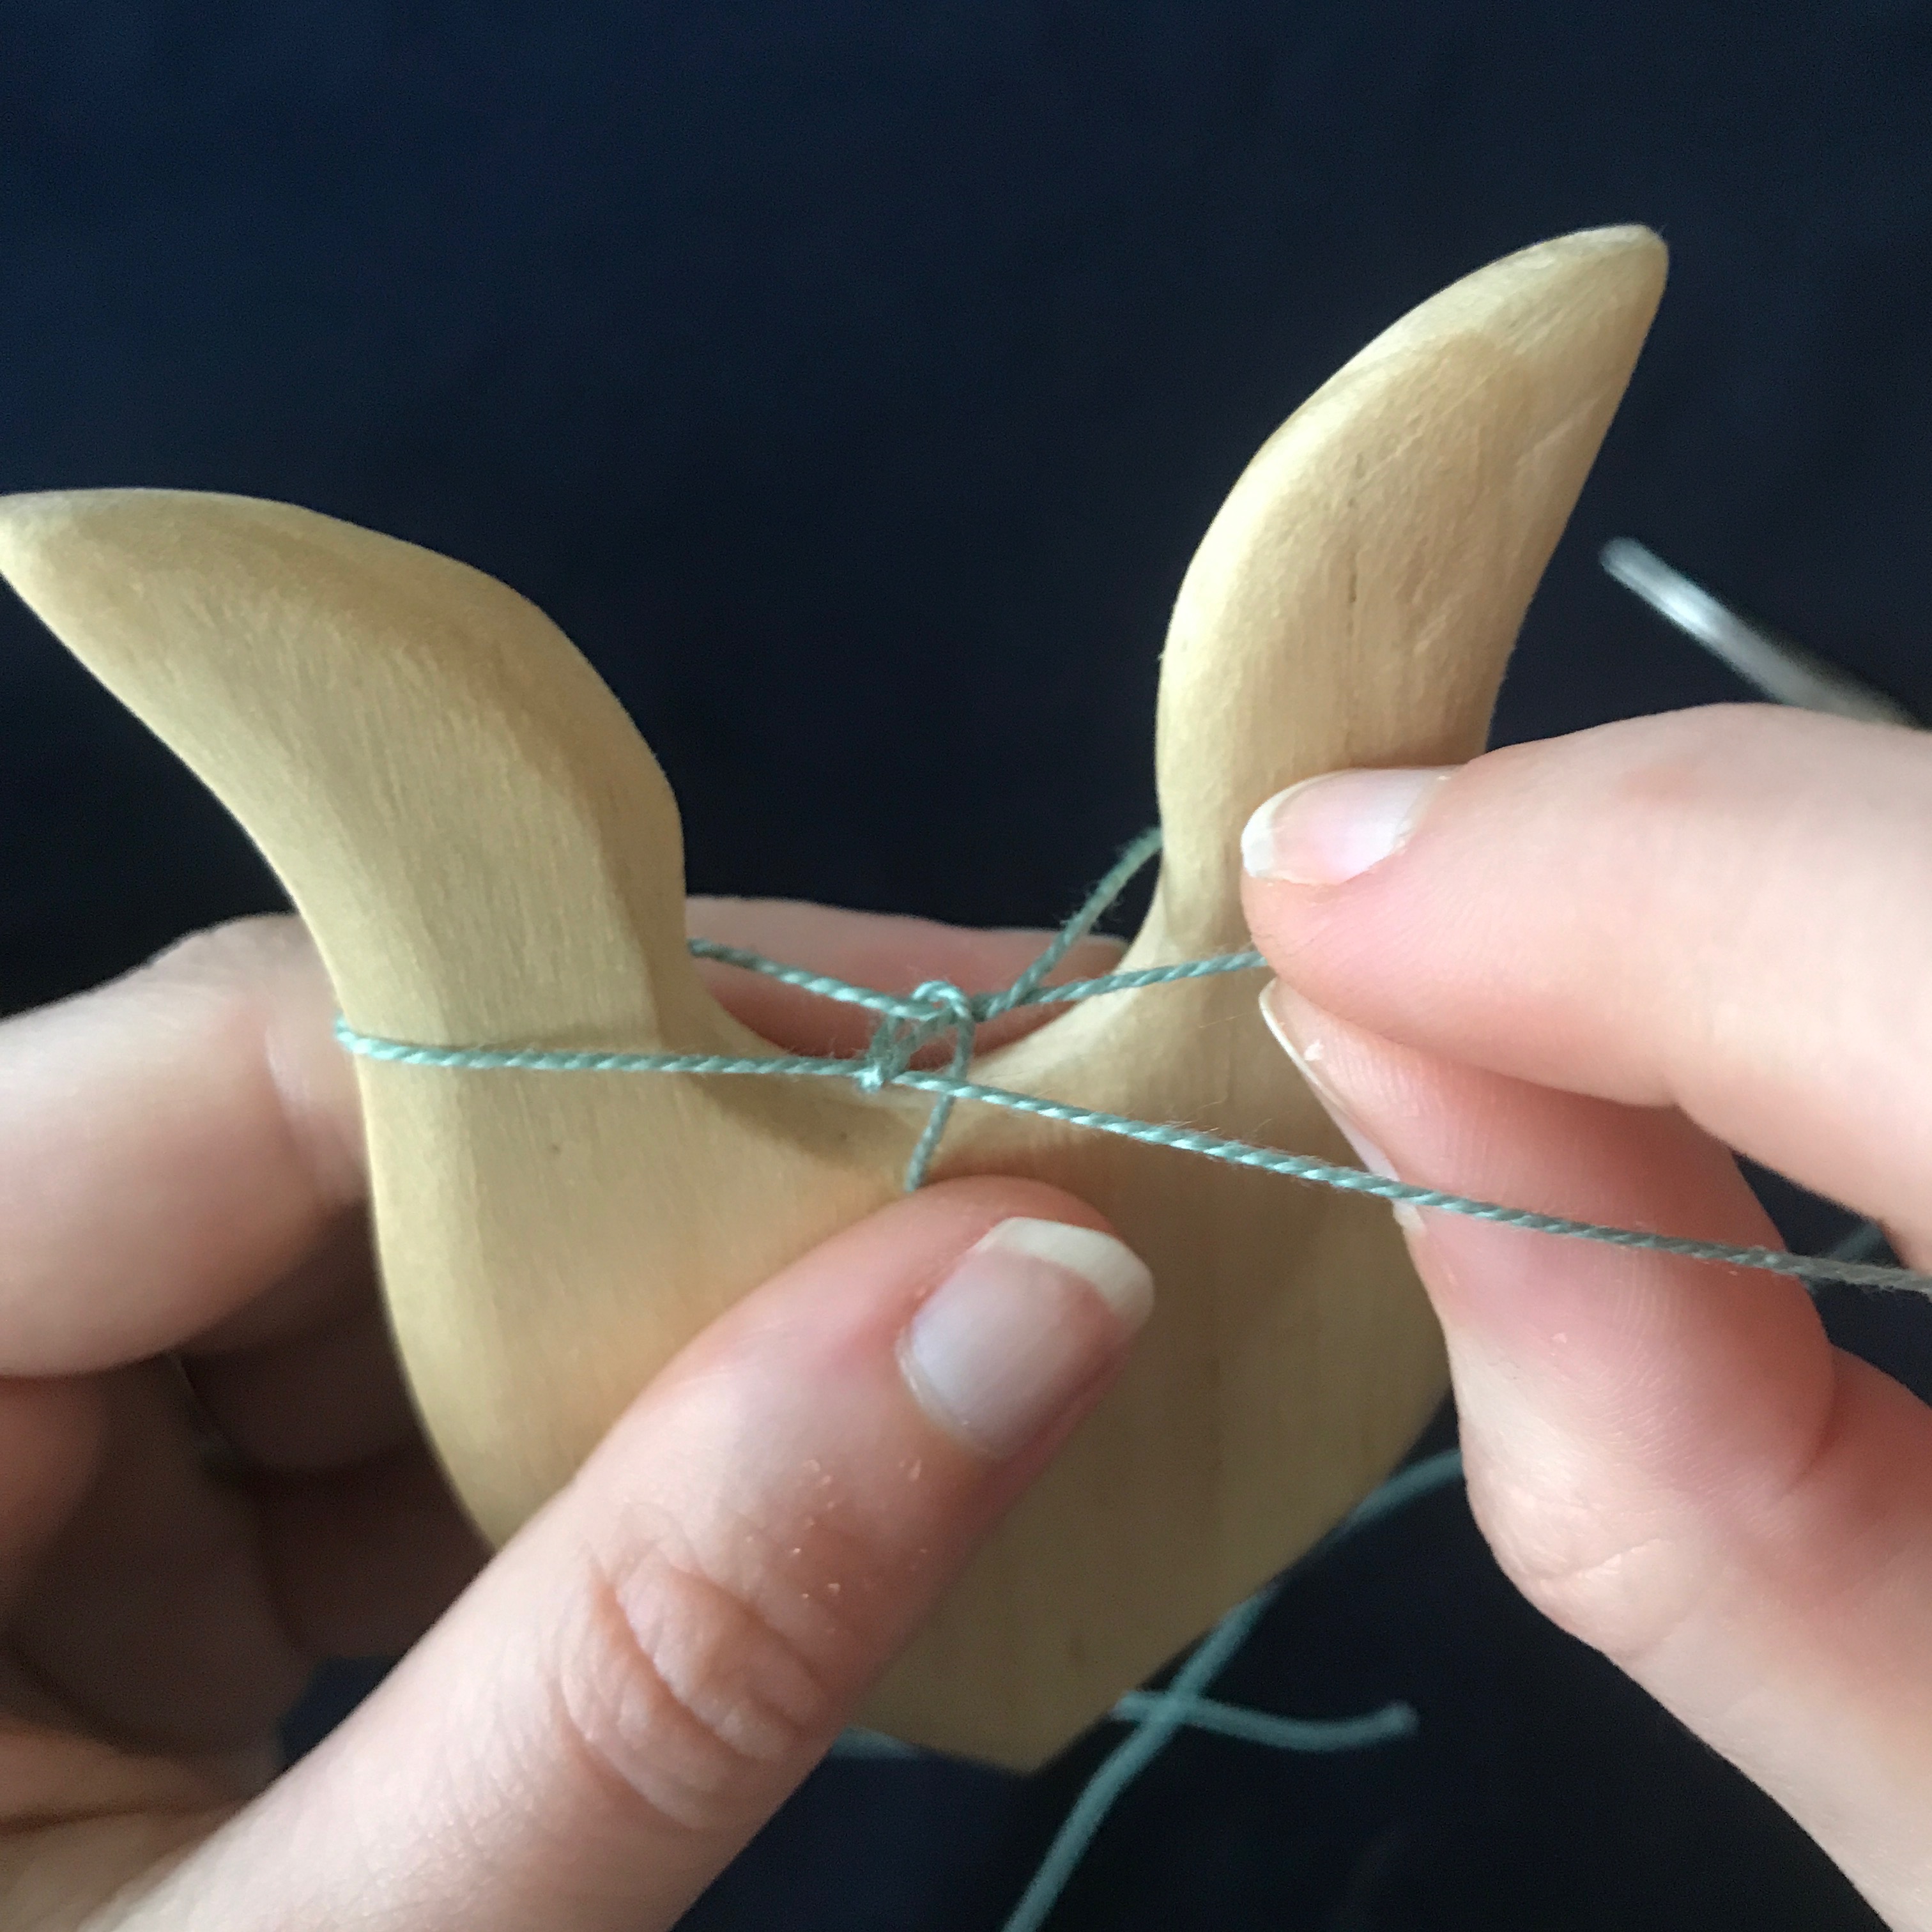
Keeping the thread tail held in place with your thumb, take the working thread (the part that is still attached to the spool) around the left arm from back to front, then around the right arm from back to front.
Wrap the thread again around the second arm from back to front. you should now have the thread around the left arm twice, and the right arm once.
Bring the thread across the front and hold it in place against the front of the right arm.
These next few steps can get a bit frustrating until you have built up a little cord. Because there are no knots yet, there is nothing to hold everything in place, which makes things a bit delicate. Be gentle and try not to get frustrated–it will get easier soon! You will be repeating these steps over and over again to create your cord, but I will go through them a couple of times so that you can see how it works as you begin to build up a bit of cord. It will seem complicated at first, but as the cord begins to build up, the process becomes simple and feels more natural.
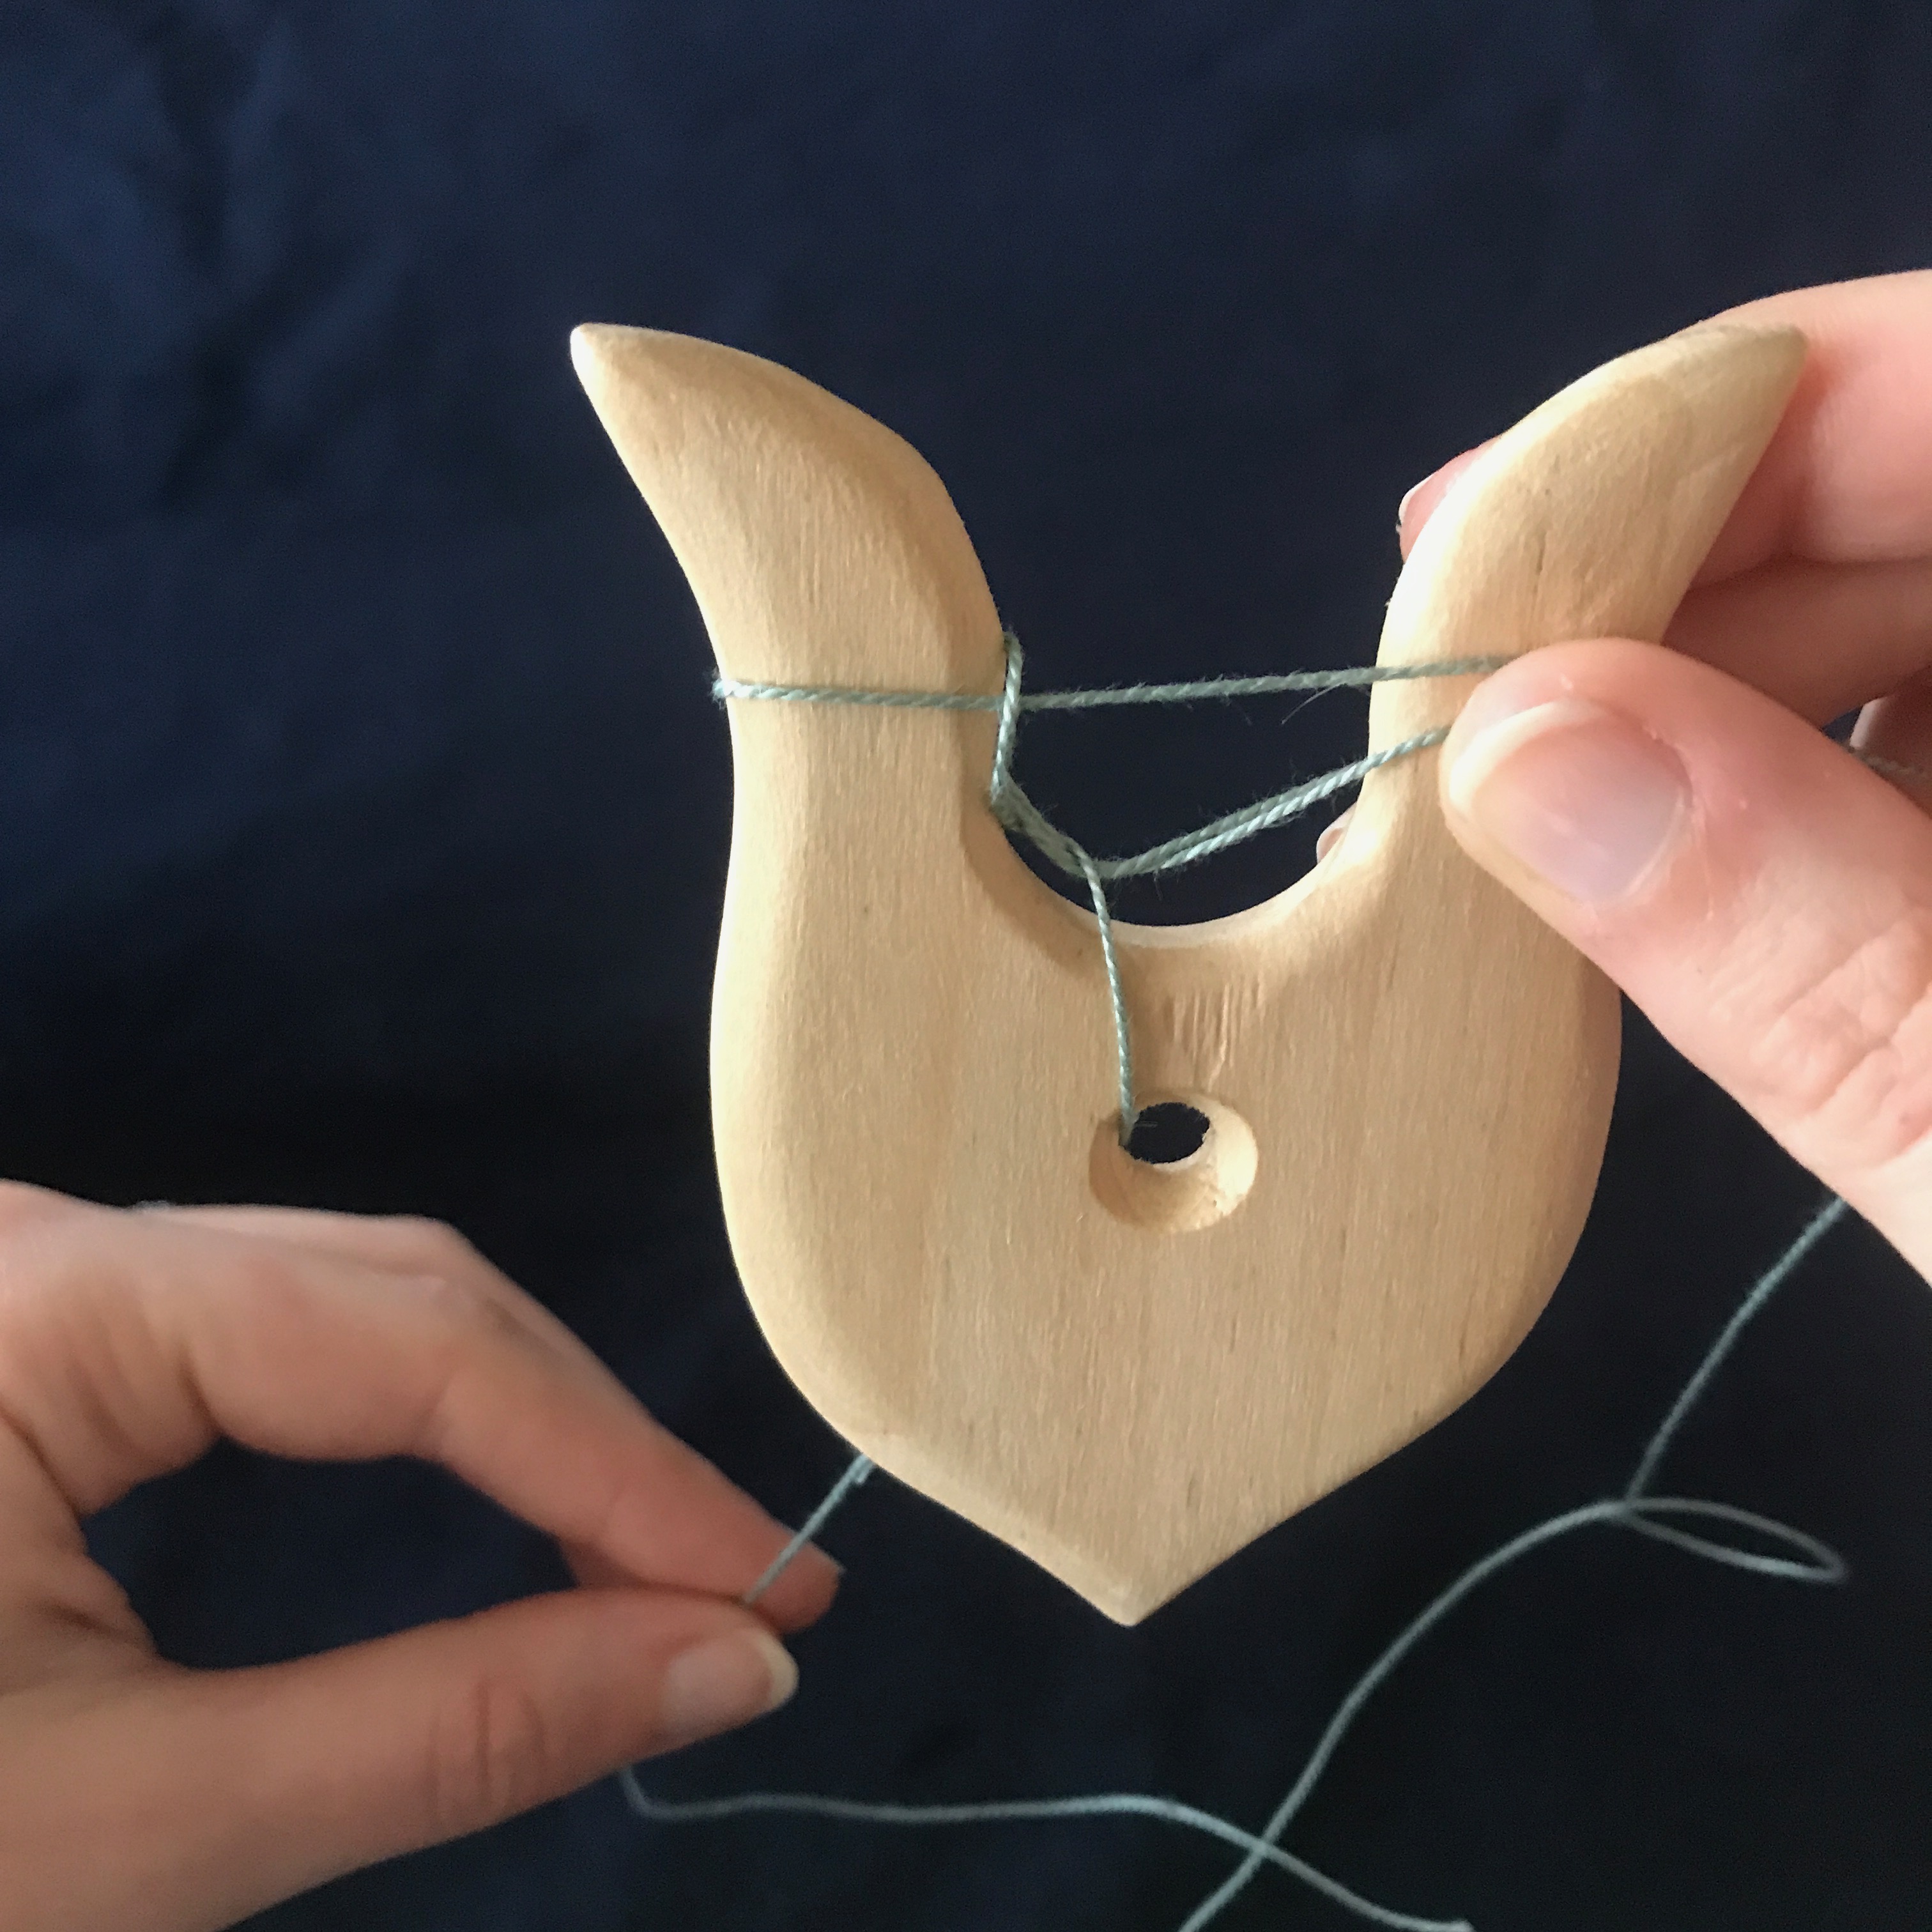
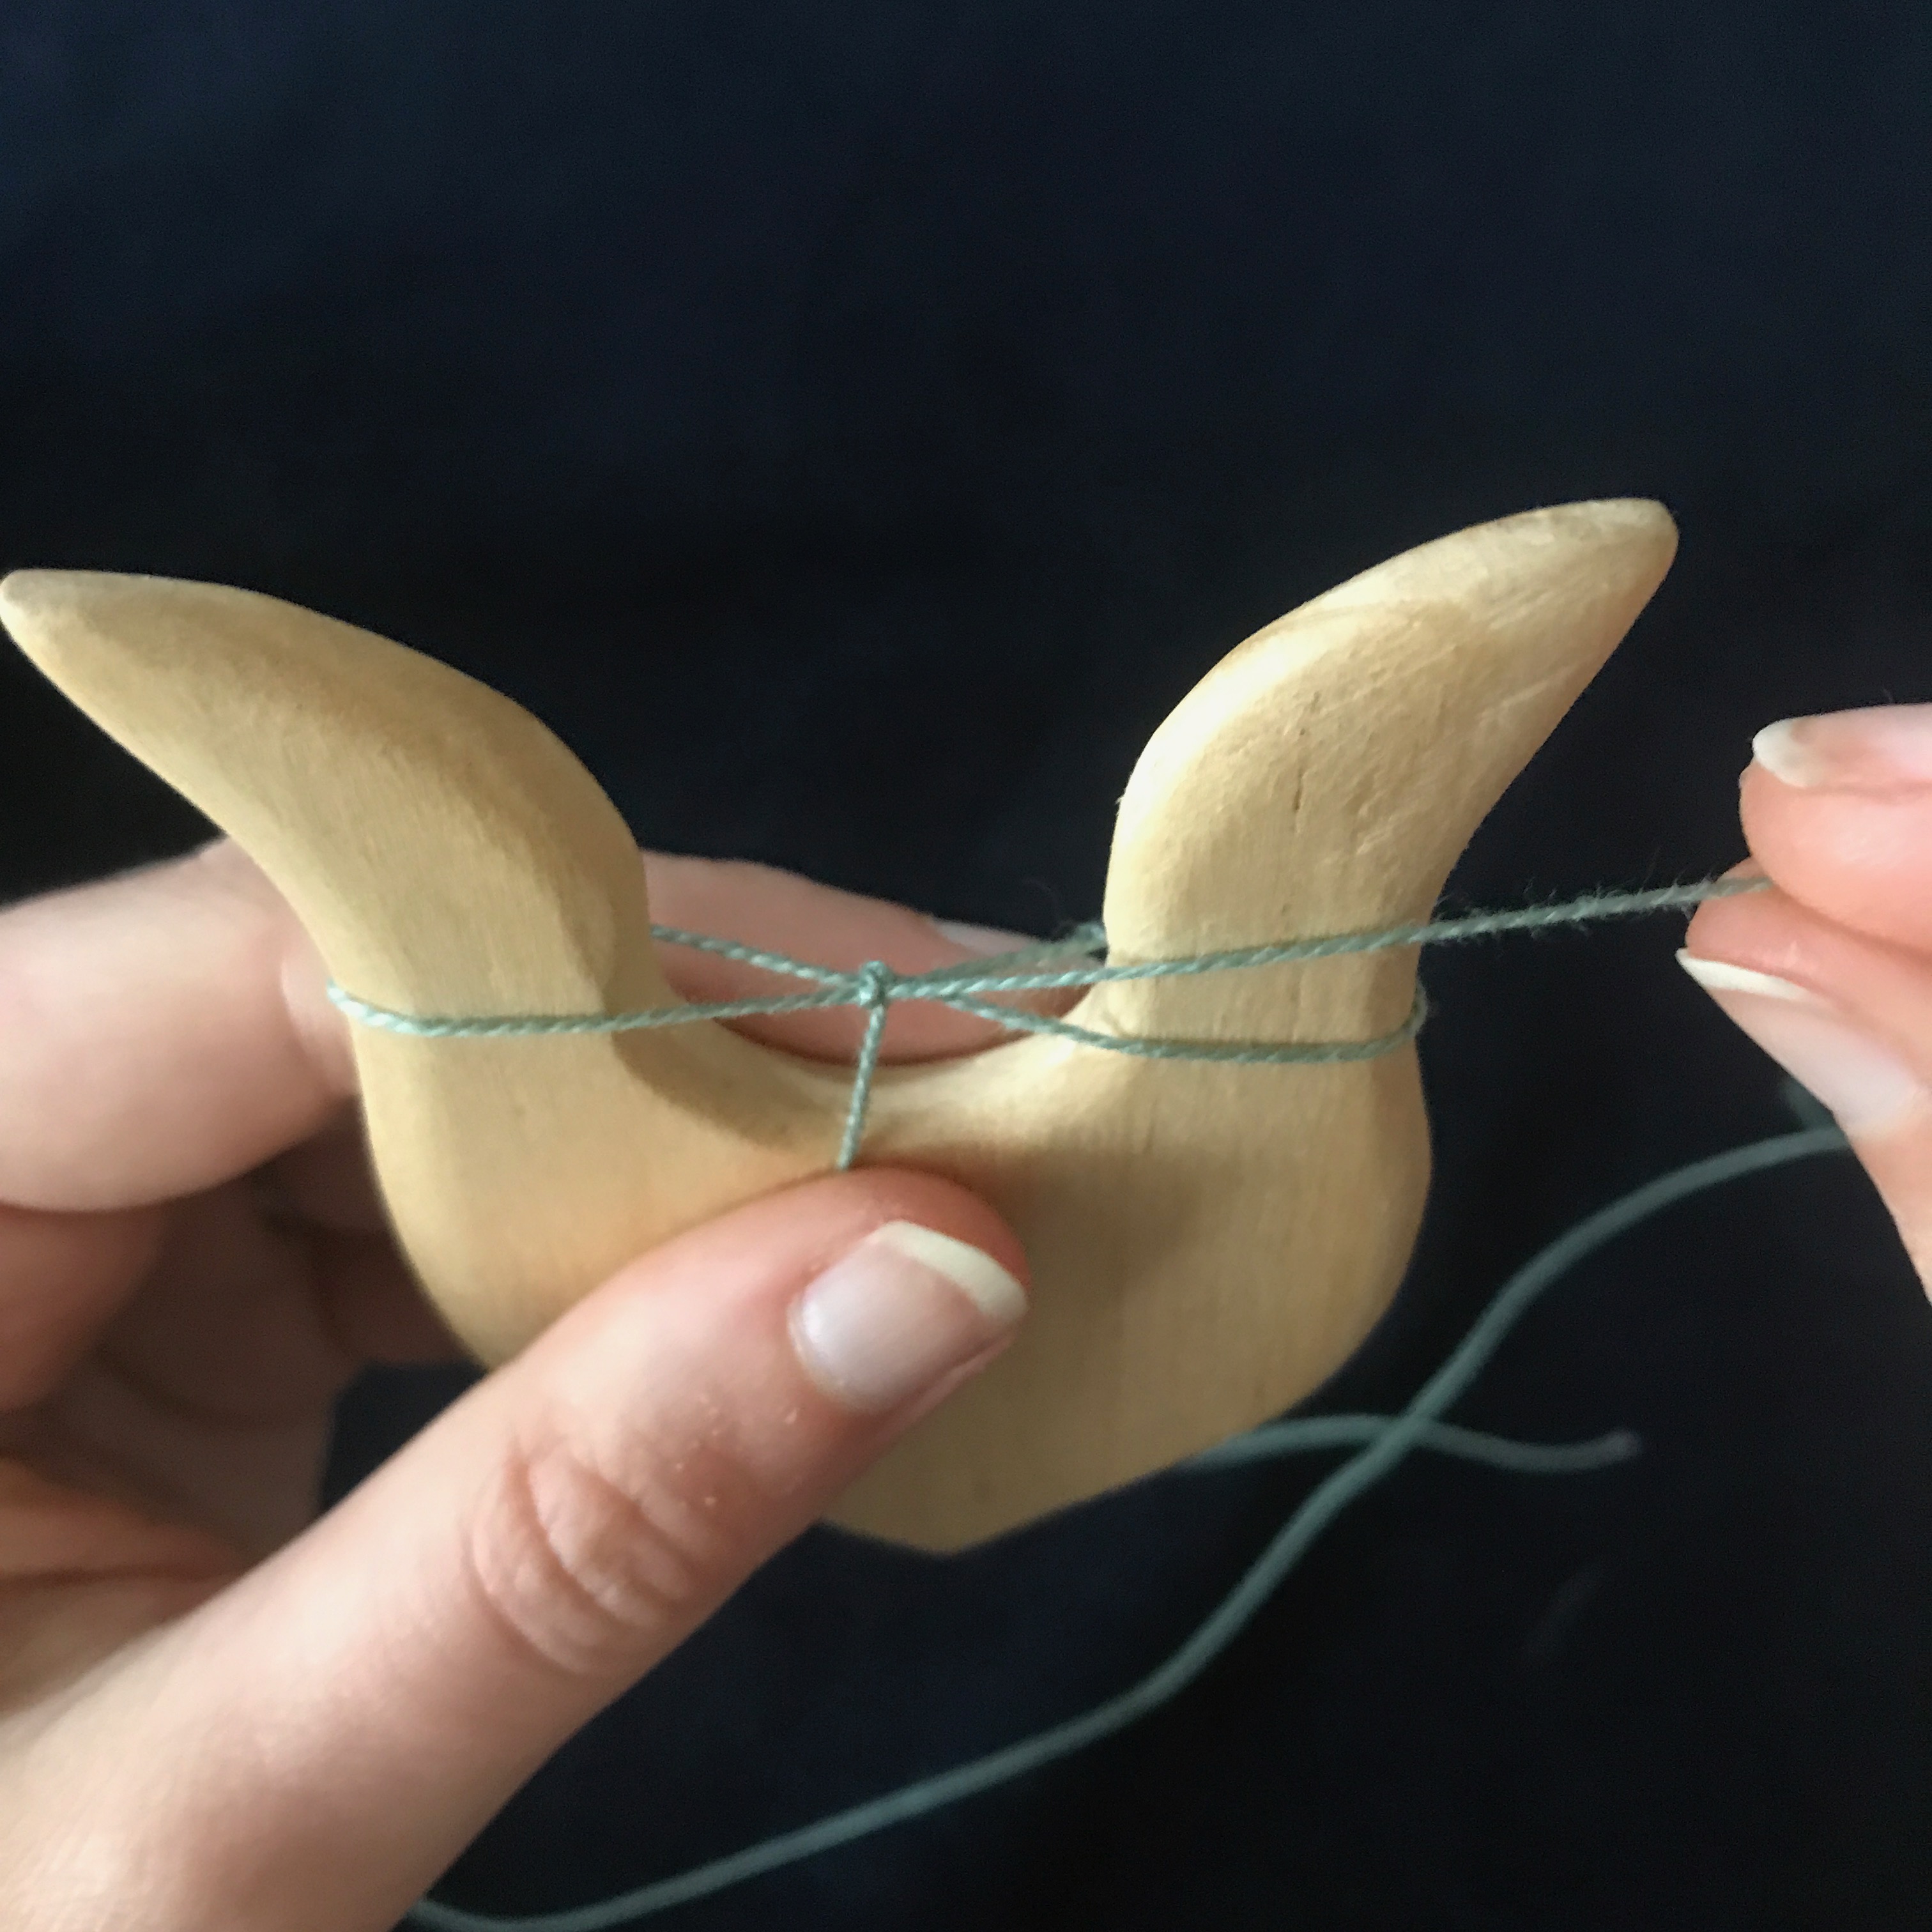
Continue to hold both threads against the right arm with your thumb, Let go of the bottom thread and take hold of the lower thread on the left arm.
Lift the lower thread up and over the upper thread and off the arm. Be gentle so that you don’t pull the thread tail back through the hole.
Put your left thumb back on the thread tail to hold it still. Pull the working thread gently with your right hand to tighten down the loop that you just pulled over the arm. You can see how the thread is now wrapped once over the middle of the threads between the arms. No need to pull it too tight here.
Continue to work slowly and carefully until you have a little tail of cord built up, at which point you will be able to speed up a bit.
Holding the working thread in you right hand, rotate the lucet so that the right side moves towards you and around to the left. This will cause the working thread to wrap around the right arm, which will then become the left arm.
You will now once again have two threads on the left arm and one on the right. Once again, hold the working thread and the wrapped thread in place against the right arm with your right thumb. You will be working again with the lower thread on the left arm.
Again, lift the lower left thread up and over the upper thread and off of the arm.
Here you can see the thread loop that has now been pulled over the arm.
The tail will have loosened a bit when you did this, so give it a gentle pull, continuing to hold the right threads in place.
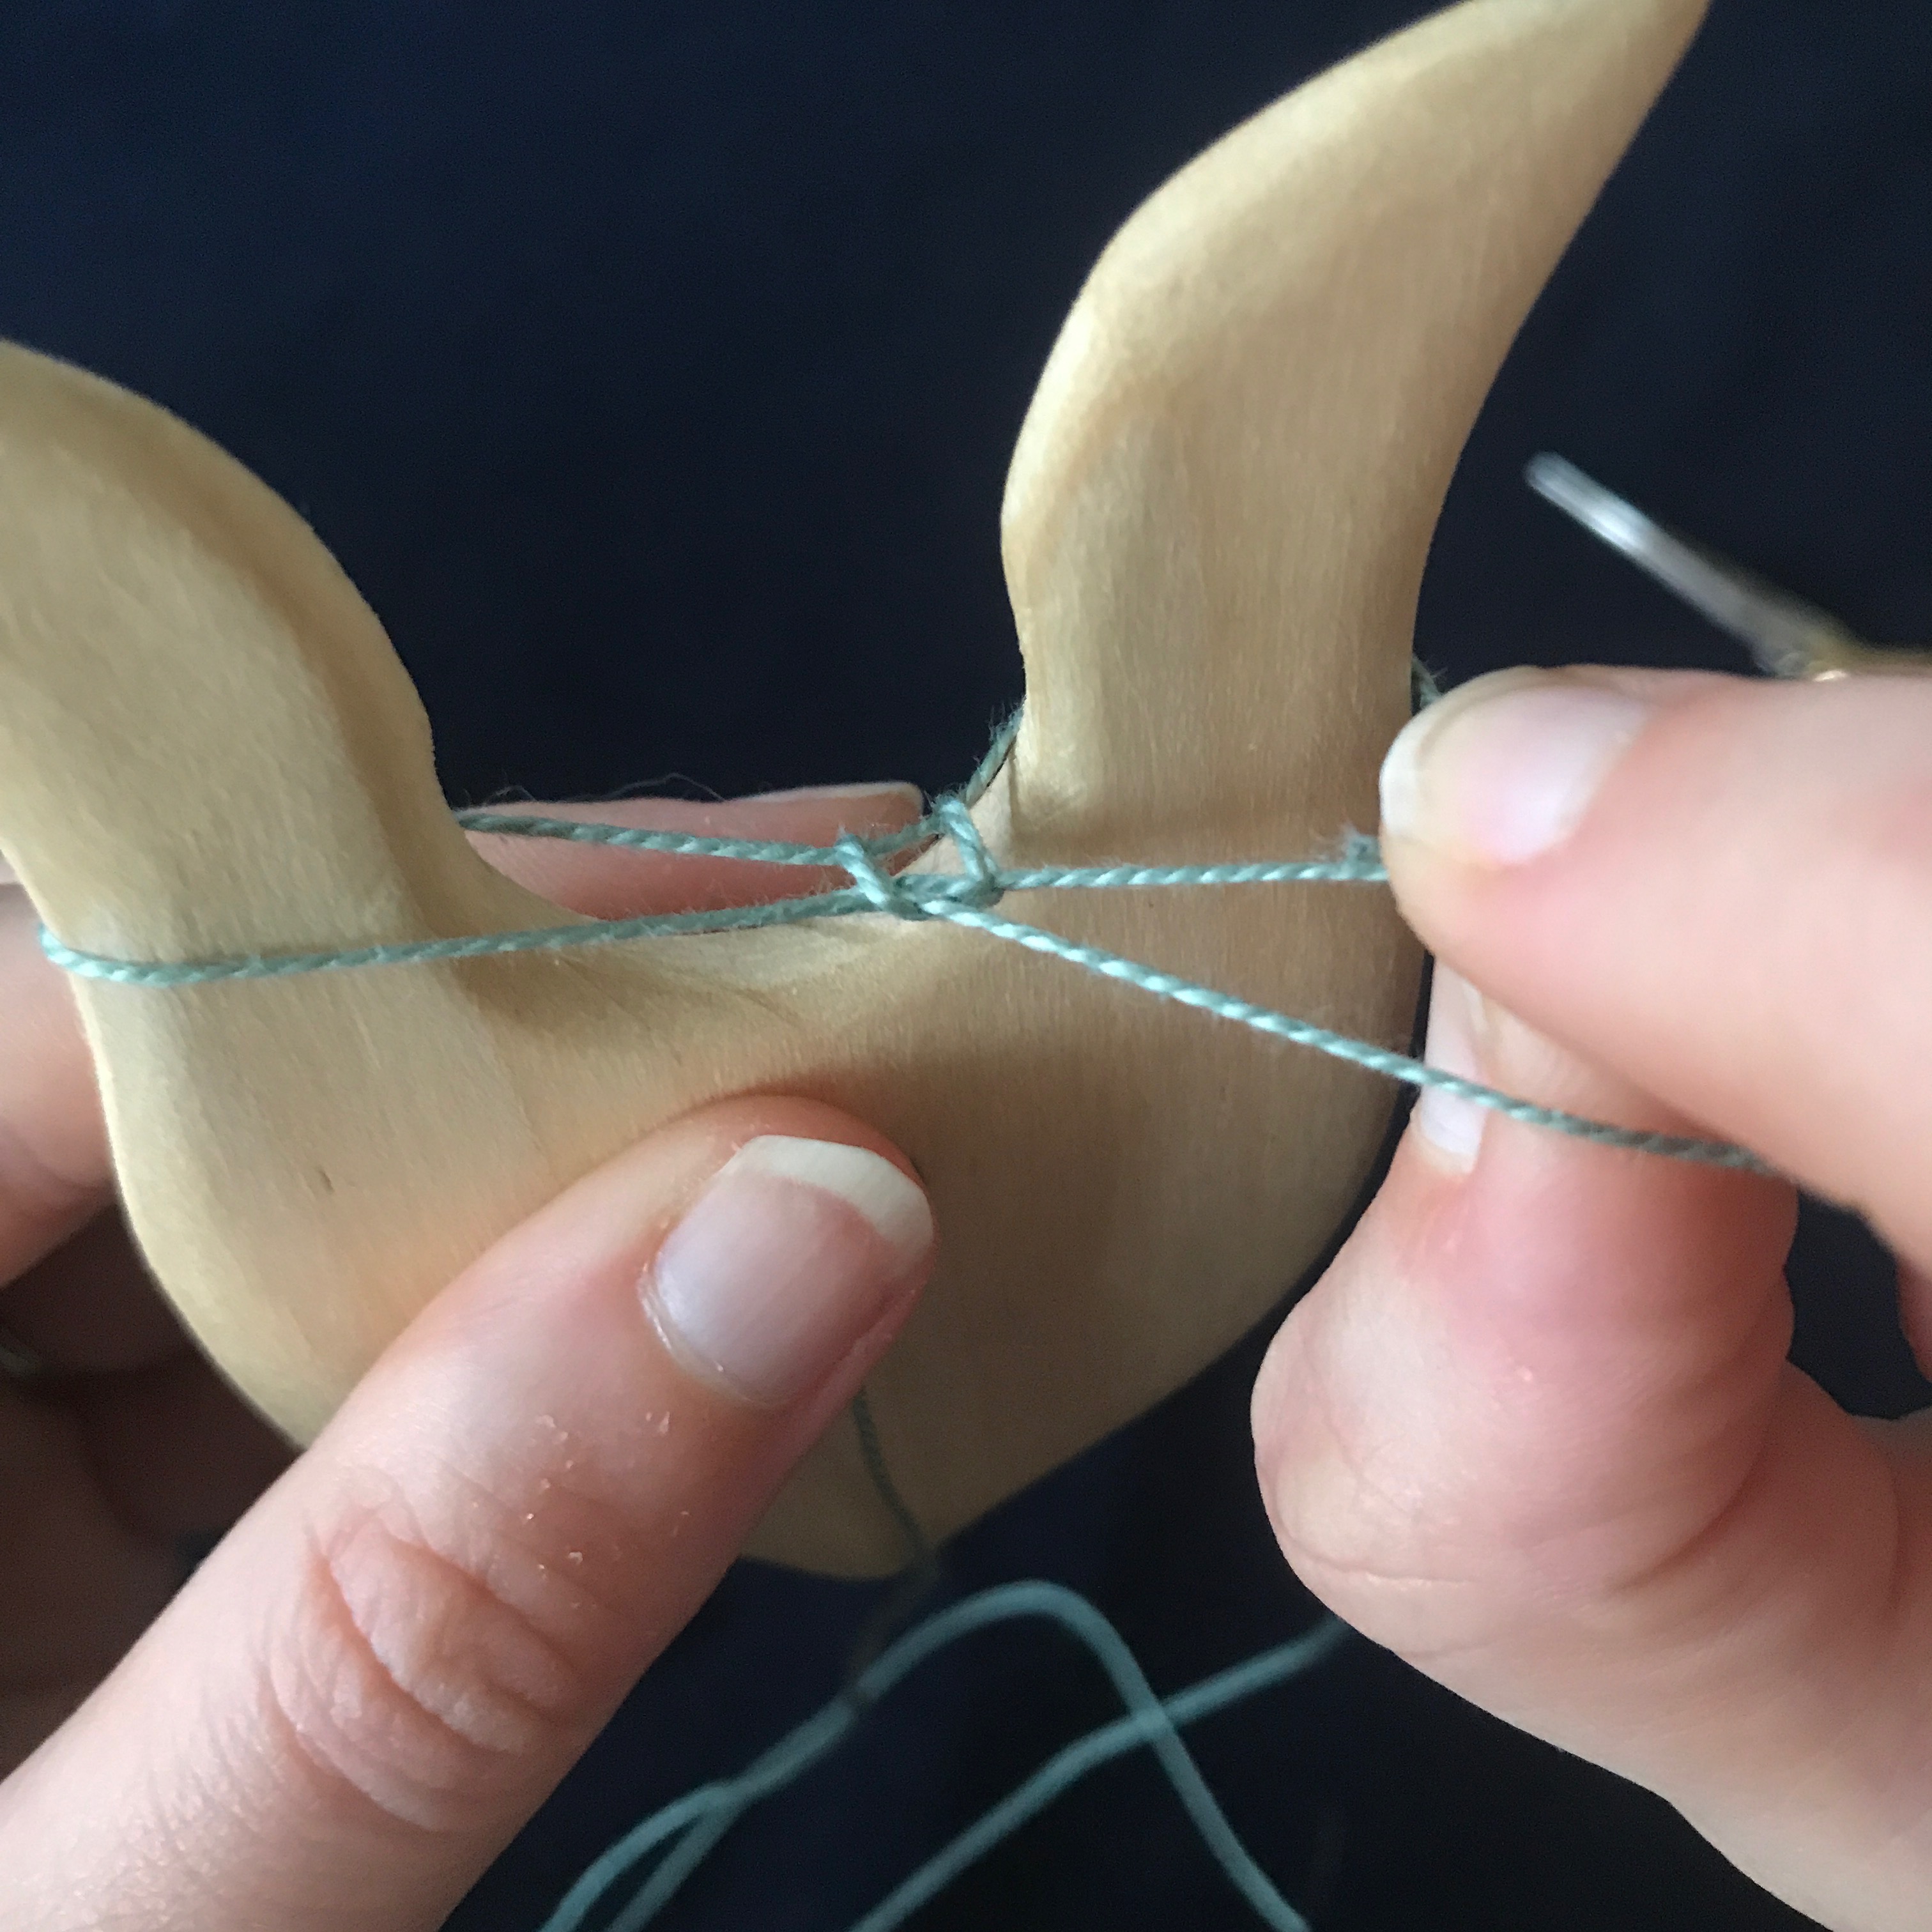
Hold the tail in place with your left thumb. Keeping the working thread contained in the space between your thumb and finger, take hold of the loop around the right arm and pull it gently, this will tighten down the loop in the center between the arms.
You can see the tightened knot in the center here.
Rotate the lucet again: right arm towards you, holding the working thread.
This is the point at which the process really solidifies and feels the same as it will through the rest of the cord.
Lift the lower left thread up and over again. You can see how the center knot lifts up and to the left when you do this.
Holding the working thread against the right arm, pull gently on the tail in order to bring the center knot back down.
Hold the tail in place with your left thumb. Tightening the knot is a threefold process: first, pull the working thread to tighten the knot most of the way. When it is nearly tight, pull on the front of the right wrap to tighten it the rest of the way (doing it this way will help keep the knot centered. Finally, pull on the working thread again in order to tighten the right wrap back down.
You can see the tightening process in more detail in this video:
Finishing
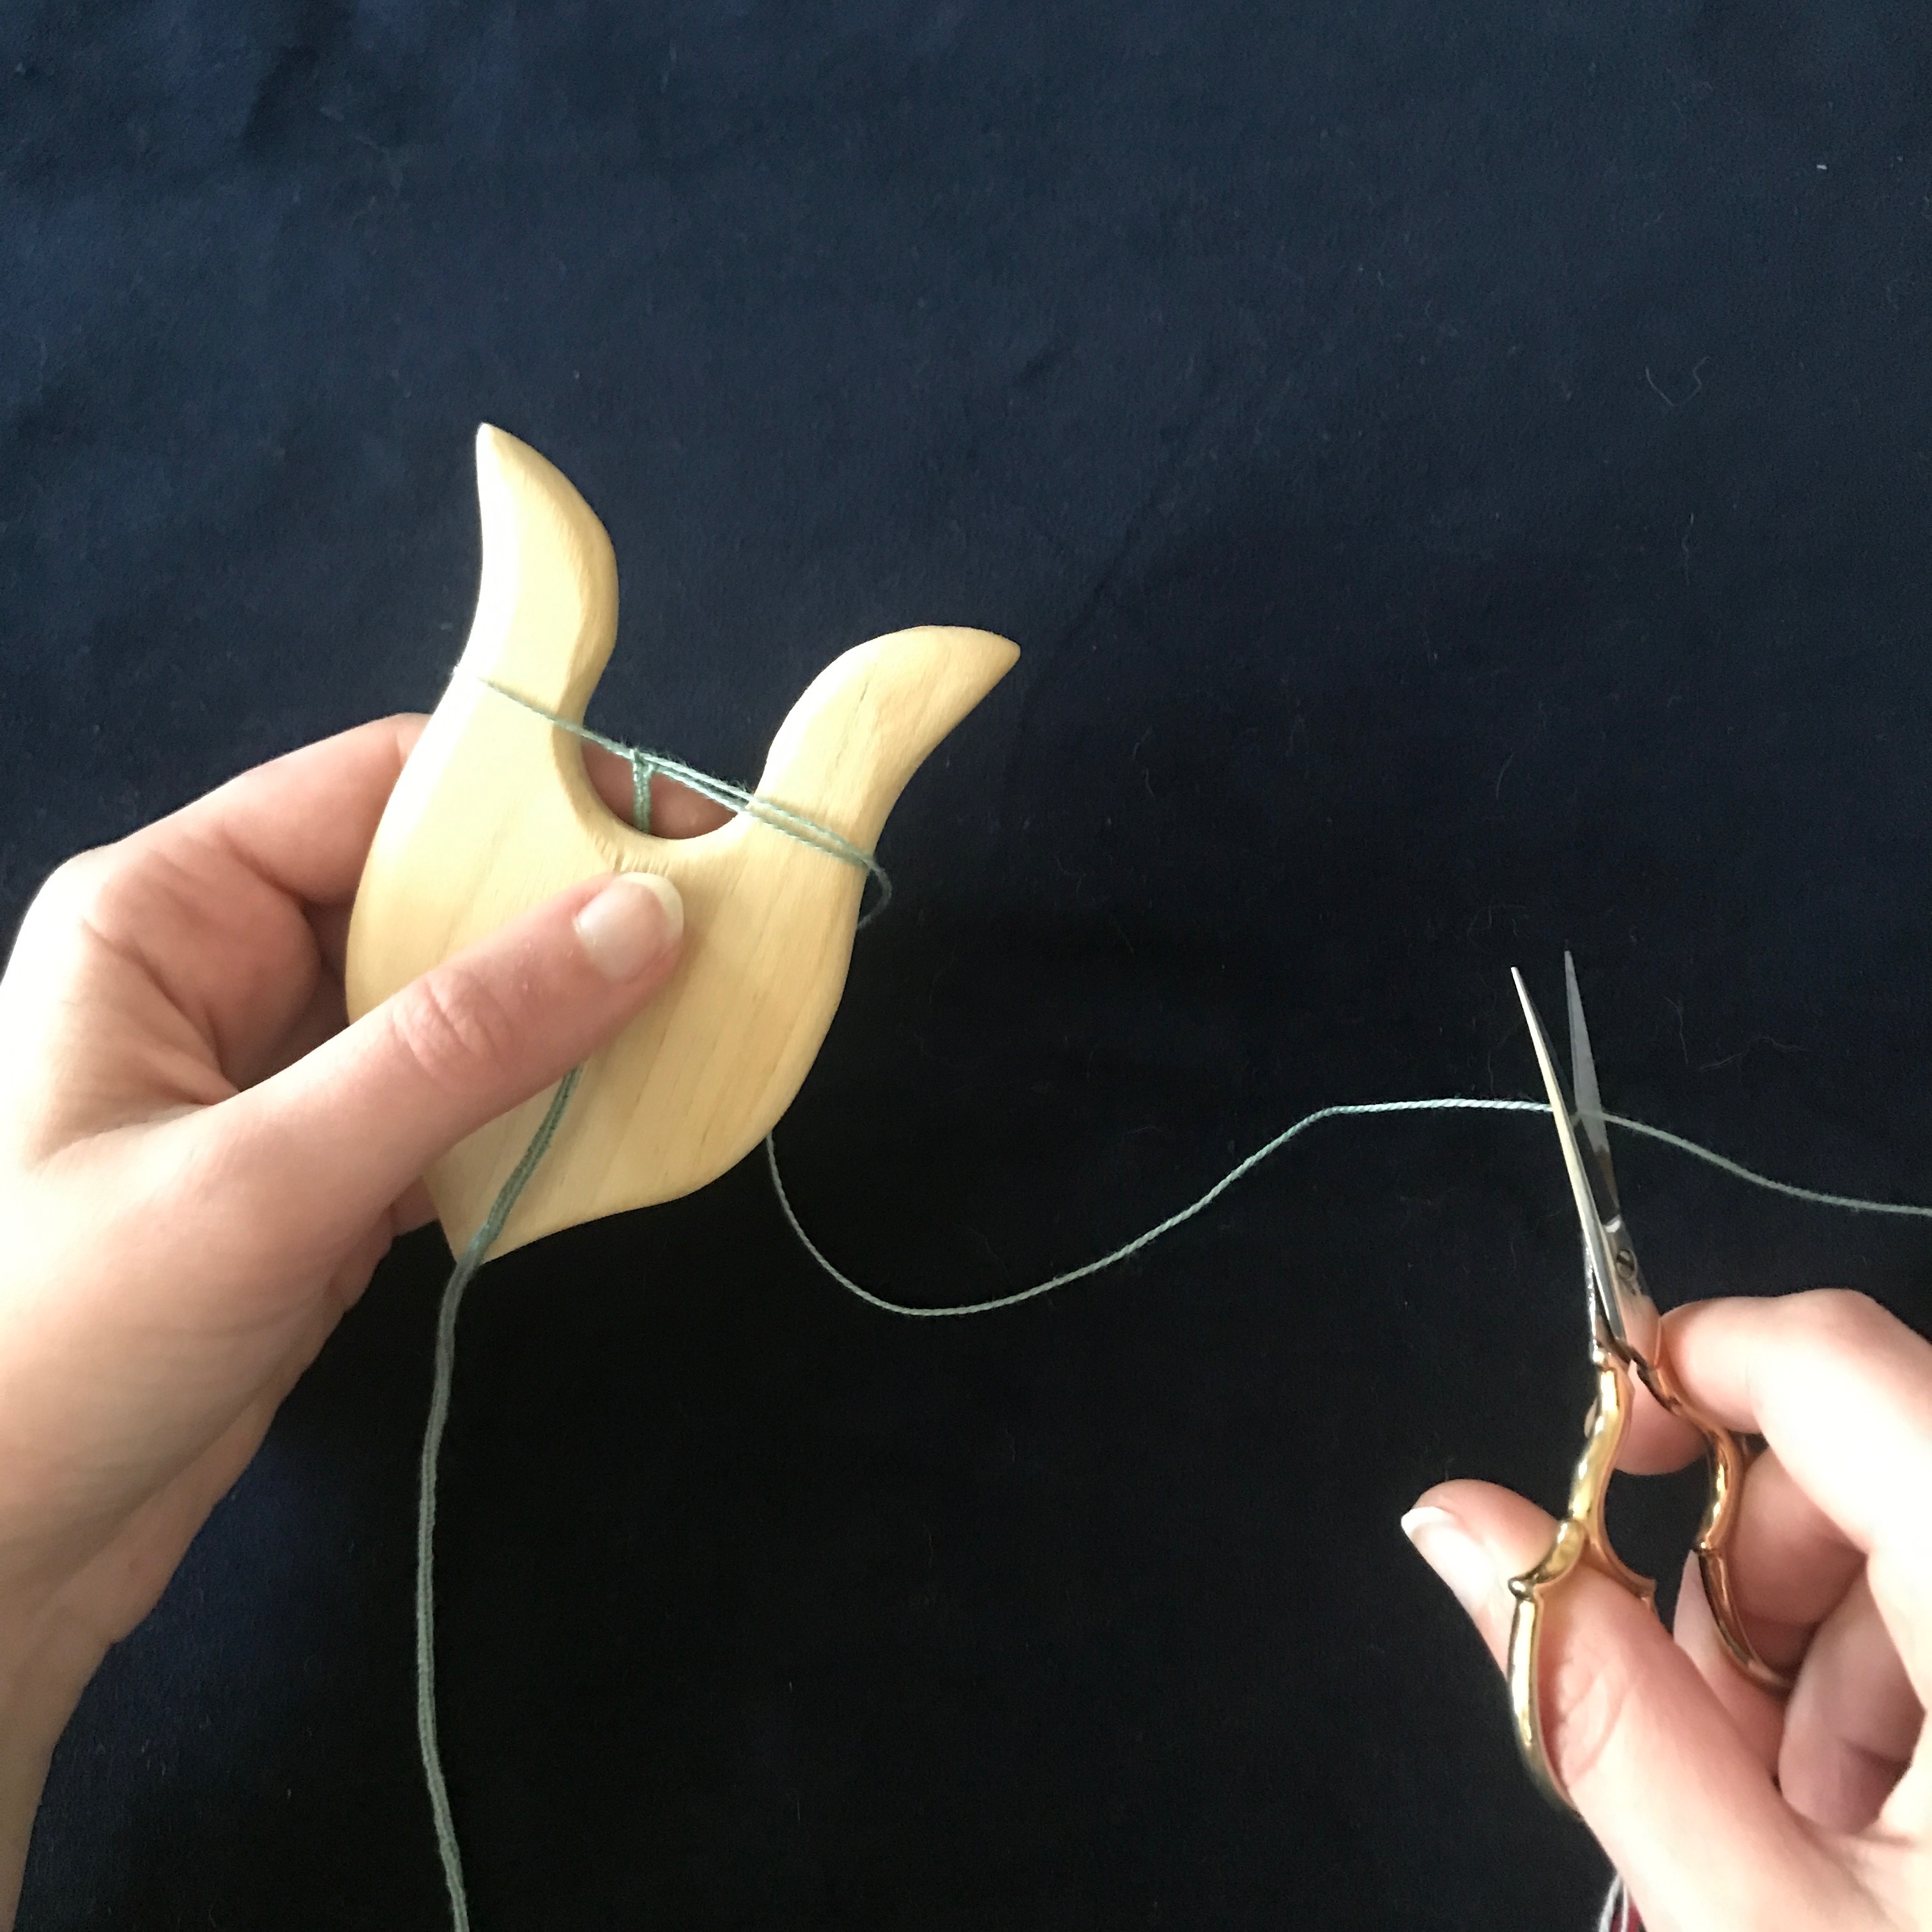
When you have a cord of your desired length, cut the working thread.
Remove the loops from the arms of the lucet.
Put the working thread through the right hand loop.
Pull on the left loop. This will tighten the right loop around the working thread.
Here it is tightened down.
Put the working thread through the left loop.
Pull the working thread to tighten down the left loop.
Ta-da! You have just completed a pice of lucet cord.
If you enjoyed this, it is just the beginning! This is a very basic lucet cord. There are many other variations on the art, including multicolored variations using different colored threads. Go out into the world and use more things, and perhaps I will add more tutorials here later!
Hannah is a reader, a writer, a costumer, a wig-maker, a historical interpreter, a cosplayer, a tea-drinker, and a lover of yellow.
View all posts by stopphannah
3 thoughts on “How to Make Basic Lucet Cord”
After reading your post I have just asked my father to make me a lucet. Thank you for sharing!


After reading your post I have just asked my father to make me a lucet. Thank you for sharing!
LikeLiked by 1 person
Where did you buy your lucet?
LikeLike
Like I said in the article, if you Google ‘lucet’, you’ll find lots of them. I picked mine up from a vendor at a re-enactment.
LikeLike