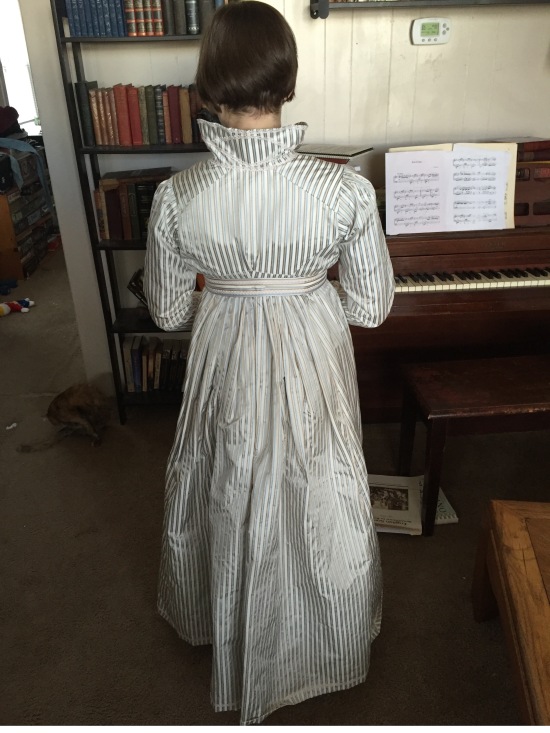
When I left you last, the pelisse was in one piece, though sans collar and many other little details. After Christmas, I finally had the time to put this to rights. (If you haven’t read the first part of this post about the Burnley and Trowbridge pelisse workshop, you can read about it here.)
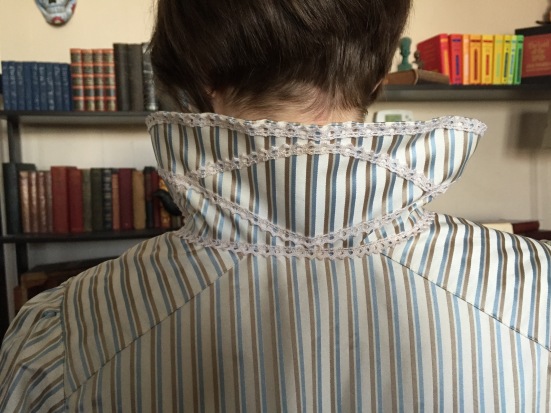
It took me several test runs to get the collar just right, and when I finally got the flare and height just the way I wanted them, I sewed it all in place. Since the fabric is stiff and a bit unruly, I basted the outside of the collar to the body of the pelisse before folding the other side of the collar over and prick-stitching everything in place.


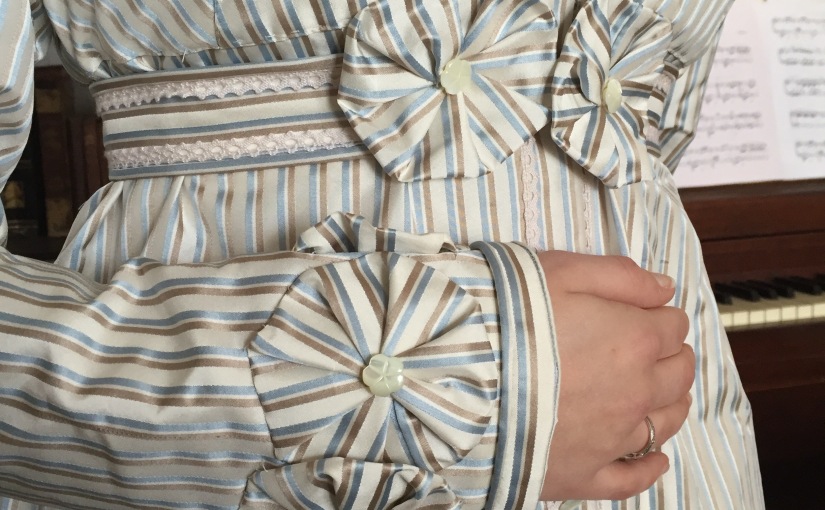
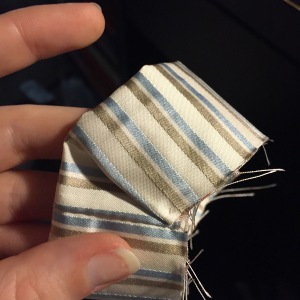
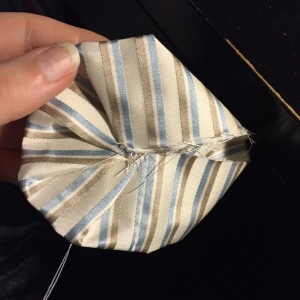
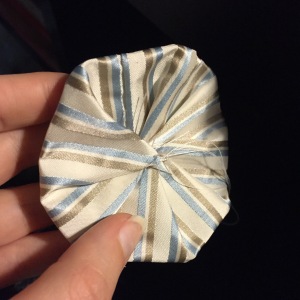
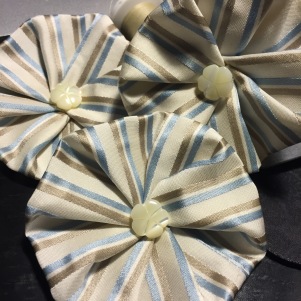
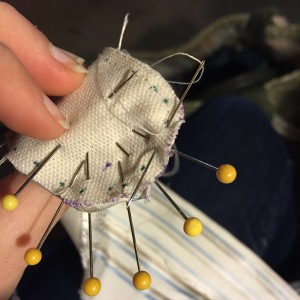
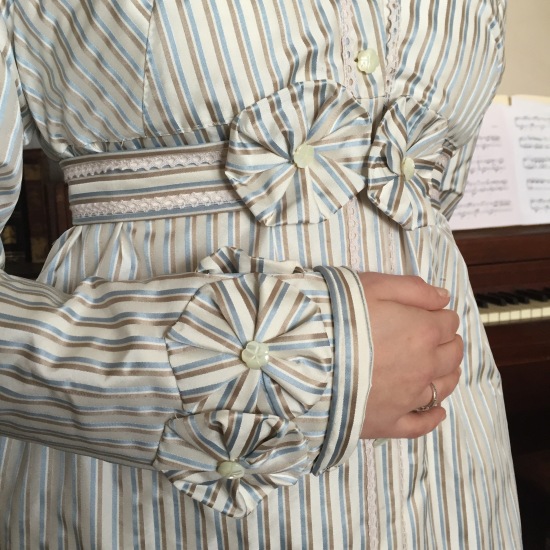
Once the collar was on, I got to do the really fun part–trimming! I started by making a pile of fabric flowers for ornamenting the cuffs and belt. The flowers are quite simple–here’s a quick tutorial on how to make them:
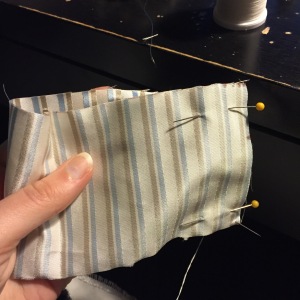
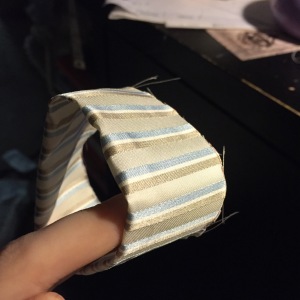
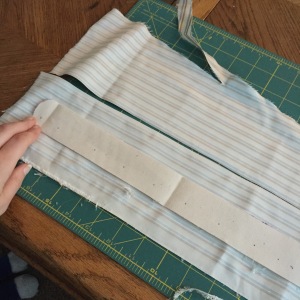
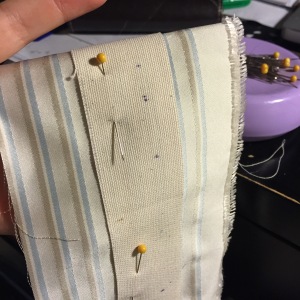
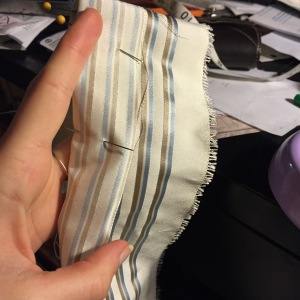
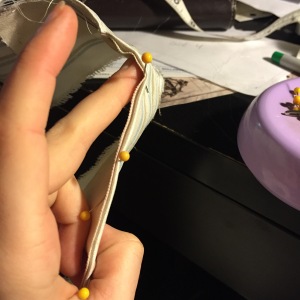
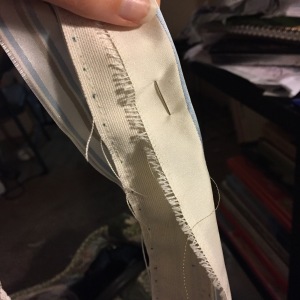
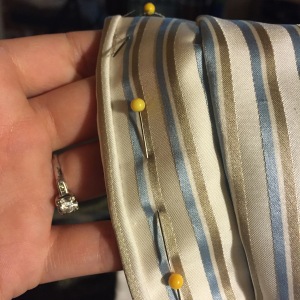
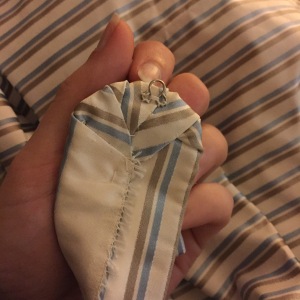
Next came the belt. I made this using another fancy trick from the Burnley & Trowbridge workshop. That is, I think I did. I may have. It was something Janea showed us really quick at the end of the day, and I was very tired, and didn’t completely understand what she was showing us at the time. So what I really did was something that made sense to me, picked up on the bits of Janea’s instructions that I did remember. Whether or not it’s exactly what we learned in the workshop, it worked very well, so here it is:
Basically, it’s a way of making something look as though it has piping around the edge, while only having to sew around the perimeter of the piece once.

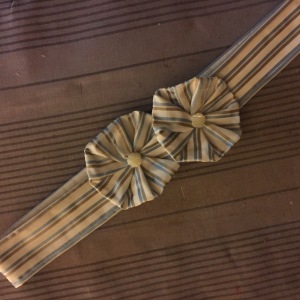
When the belt was finished, I ornamented each cuff with four more of the fabric flowers and a smaller band made in the same way as the belt.


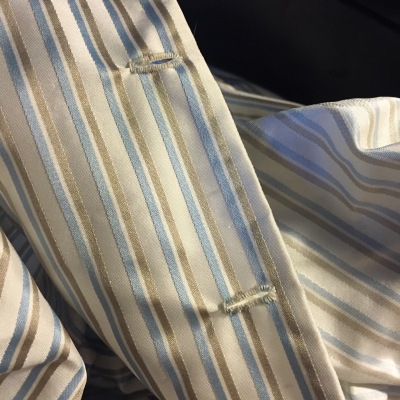
The pelisse is buttoned all the way down the front, so buttonholes were a huge ordeal that involved cocktails with my friend Amy and many, many episodes of Gilmore Girls.
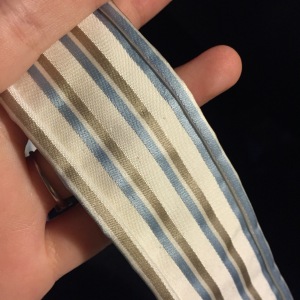
The next step was to put a row of trim all the way down one side of the front, around the hem, and up the other side (there will be two rows, but I miscalculated how much I was going to need, and have to order some more). The trim comes from one of my favorite sources for fabric and trim, Farmhouse Fabrics. They have a wonderful selection of lace; I get nearly all of mine from them.


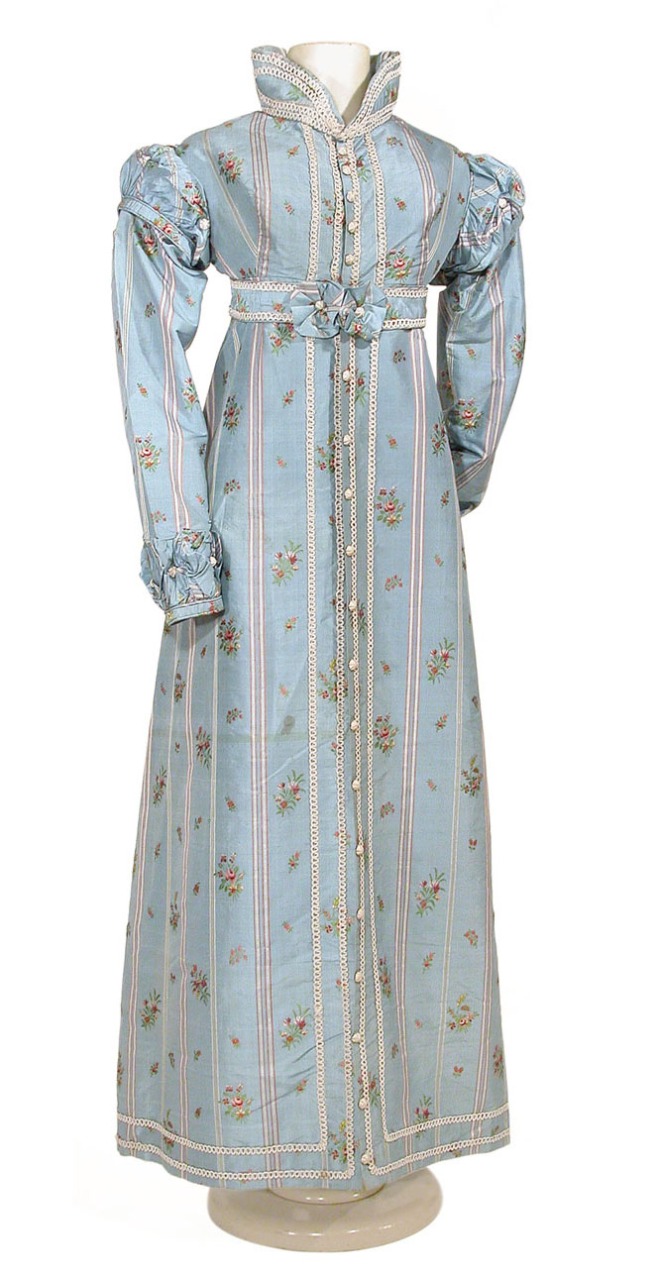
As you can see from the extant pelisse at the beginning of the post, there is a double row of trim around the collar as well. In the picture, you can just see the inner rows begin to slope towards each other before they disappear around to the back, out of sight. The trim pattern I did is my best guess from looking at the angle of the original trim.


There’s a row of trim around the edges of the belt as well, just inside of the false piping.


And that’s it! I’ll have to put that second row of trim on when it gets here, but then this three-month-long project is finally finished! (I didn’t do the sleeve caps, because I think I like it better without them–what do you think?)
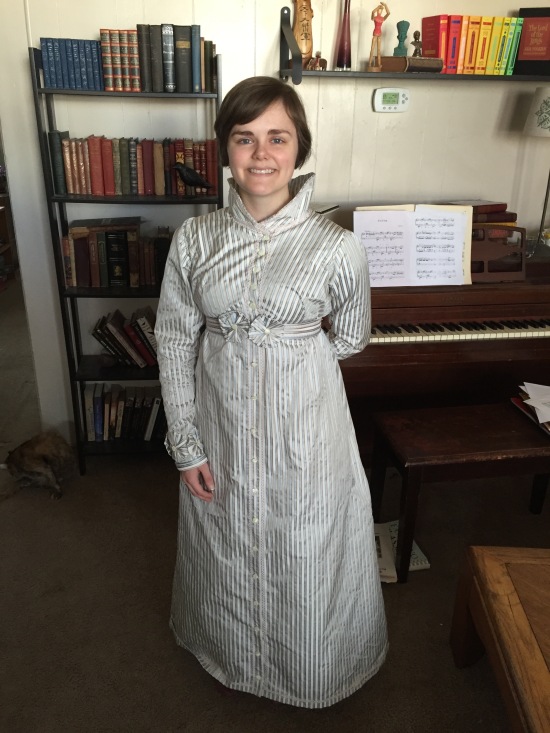
I have to say, I’m incredibly proud of this project. I learned so much doing it, and I can’t thank Burnley and Trowbridge and Janea Whitacre enough for the pelisse workshop. It was an amazing experience, and I don’t think I could put a price on the knowledge and experience I got out of it. I hope I can make it to another workshop soon!
I’m planning a bonnet to go with this pelisse soon, and when it’s finished, I’ll try to do a nice, outdoor photo shoot with it. I think all that work deserves some really pretty pictures!
Thanks for watching!
Hannah

I LOVE IT!!! The little, pleated flower details (and all of those button holes) are exquisite! Fantastic pelisse & blogpost – thanks for sharing!
Keep inspiring us, Anneliese 🙂
LikeLike
Thanks so much, Anneliese!
LikeLike
Fantastic! I love all the details!
LikeLike
I am sorry you decided not to add the small puffed over-sleeve. It is very typically Regency.
LikeLike
I still may add them at some point. I need to go back and add the extra trim when I have time, anyway!
LikeLike
You did a lovely job. All the details are spot on. One of my mentors told me to to stop making clothes and remember to make costumes when working on stage productions. You, my dear, made a garment worthy of the “clothing” catagory. Well done.
LikeLike