There were many ways of sewing and finishing seams in the 18th and 19th centuries. This is by no means a comprehensive guide, and there are probably as many variations as there are people who have ever sewn a garment, but these are some that are relatively common, and which I have found useful.
Three of these seam types (Mantua Maker’s, English stitch, and the Stacked seam) exist to save time by allowing the stitcher to sew a seam and finish the raw edges all in one go. Before the sewing machine, techniques like these saved a ton of time over modern techniques like bag lining, because they allow the dressmaker to sew each seam only once, rather than twice (once for the fabric and once for the lining).
Flat Felled Seams
Best for seams with no linings
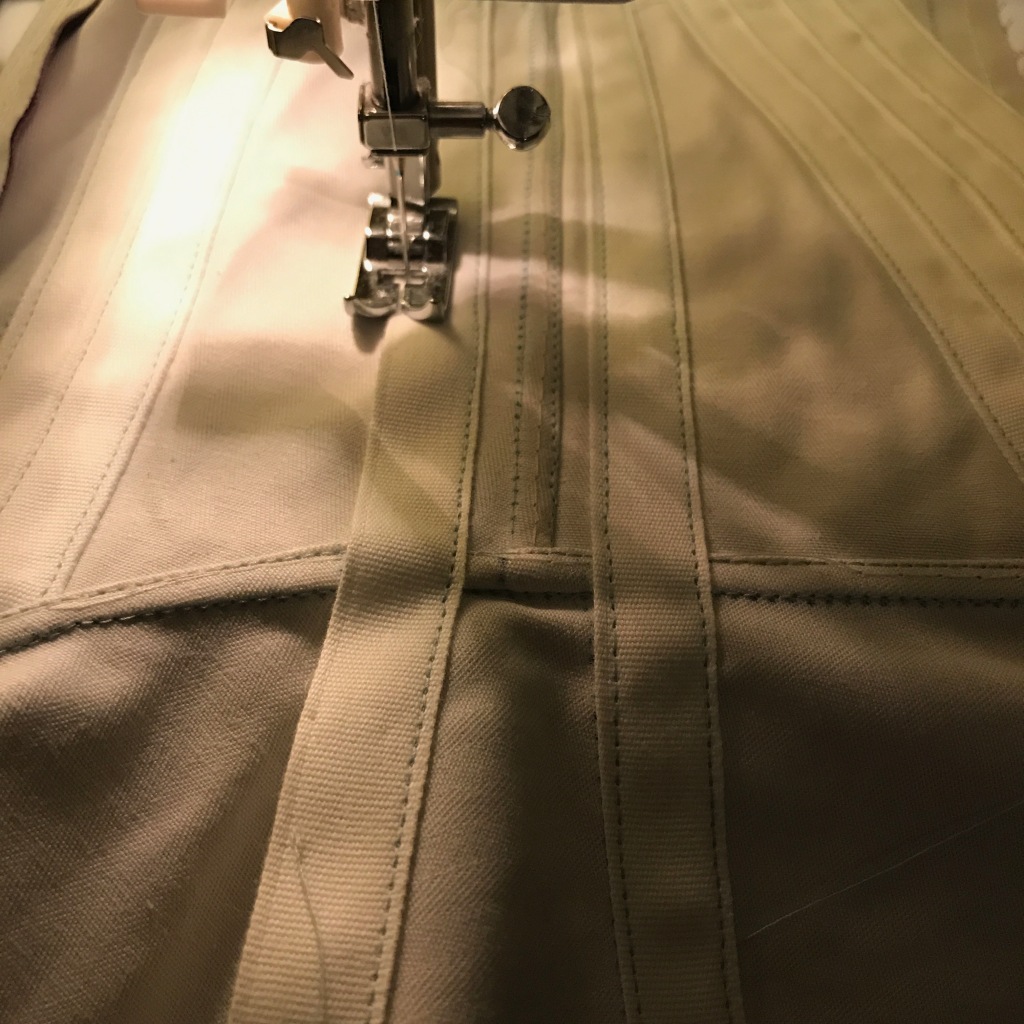
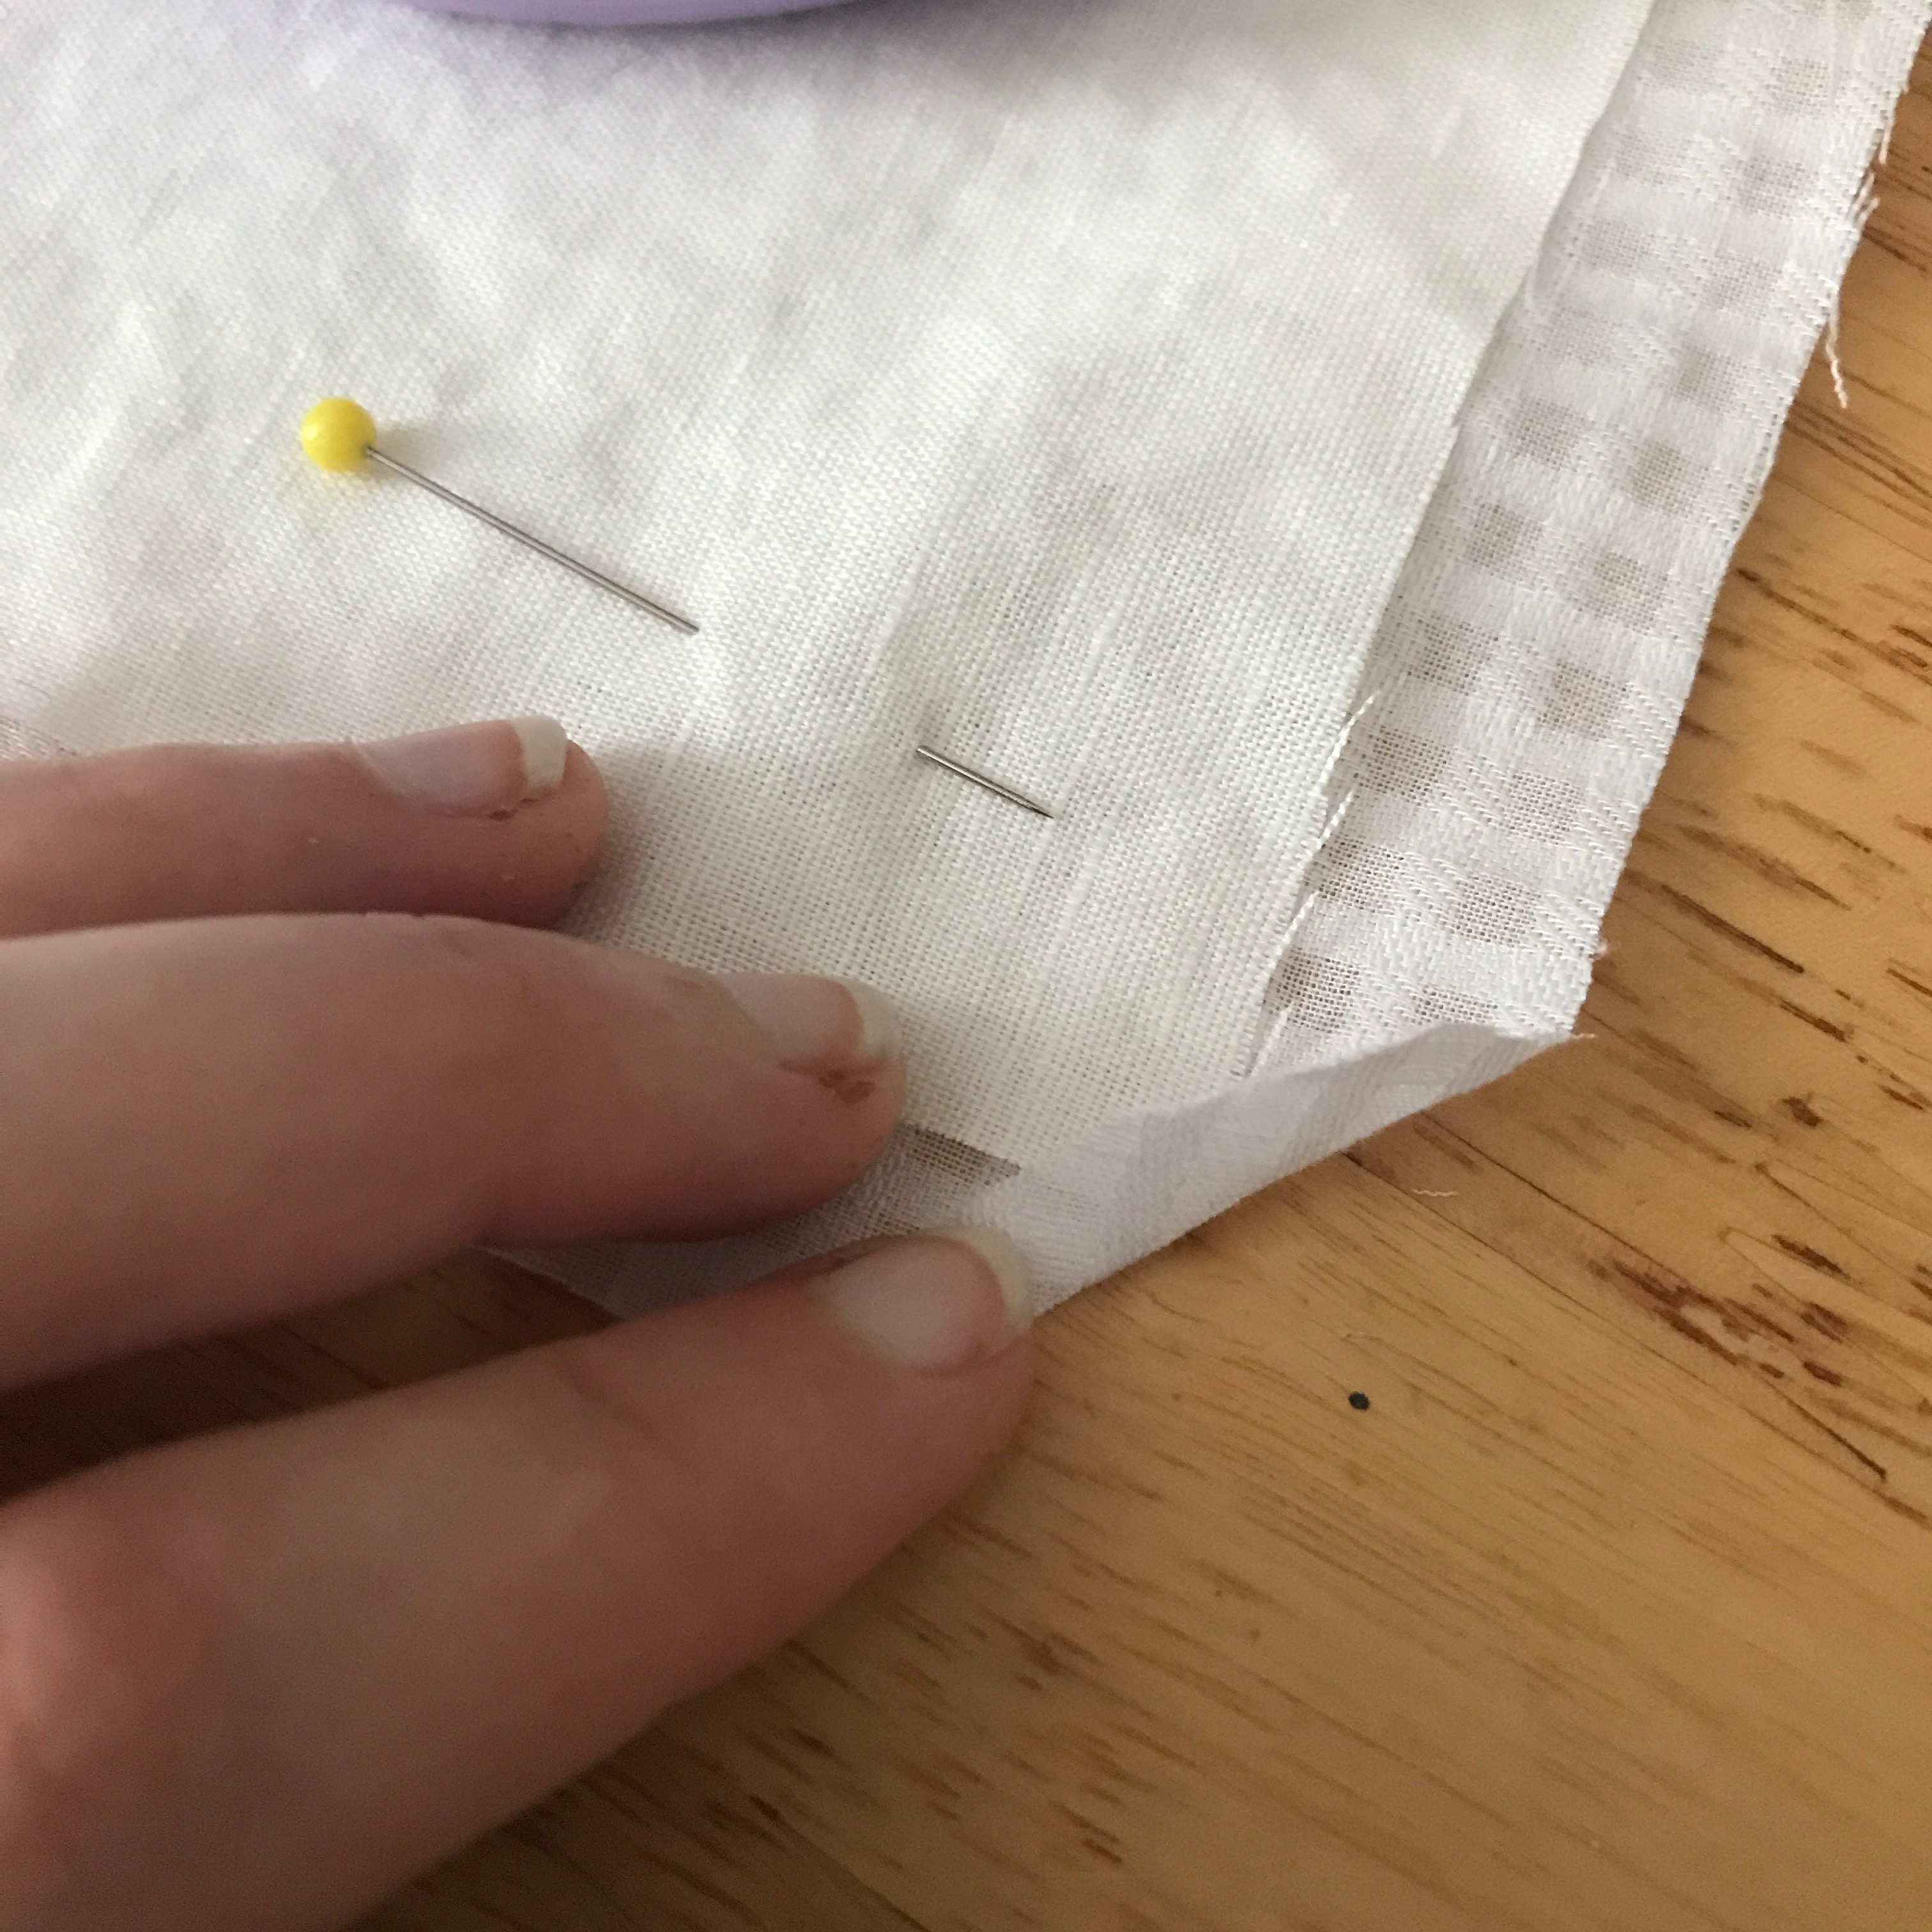
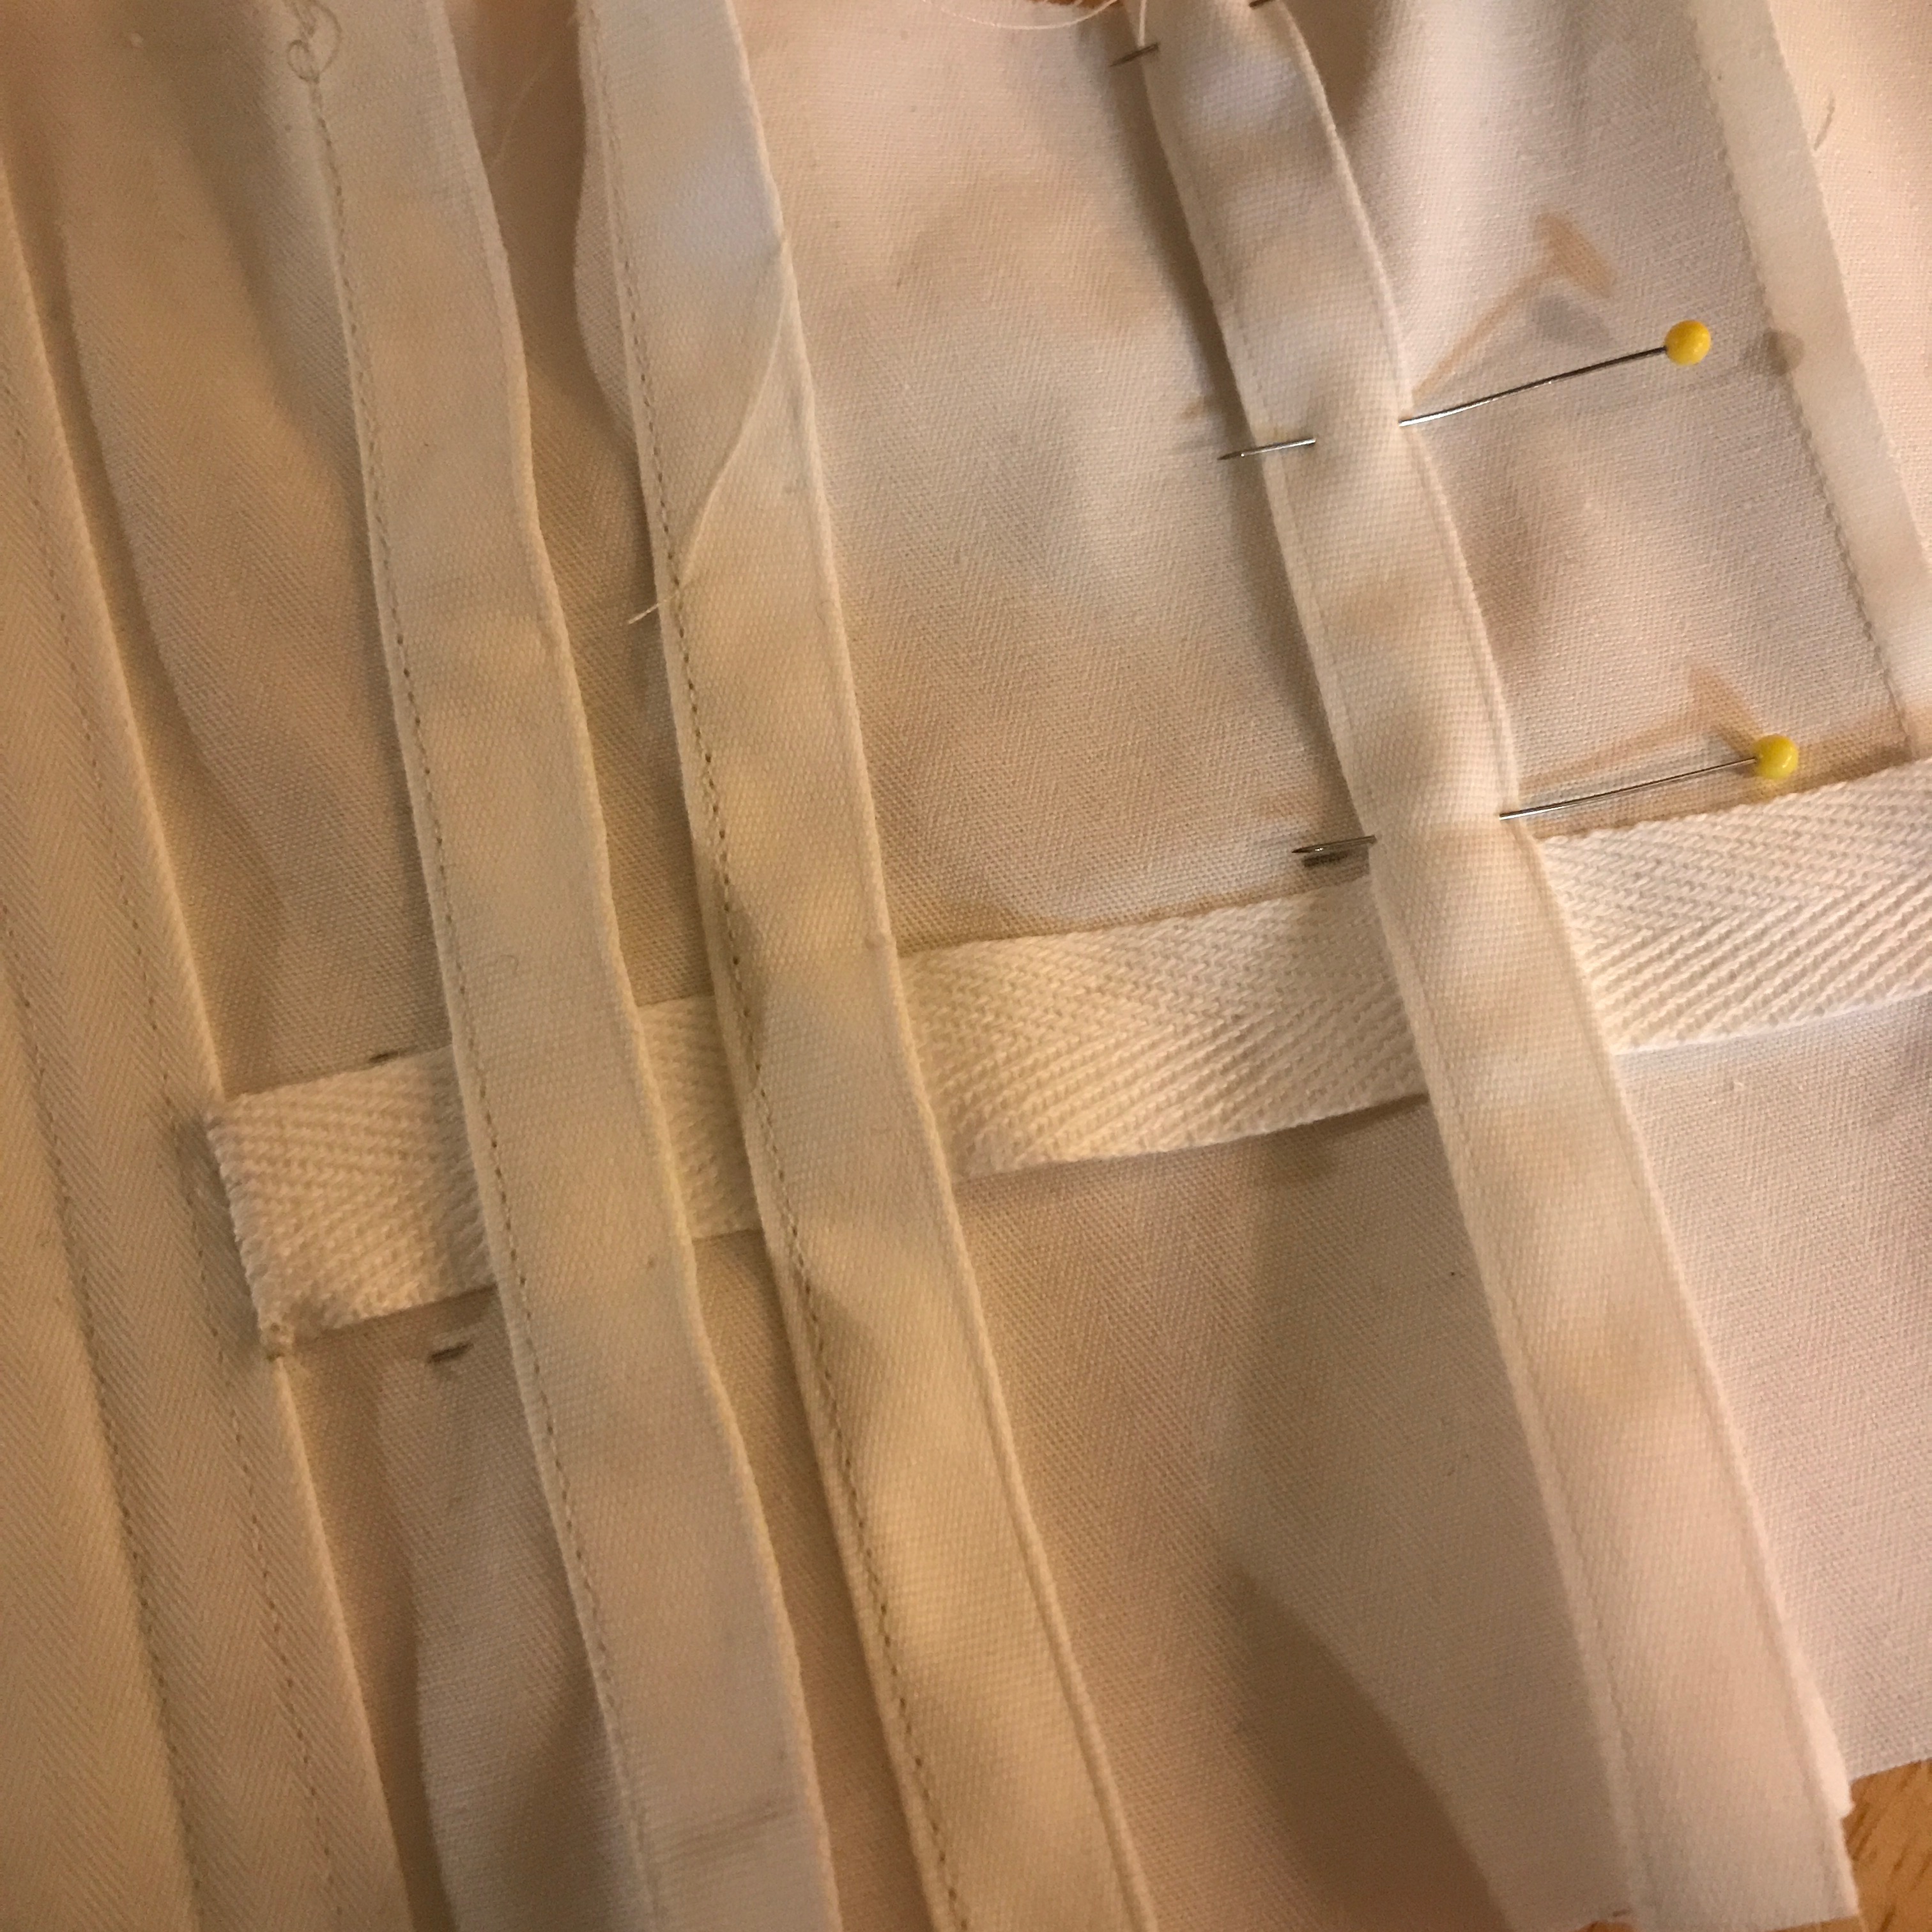
A flat felled seam is sewn along the seamline with running stitch or backstitch. One side of the seam allowance is then trimmed down; then the longer seam allowance is wrapped around the shorter seam allowance and hemmed to the fabric. This encases all the raw edges within the seam allowance, and keeps the allowances flat against the fabric. It gives the seam a nice, crisp appearance, but does leave a visible line of tiny stitches along the seamline on the outside. Flat-fells are particularly useful for trousers, breeches, shirts, and shifts, as they are strong and hard-wearing.

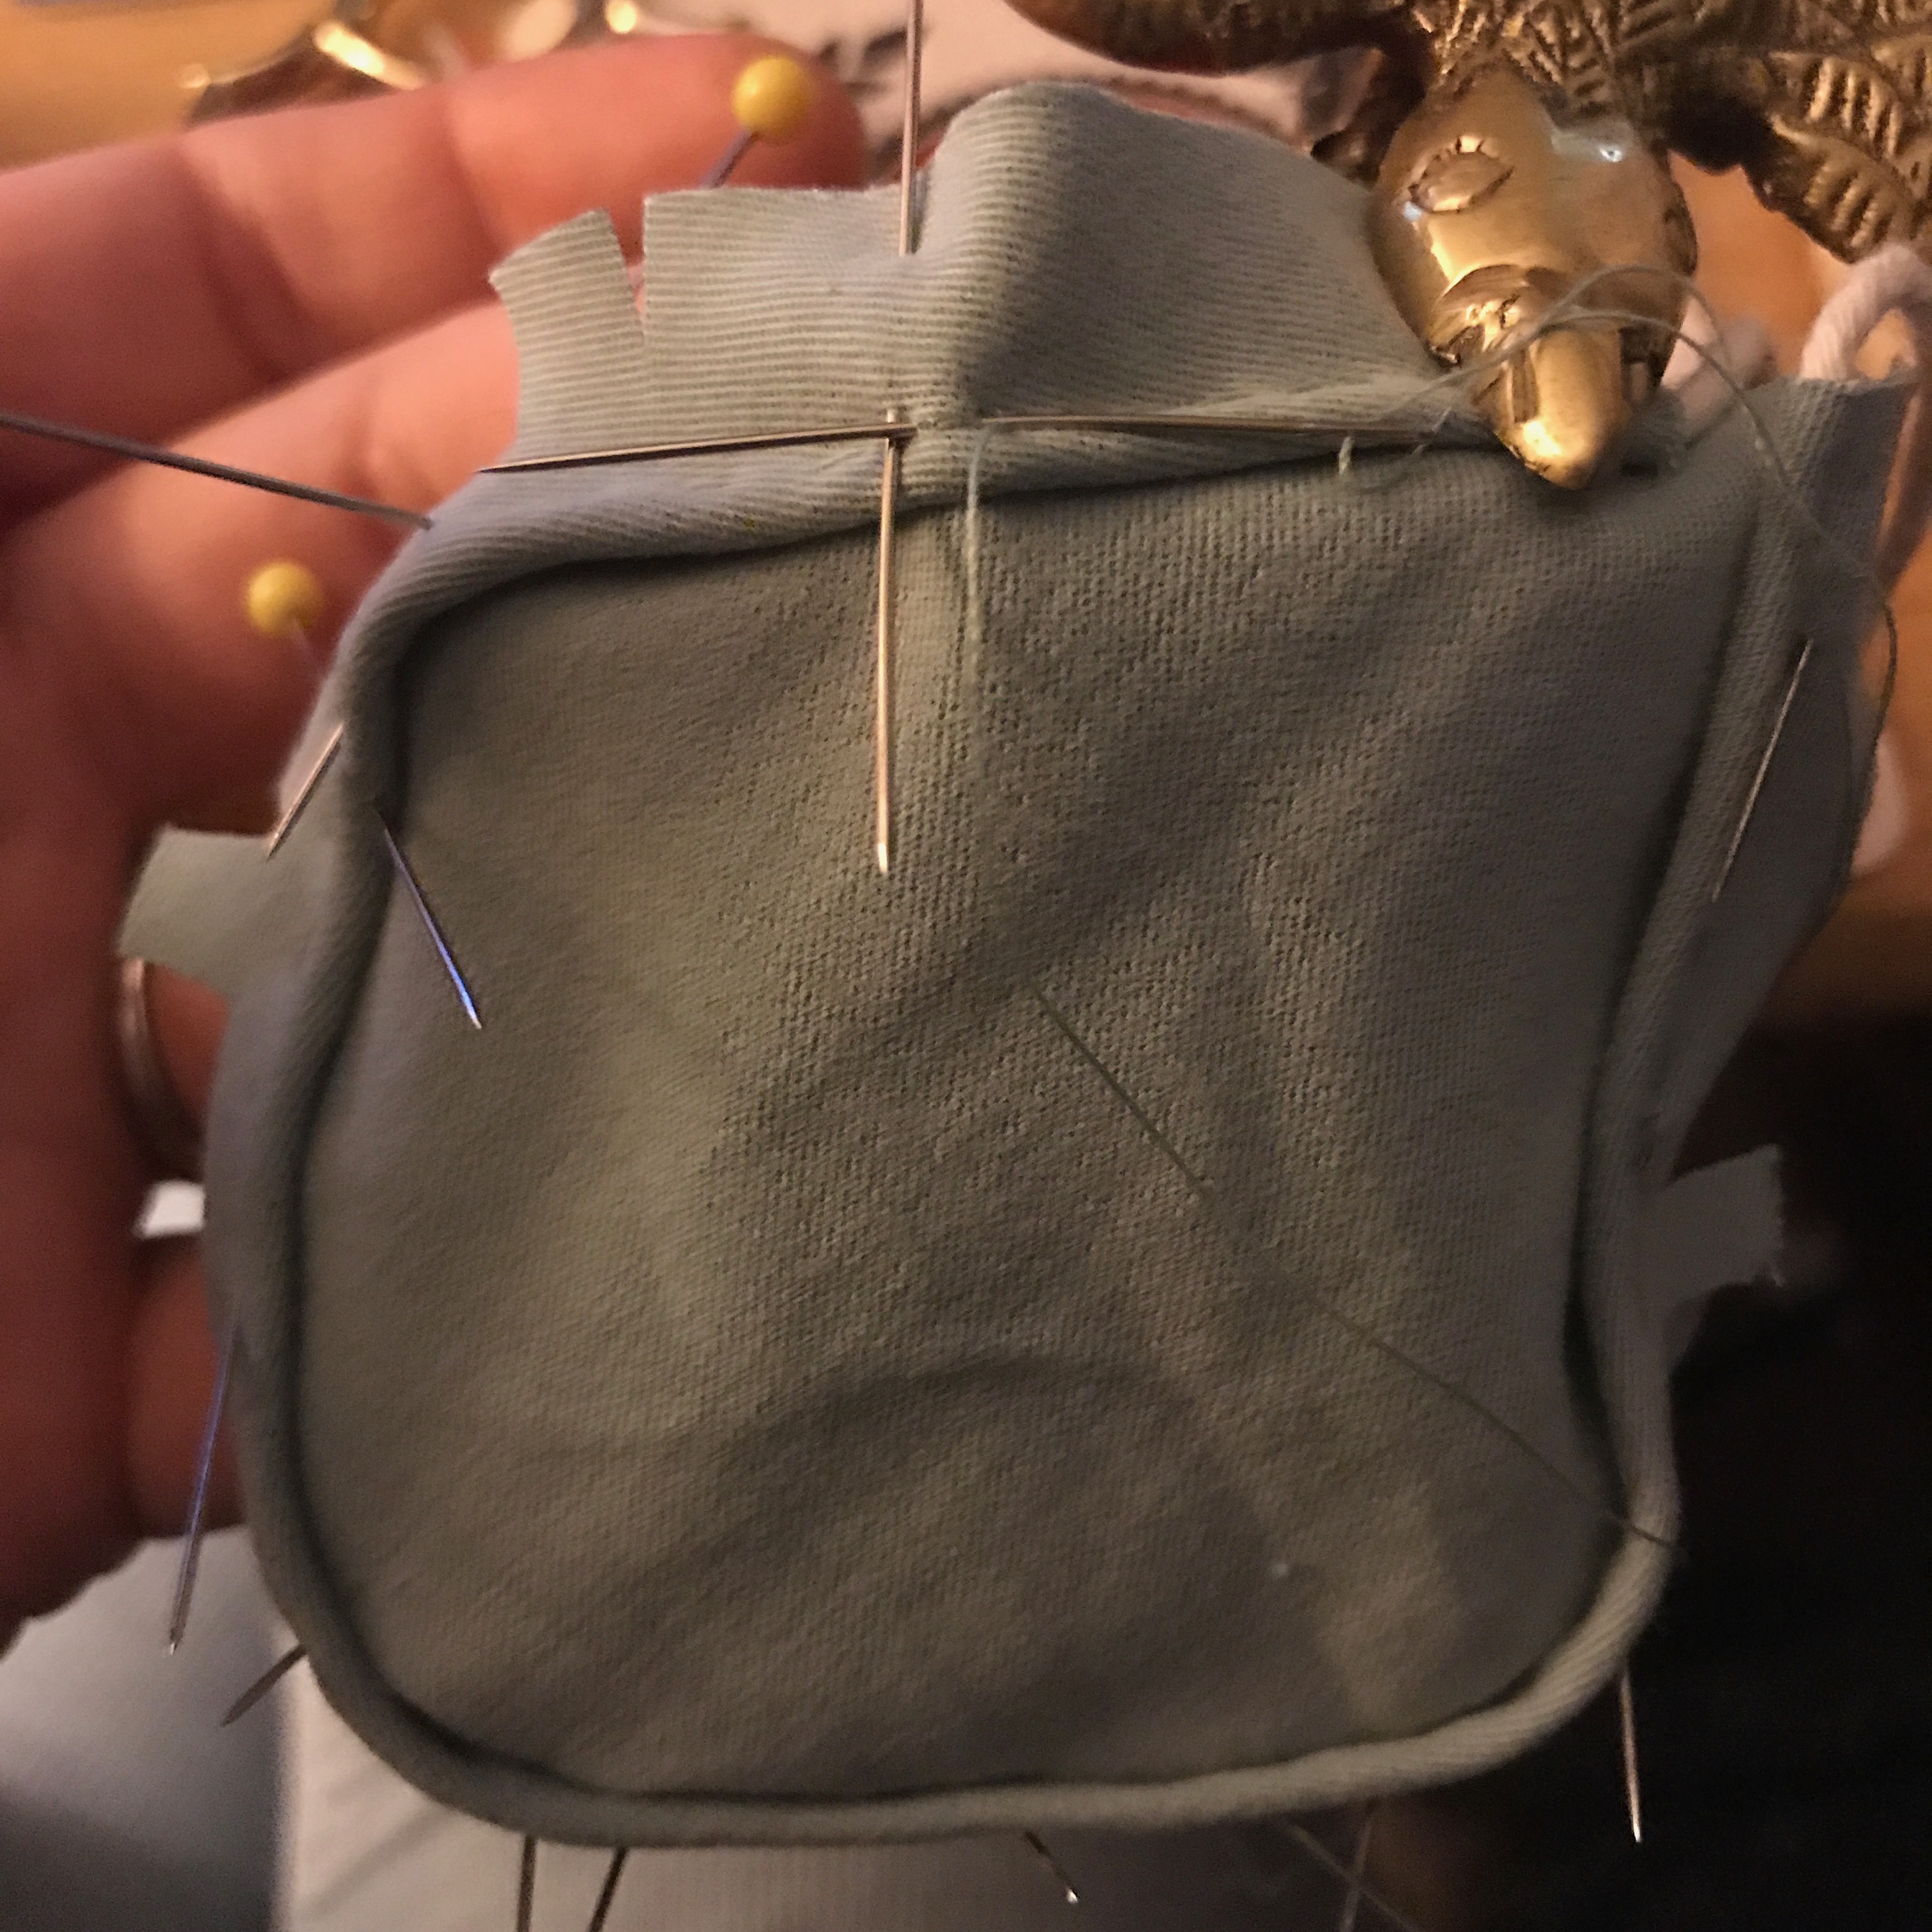
Trim one side of the seam allowance. (Where possible, trim the side that will be at the back of the garment.) 

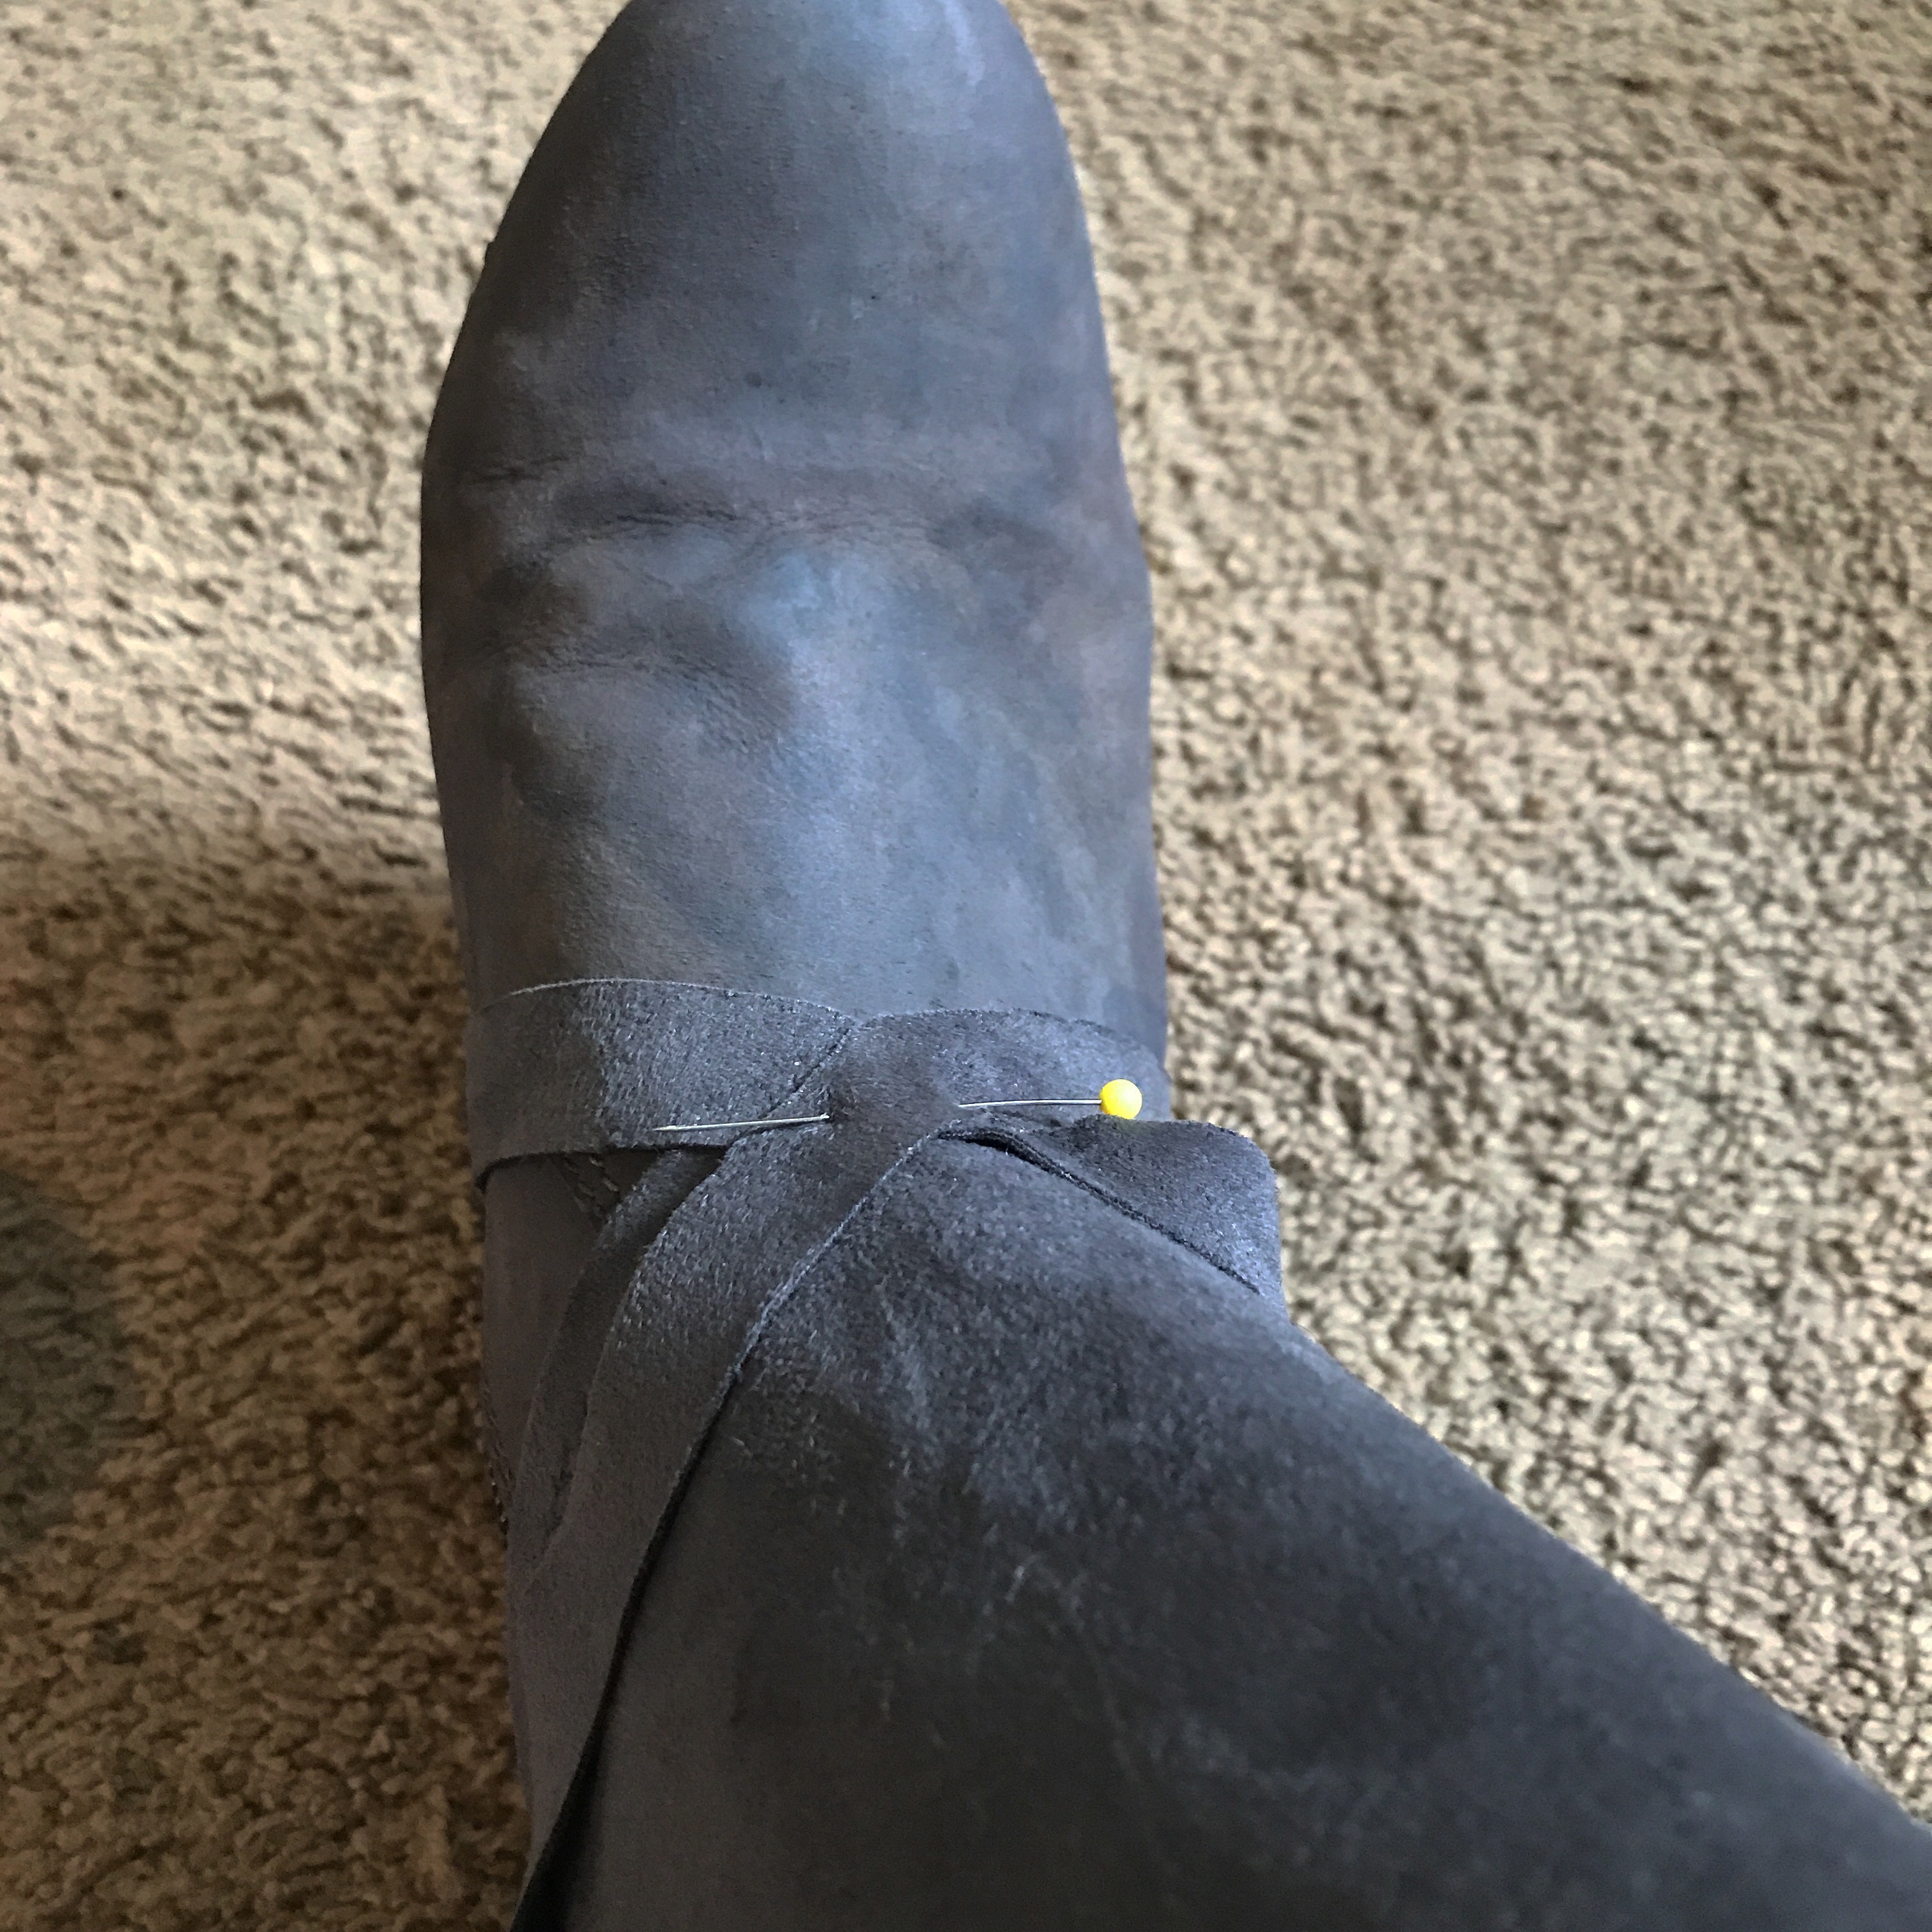
Fold the raw edge of the untrimmed seam allowance under. 
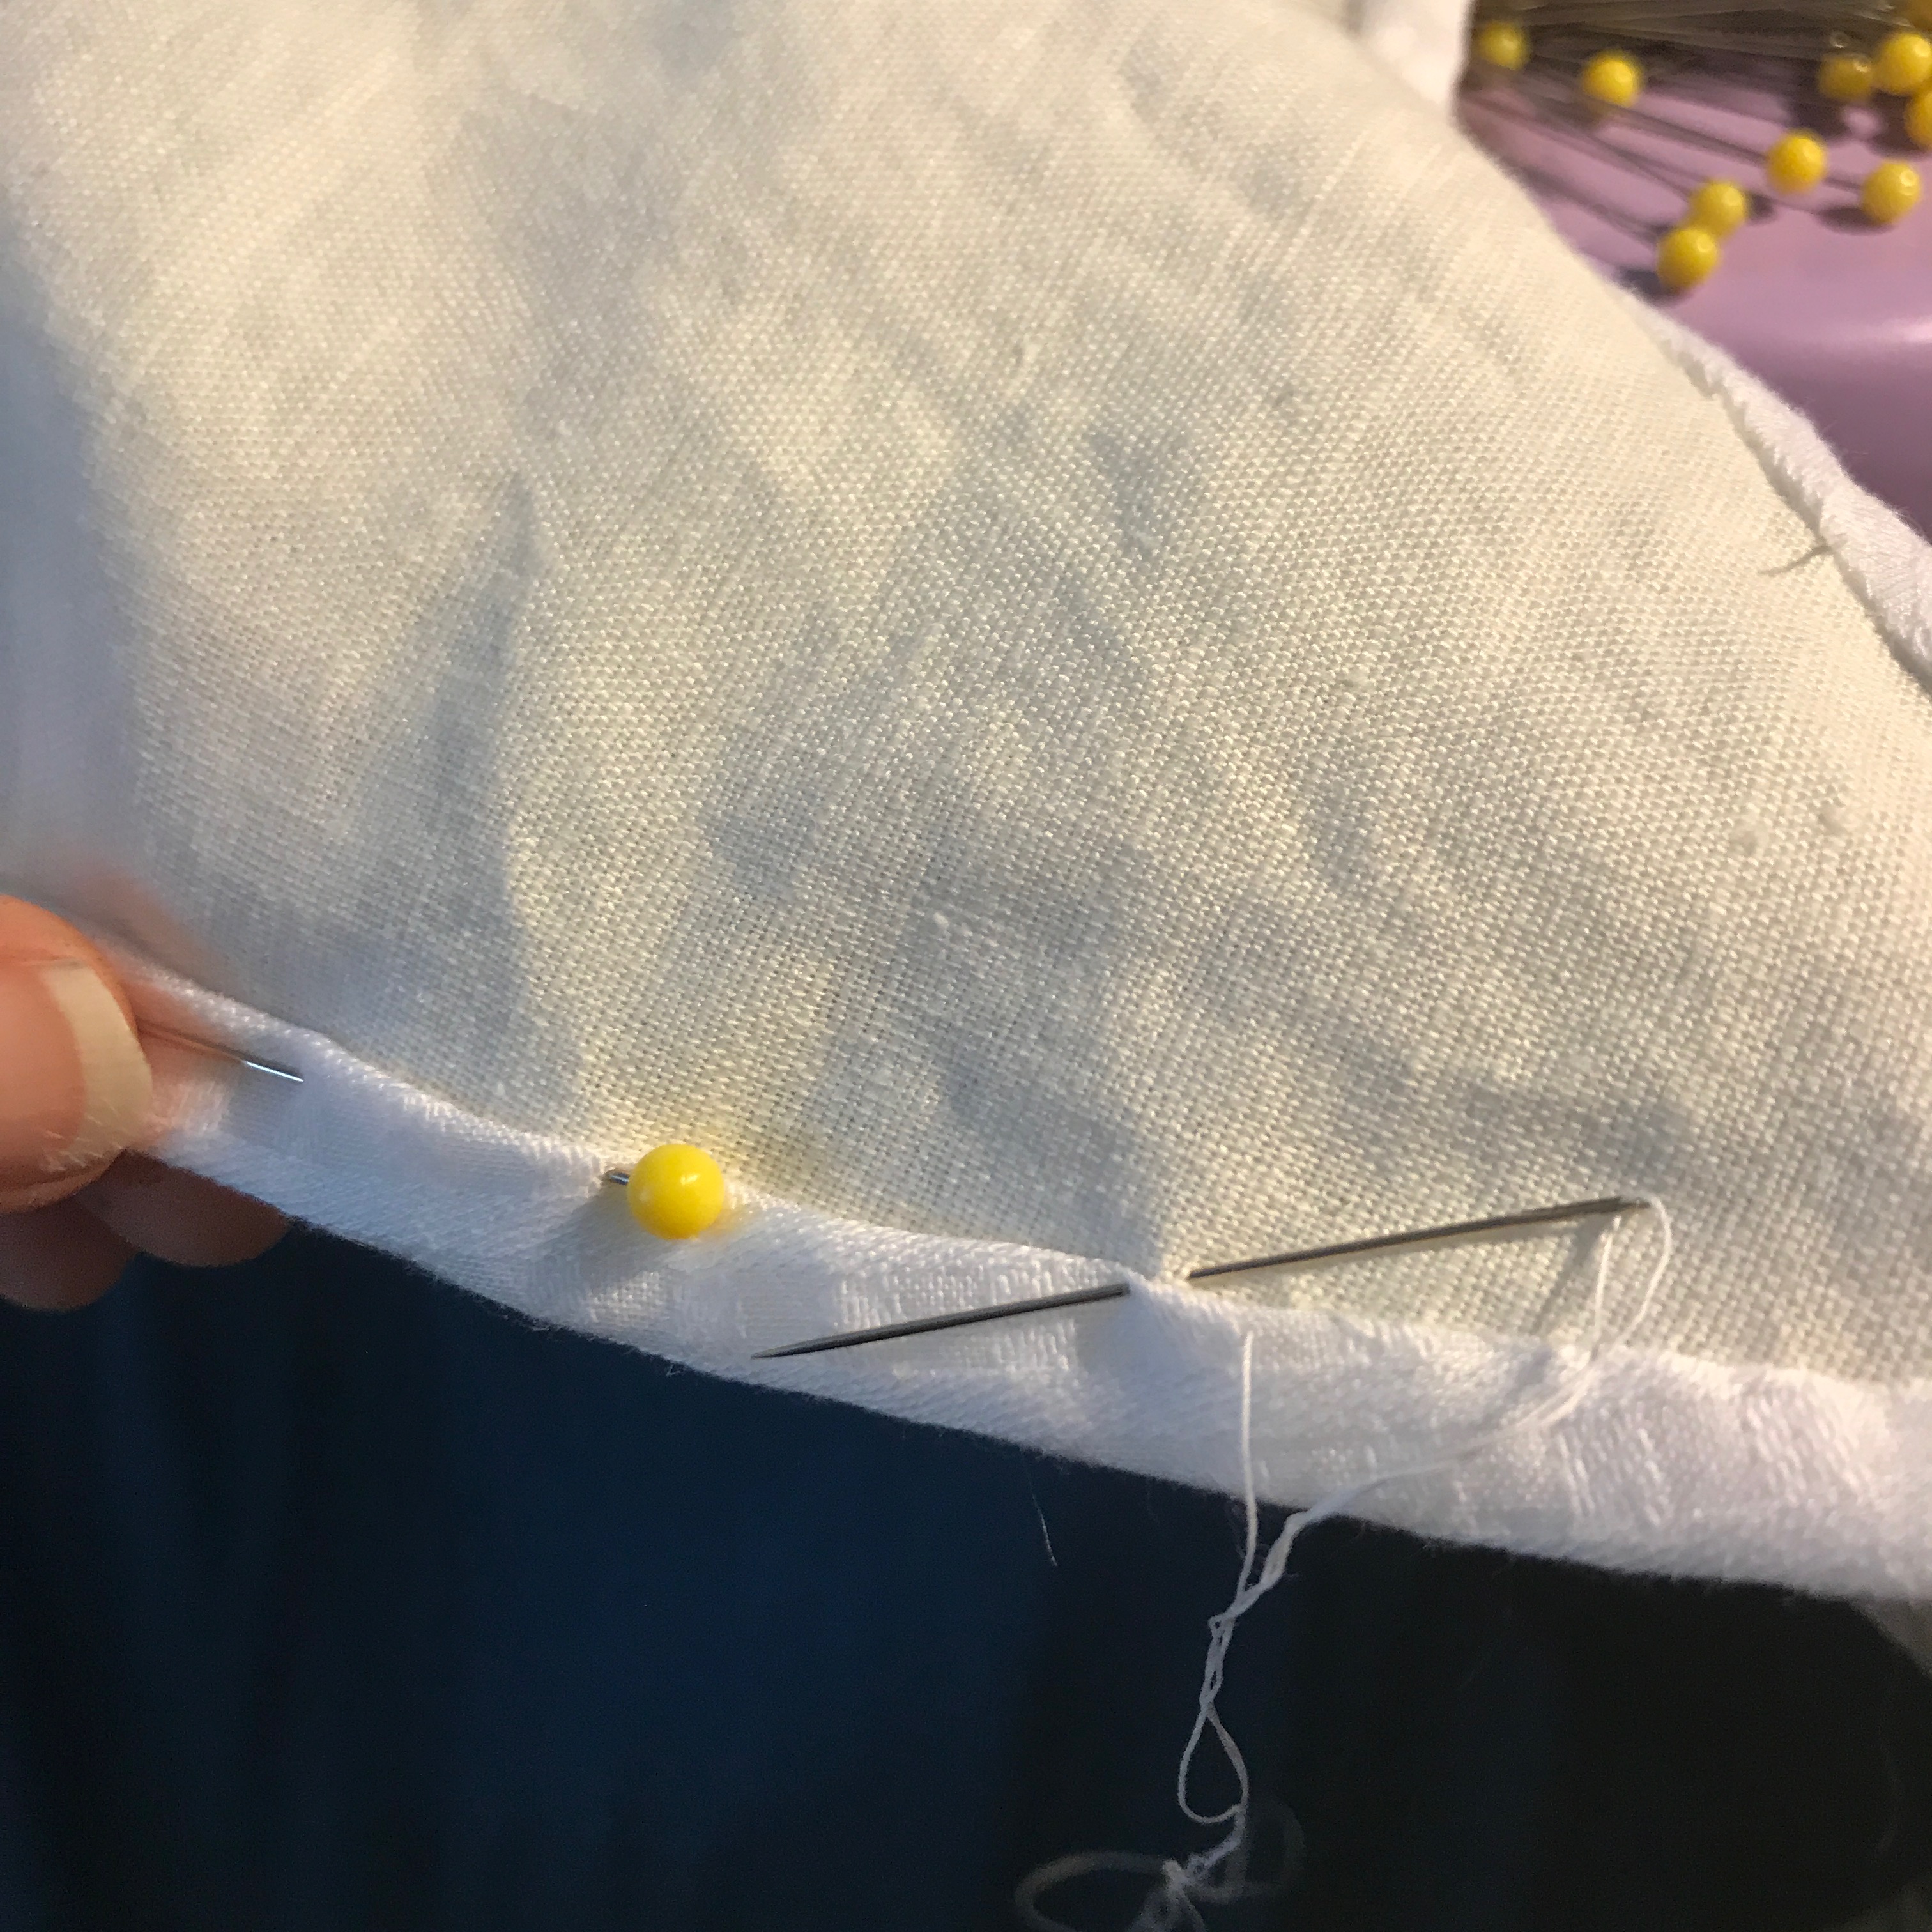
And pin in place.


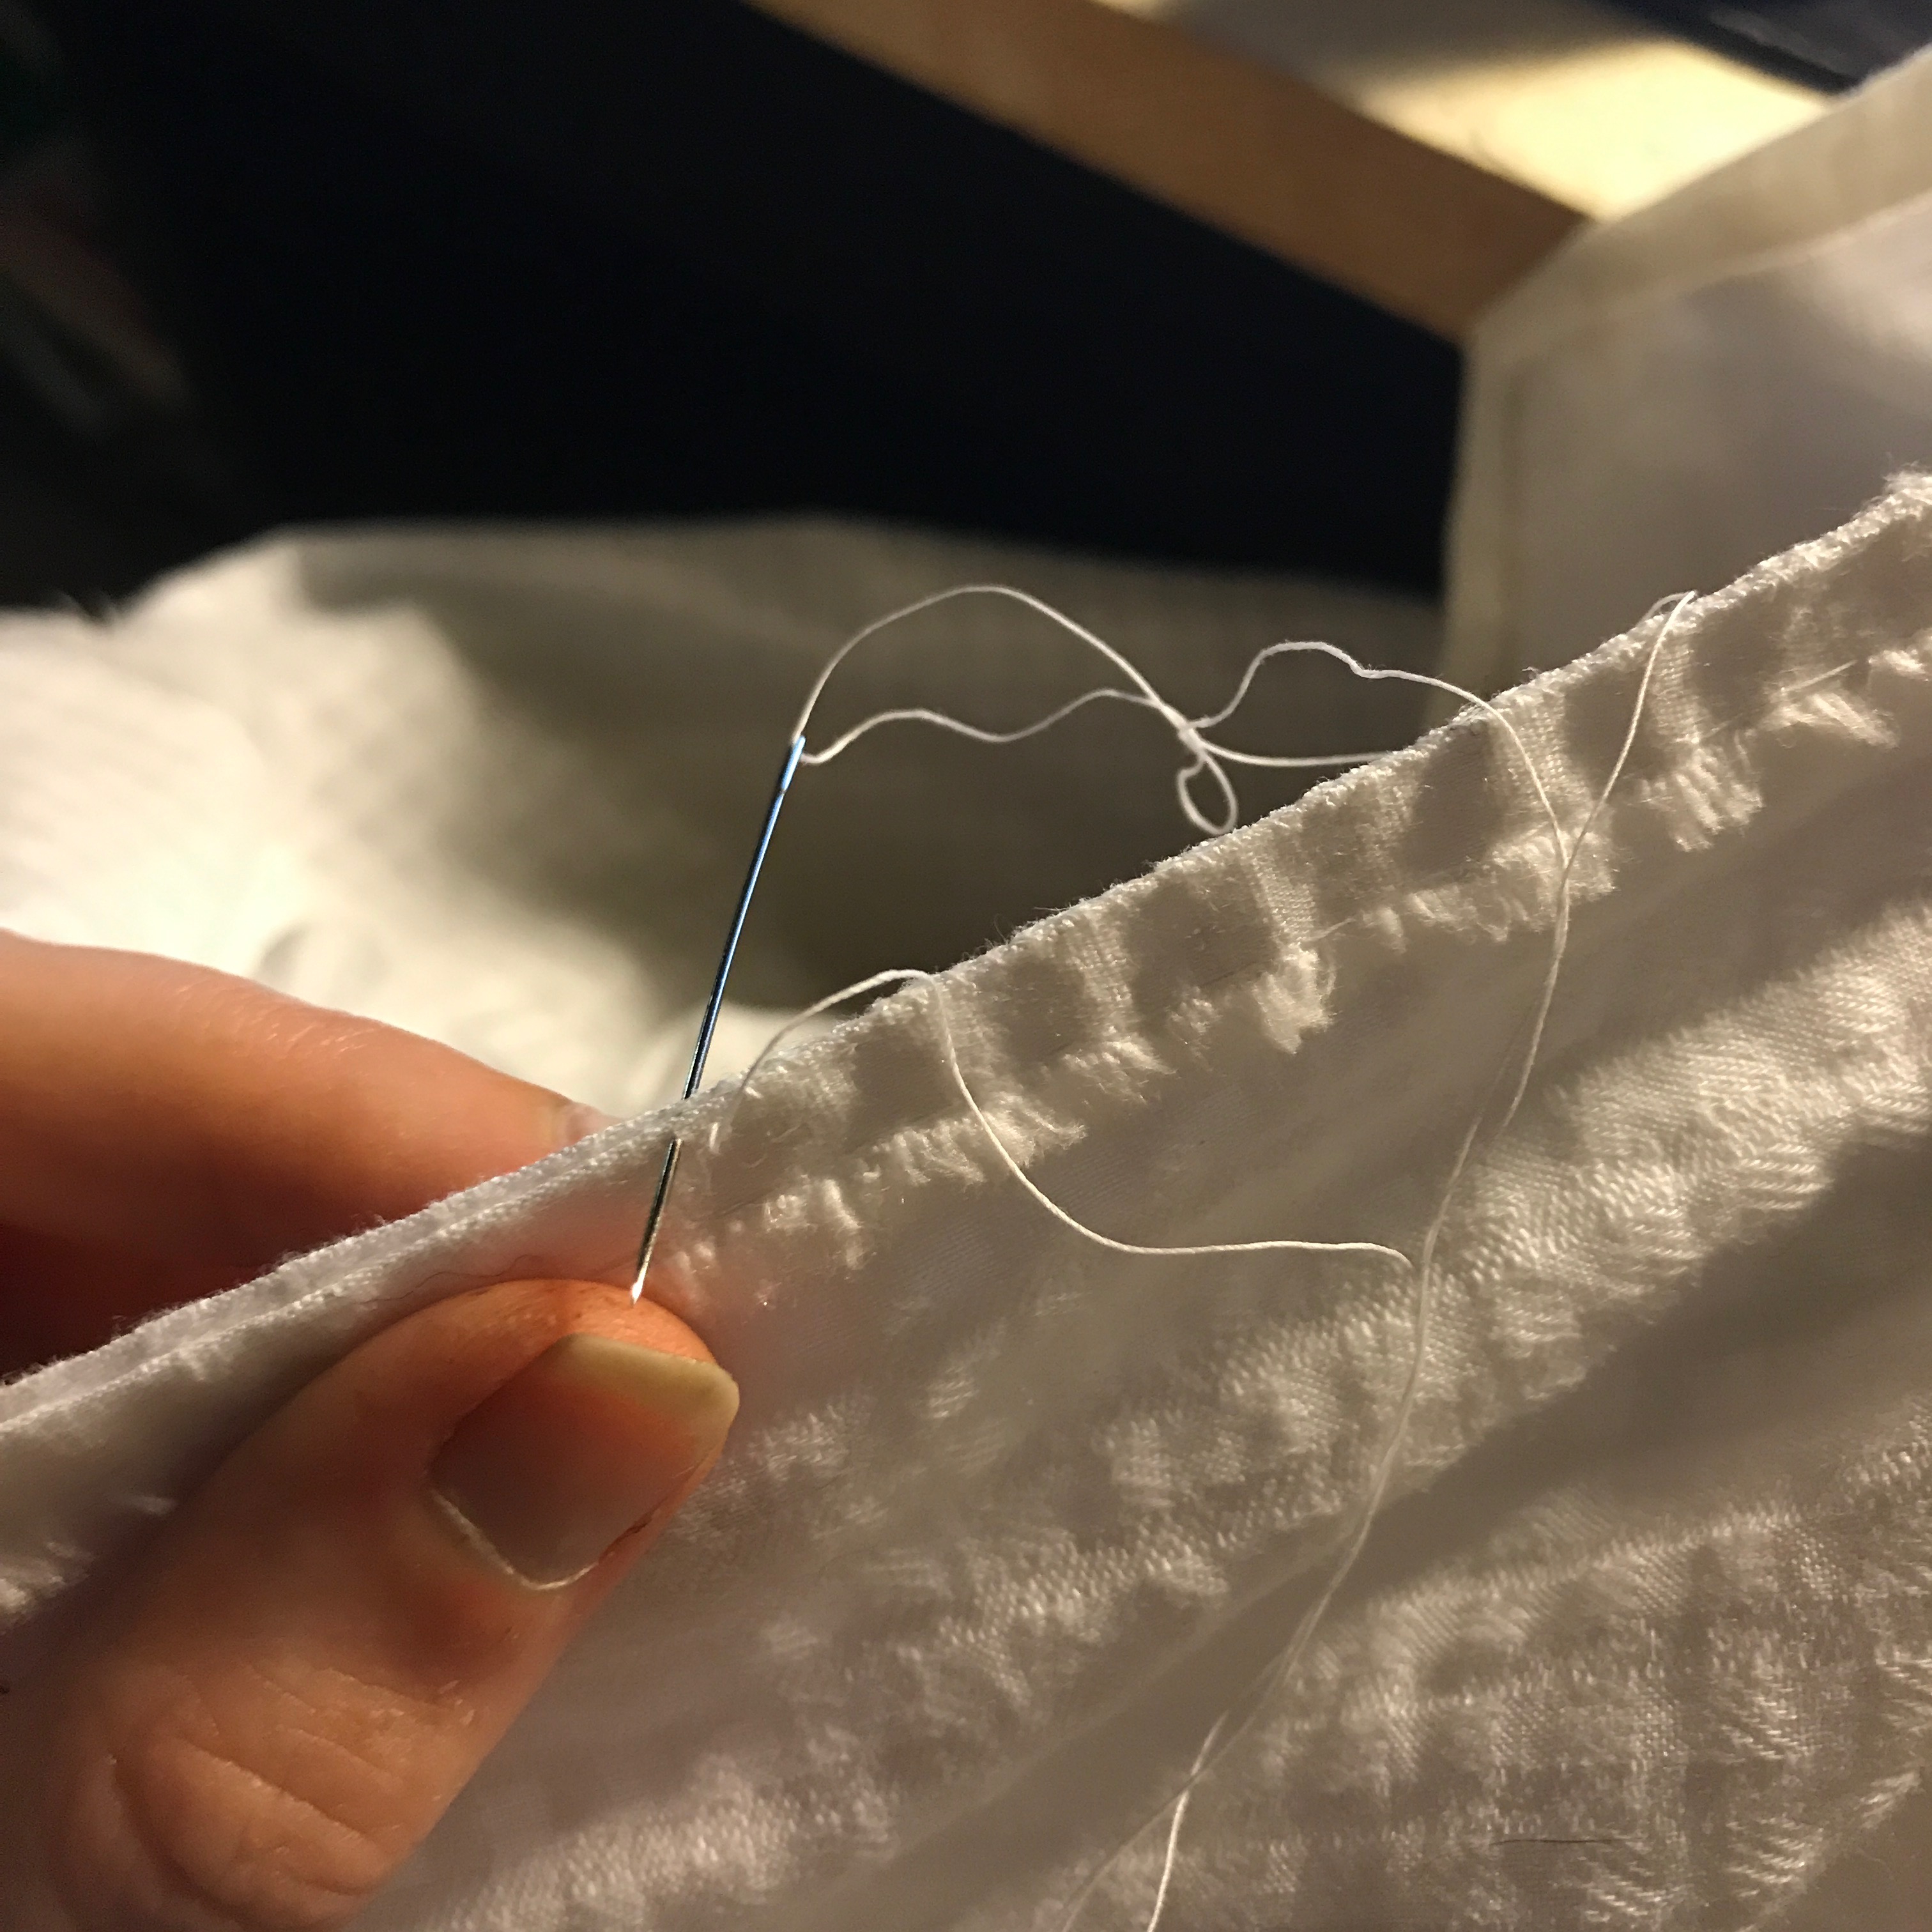
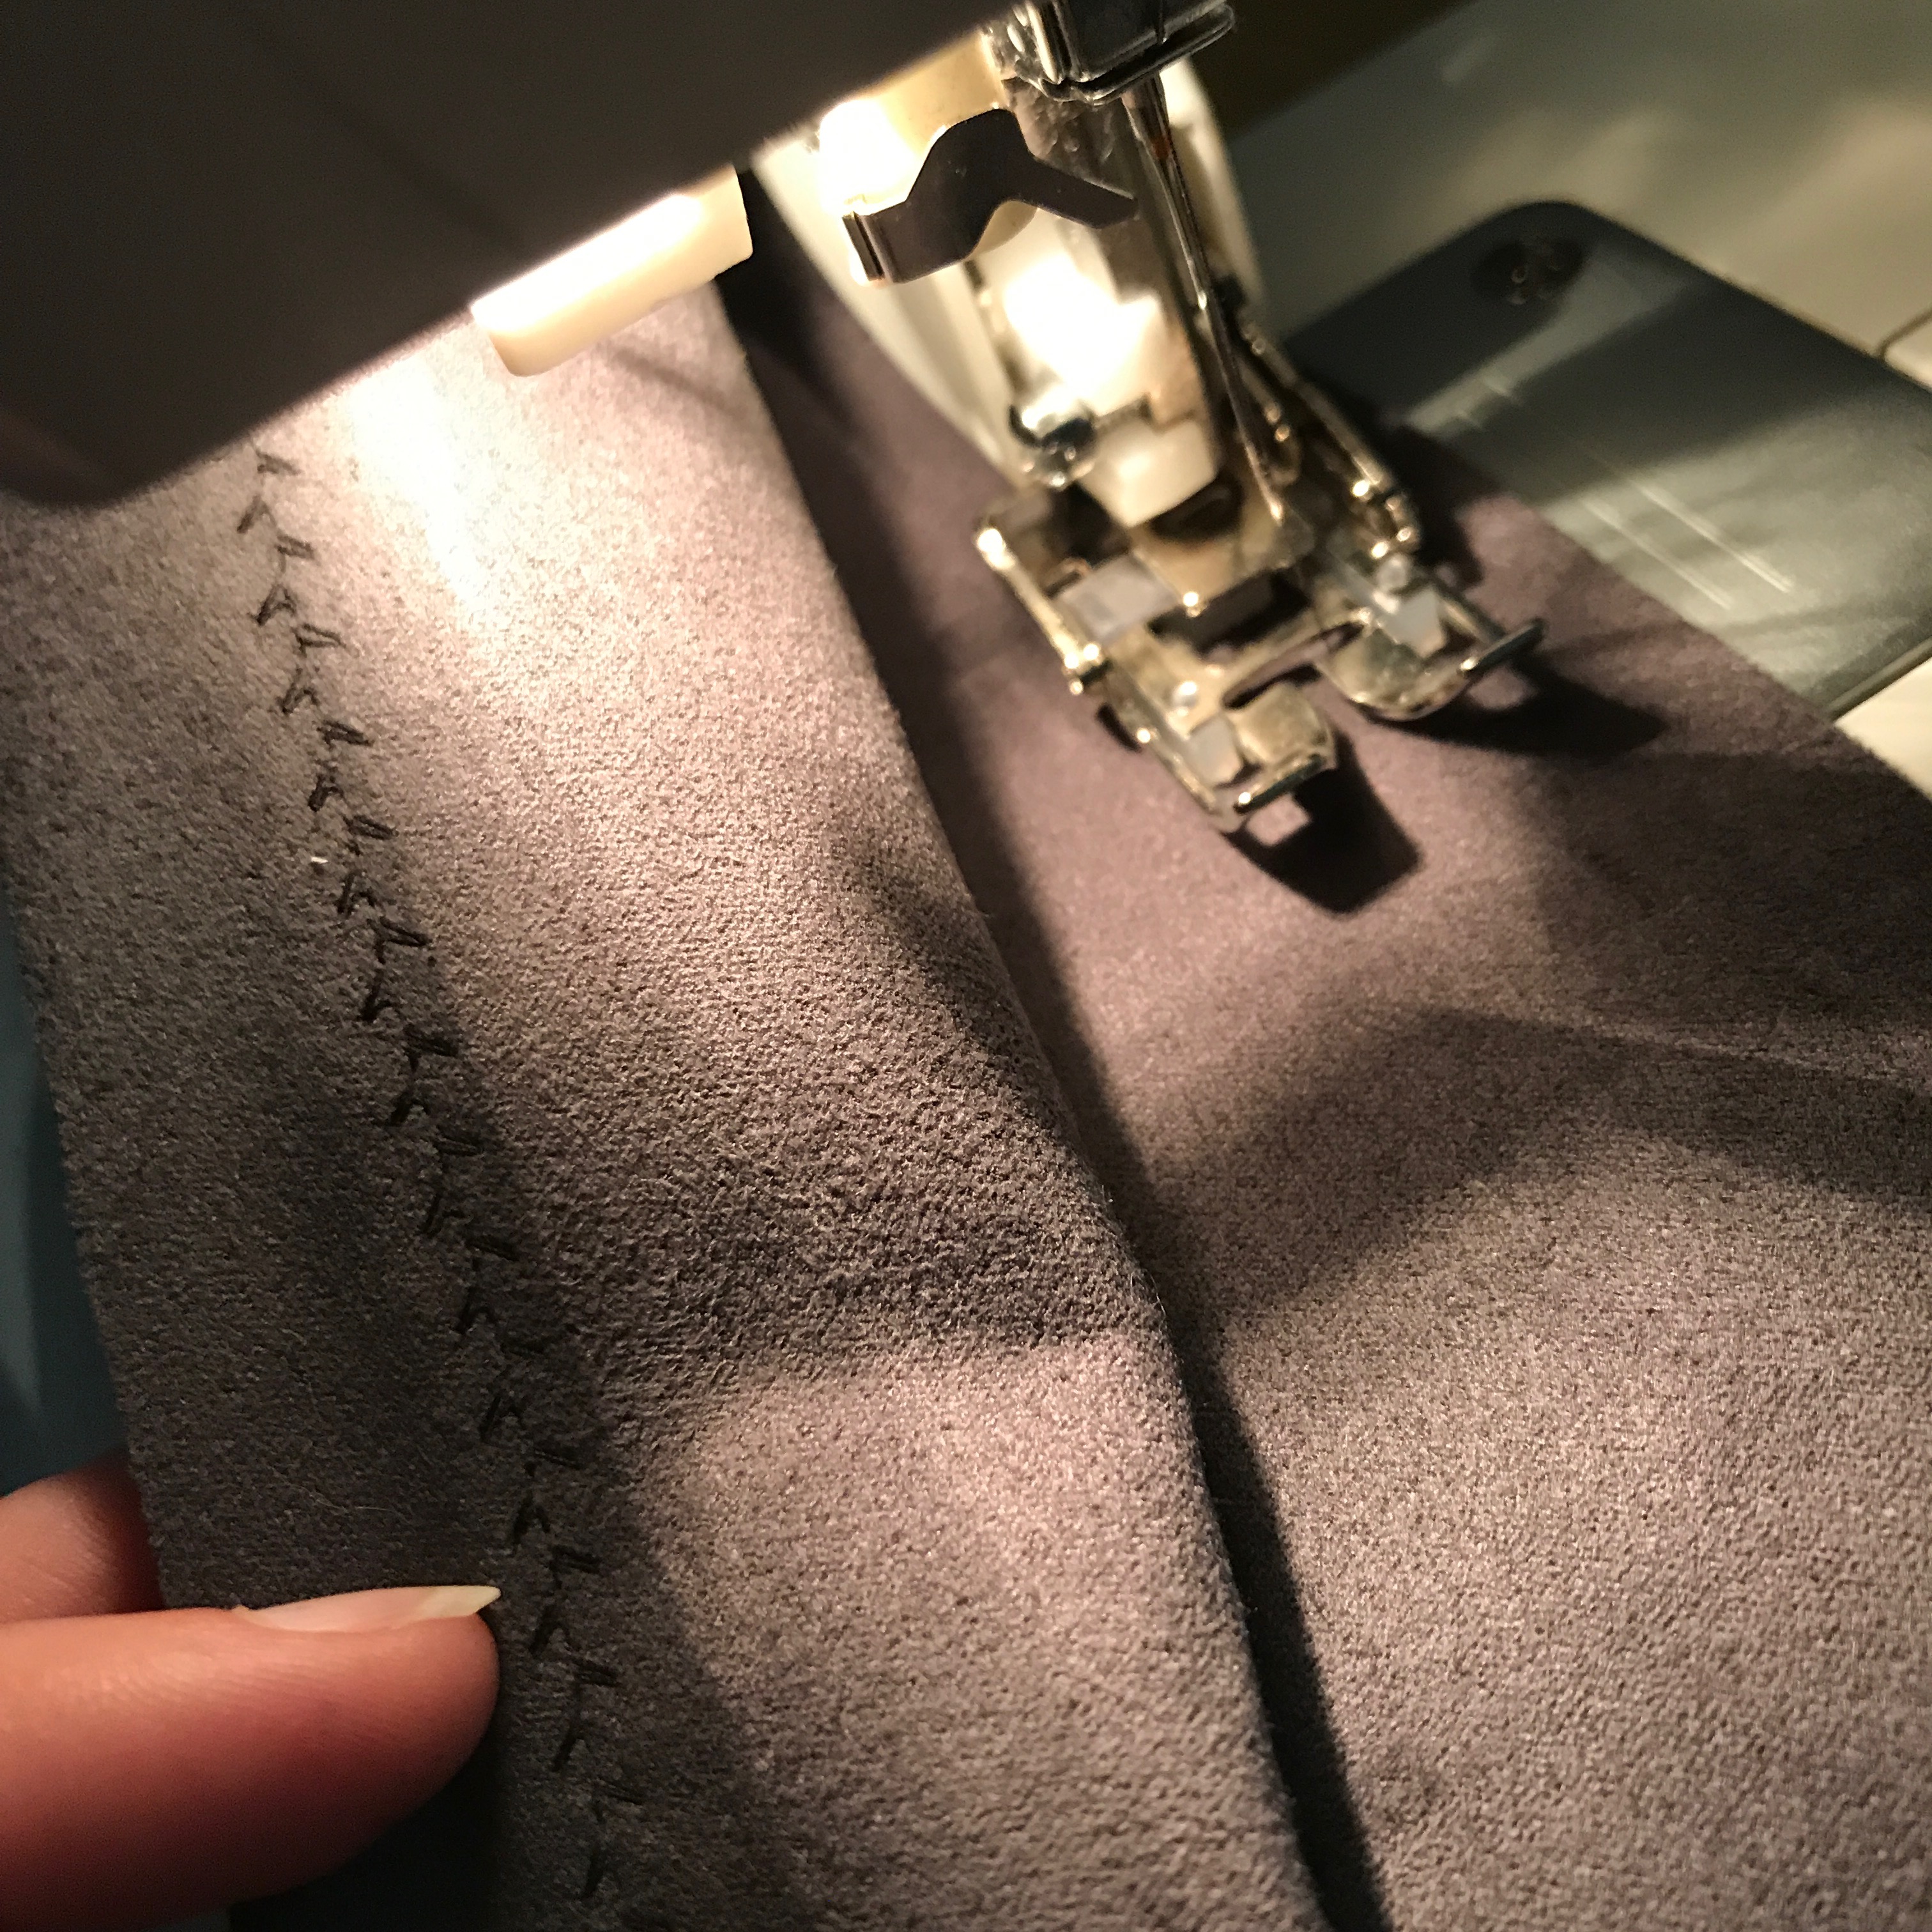
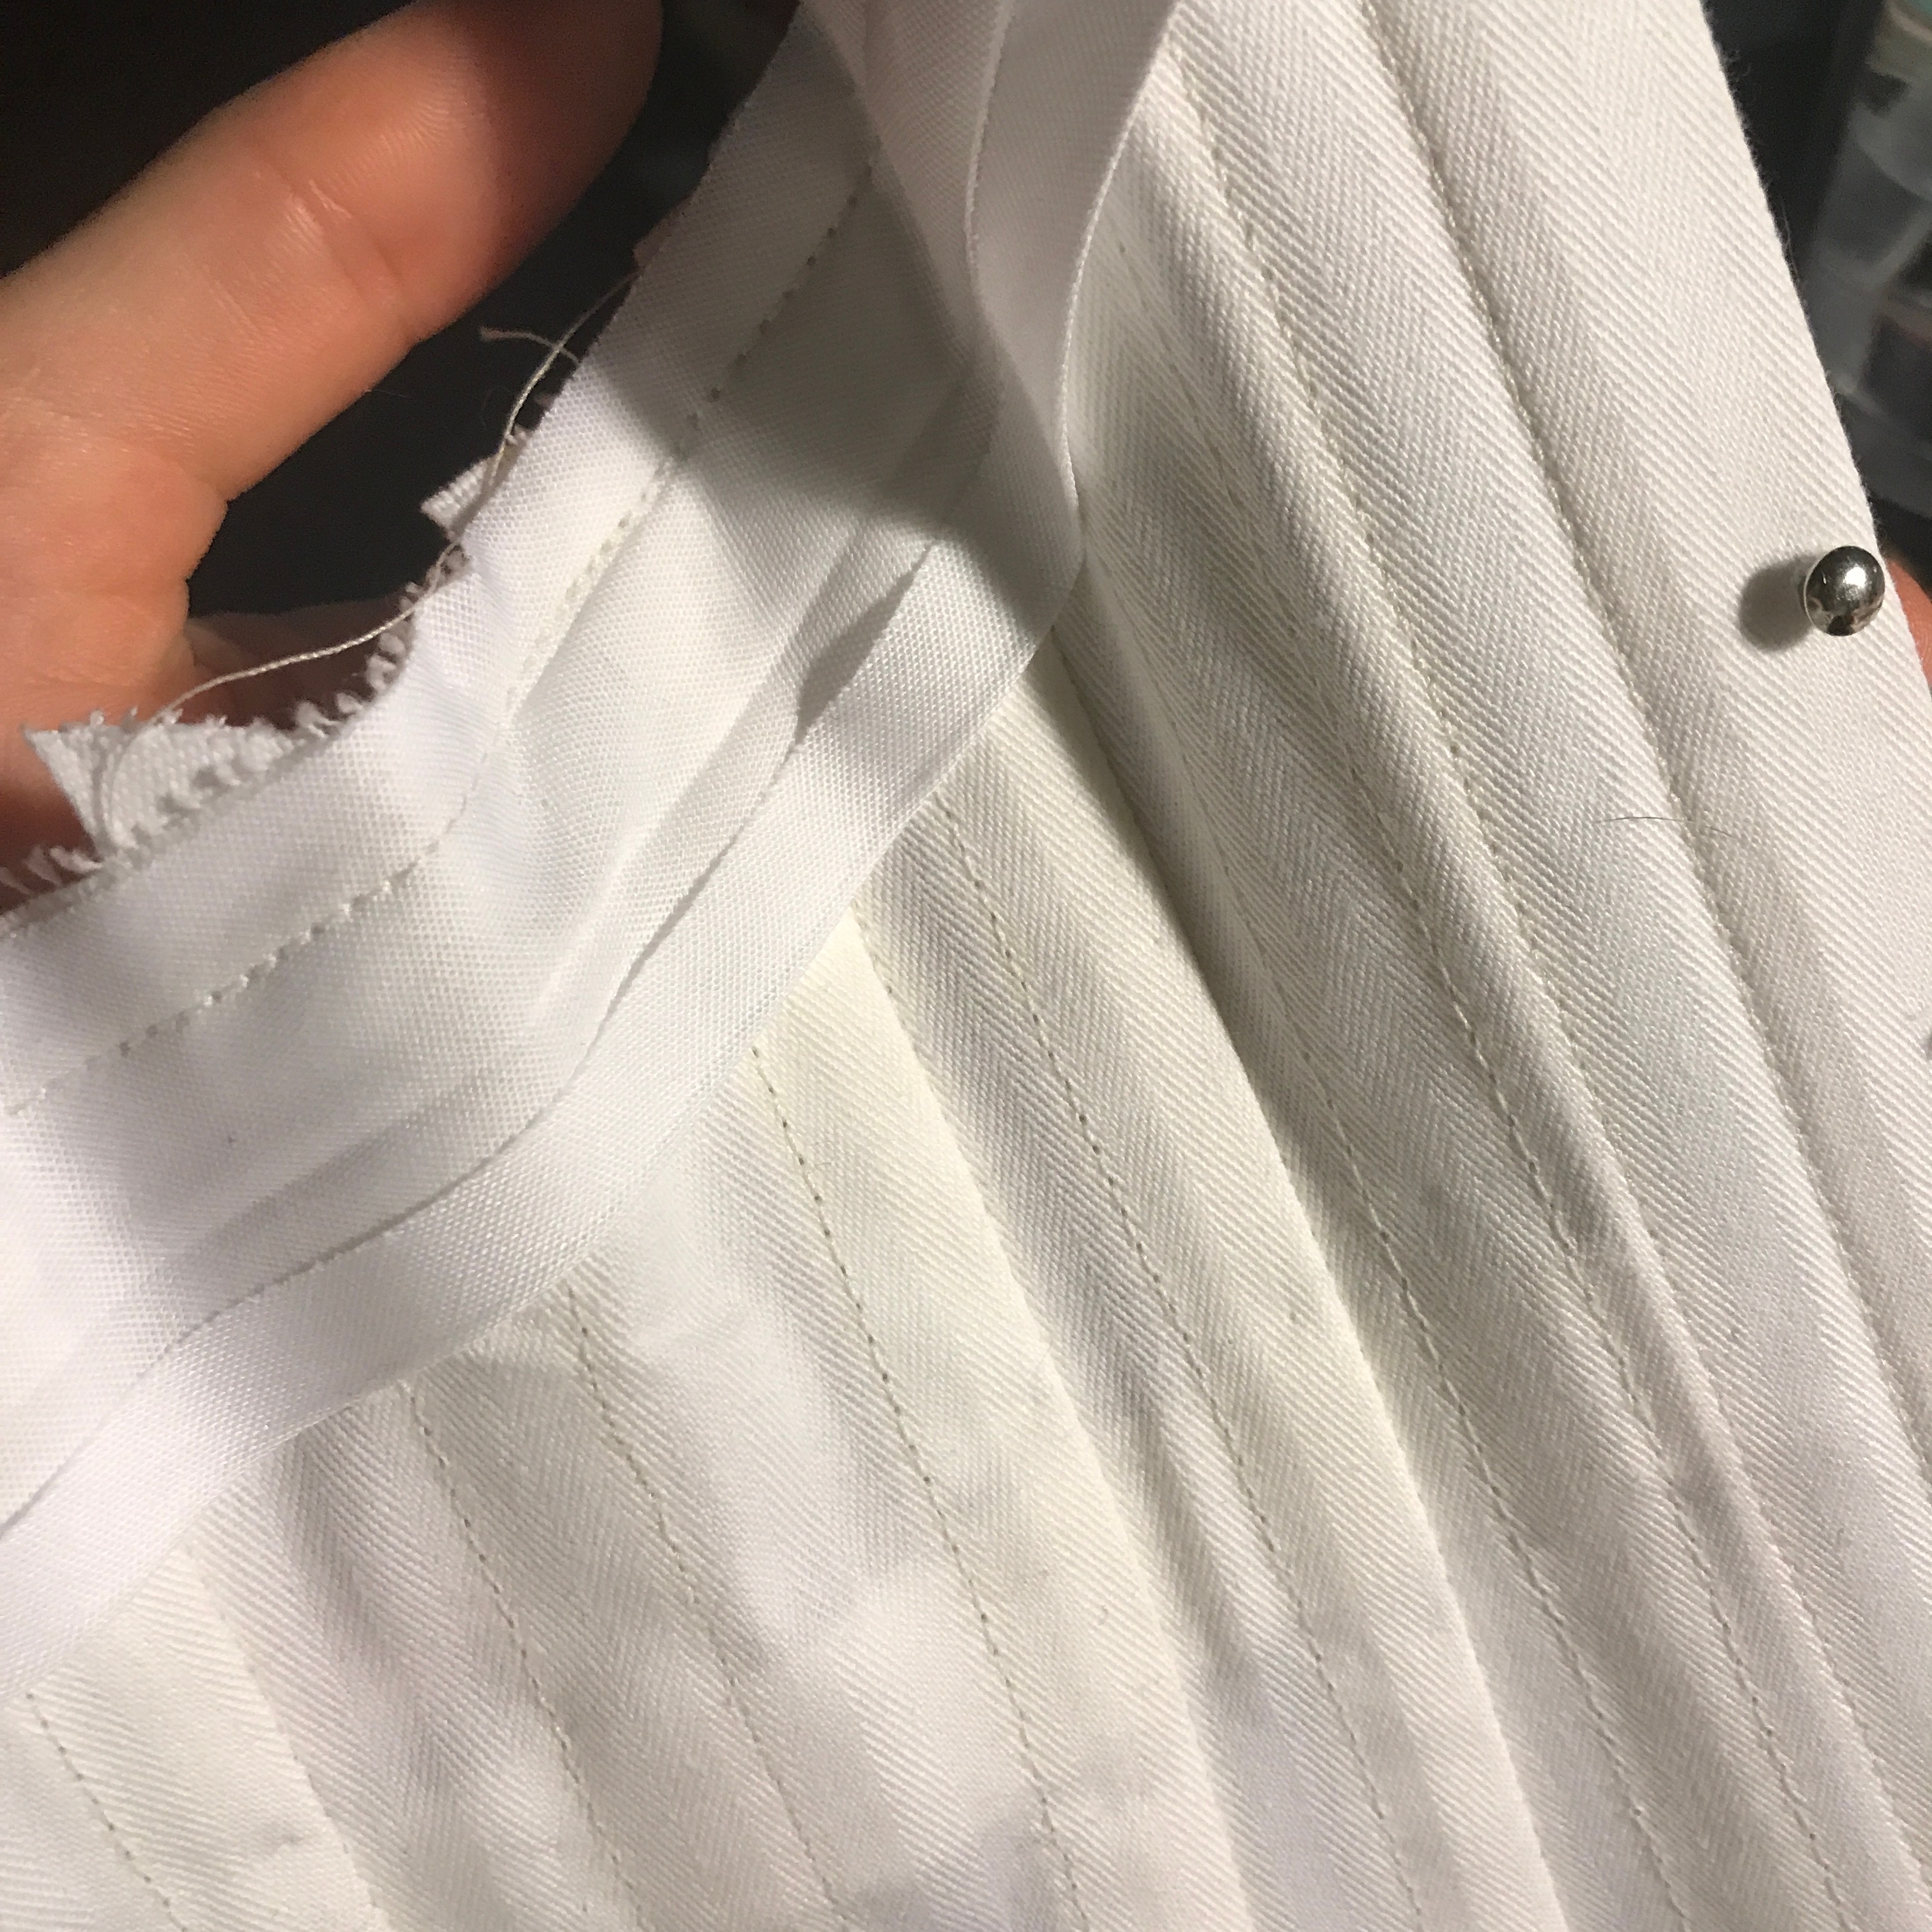
Hem stitch the folded edge to the fabric, making sure to catch only one thread of the outer fabric in each stitch so that your stitches will be as invisible as possible on the outside. 

Finished: Wrong Side 
Finished: Right Side
Mantua Maker’s Seams
Best for seams with no linings
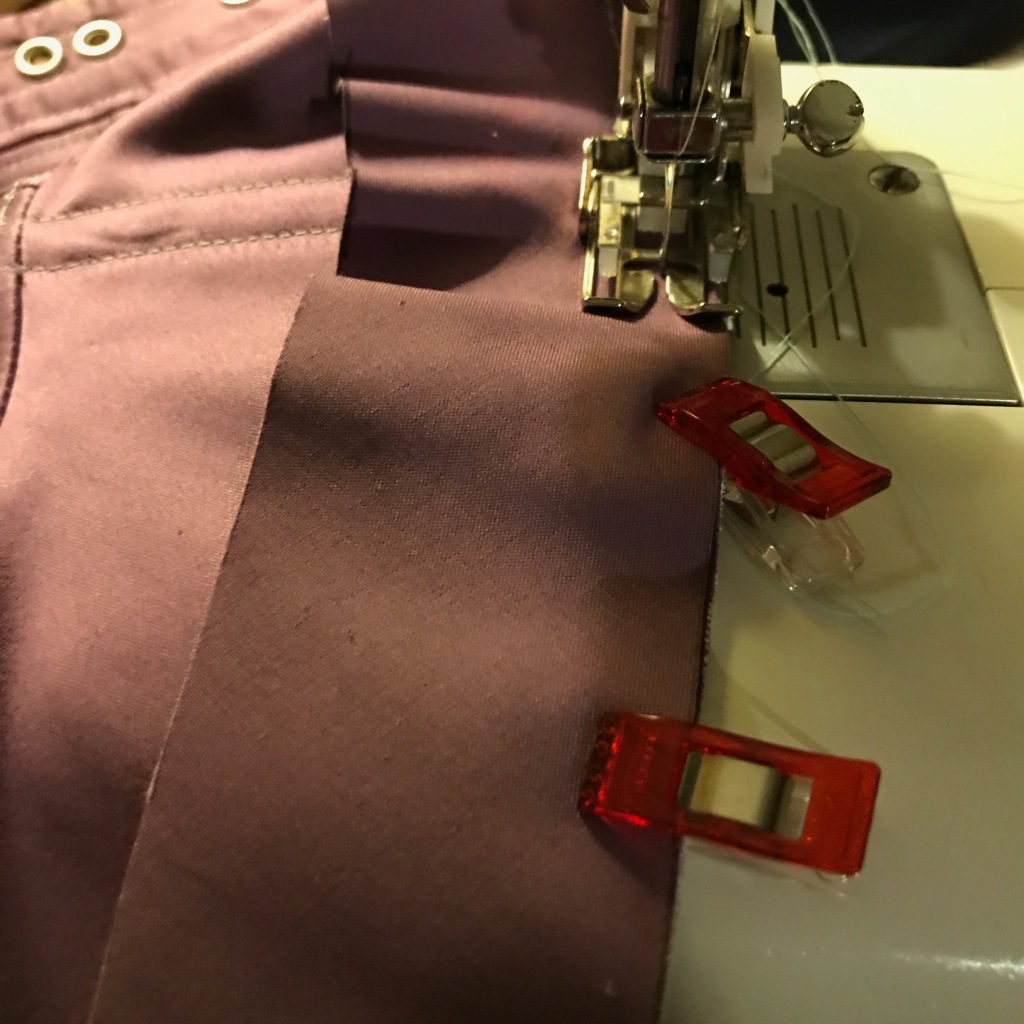
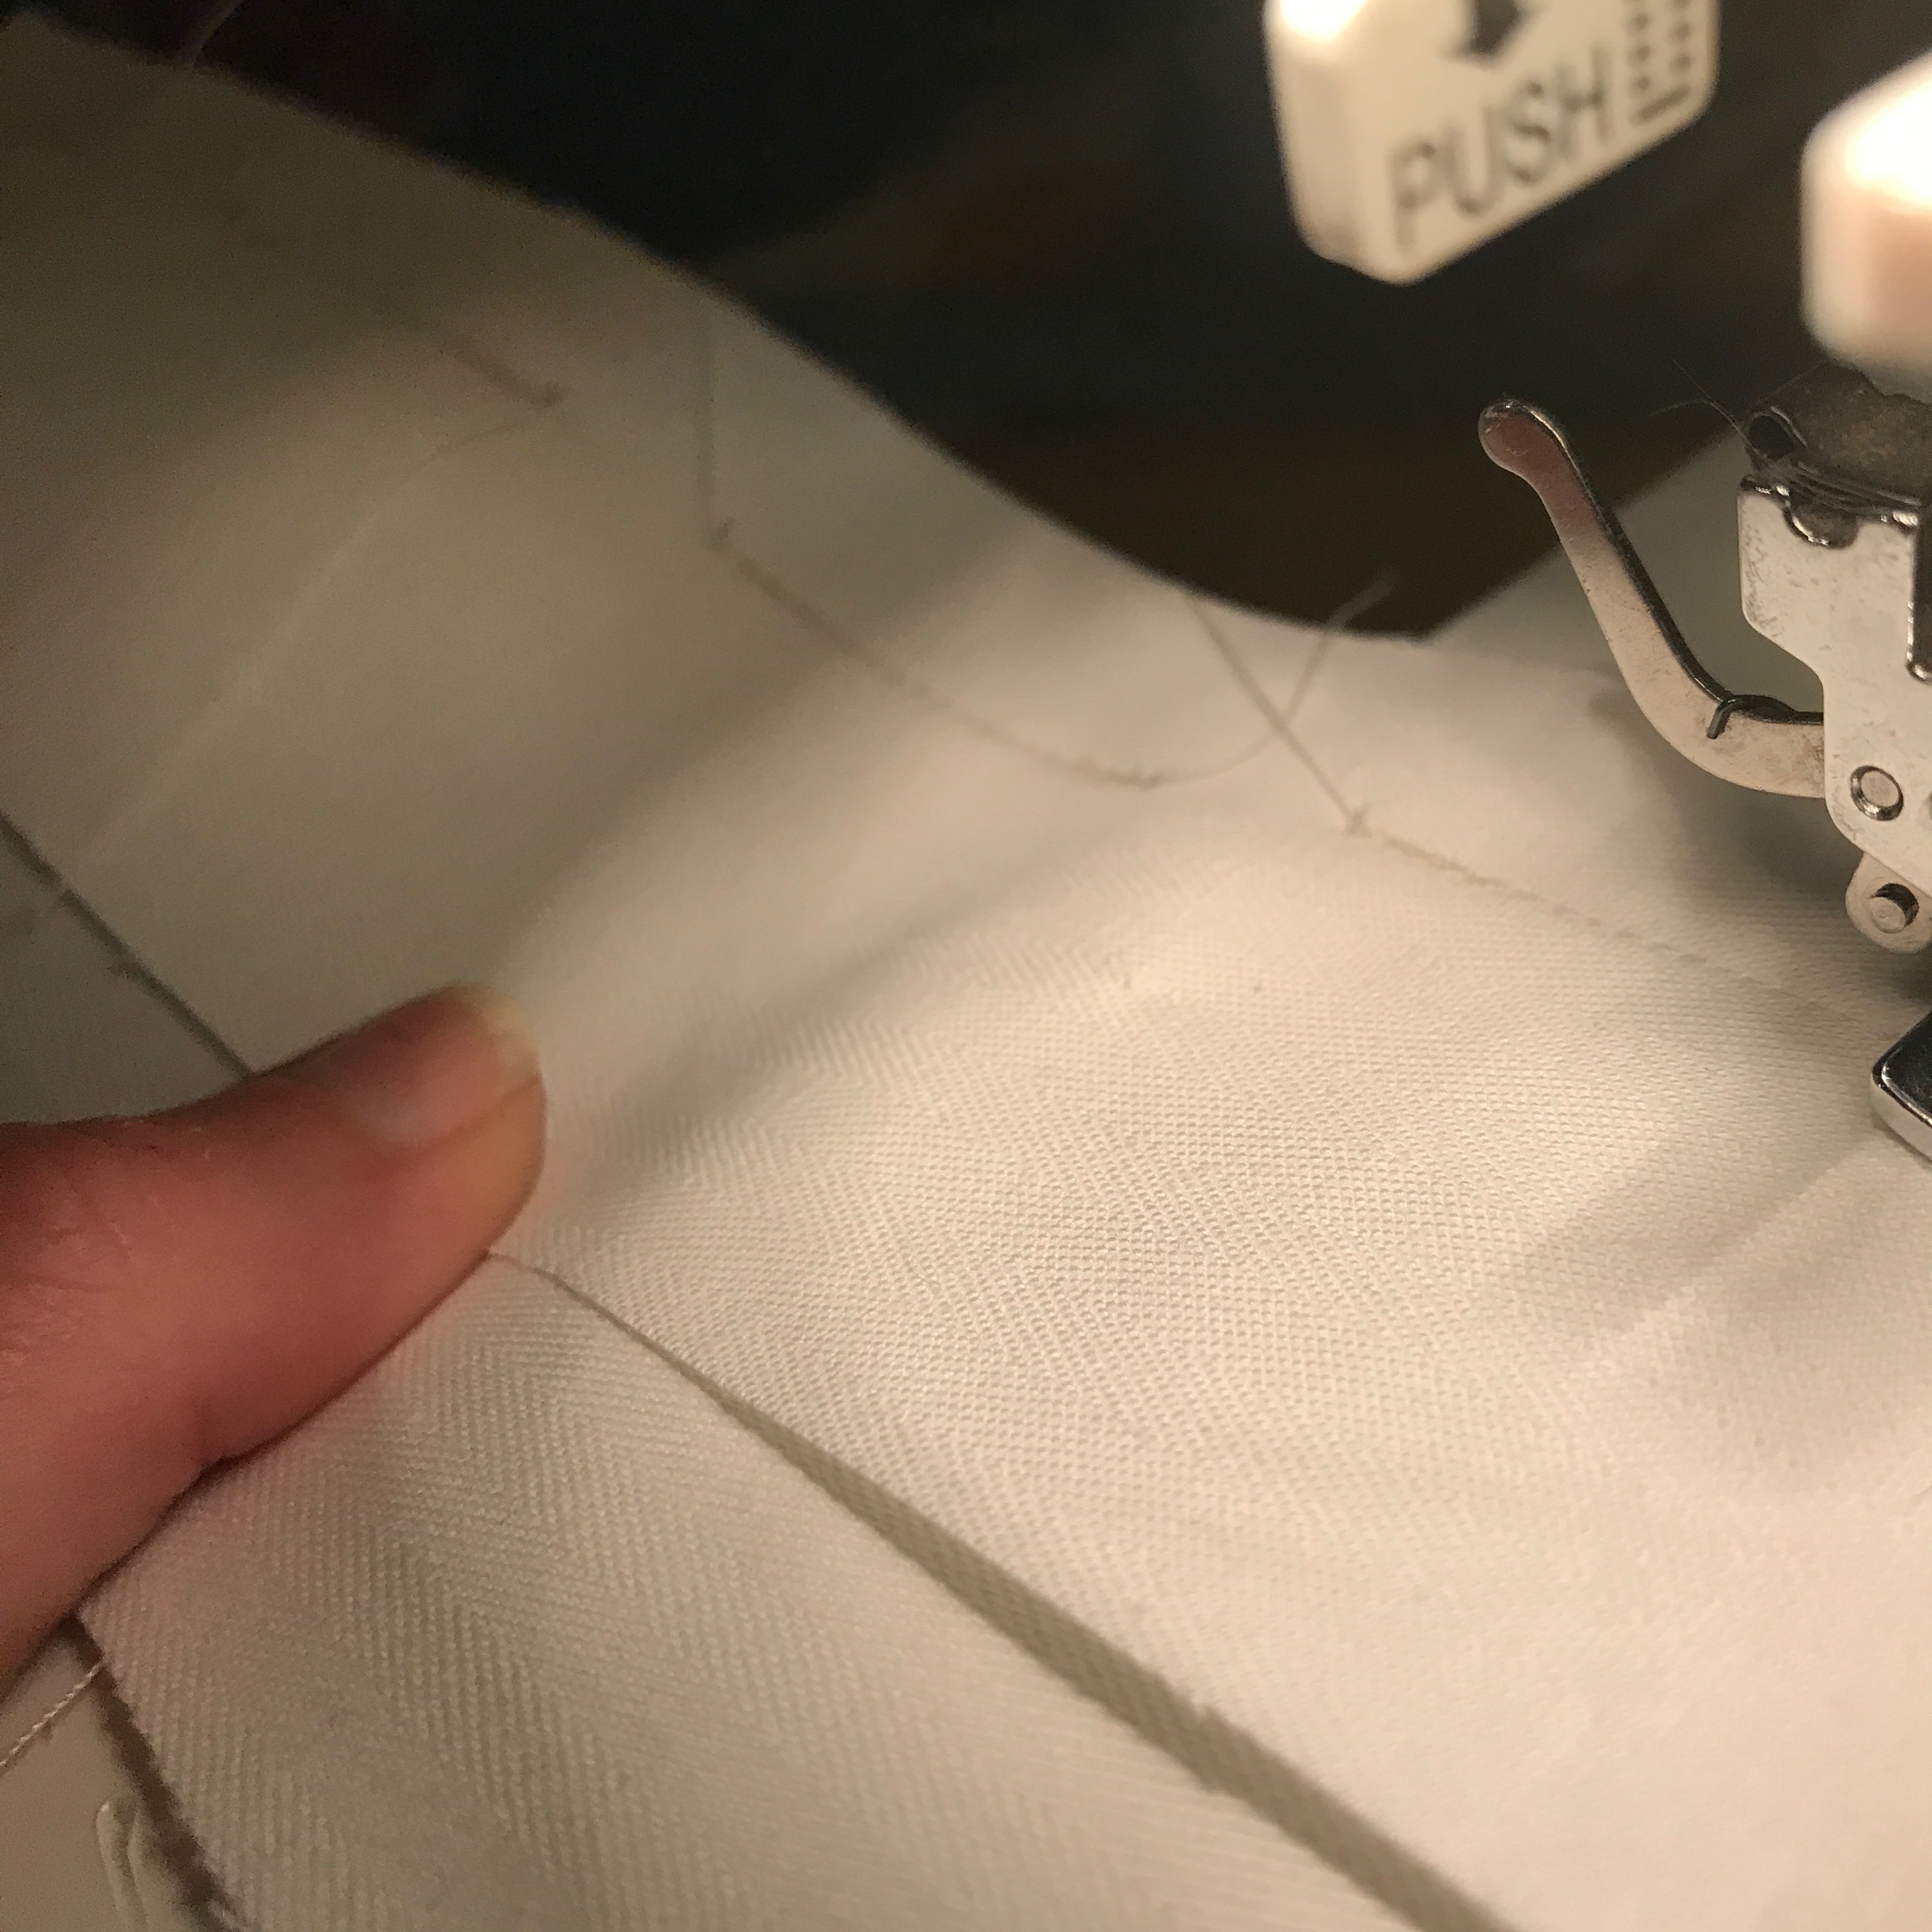
In a mantua-maker’s seam, the two fabric edges are folded over together twice, and the seam is sewn along the inner edge of the fold. It comes out looking like a hem on the inside, and an ordinary seam on the outside. Best for long skirt seams. It is best done by hand, but can be done on a machine in a pinch.

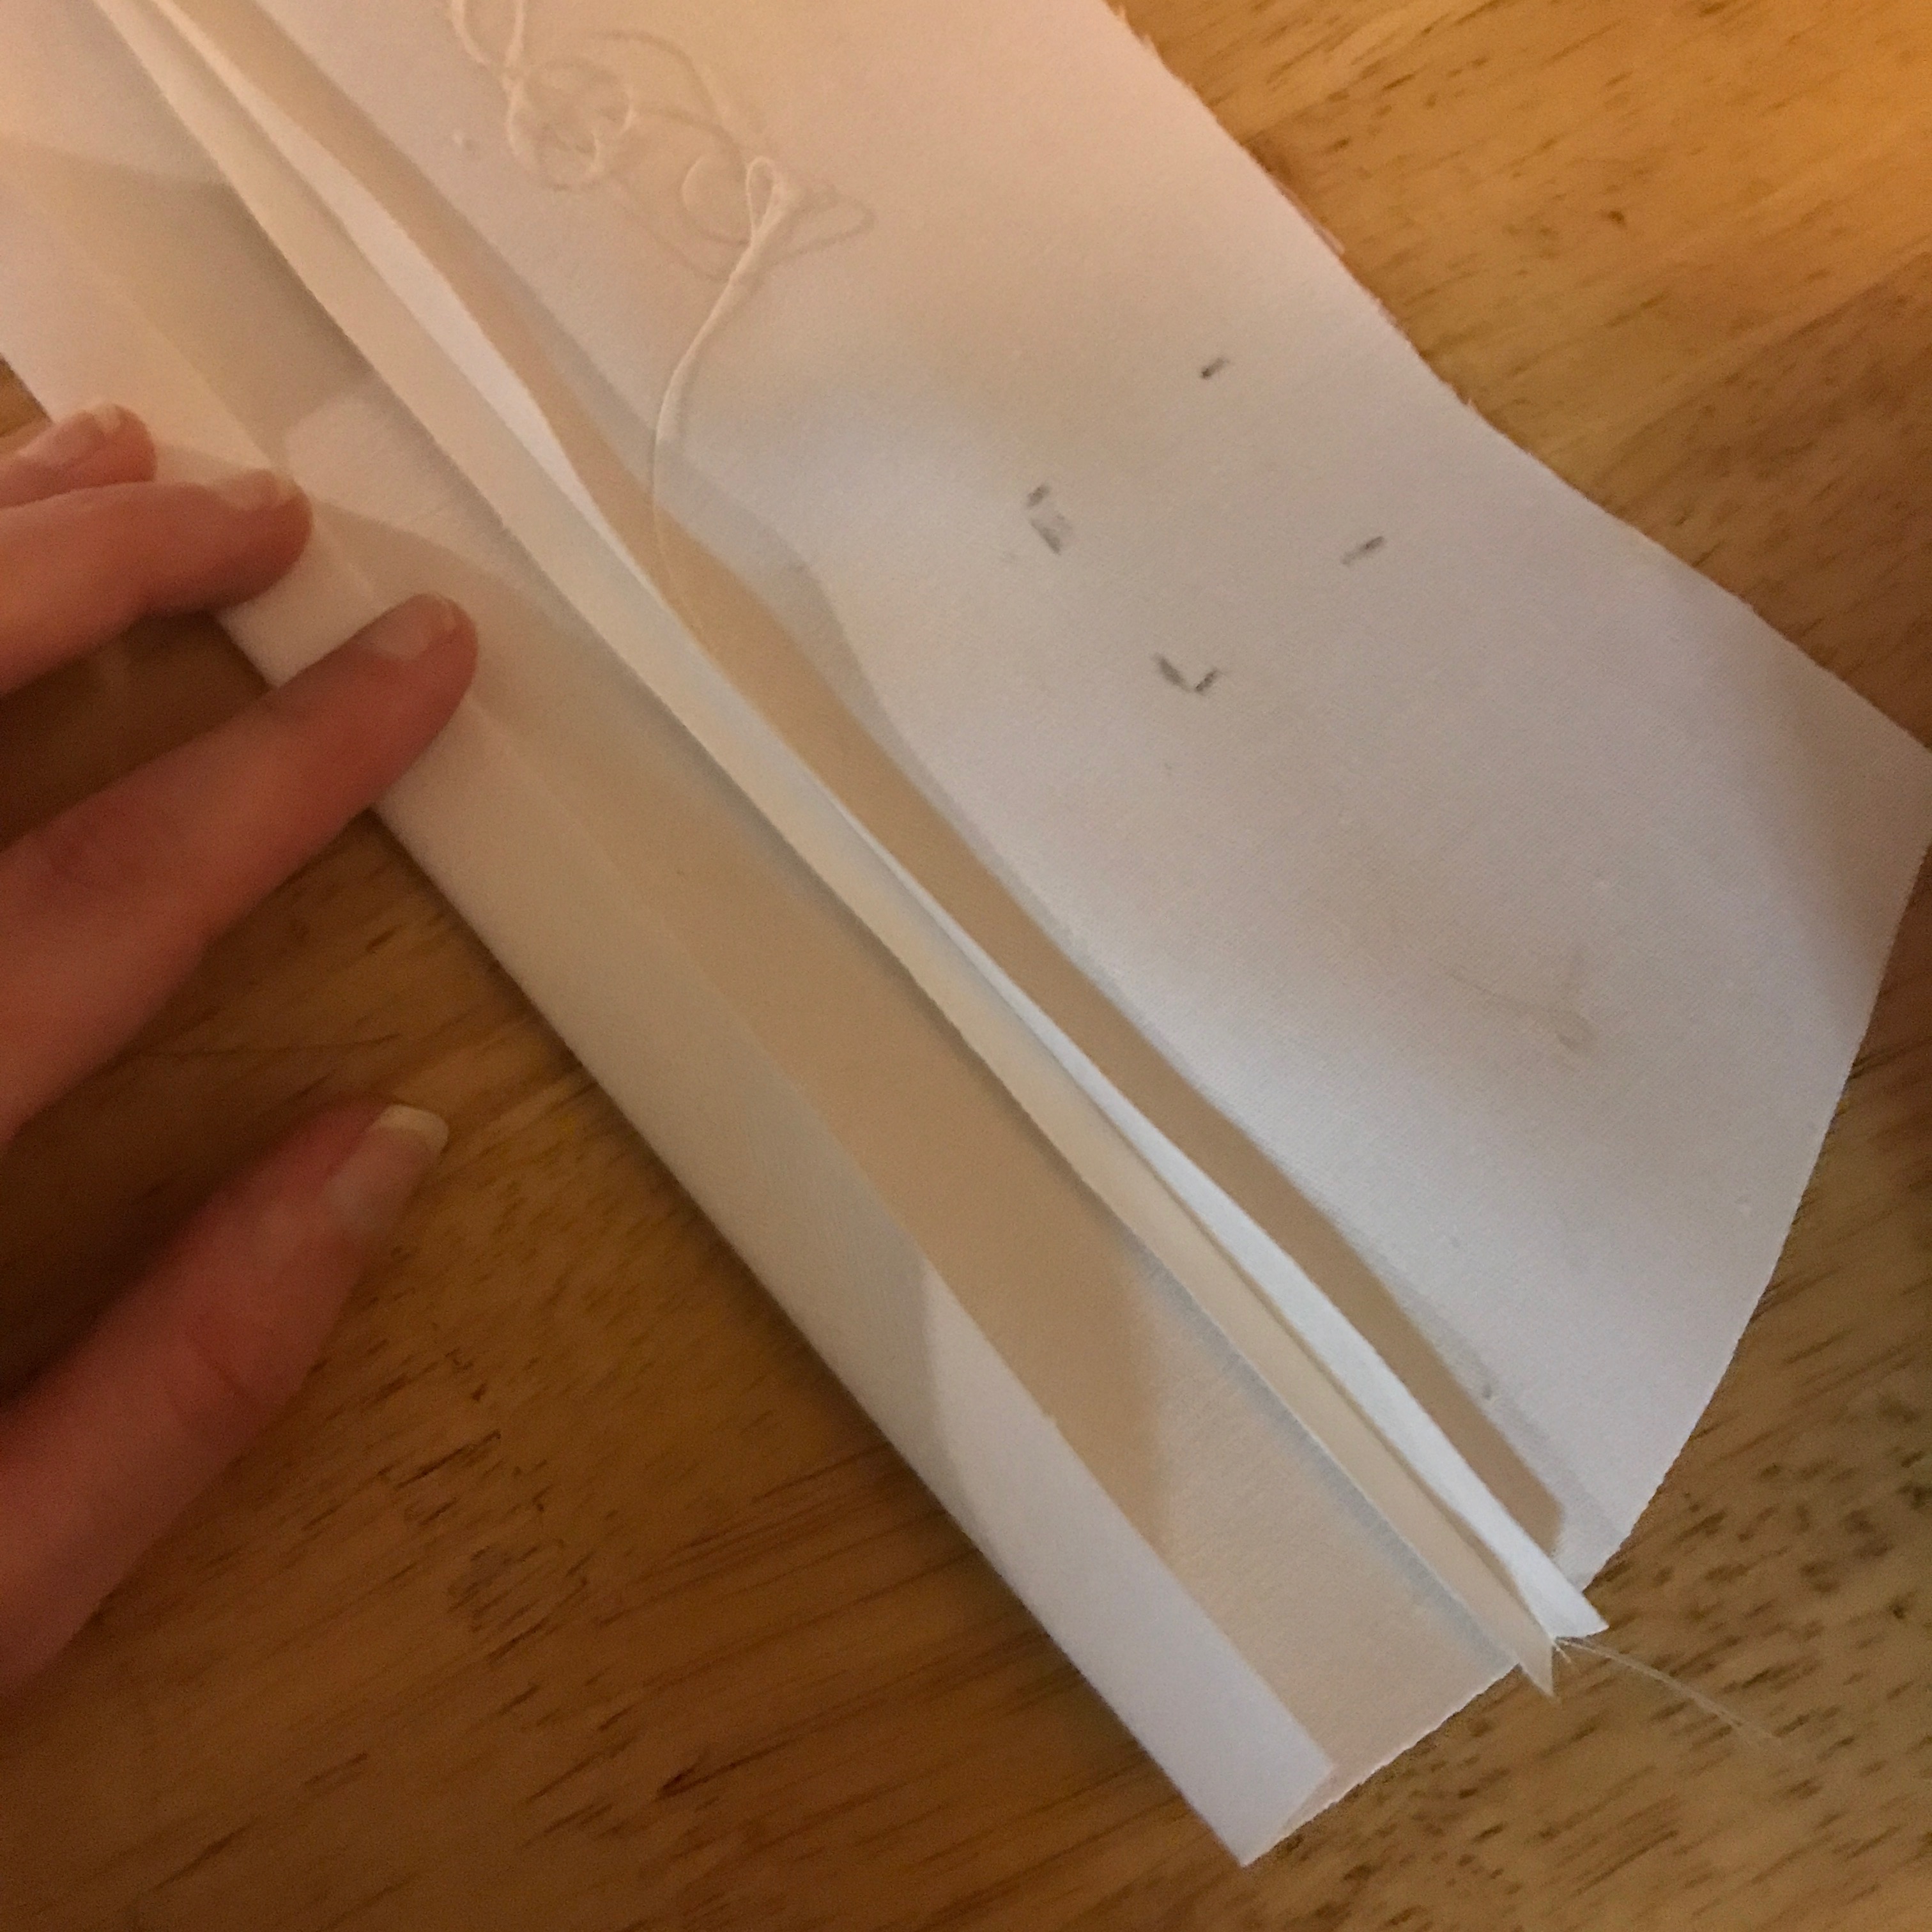
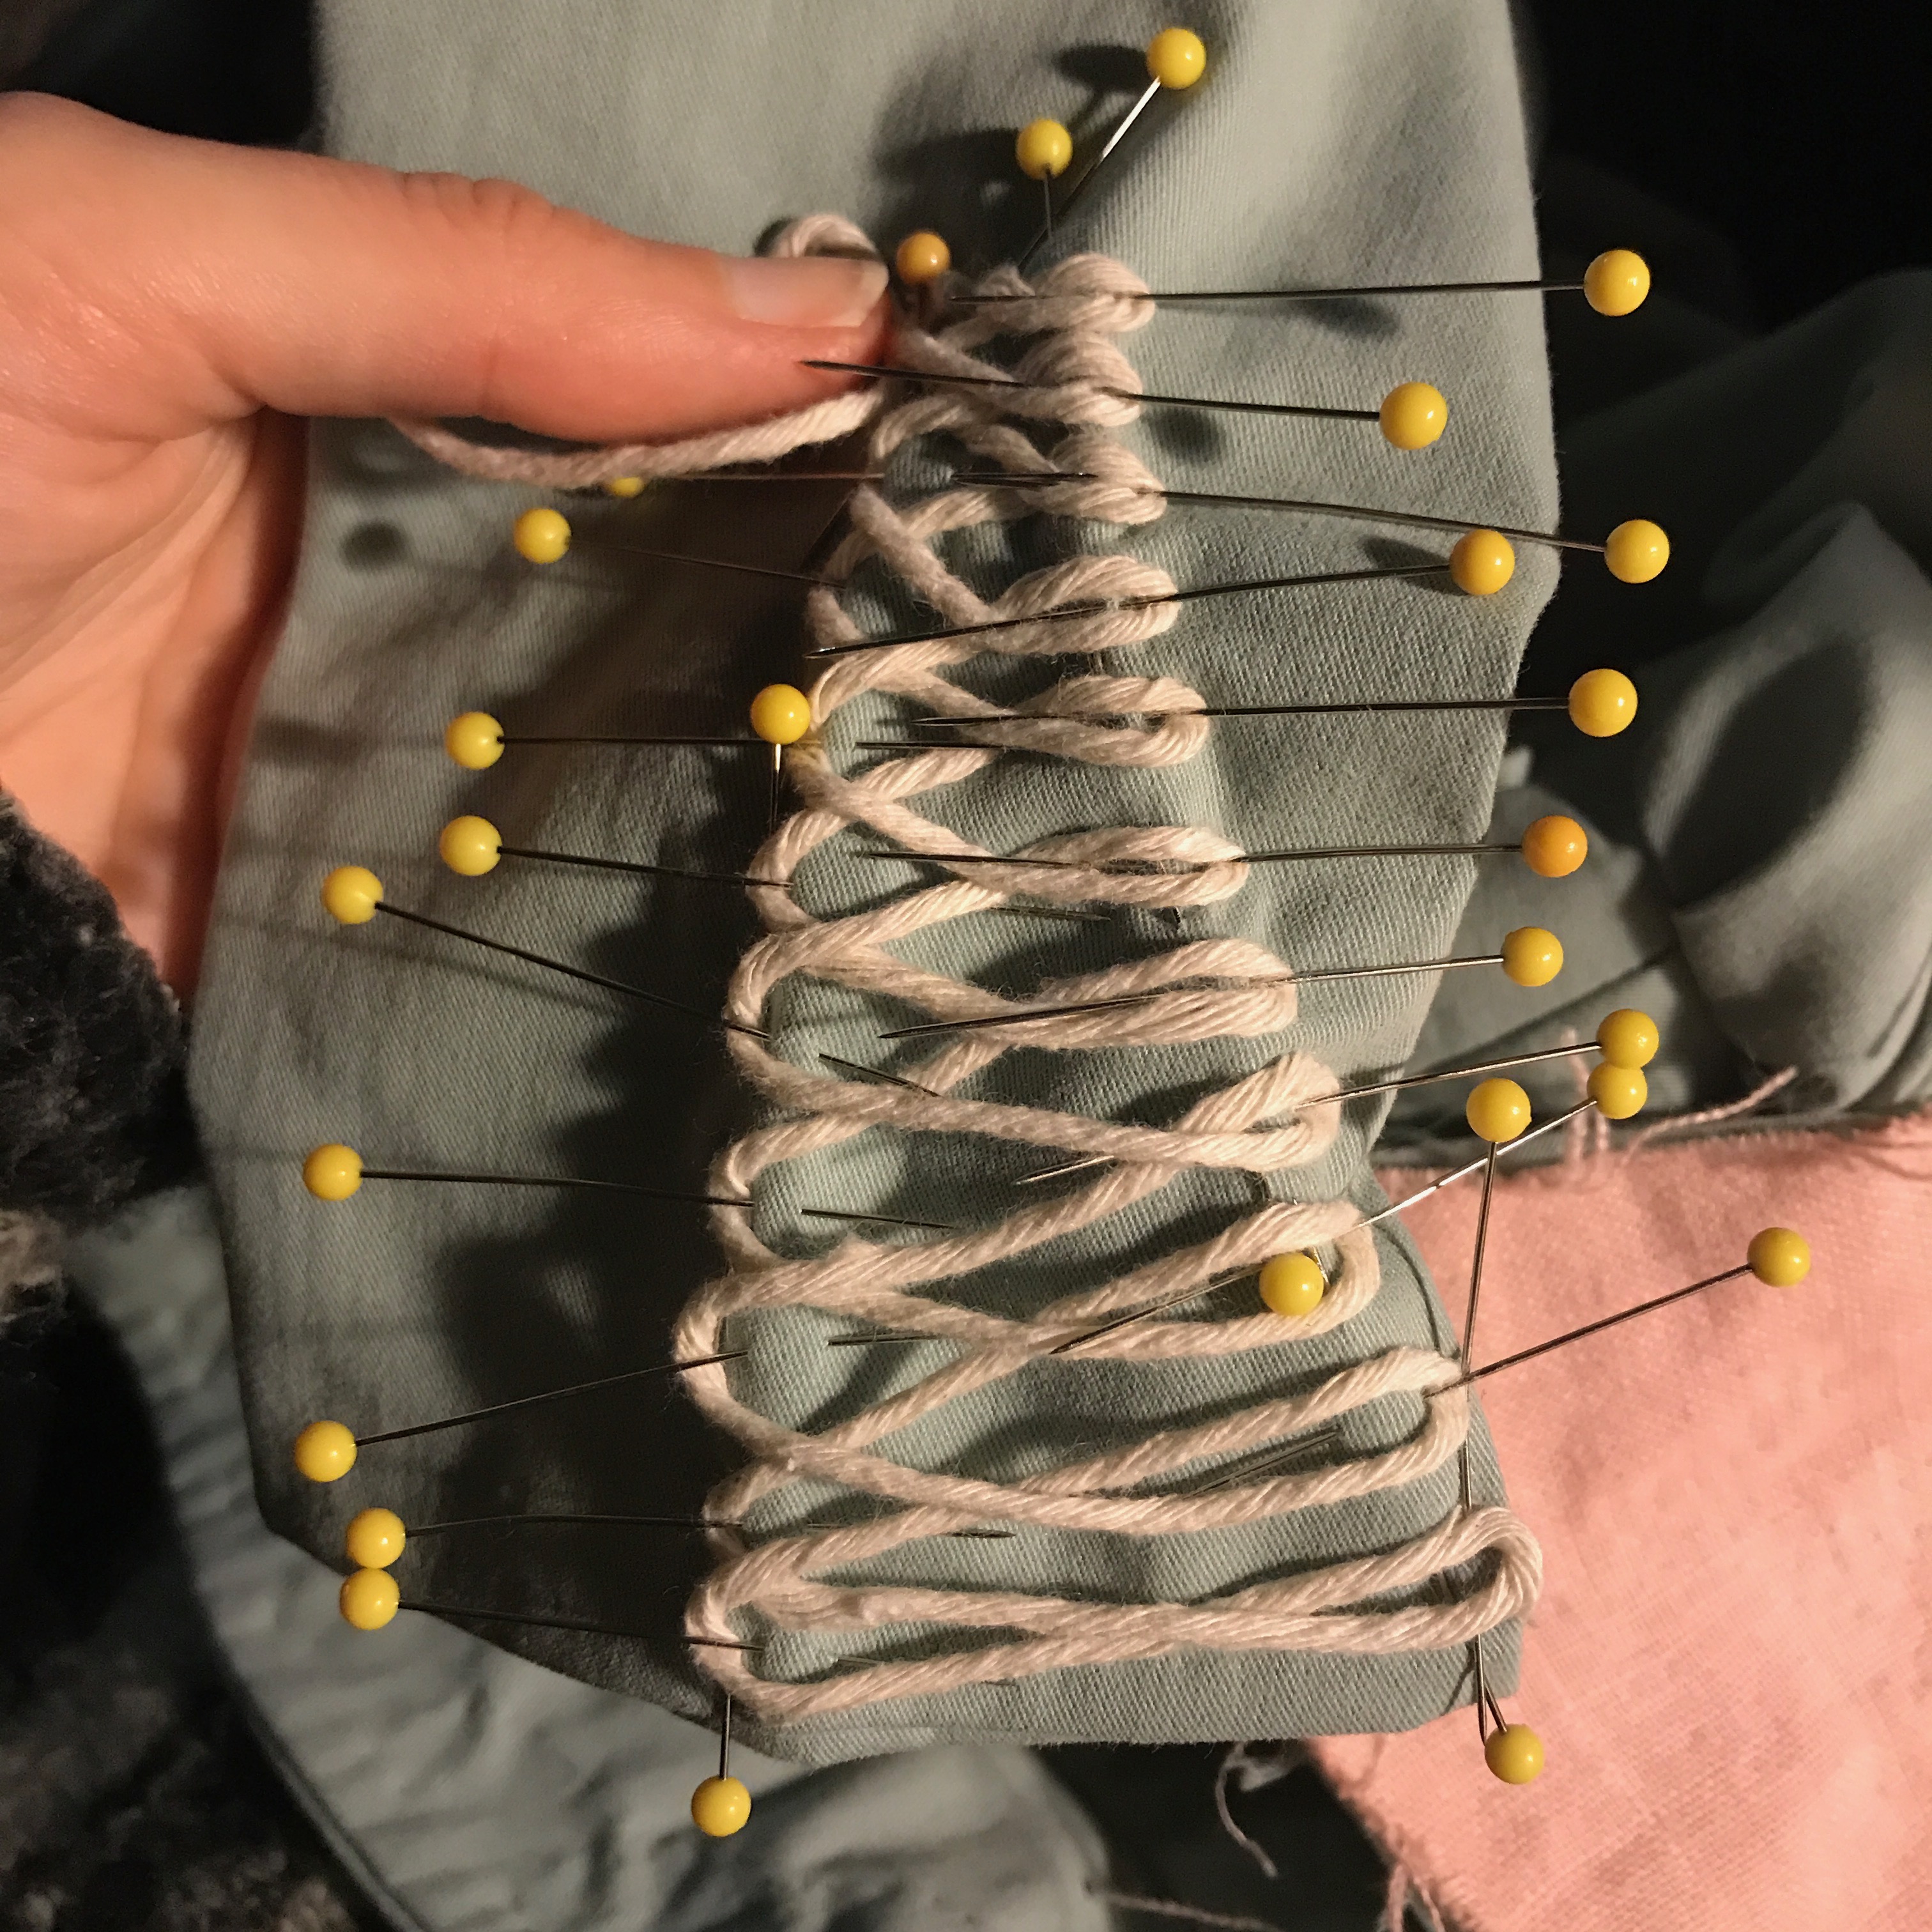
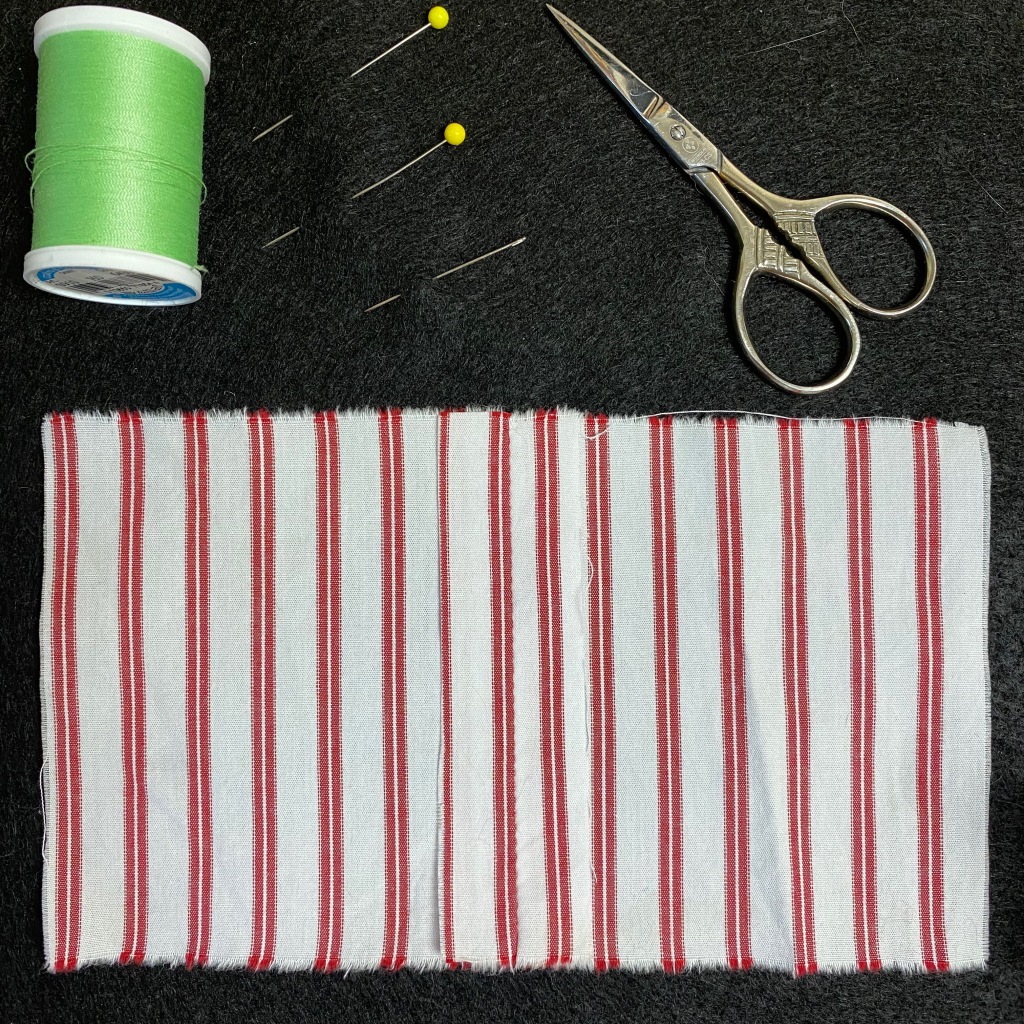
Place your fabric pieces right side to right side.


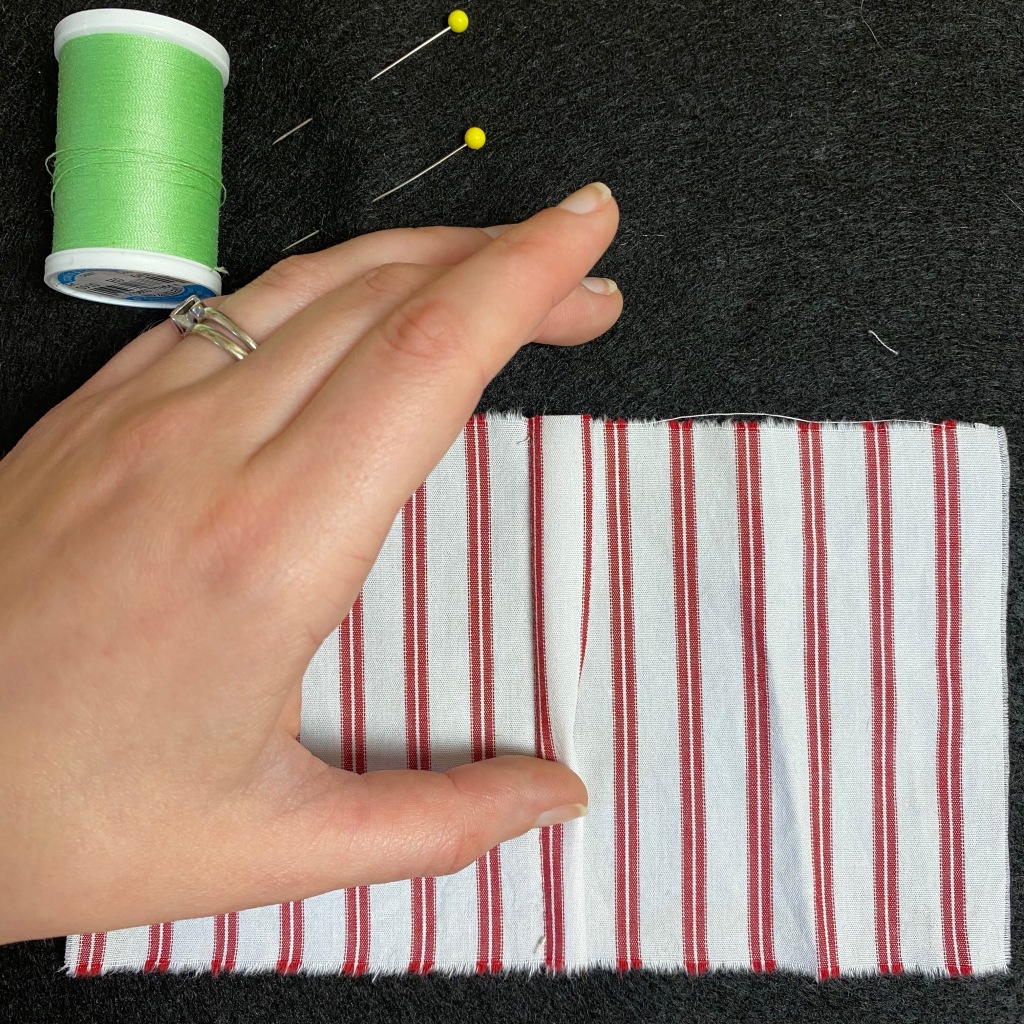
Pin your double fold in place. 


Finished: Wrong Side 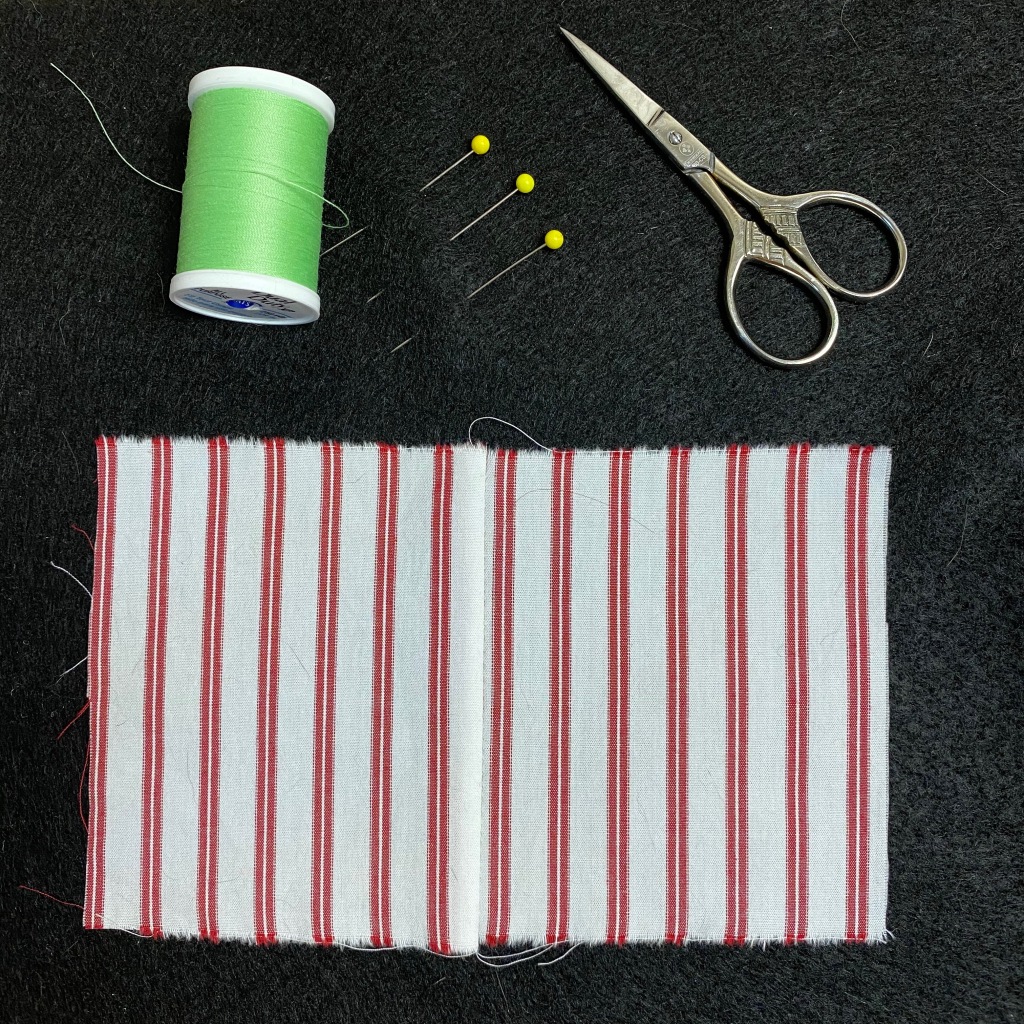
Finished: Right Side
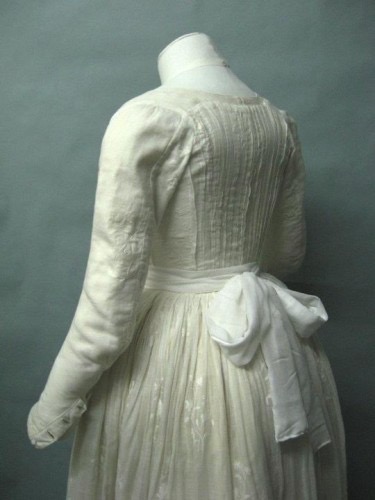
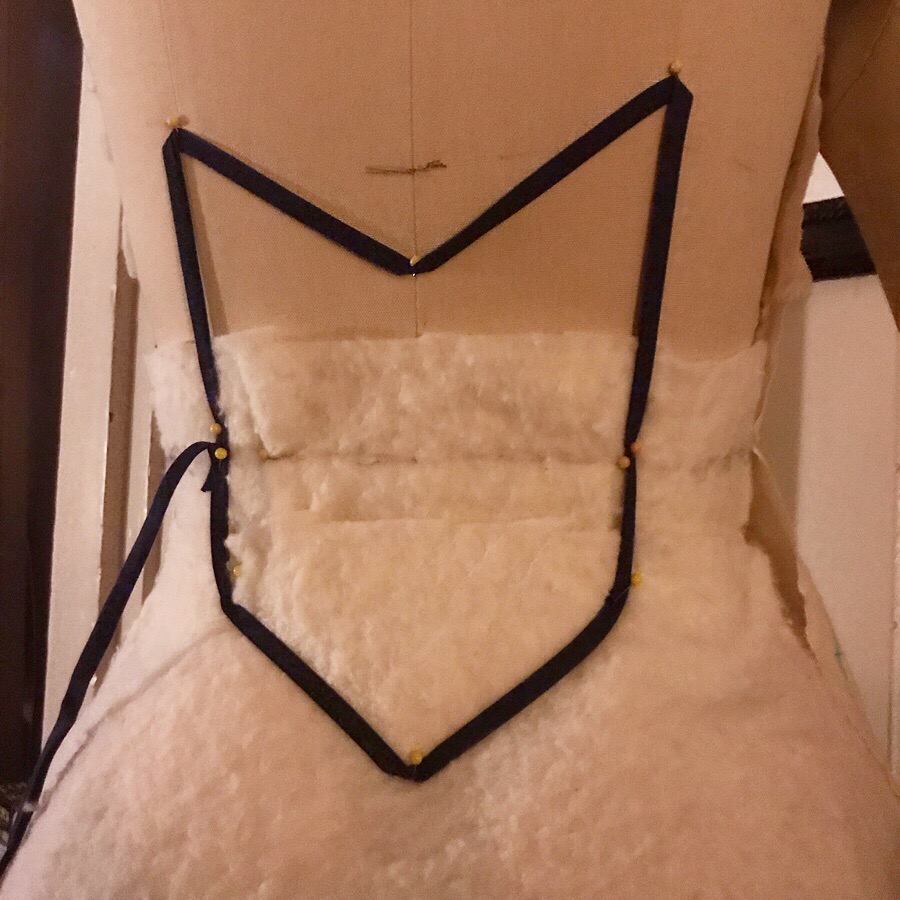
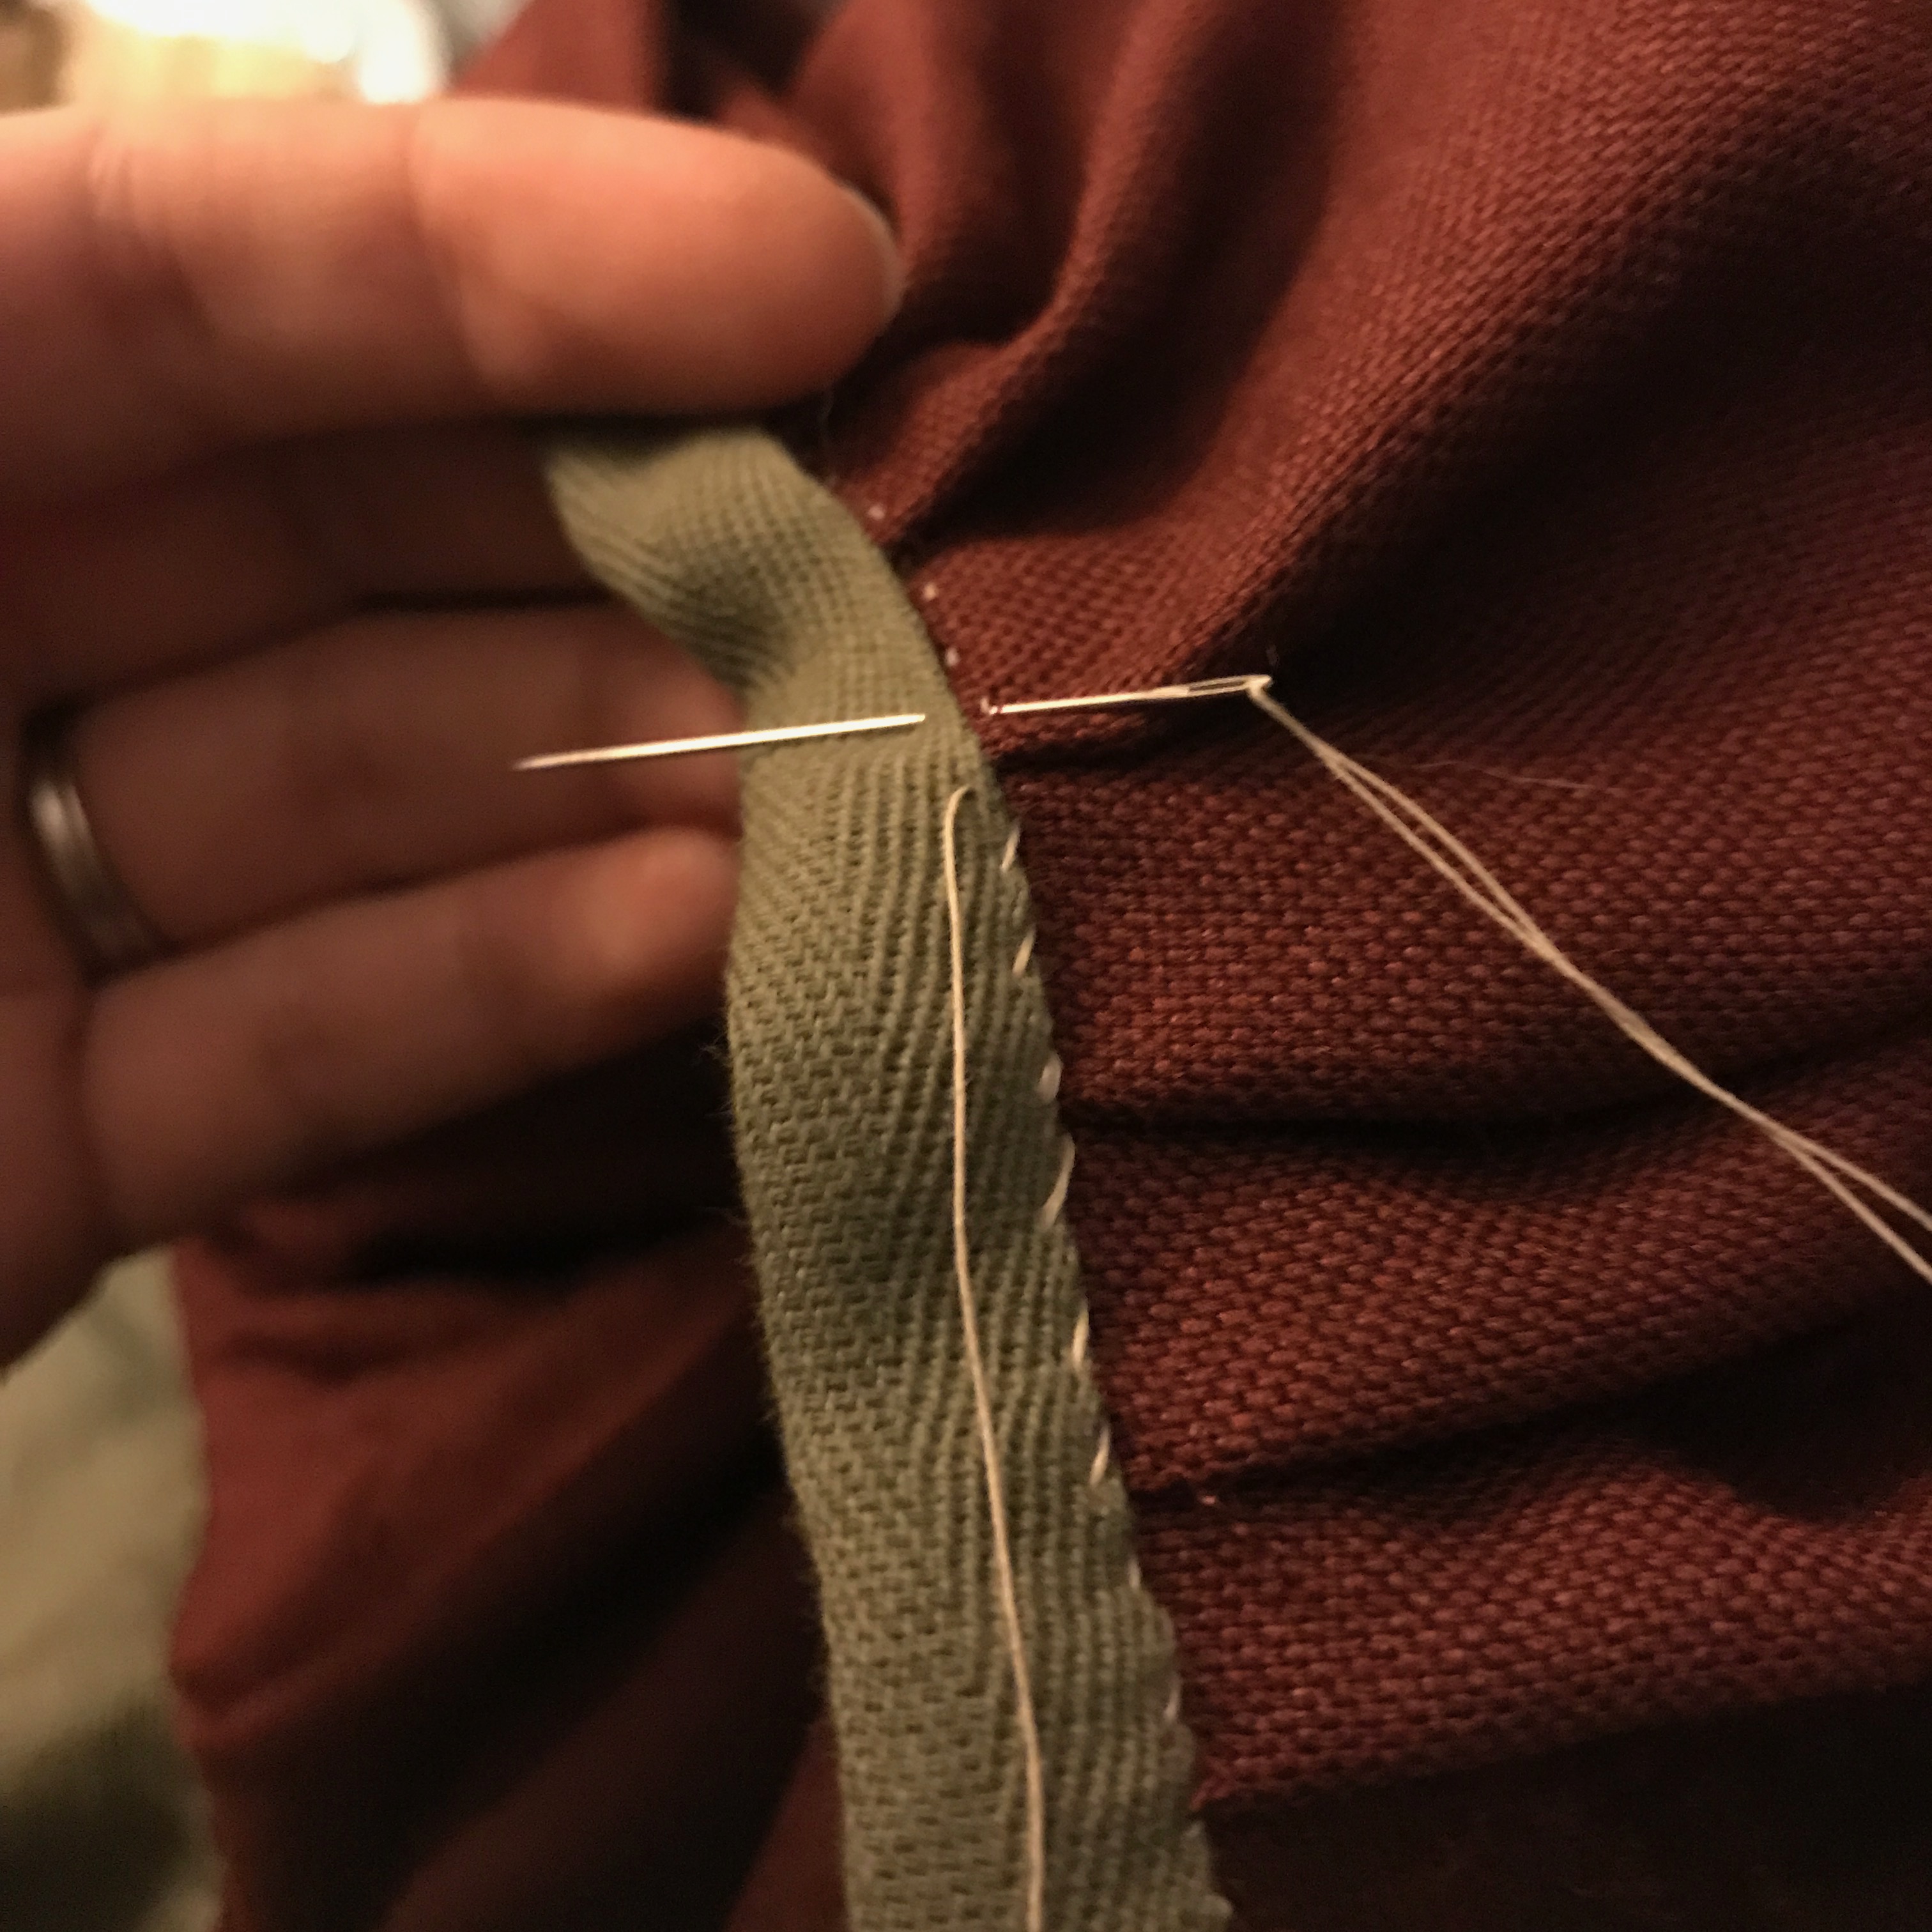
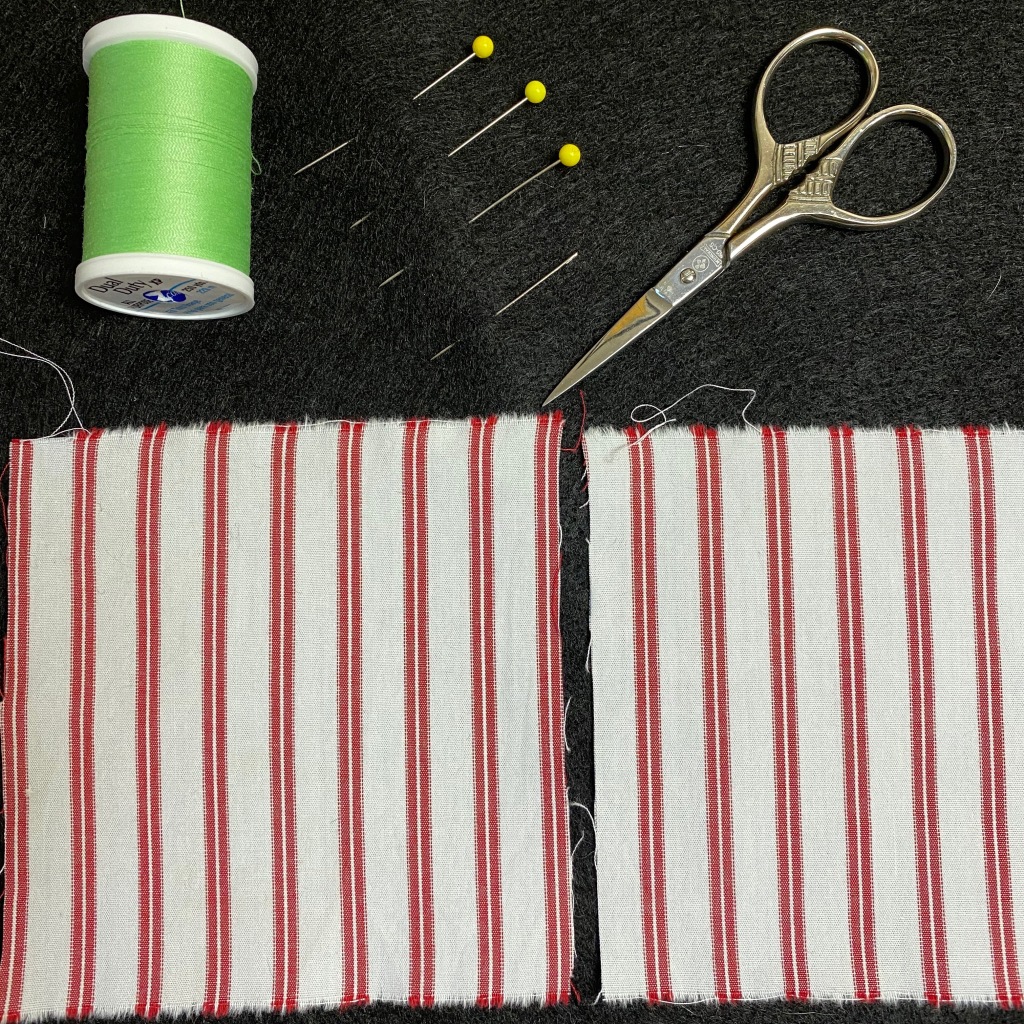
Hem and Whip
Could be used with or without lining
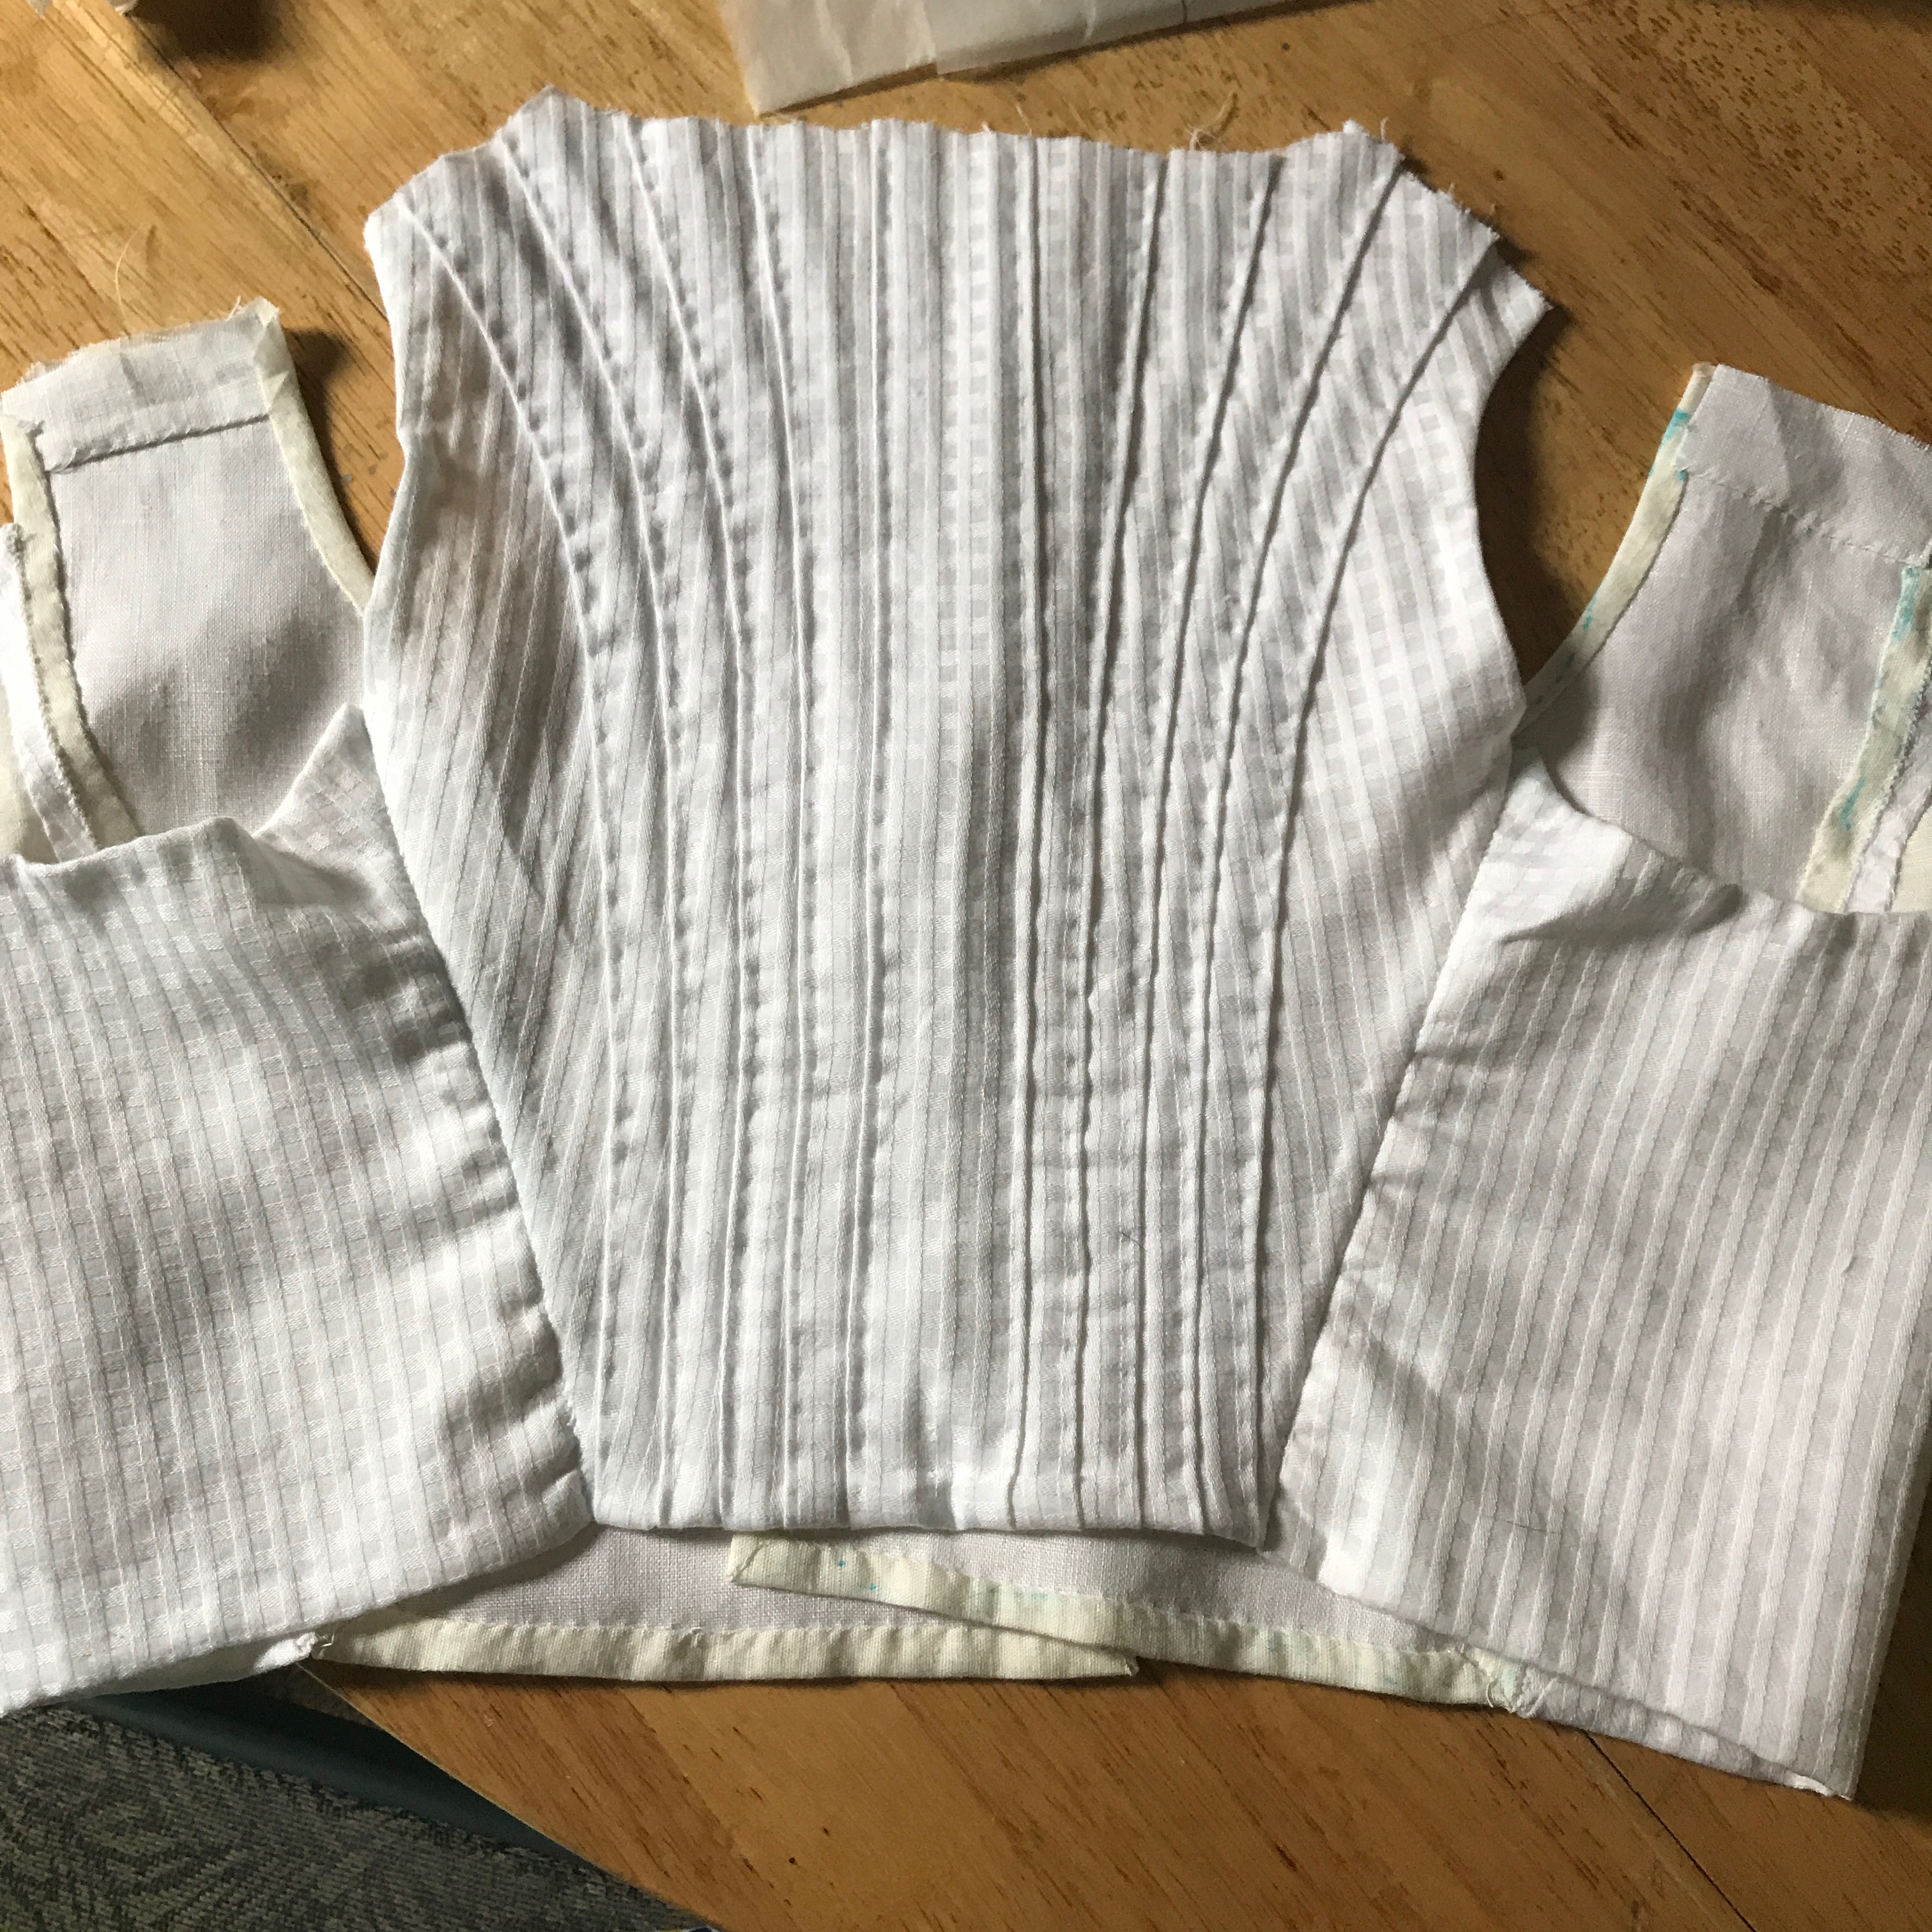
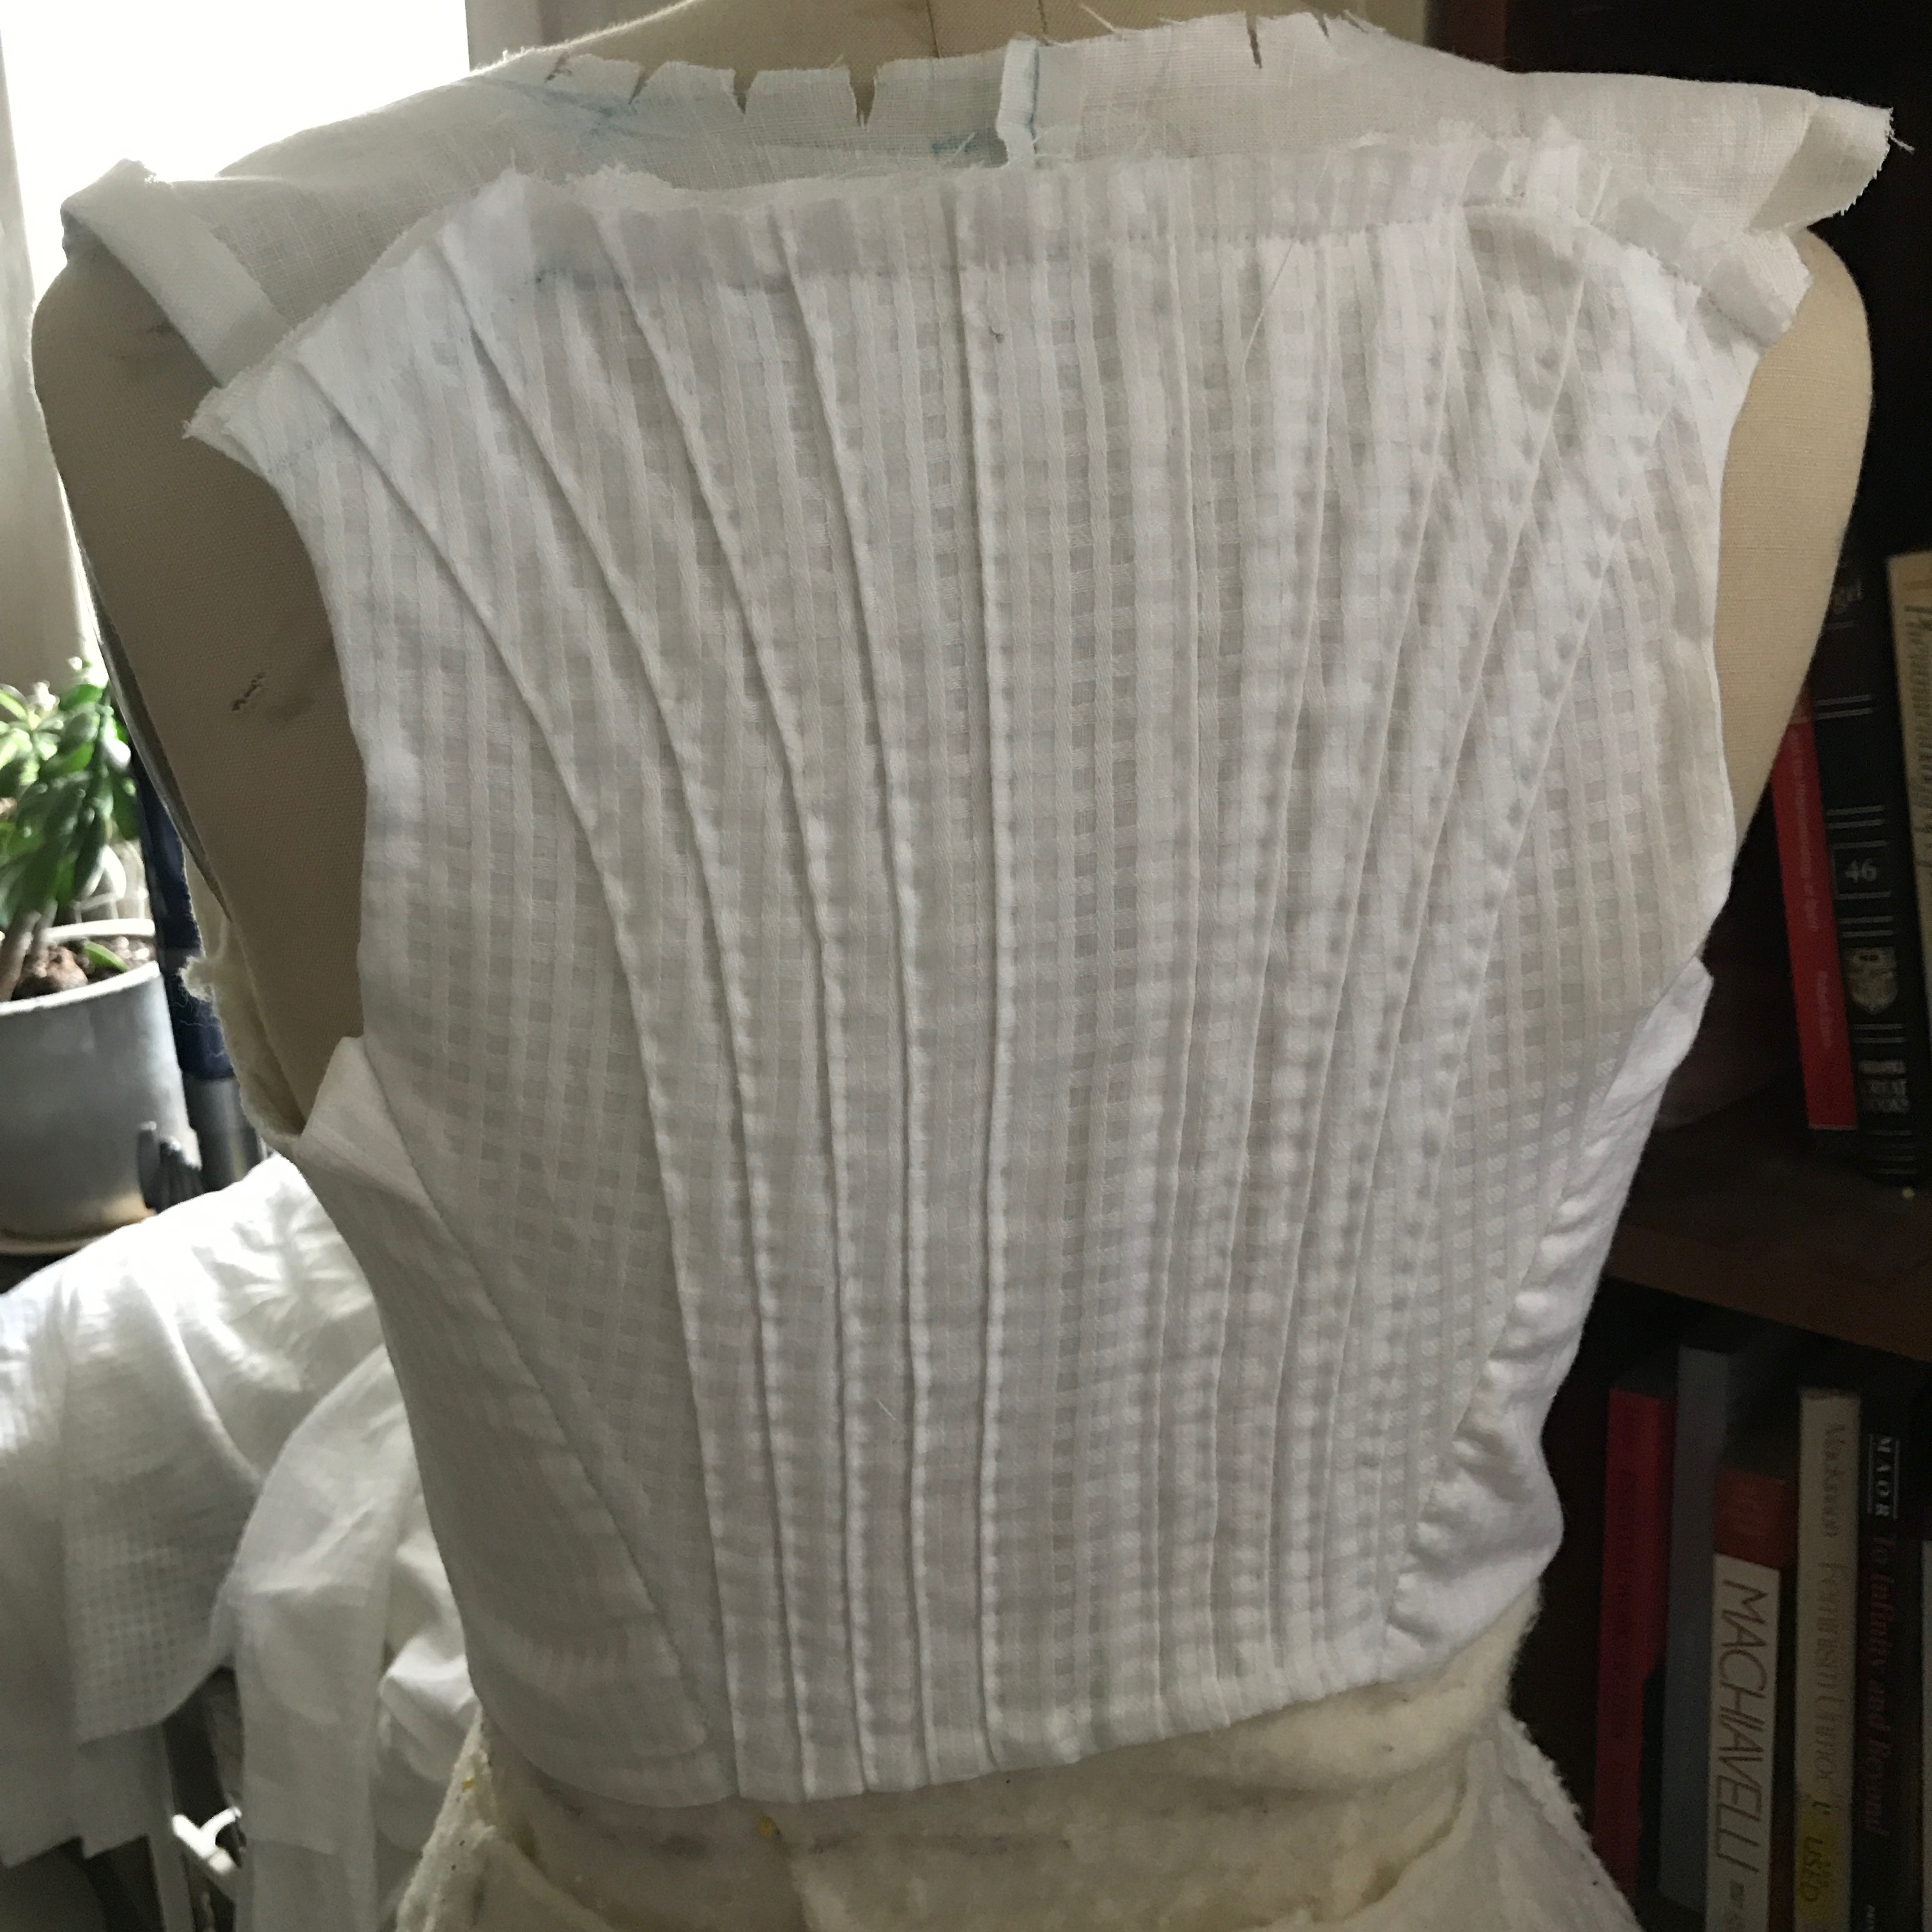
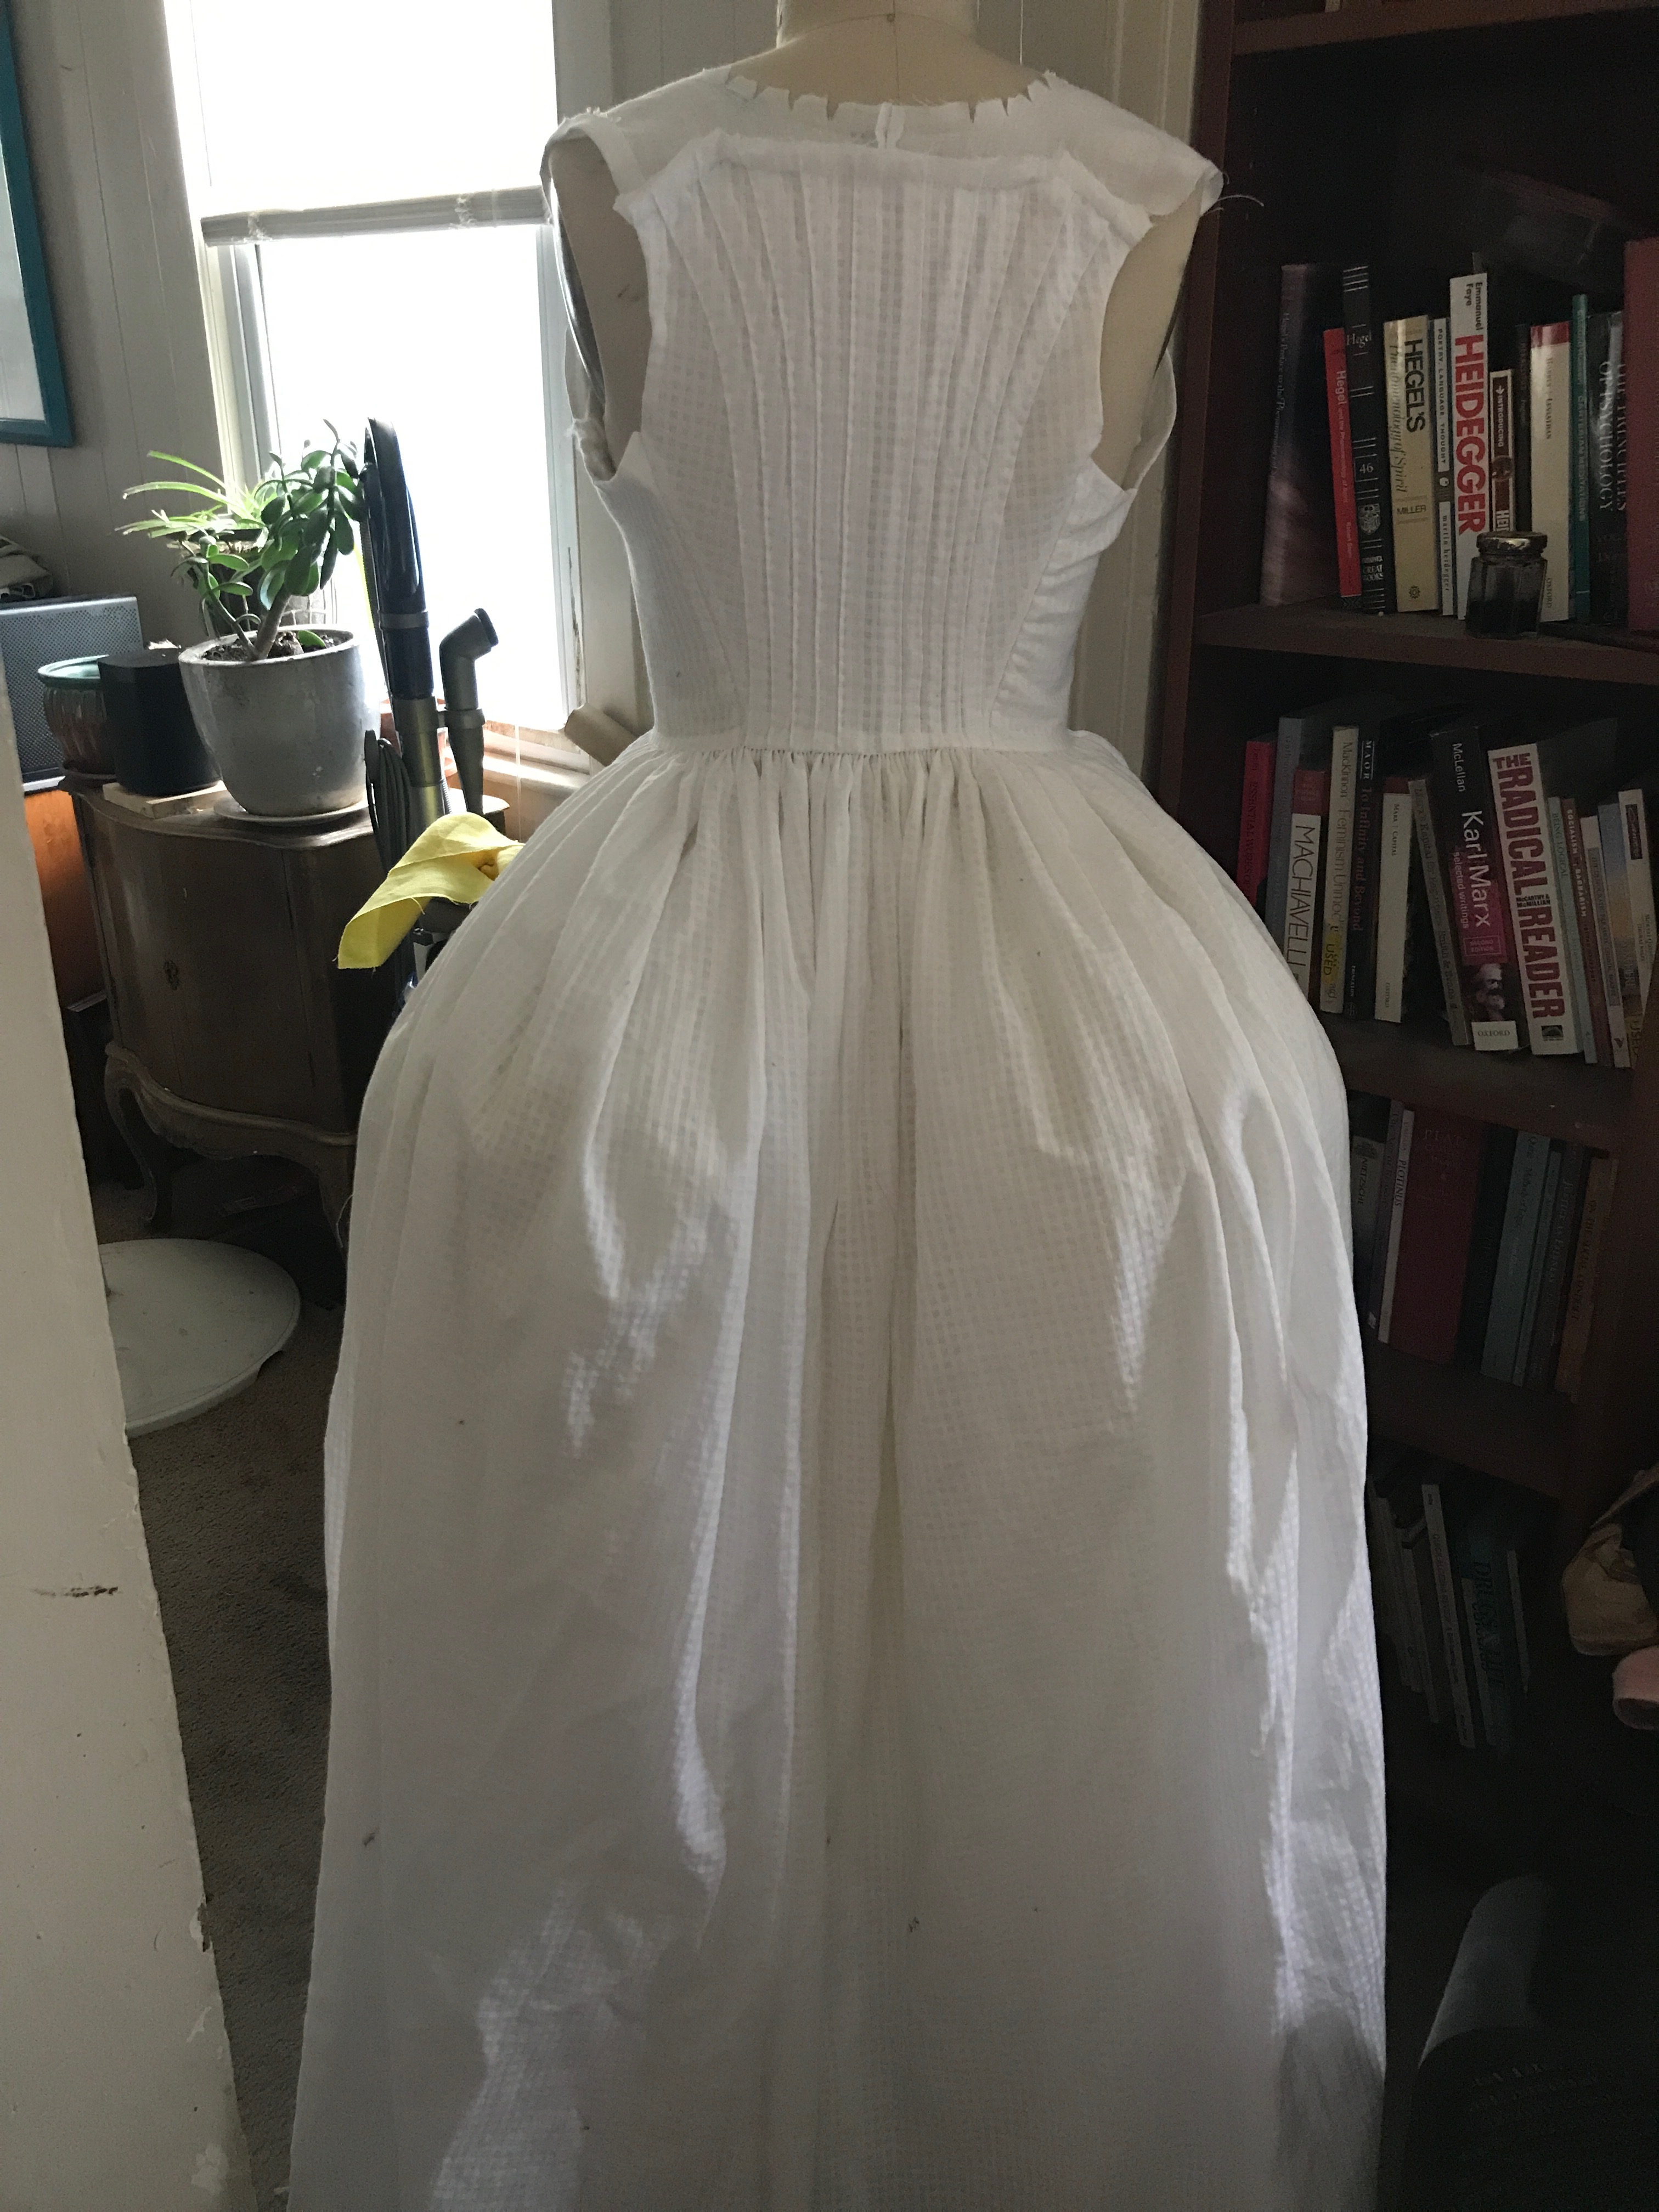
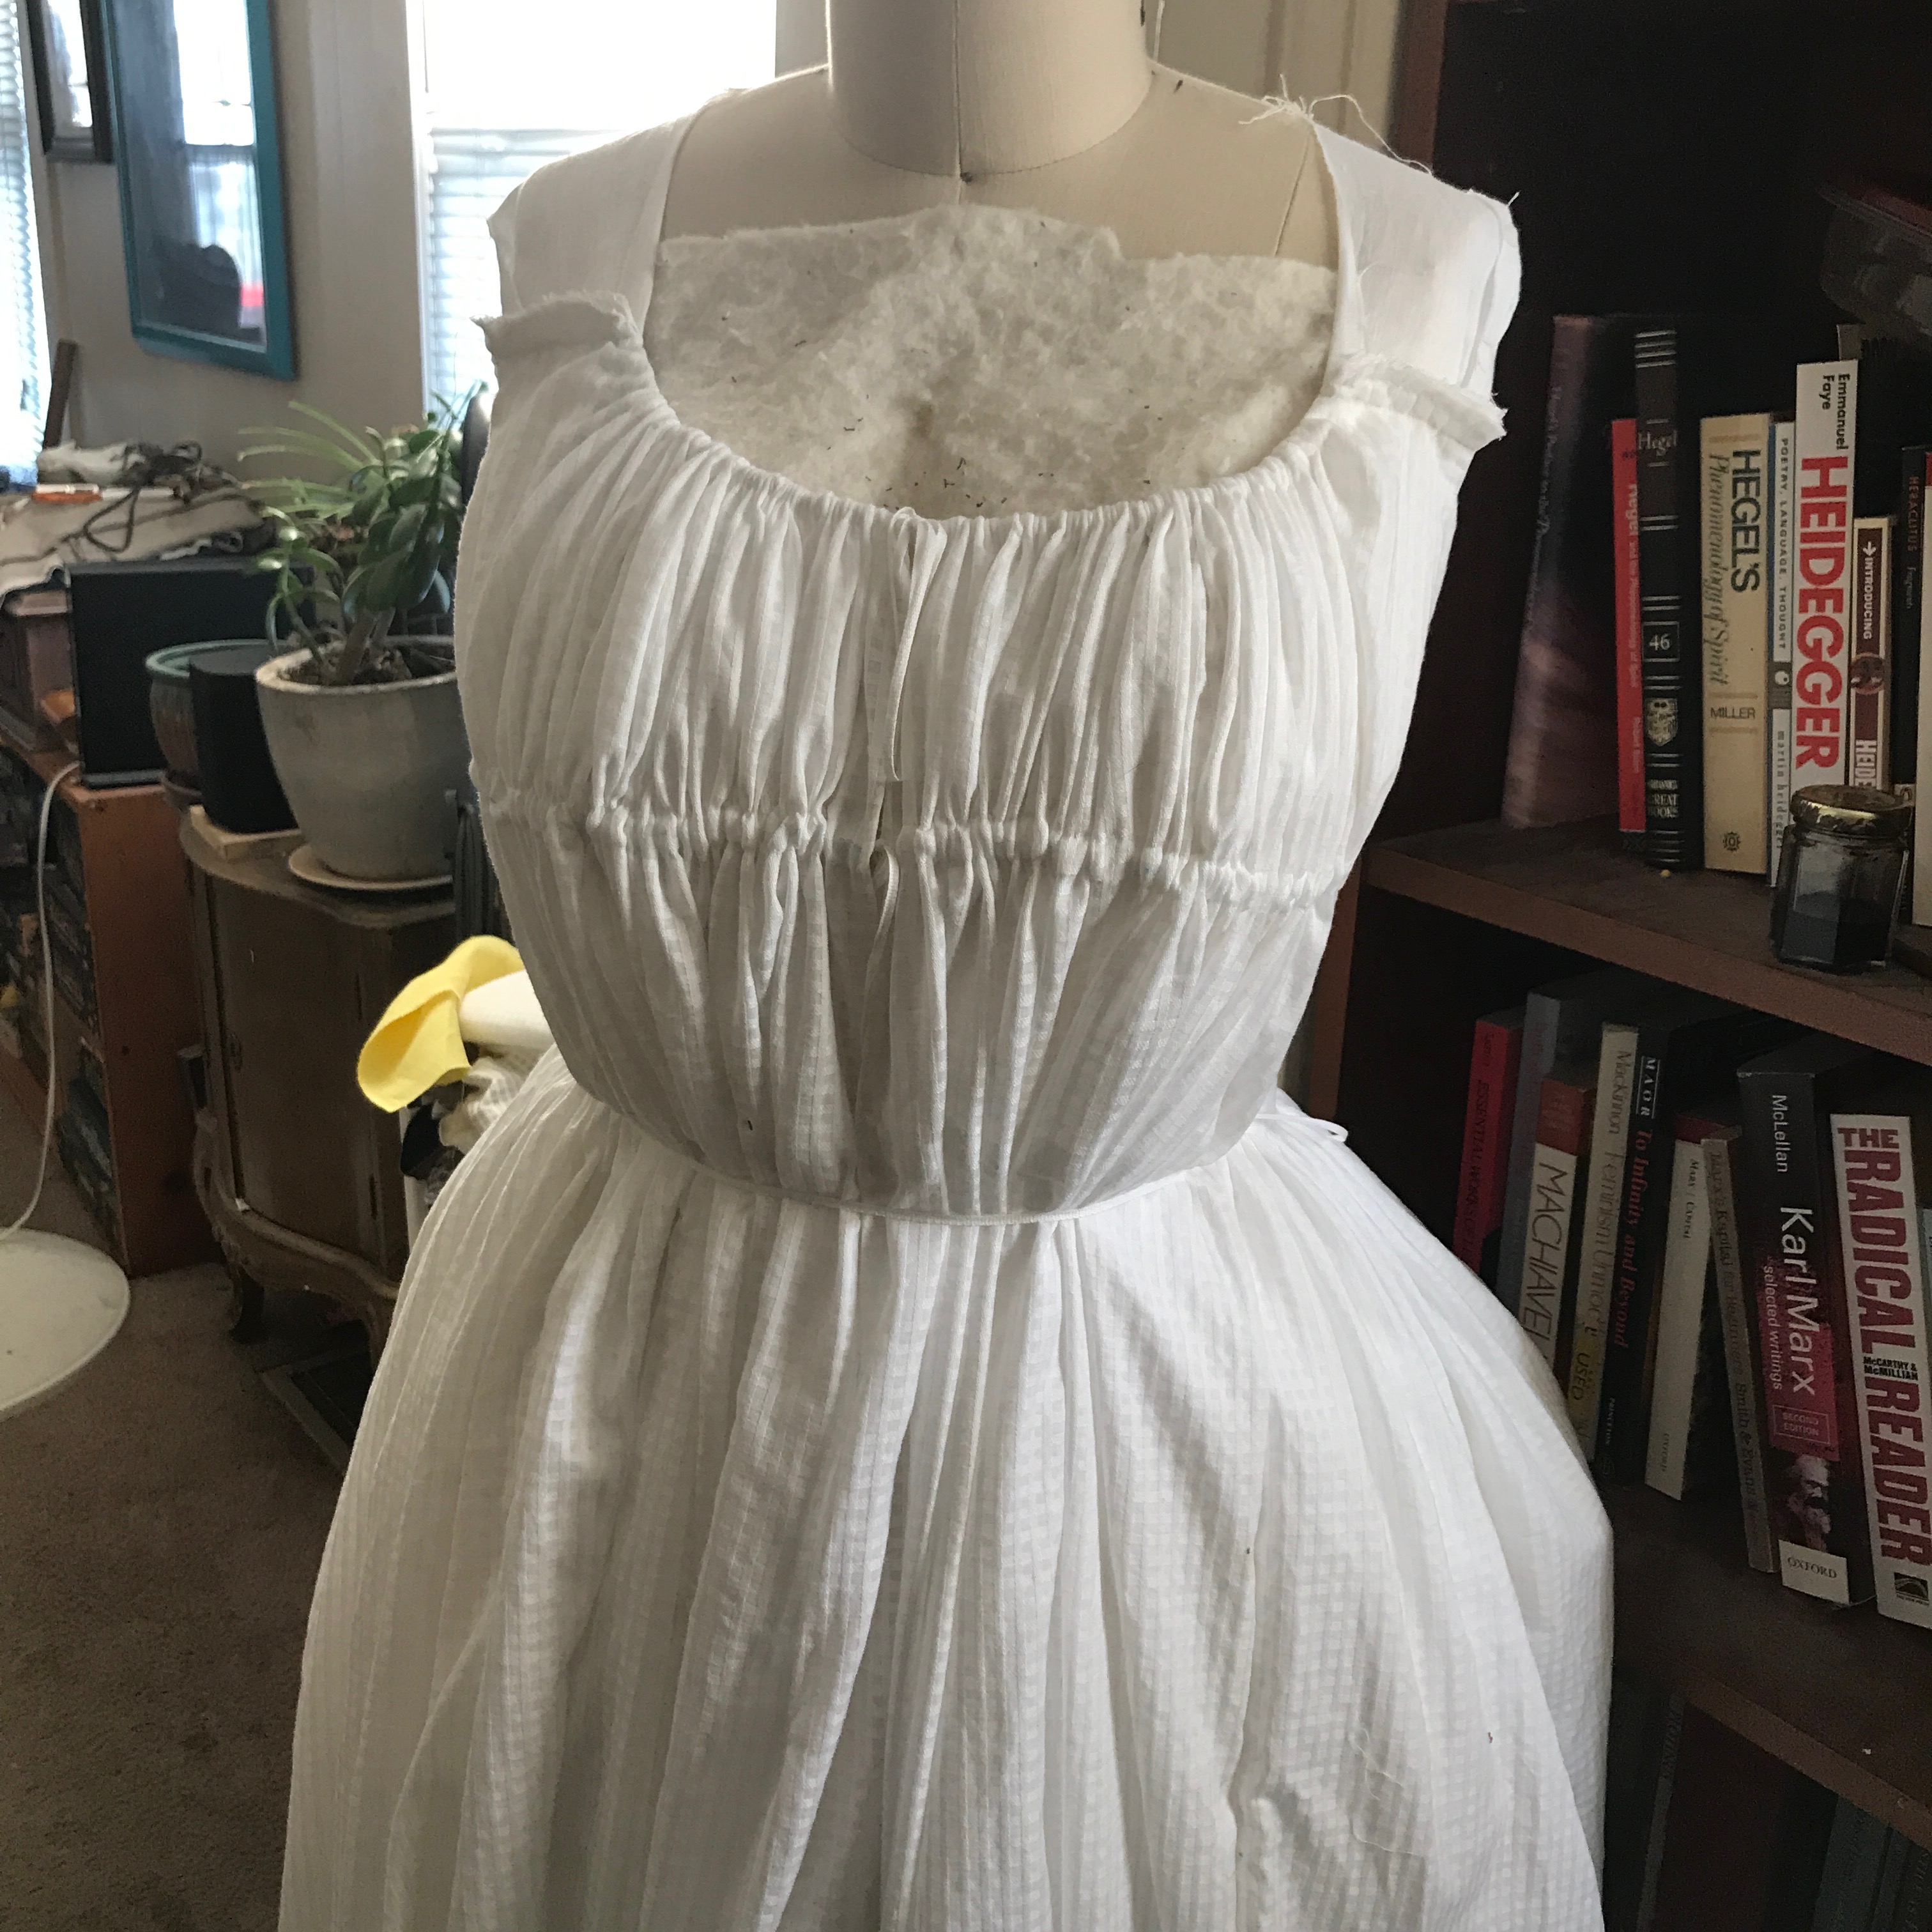
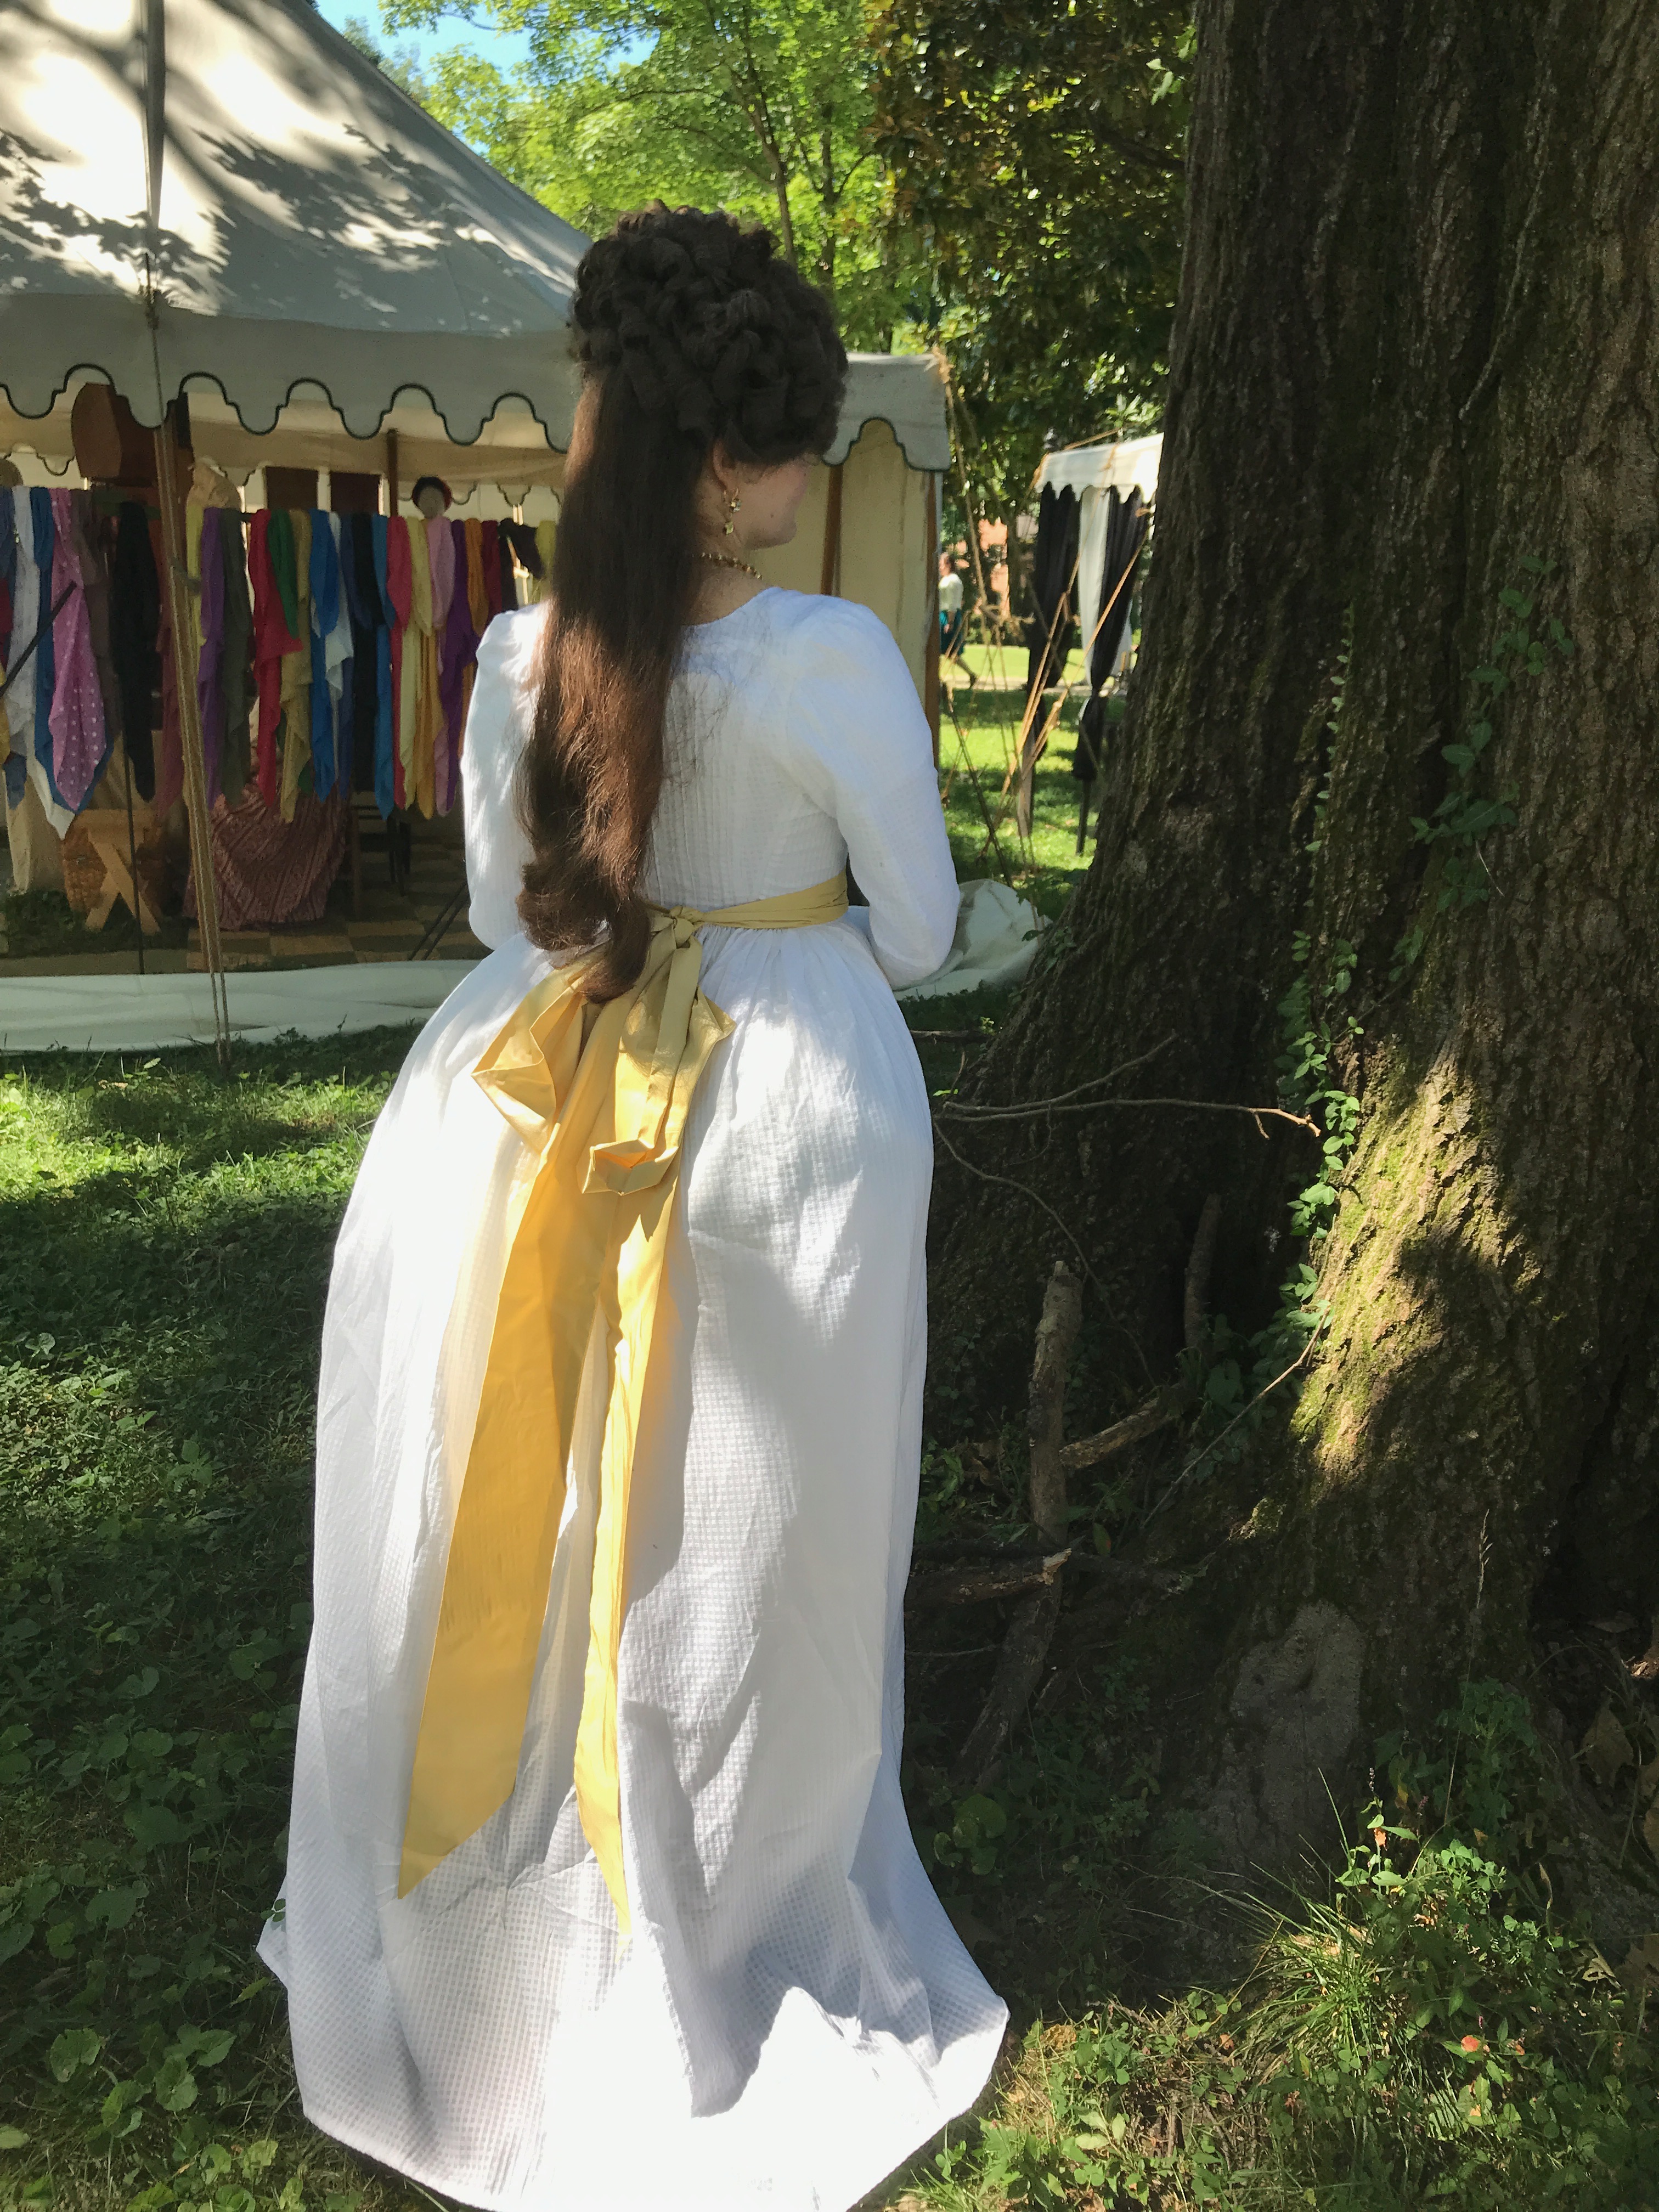
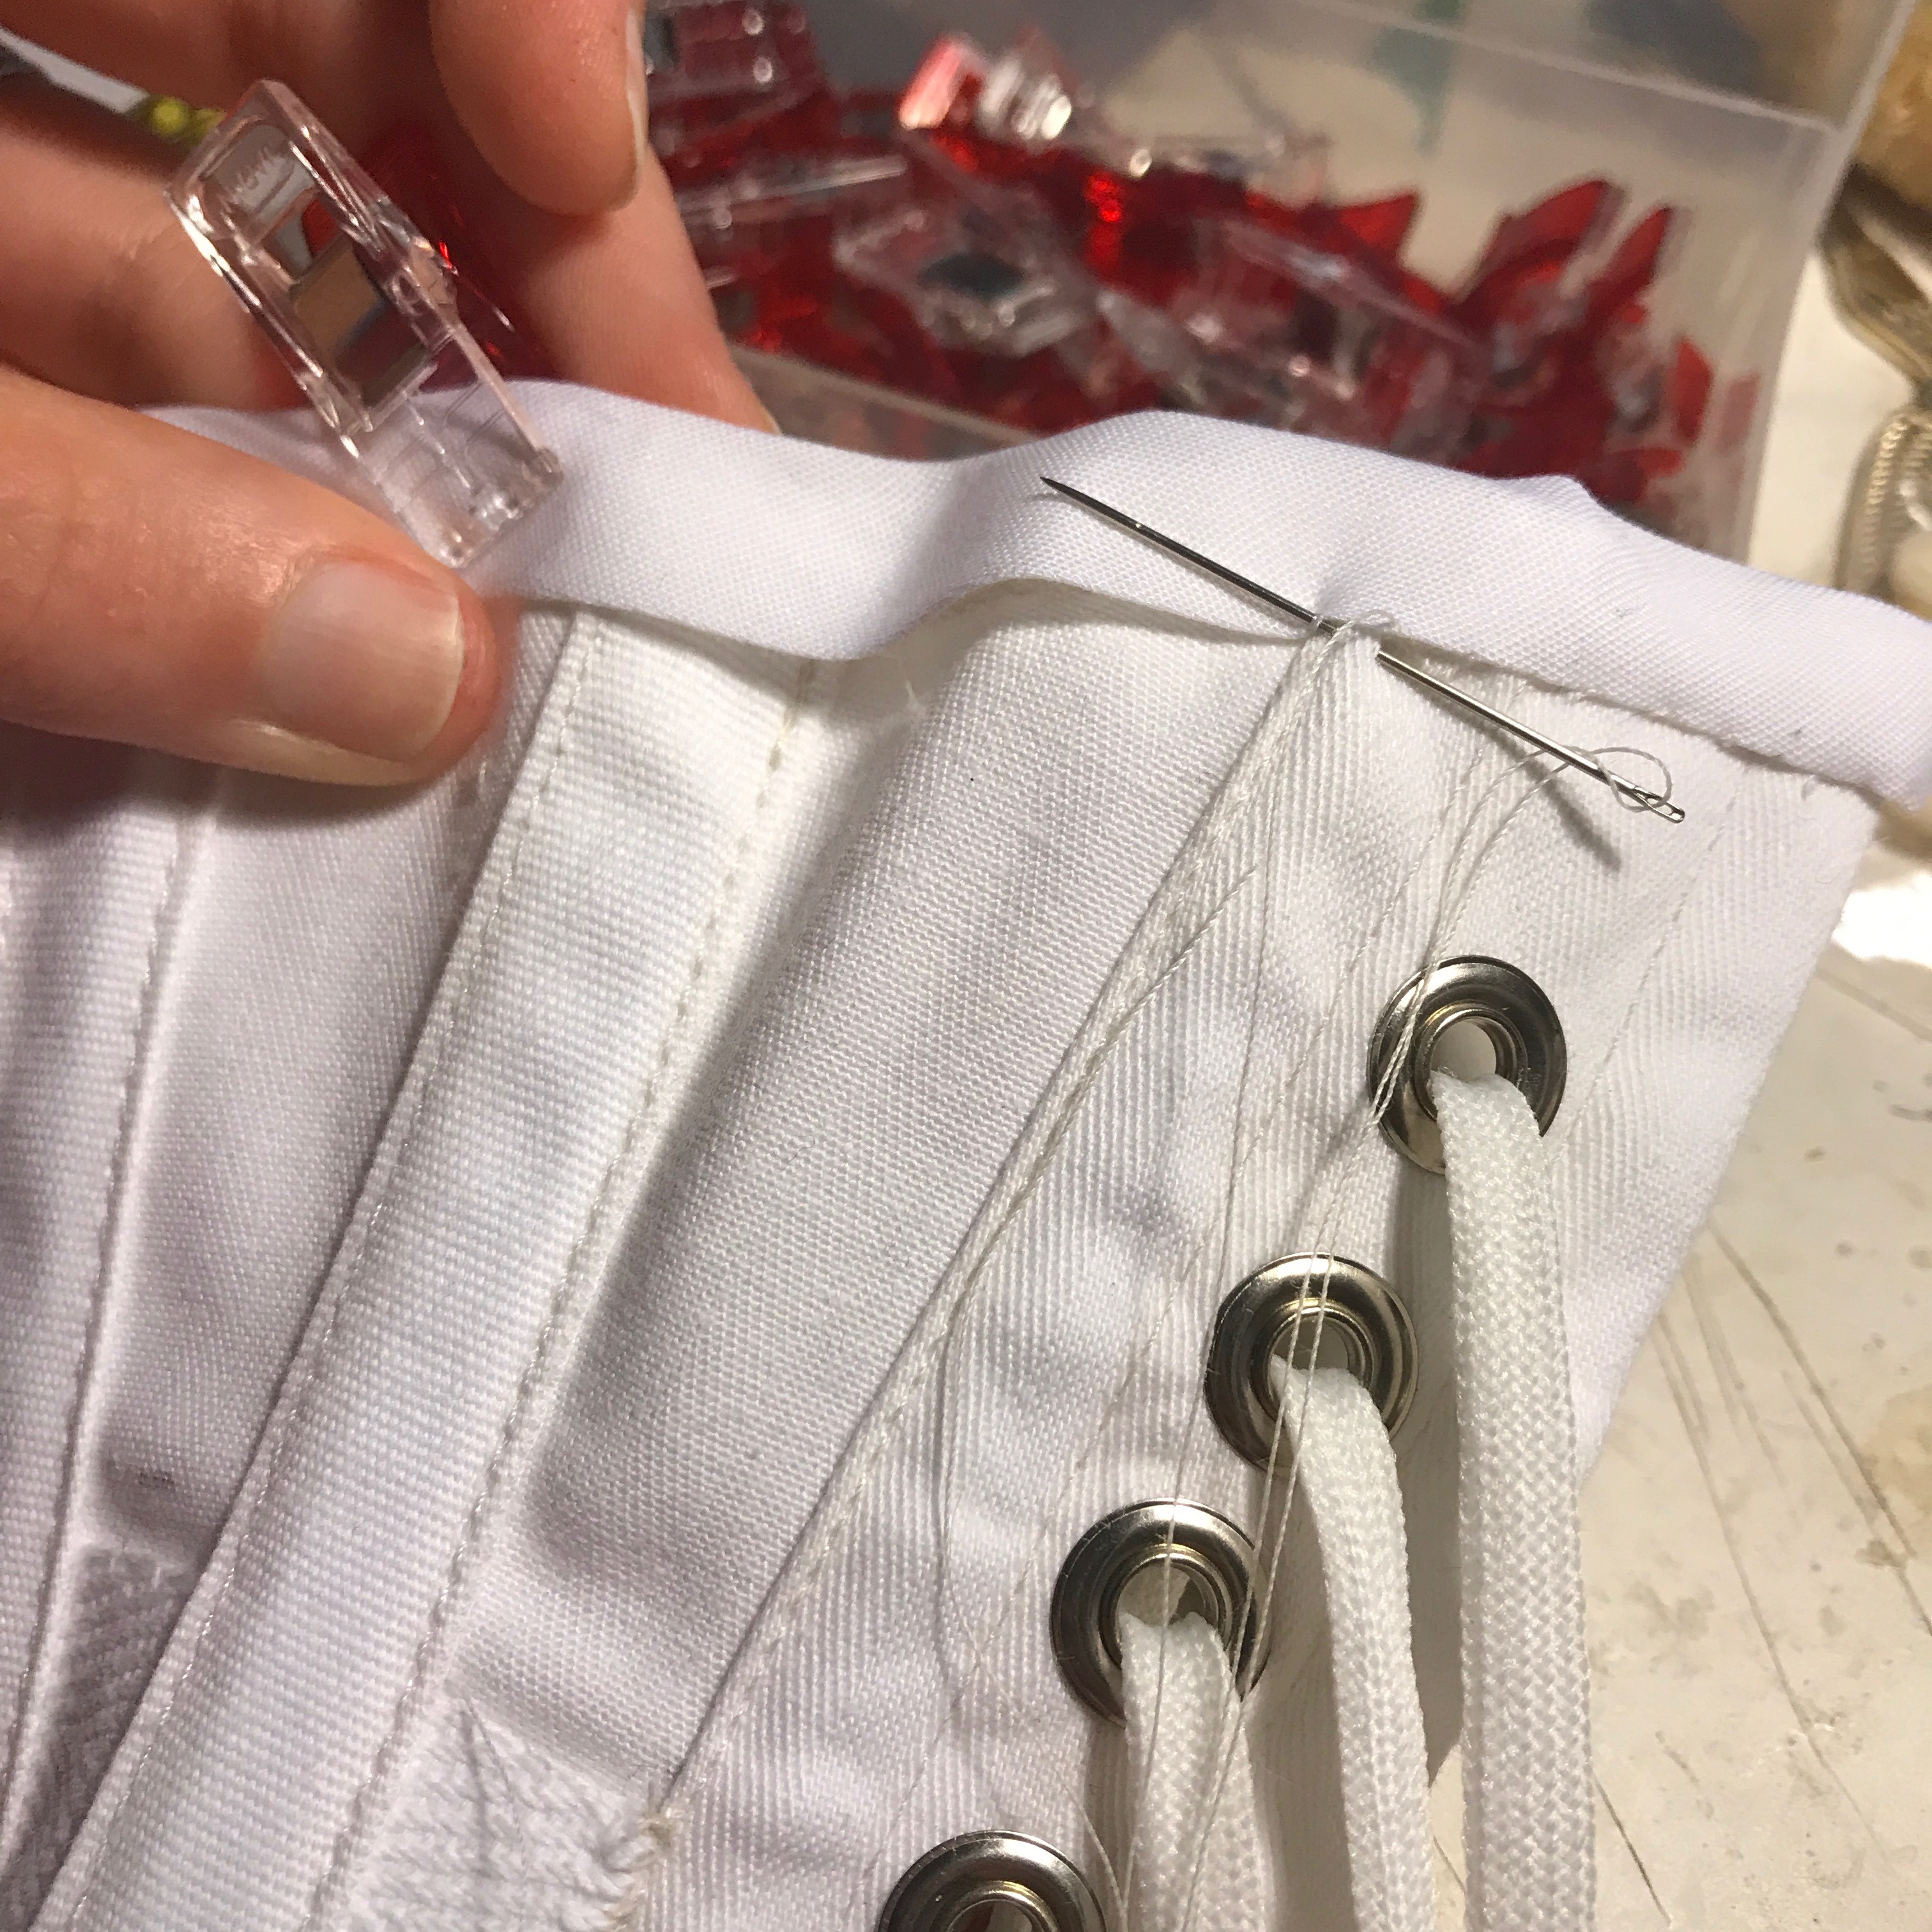
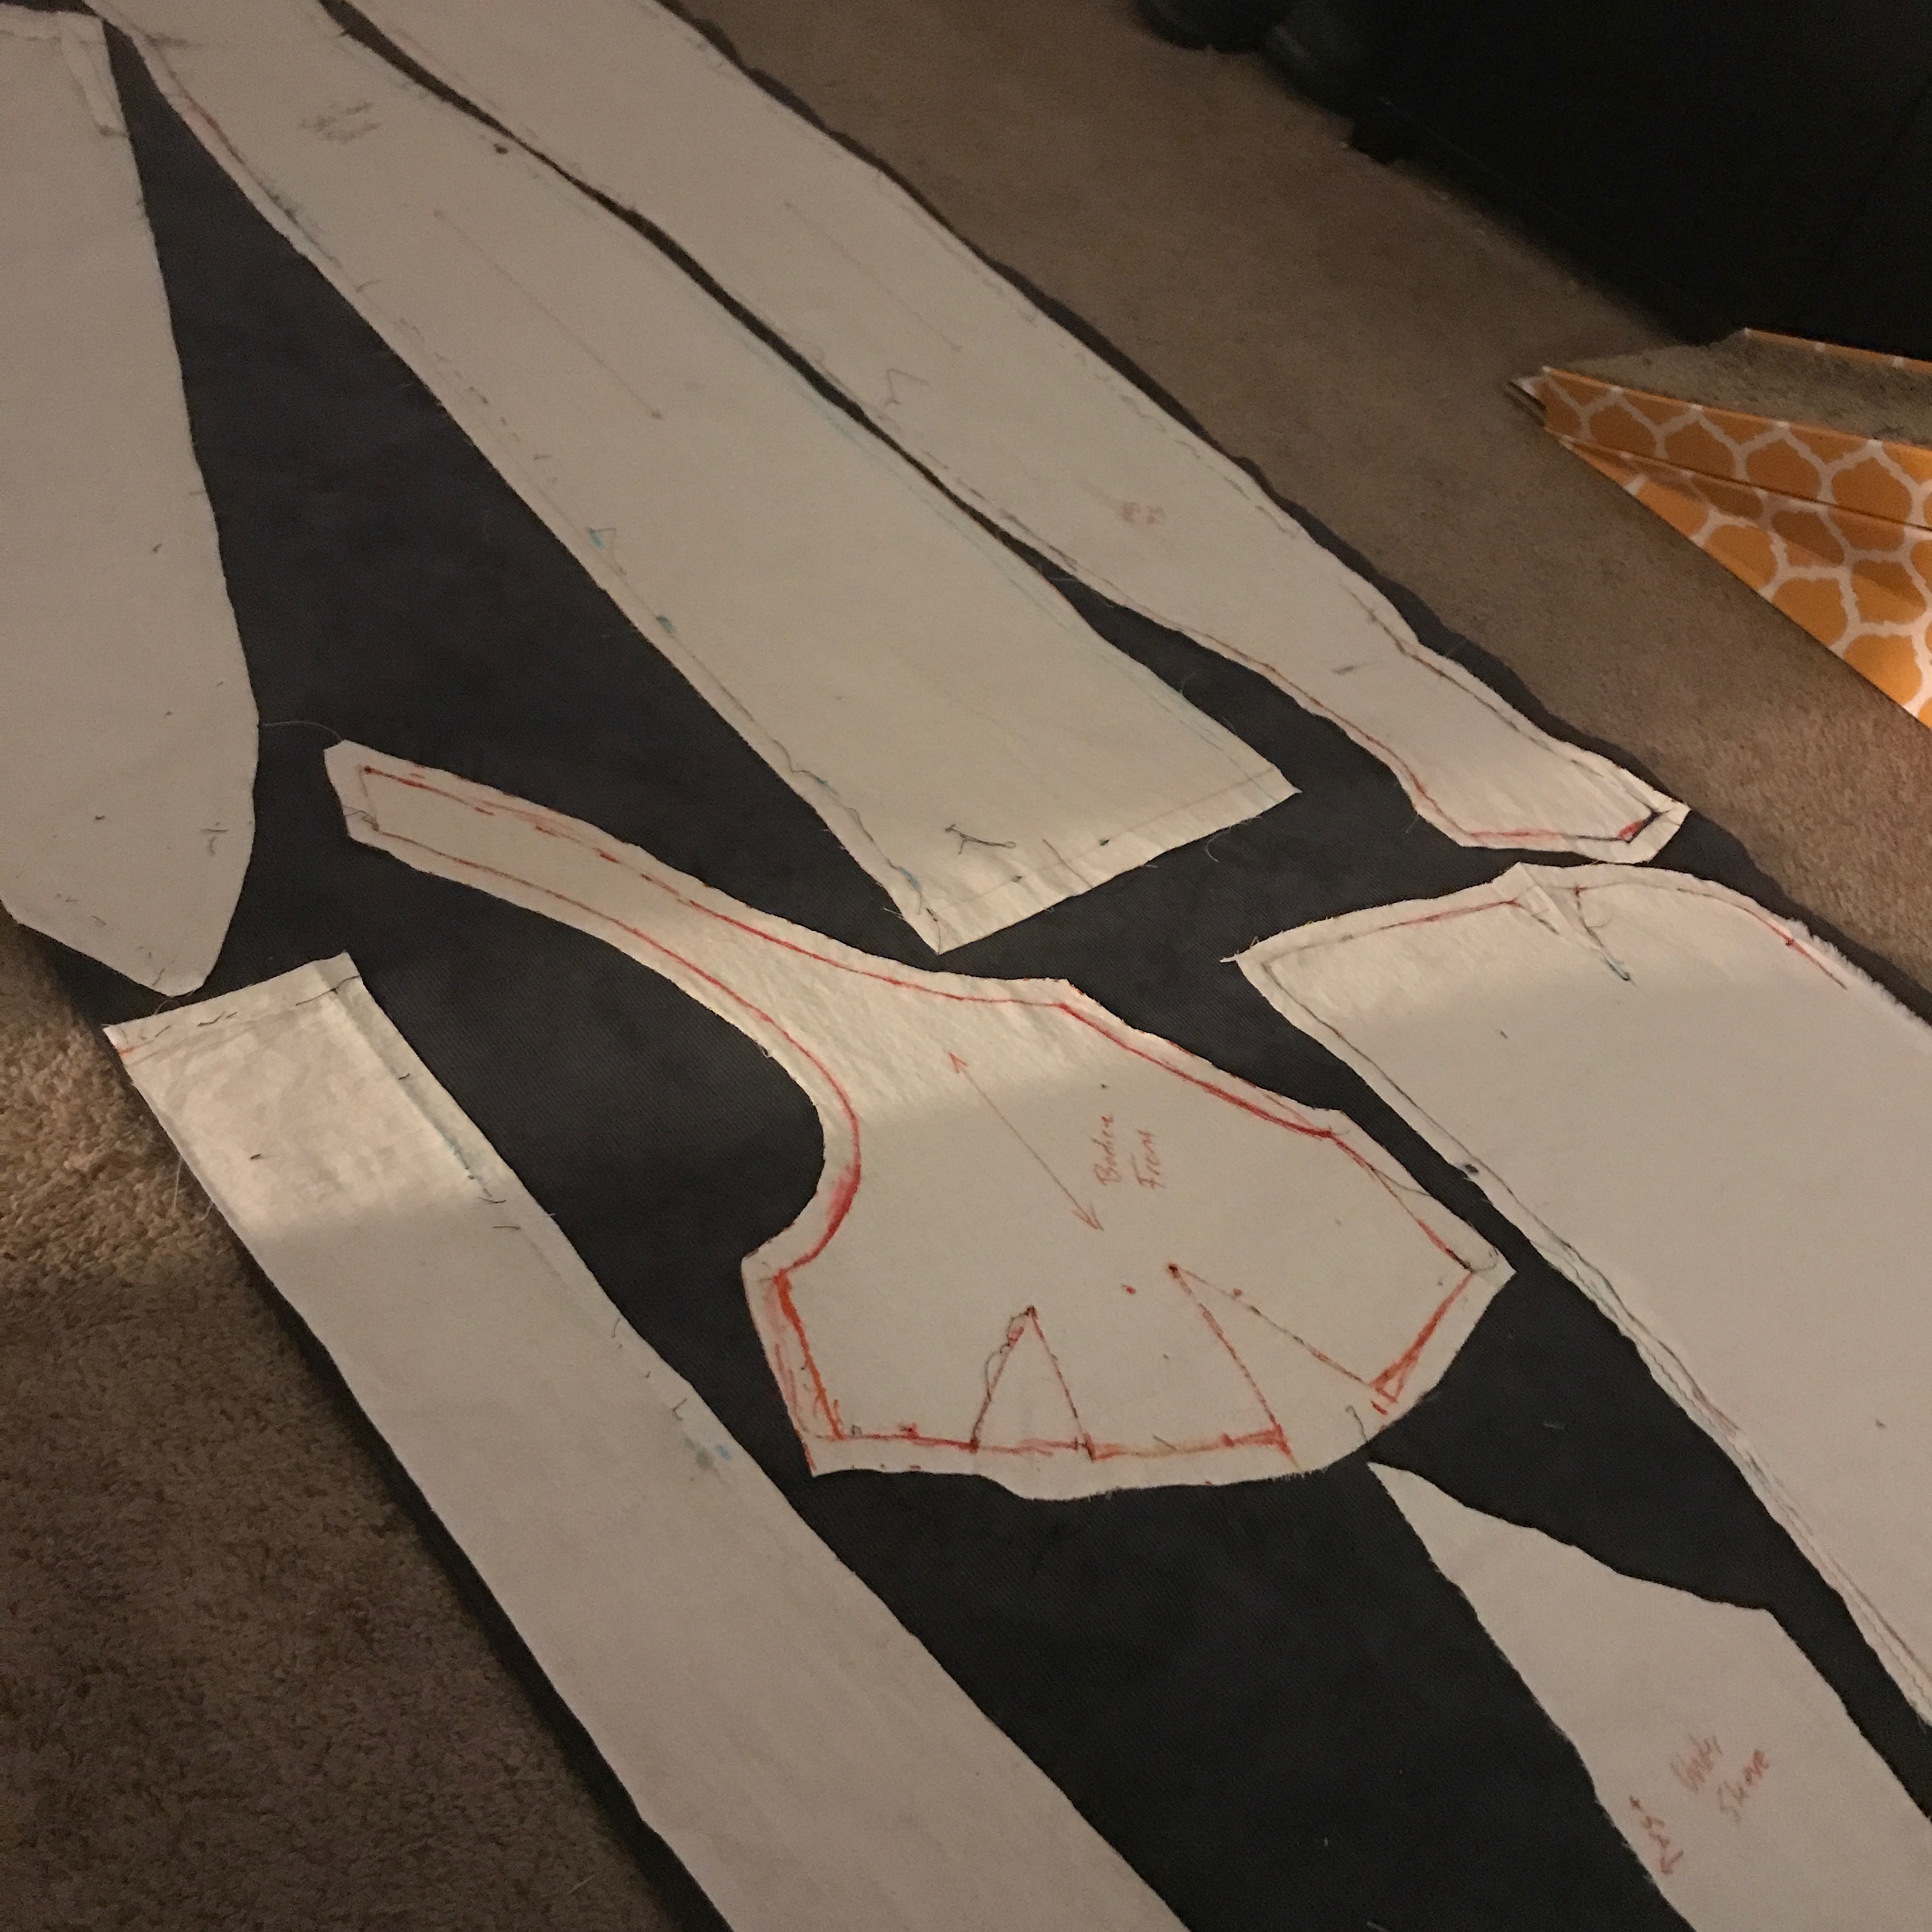
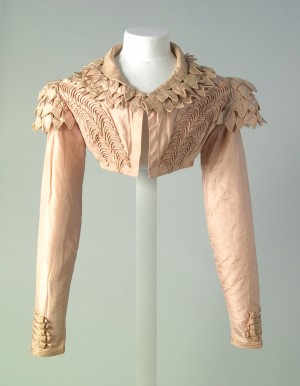
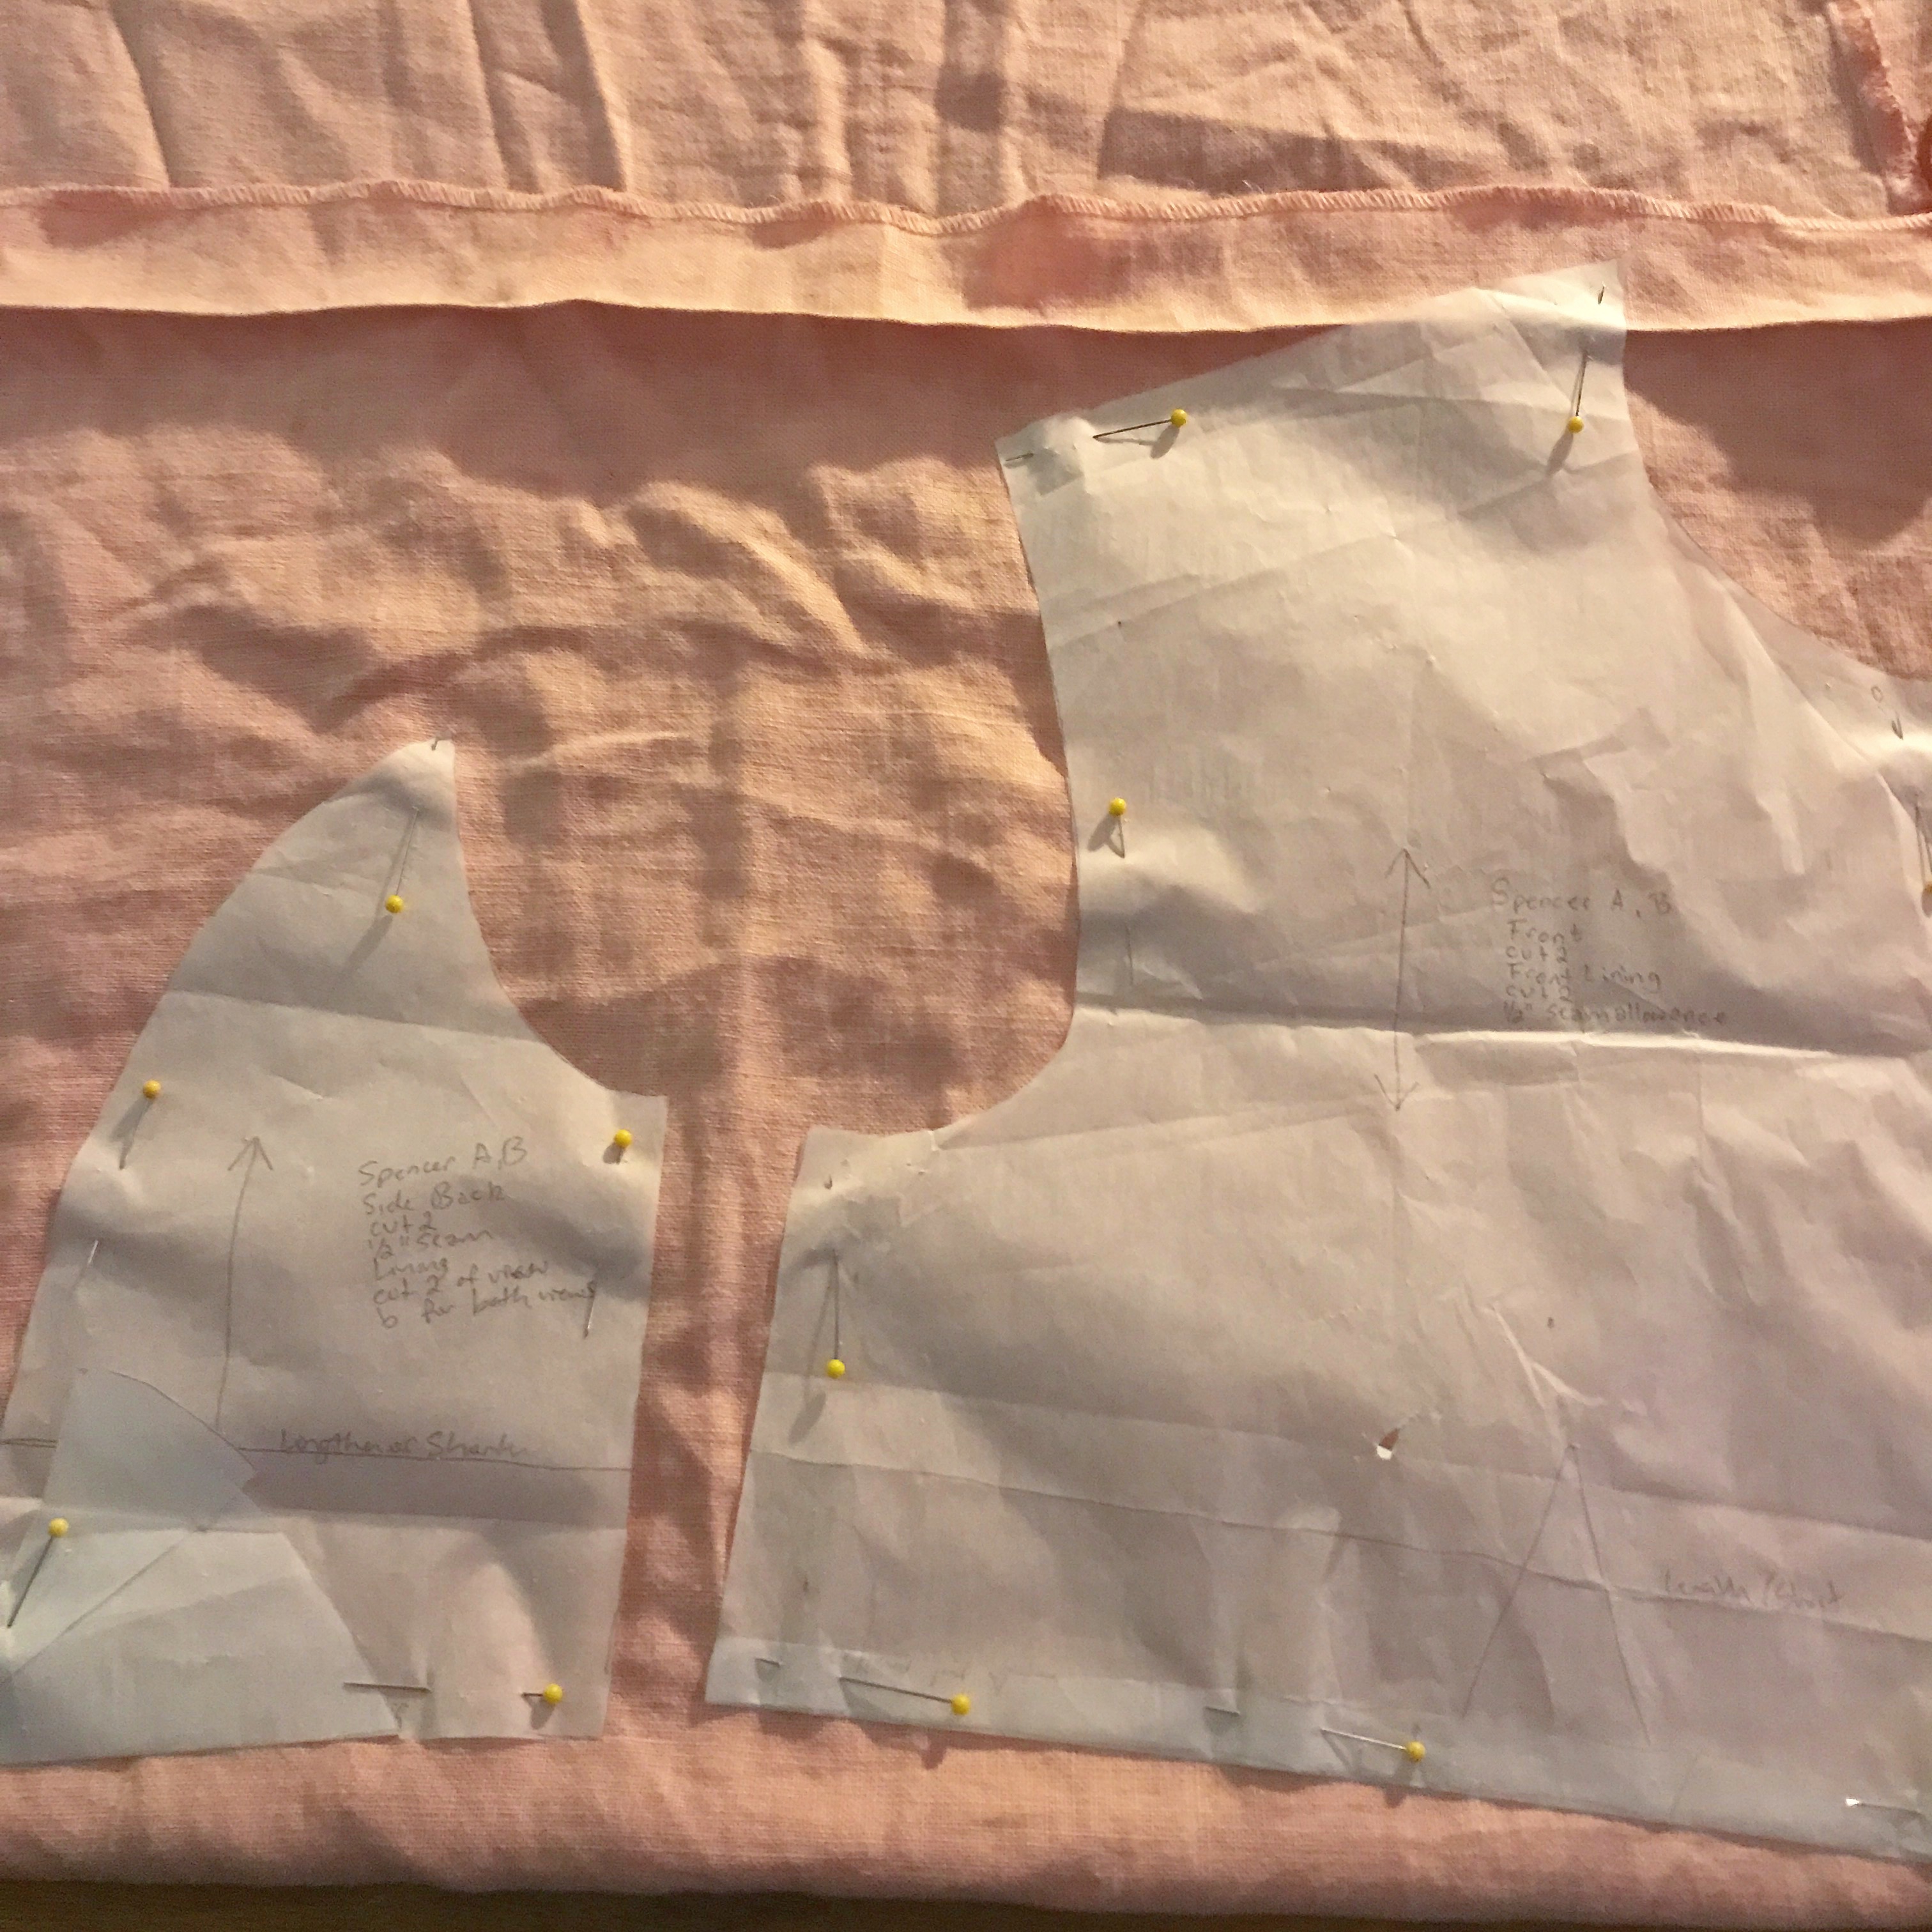
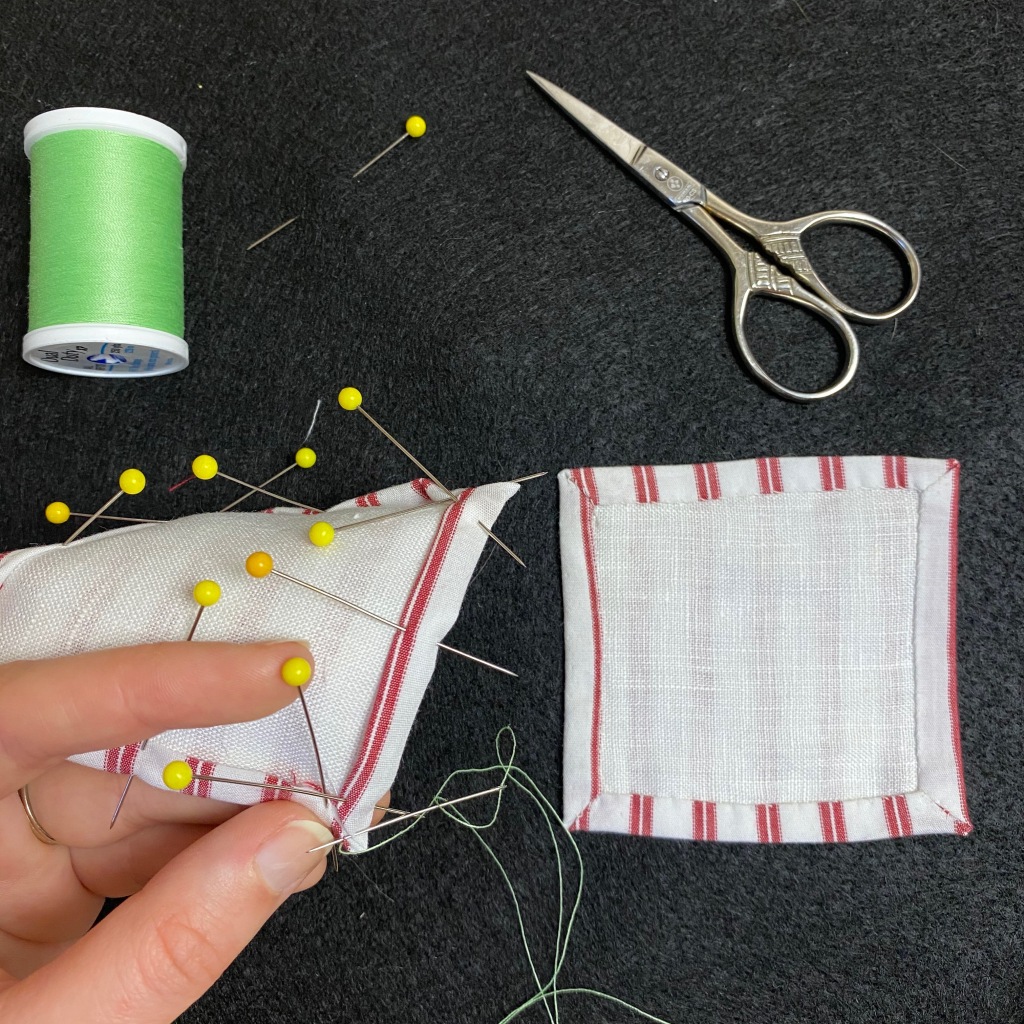
This is a method by which the pieces are finished individually, and then joined together afterwards. I would recommend this method most for lightweight, lined pieces, but you could also use it in unlined areas, though the hemming would show as a very small row of stitching on the outside of the garment if you use it without a lining. It is especially good for dealing with fabrics that fray easily, as it allows you to eliminate the raw edges before assembling the garment.
Fun Fact: The bodice of my Chemise à la Reine is constructed this way.
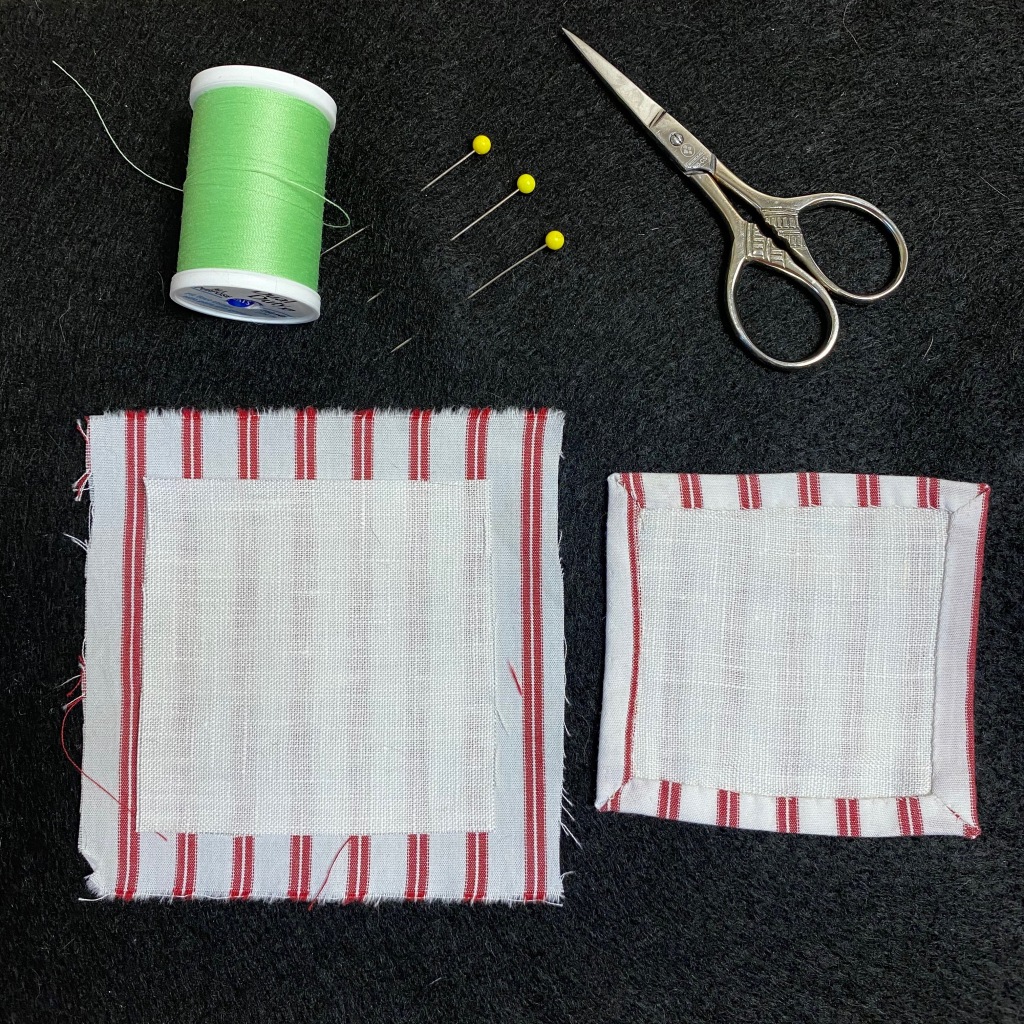
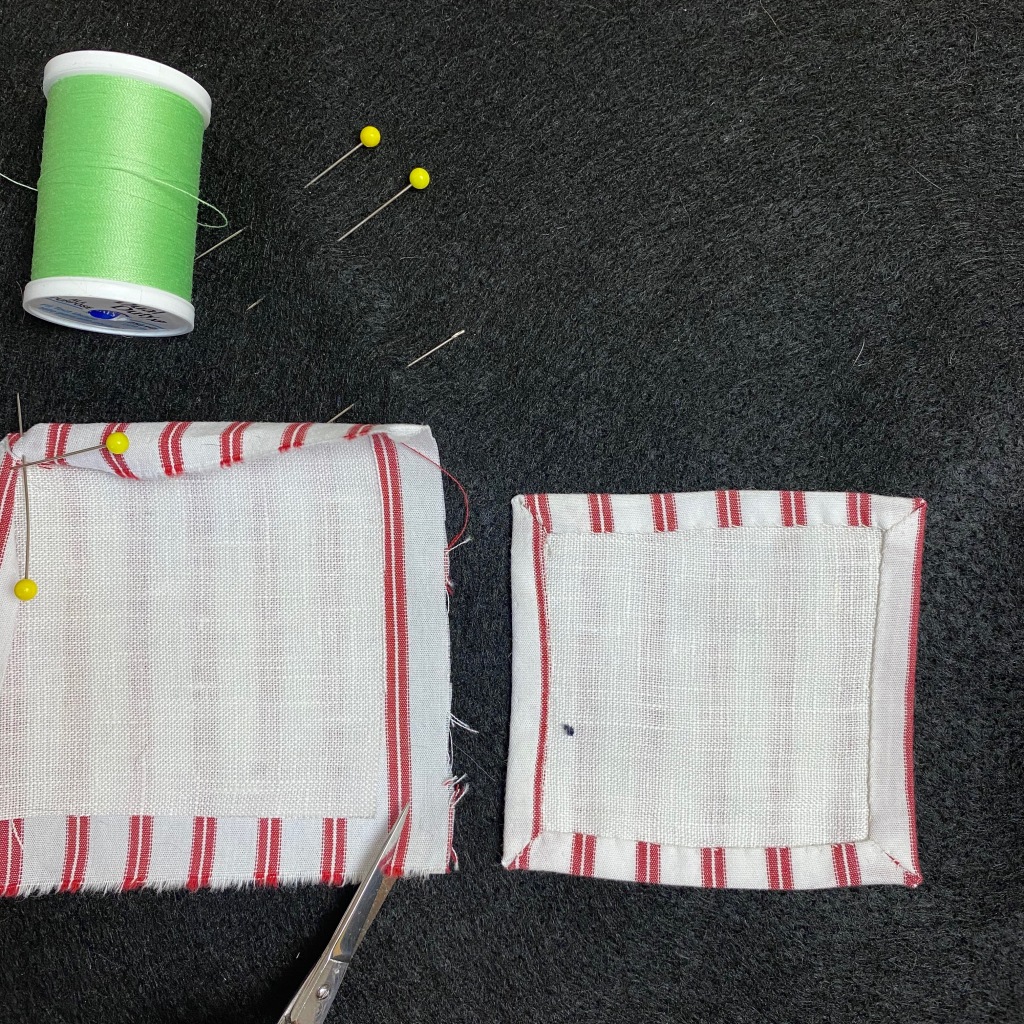


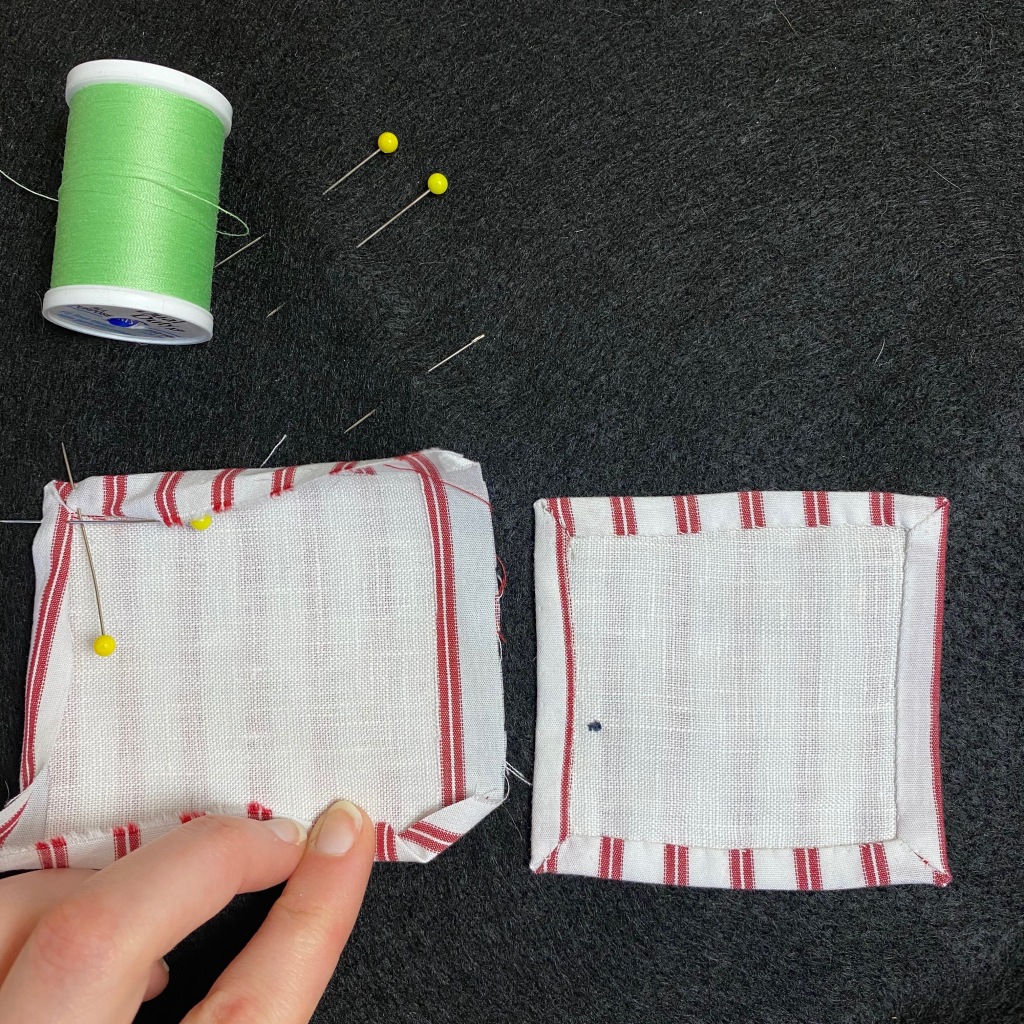


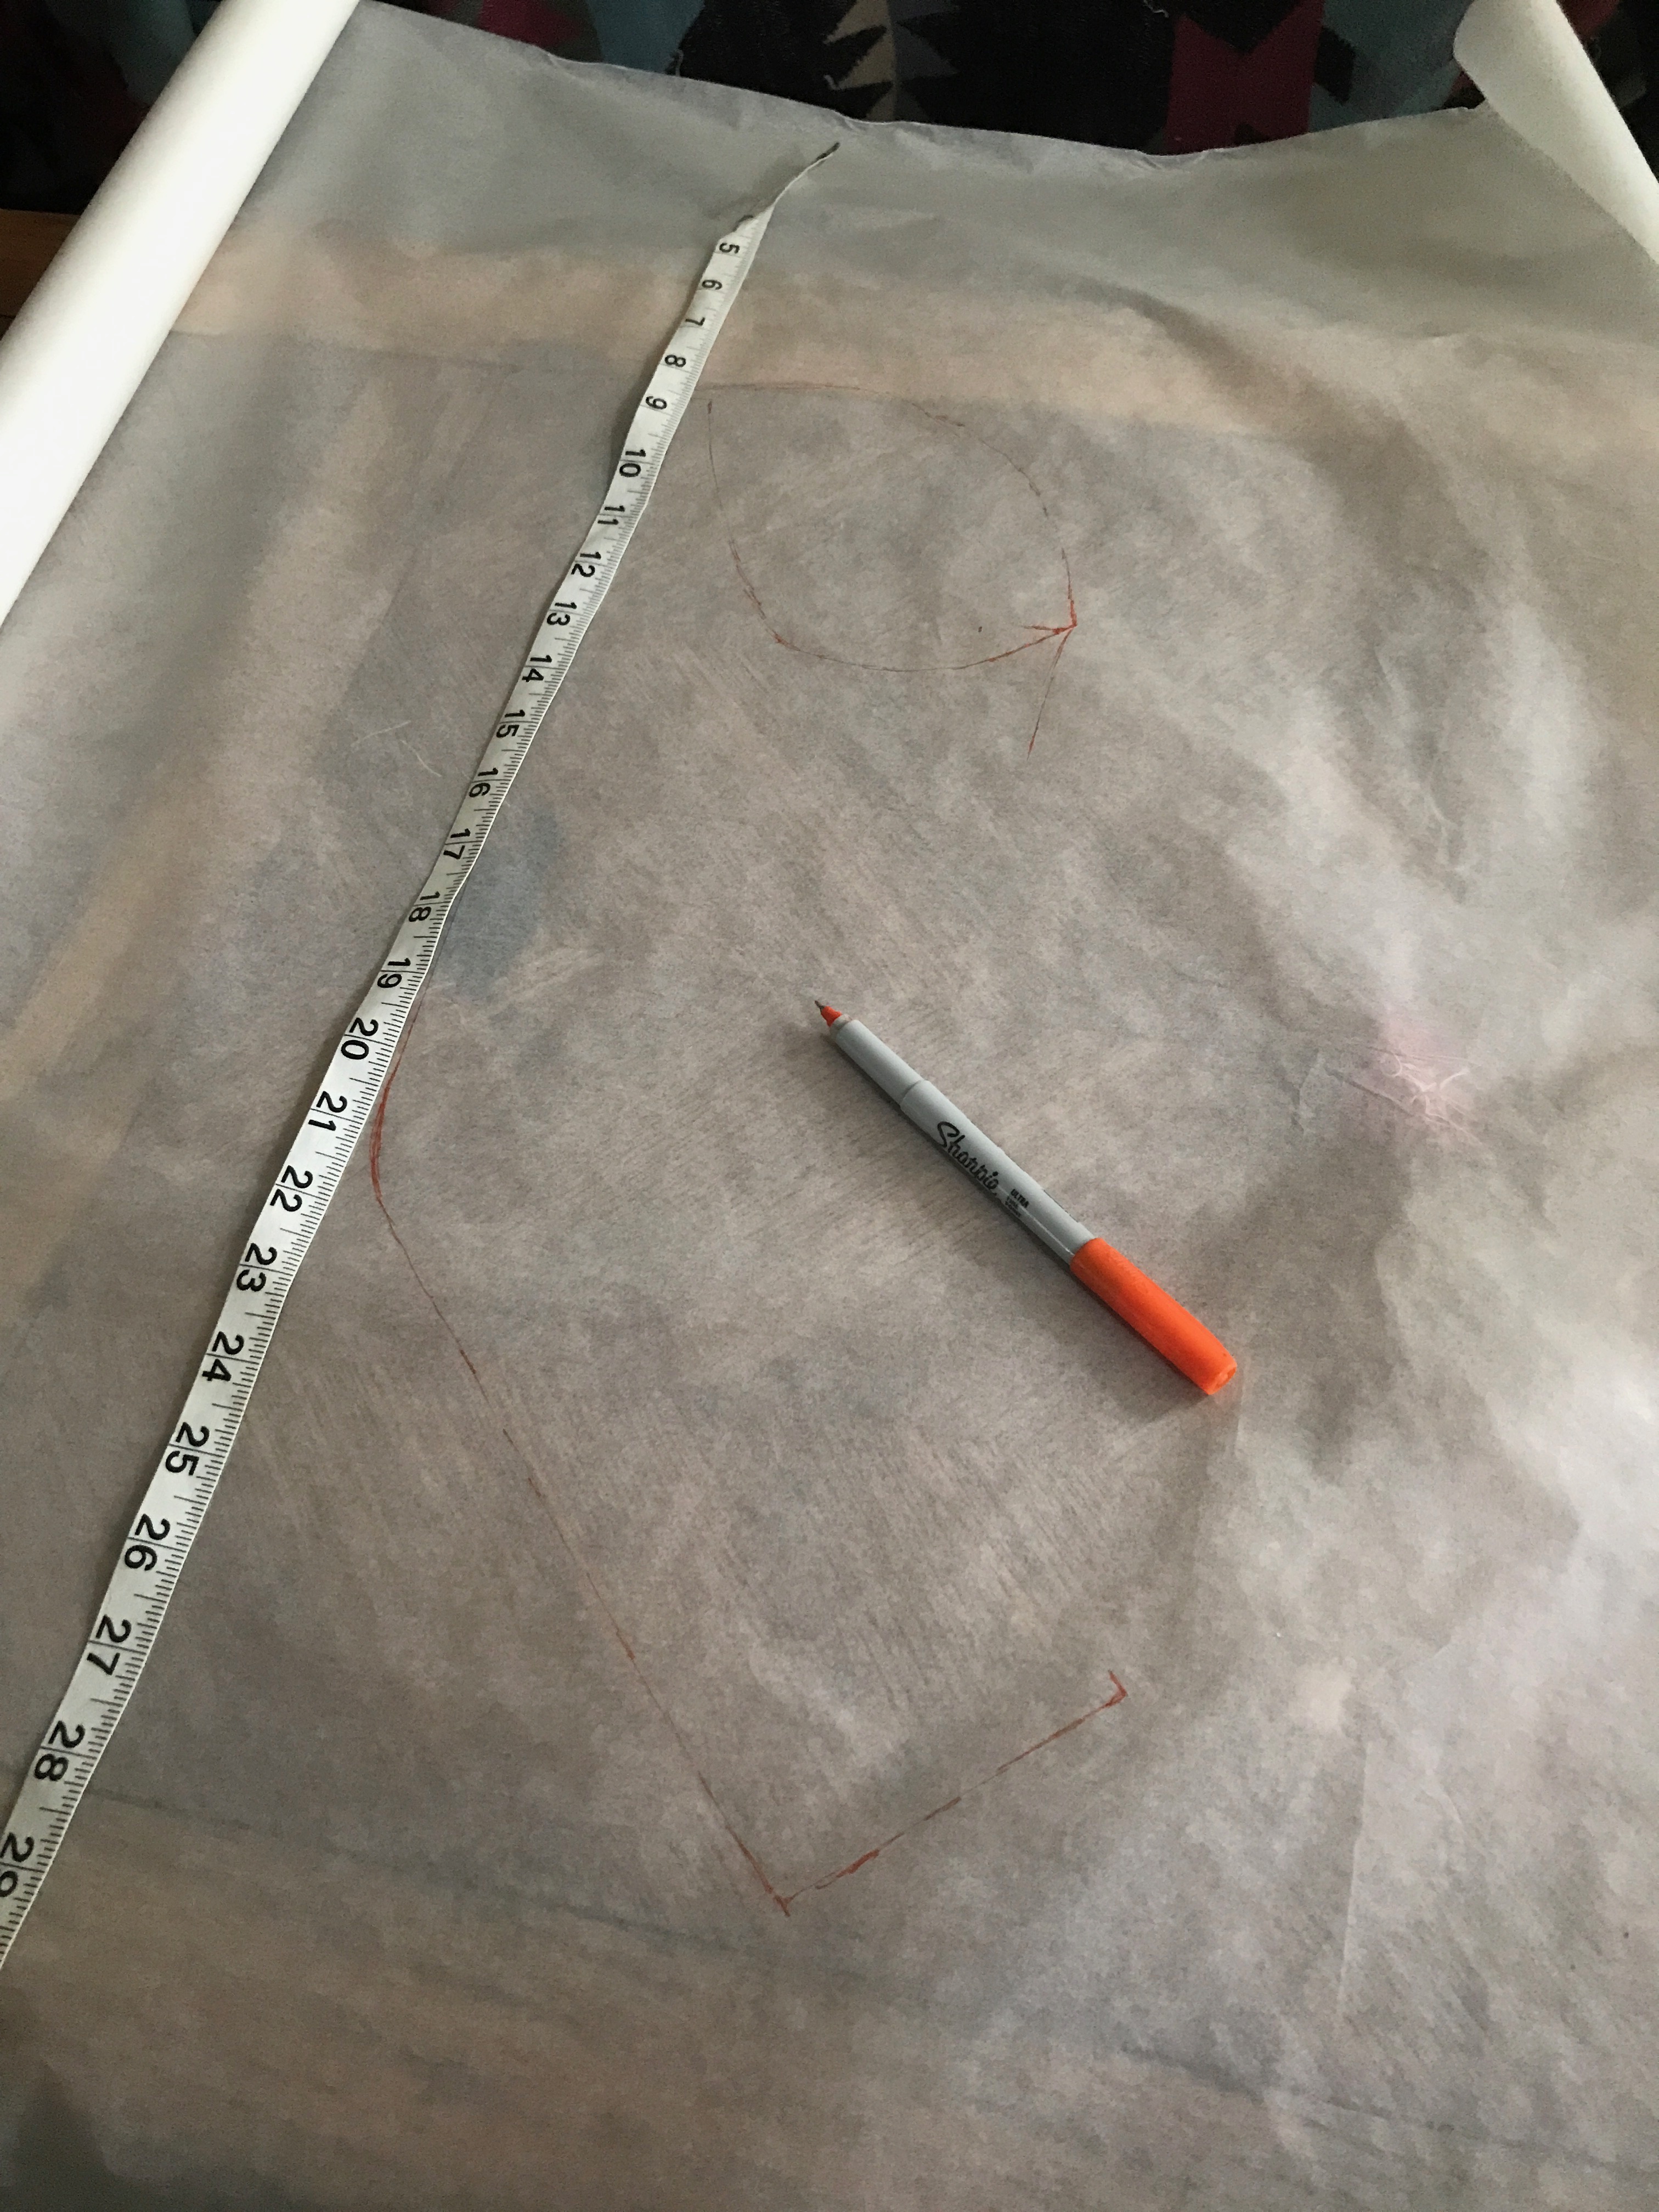
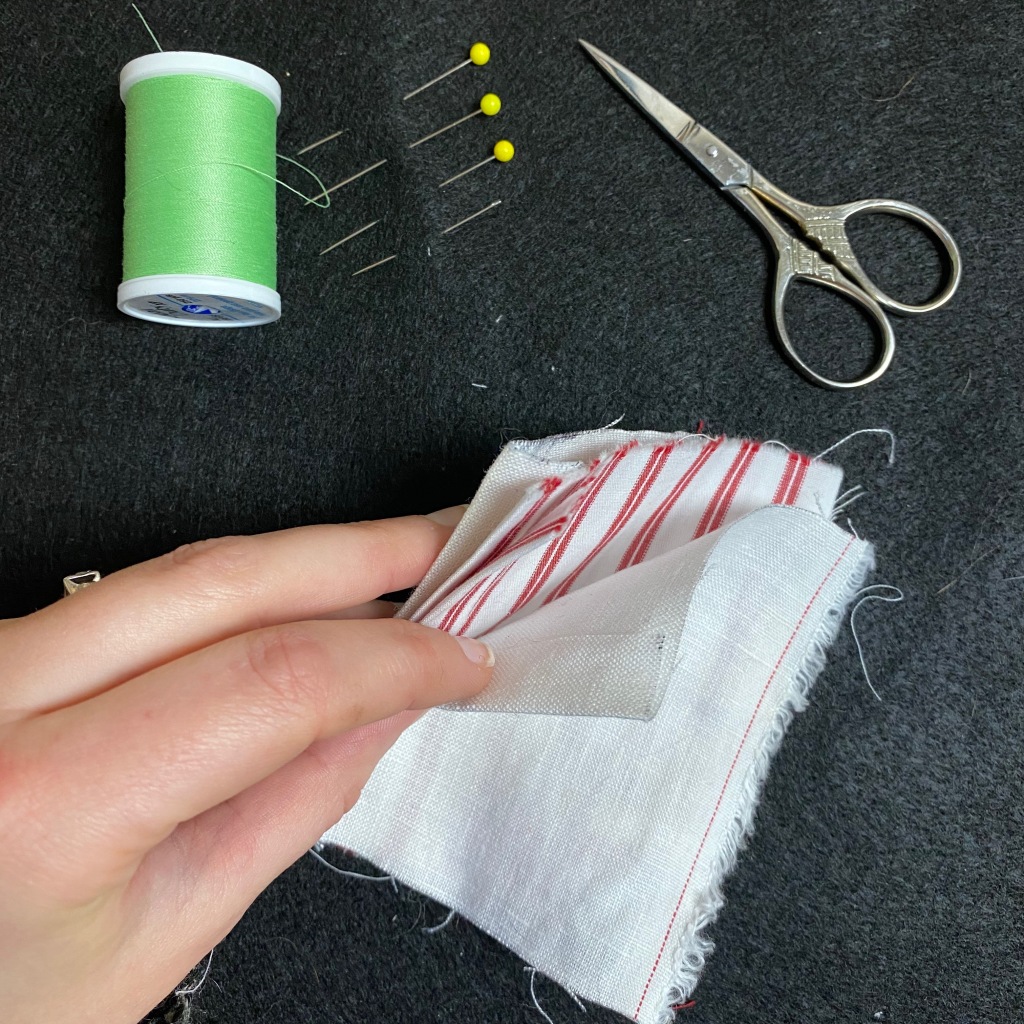
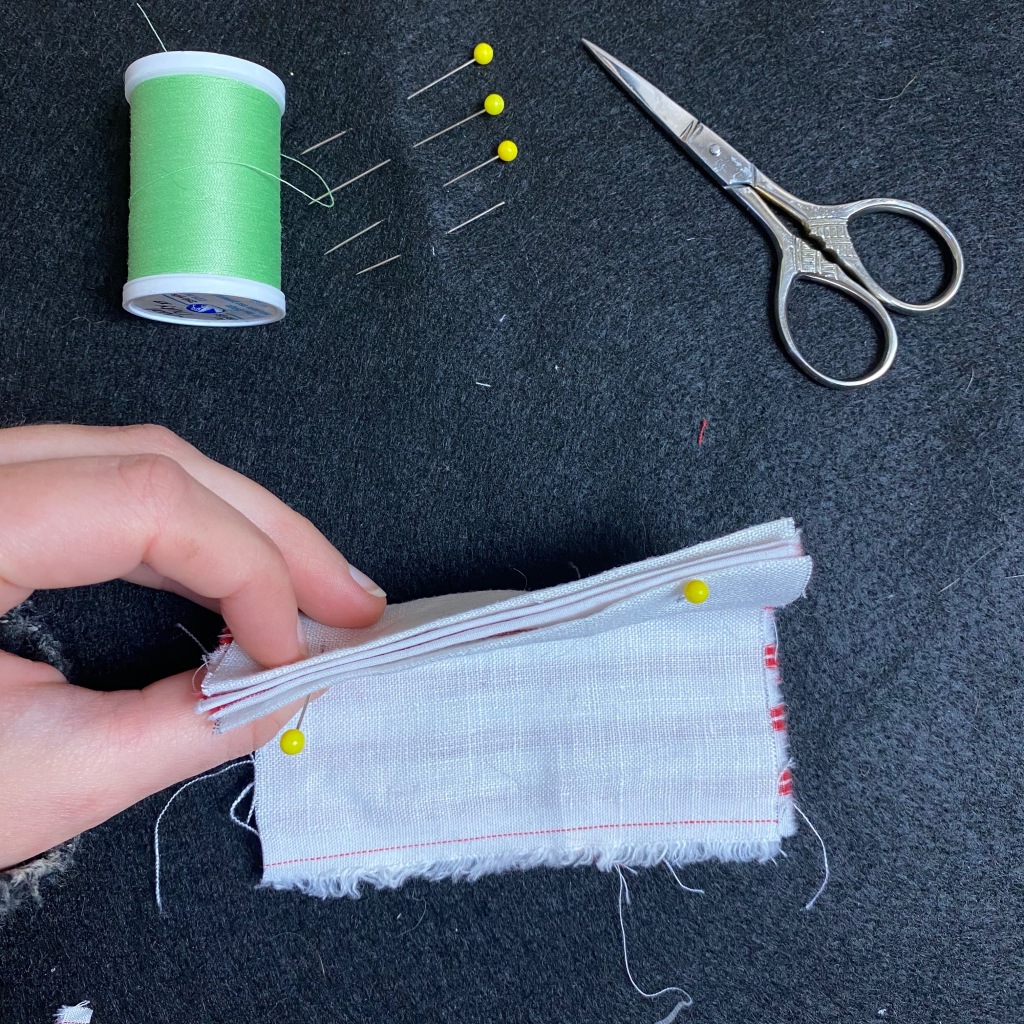
Repeat the mitering process for all corners of your pattern piece, and fold in all of the long edges to match.


Finished: Wrong Side 
Finished: Right Side
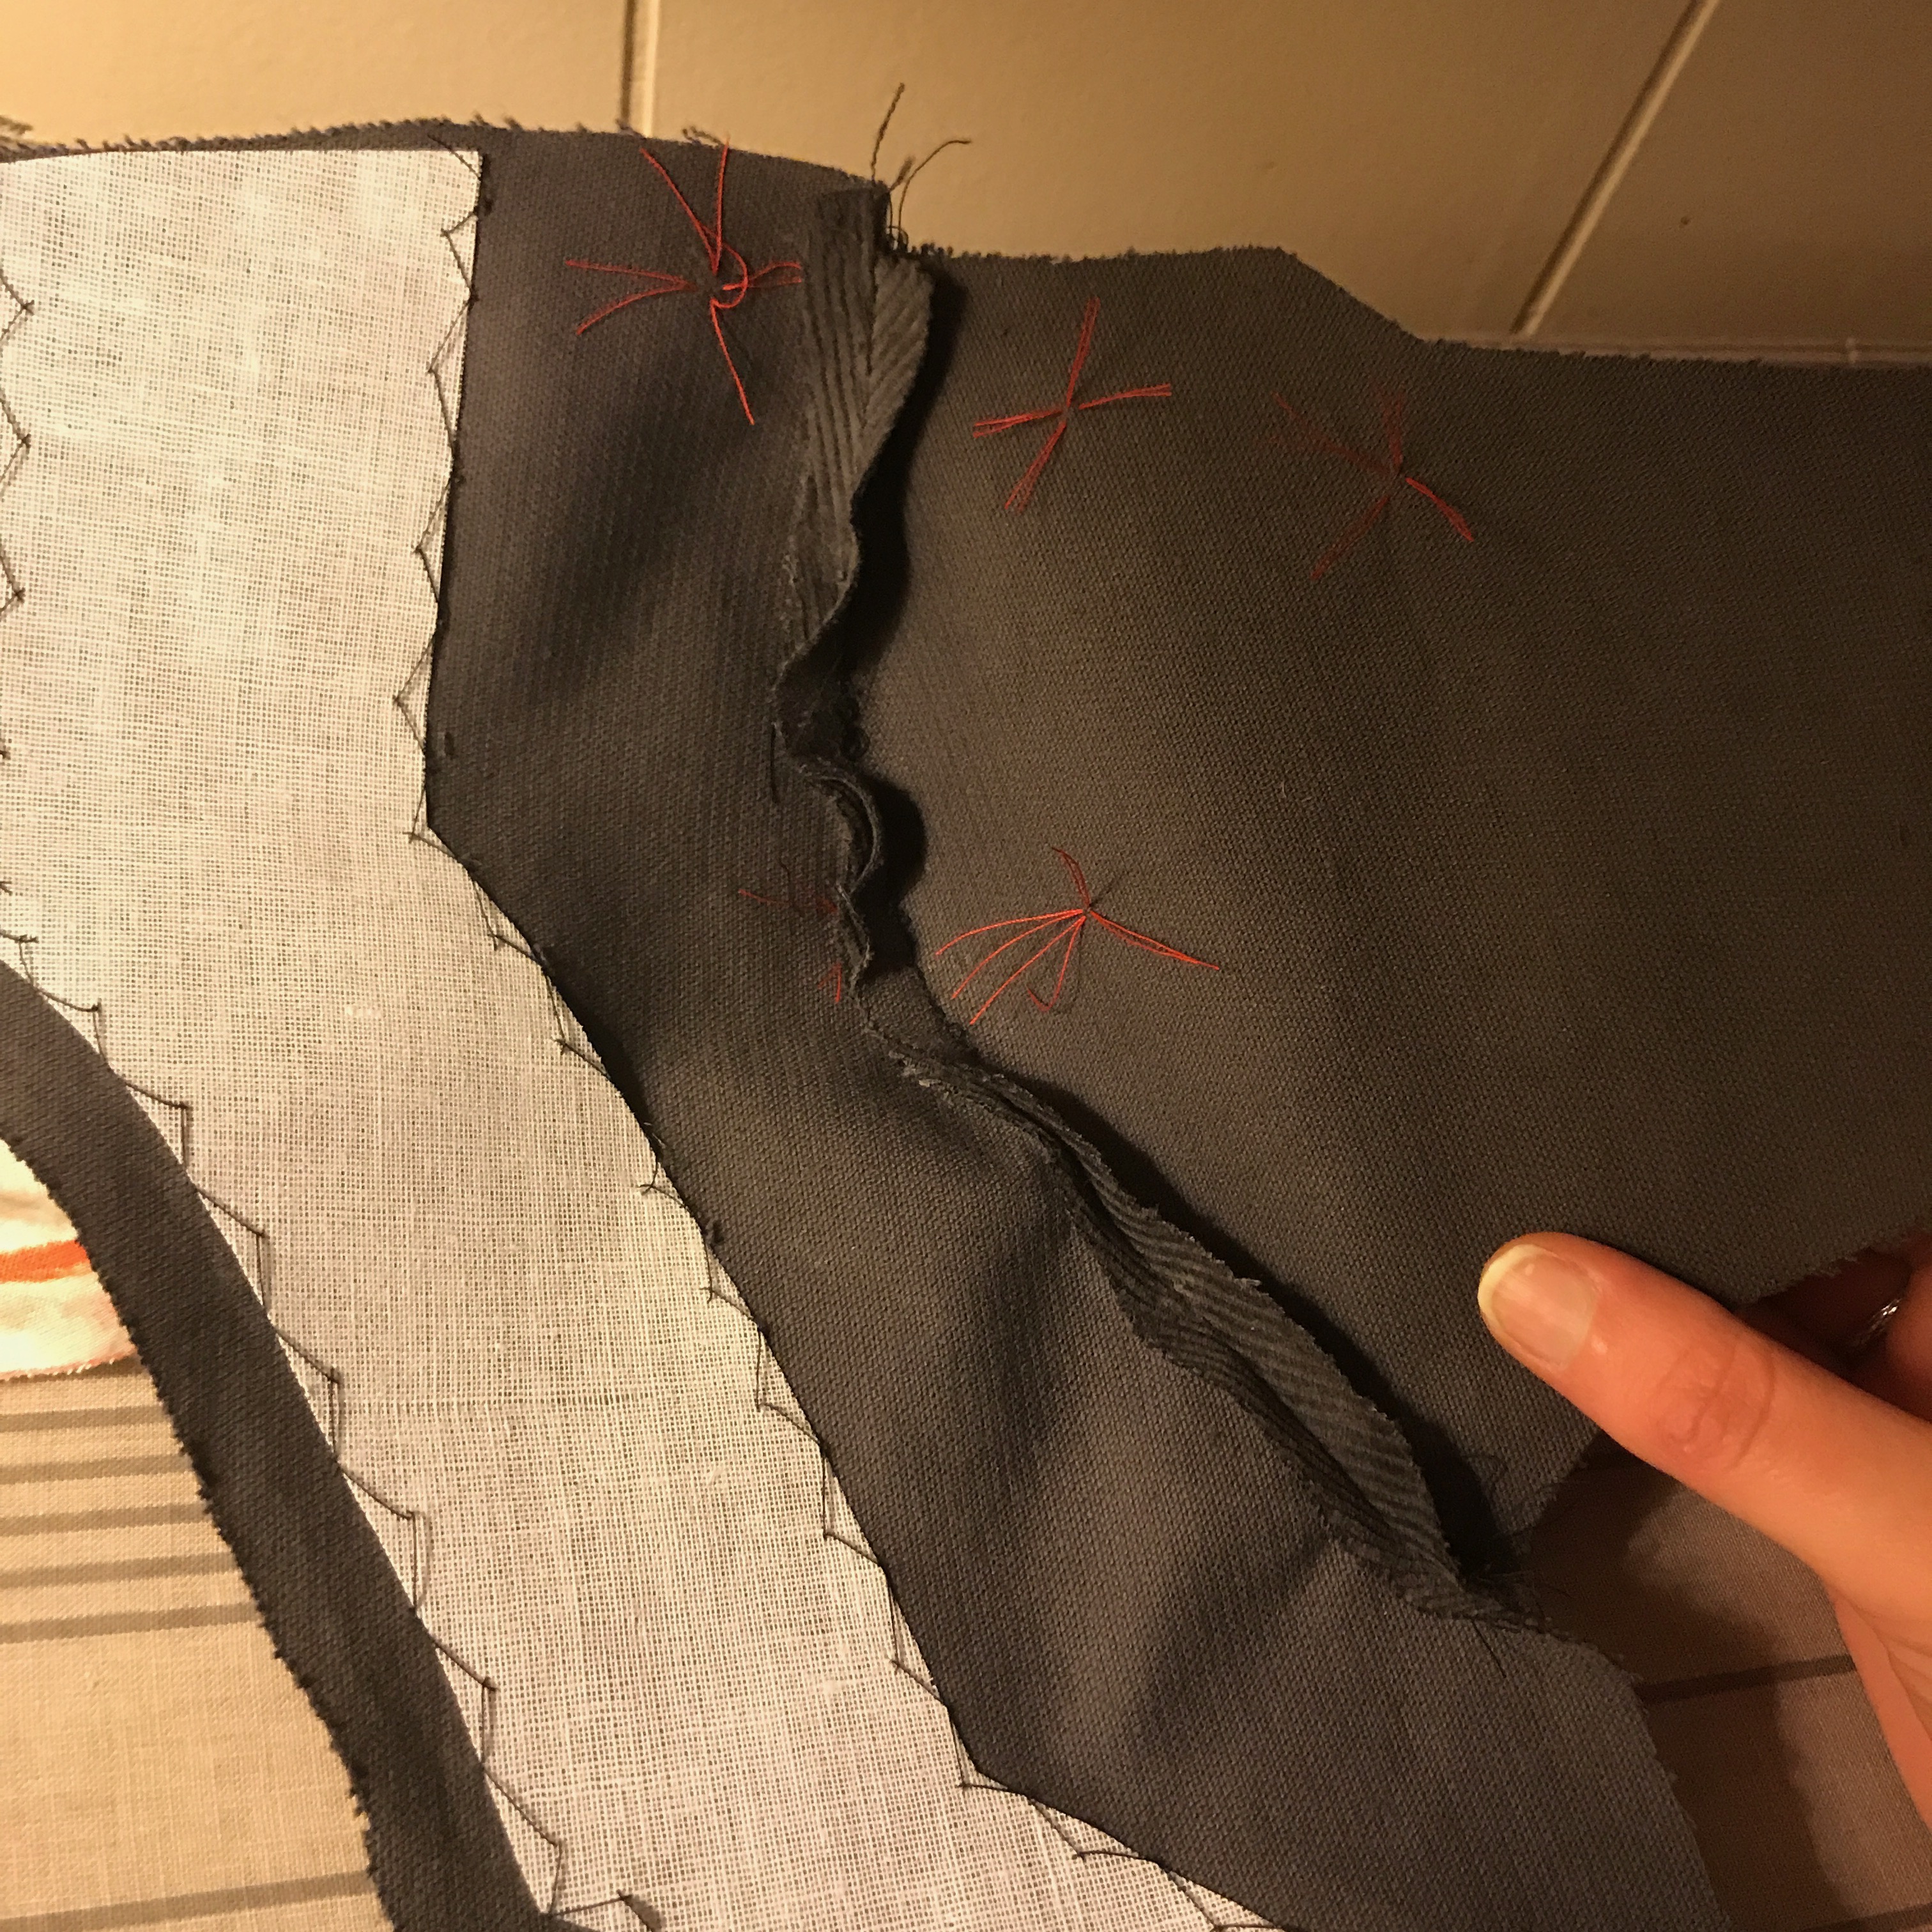
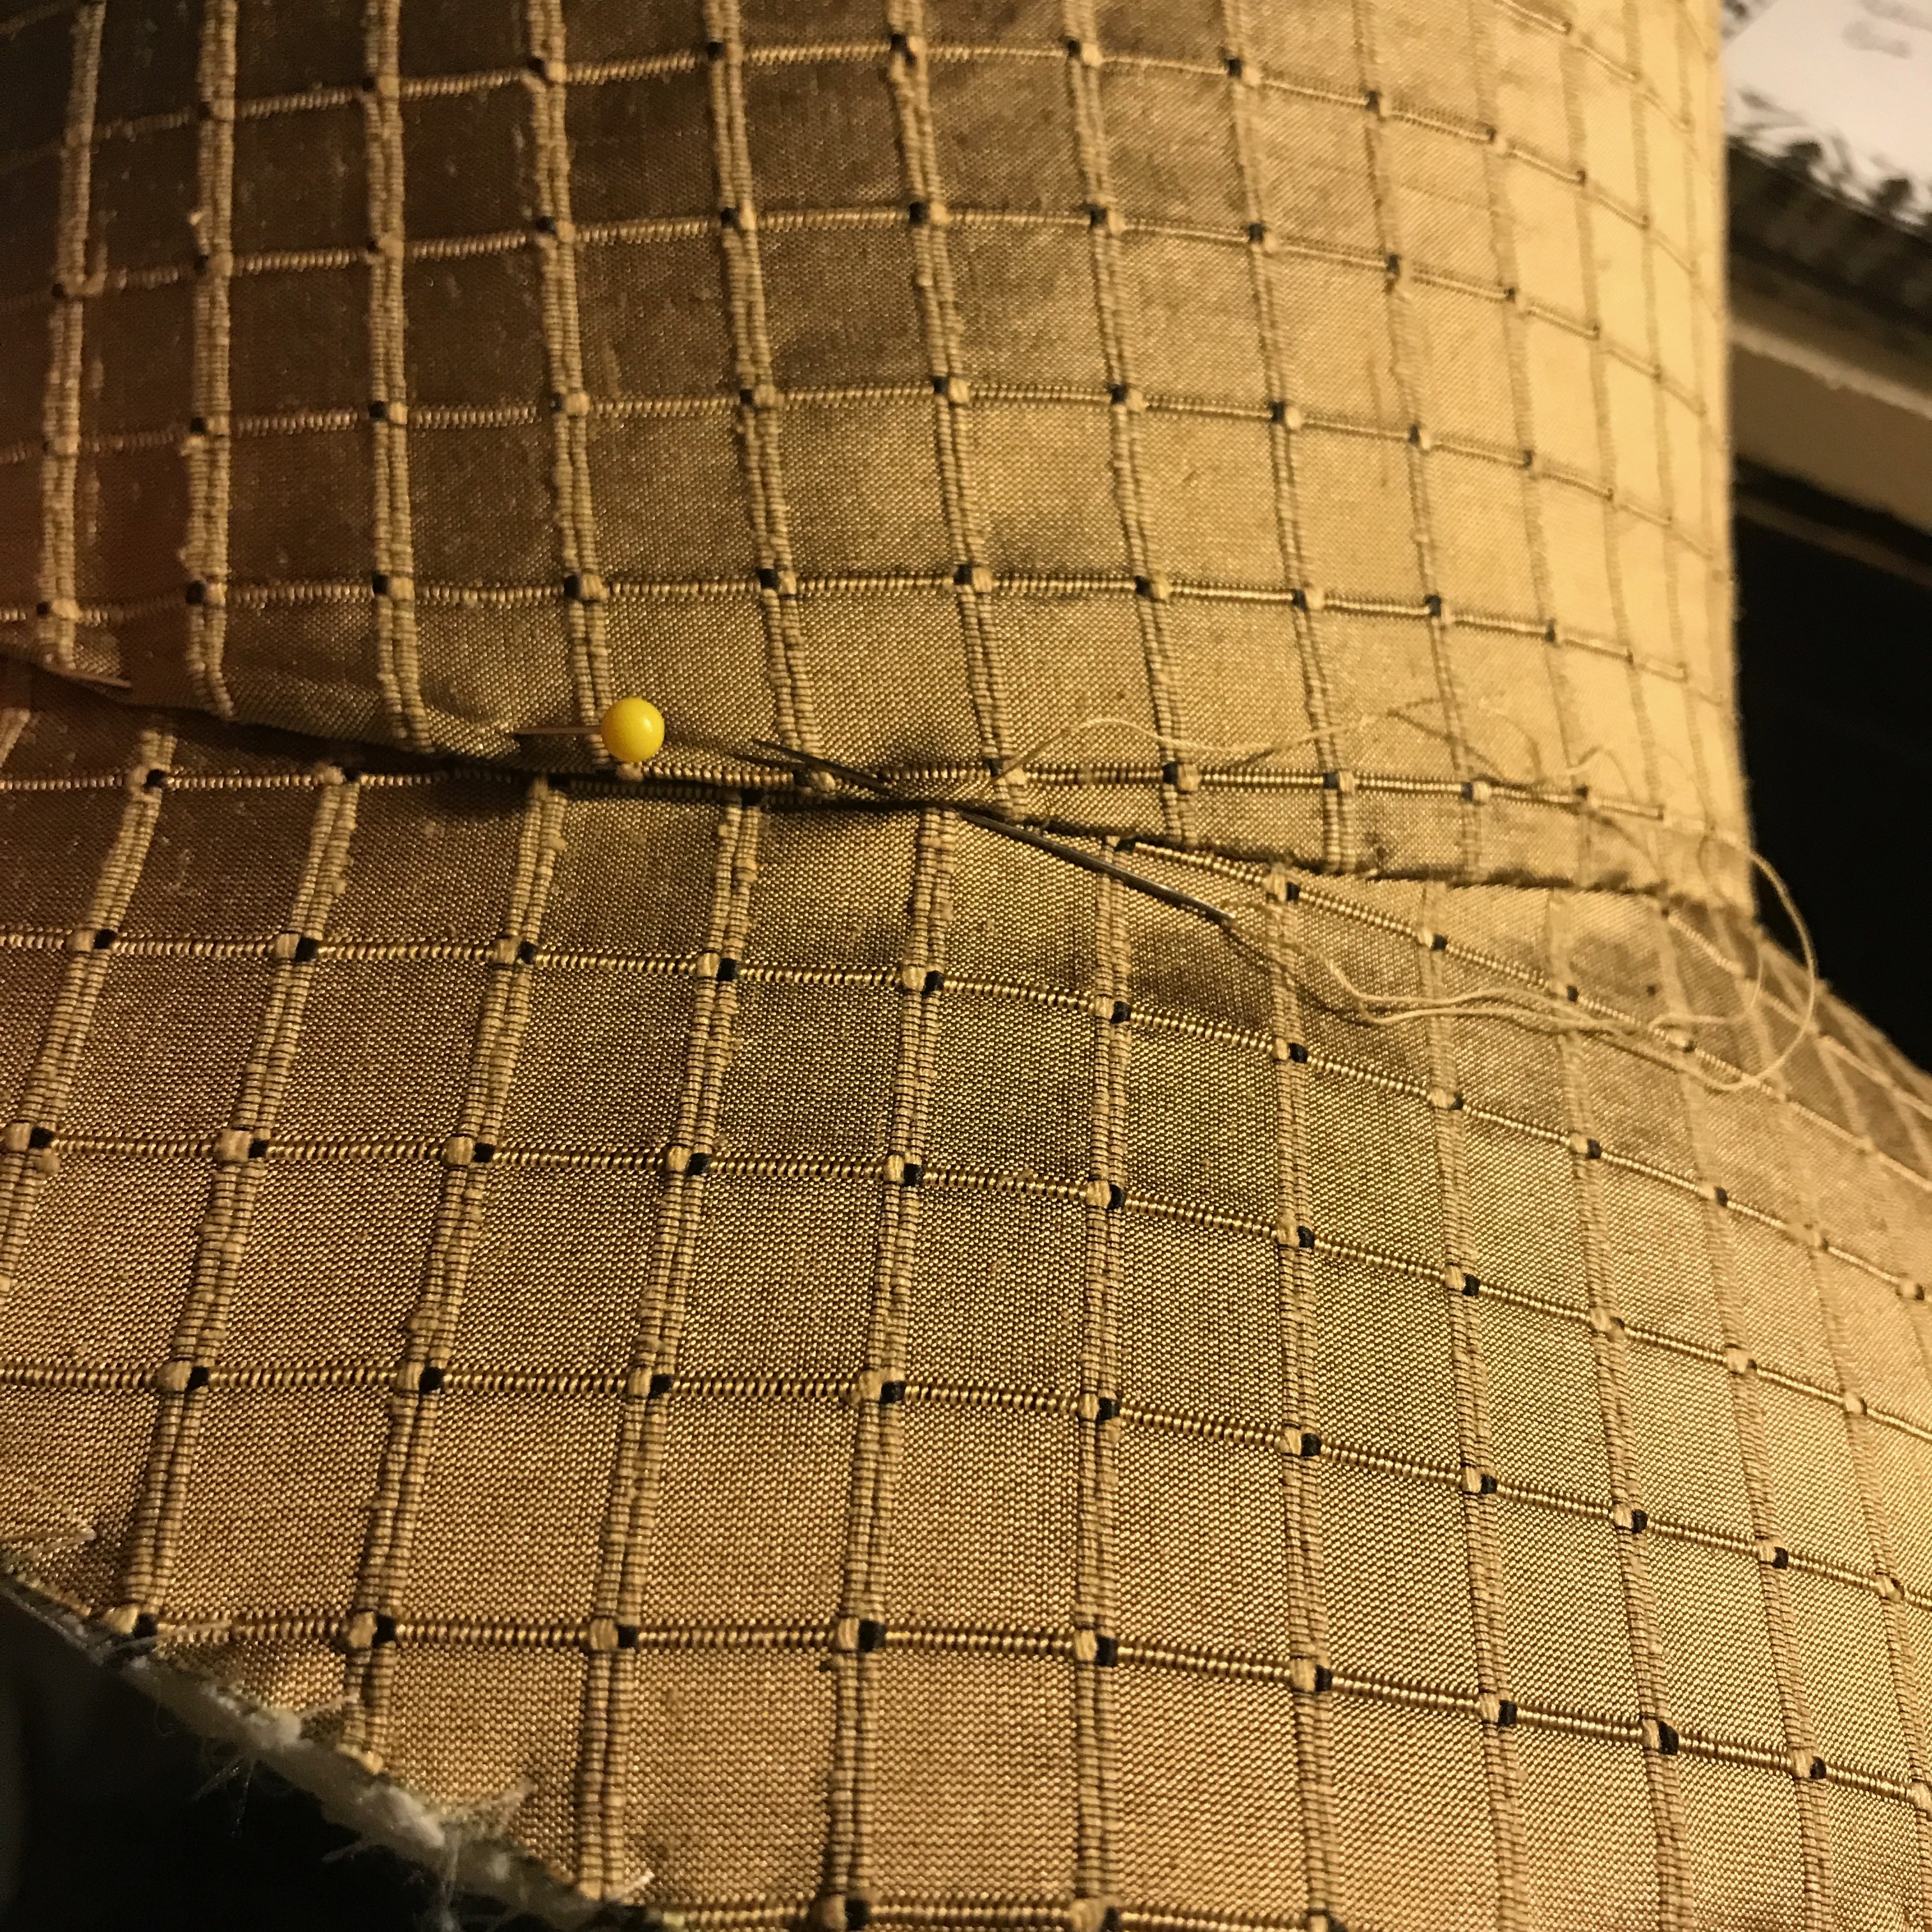
Overcasting
Best for flat-lined areas
This technique is by far the most common to be seen in Victorian era bodices, which are generally flatlined, with the seams pressed open and overcast to the lining. It is not the most beautiful finish, as the raw edges are left visible, though protected. It’s best not to let this bother you–our ancestors were not nearly so bothered about raw edges as we seem to be, and folding the seam allowances over in order to encase the raw edges would create unnecessary bulk in a tightly fitted bodice. This finish also makes it very easy to go in and make small fit adjustments if necessary.


Finished: Wrong Side 
Finished: Right Side
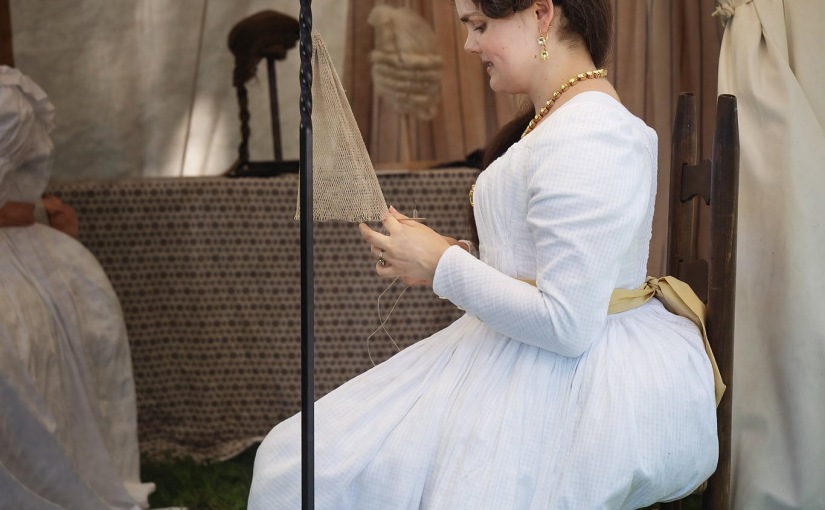
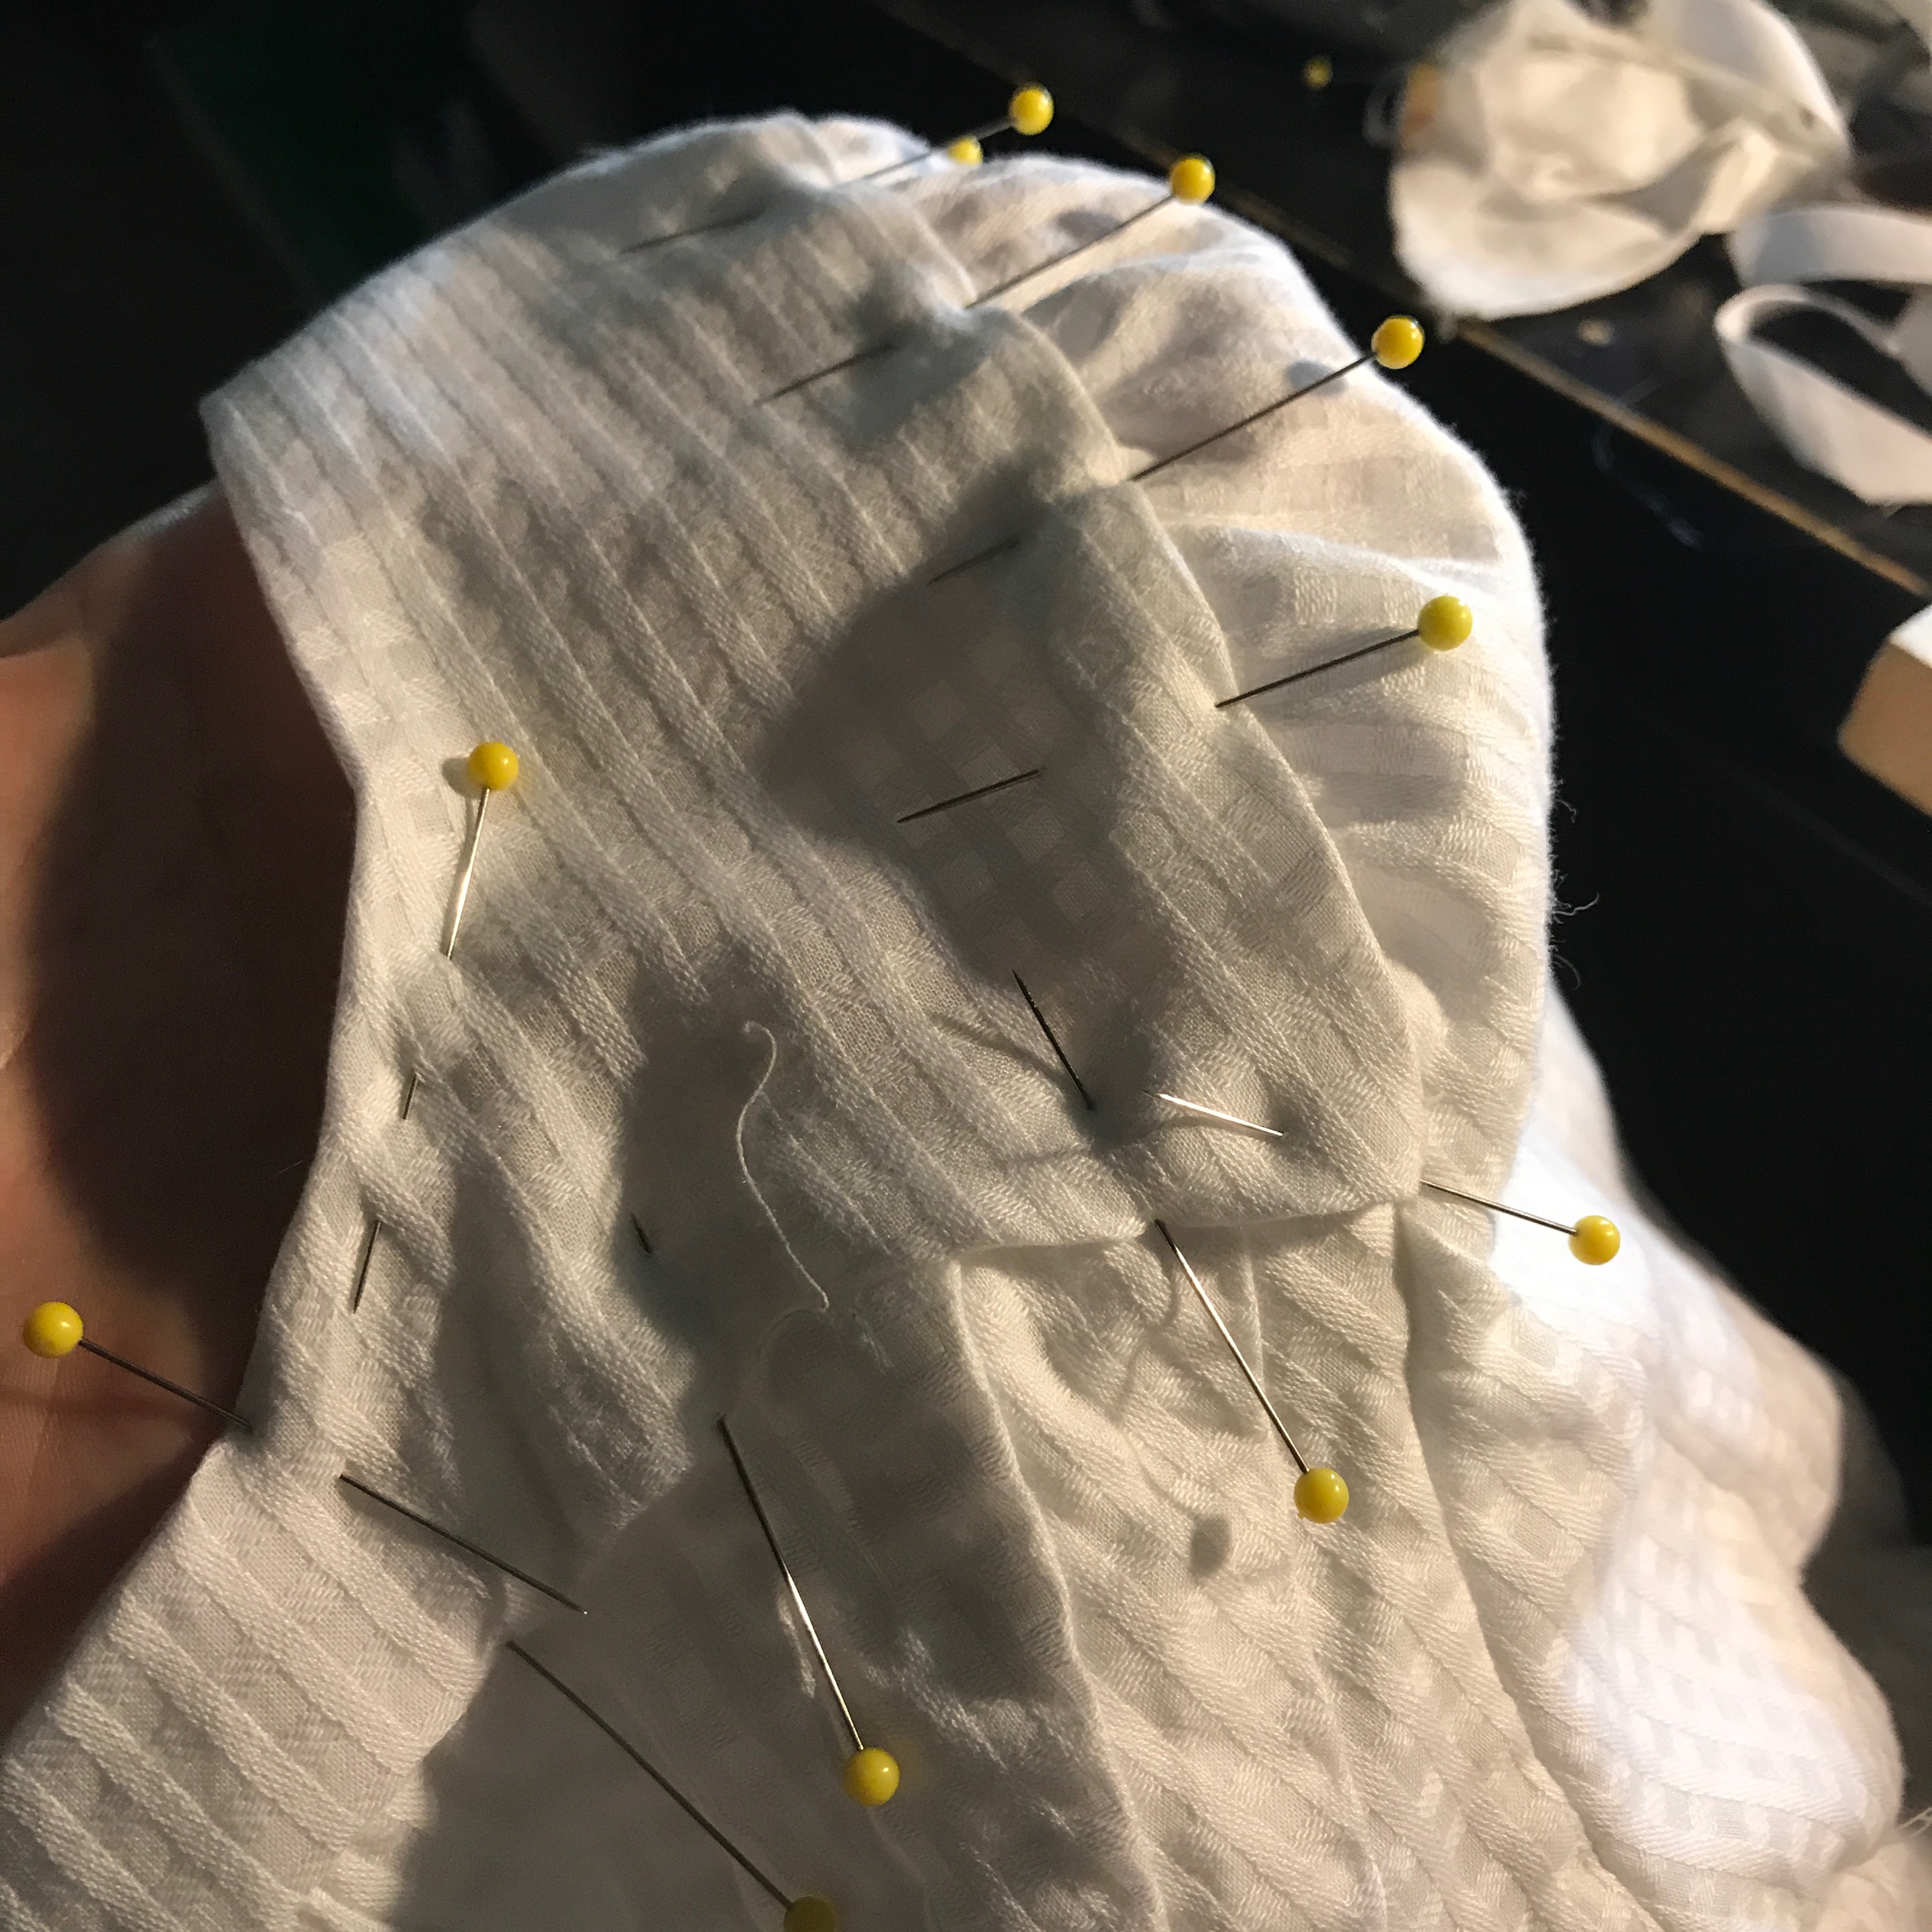
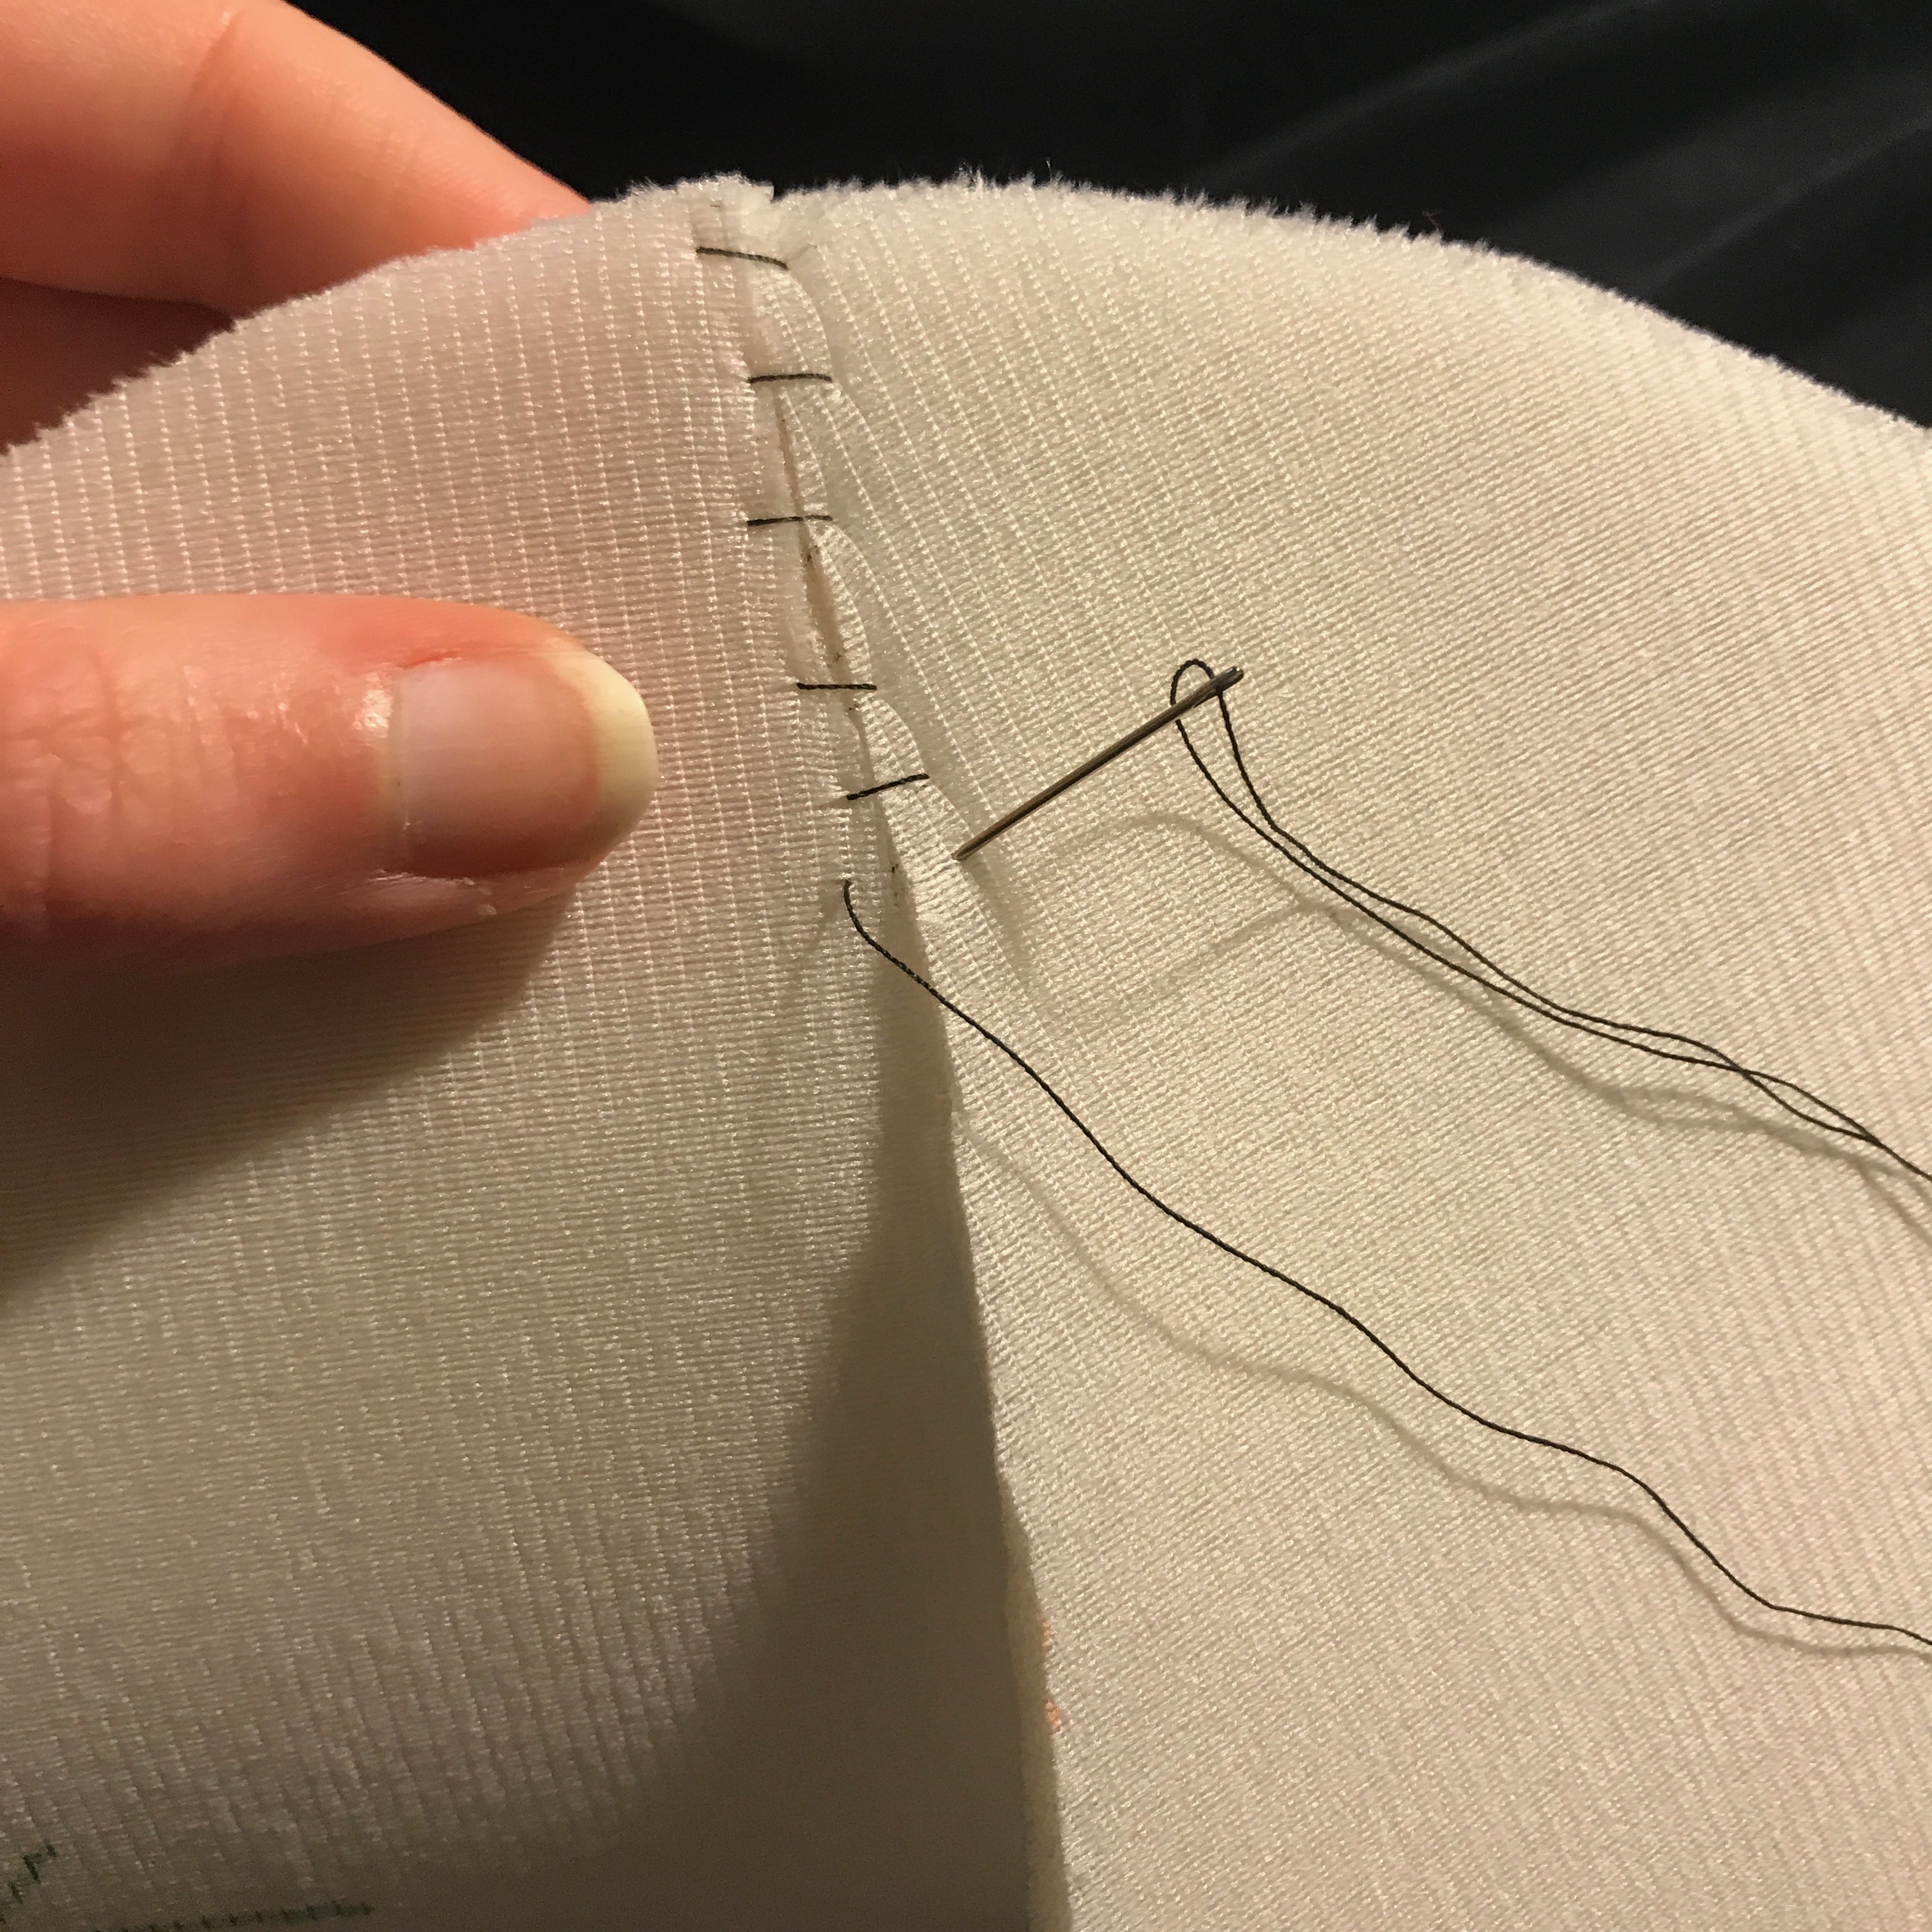
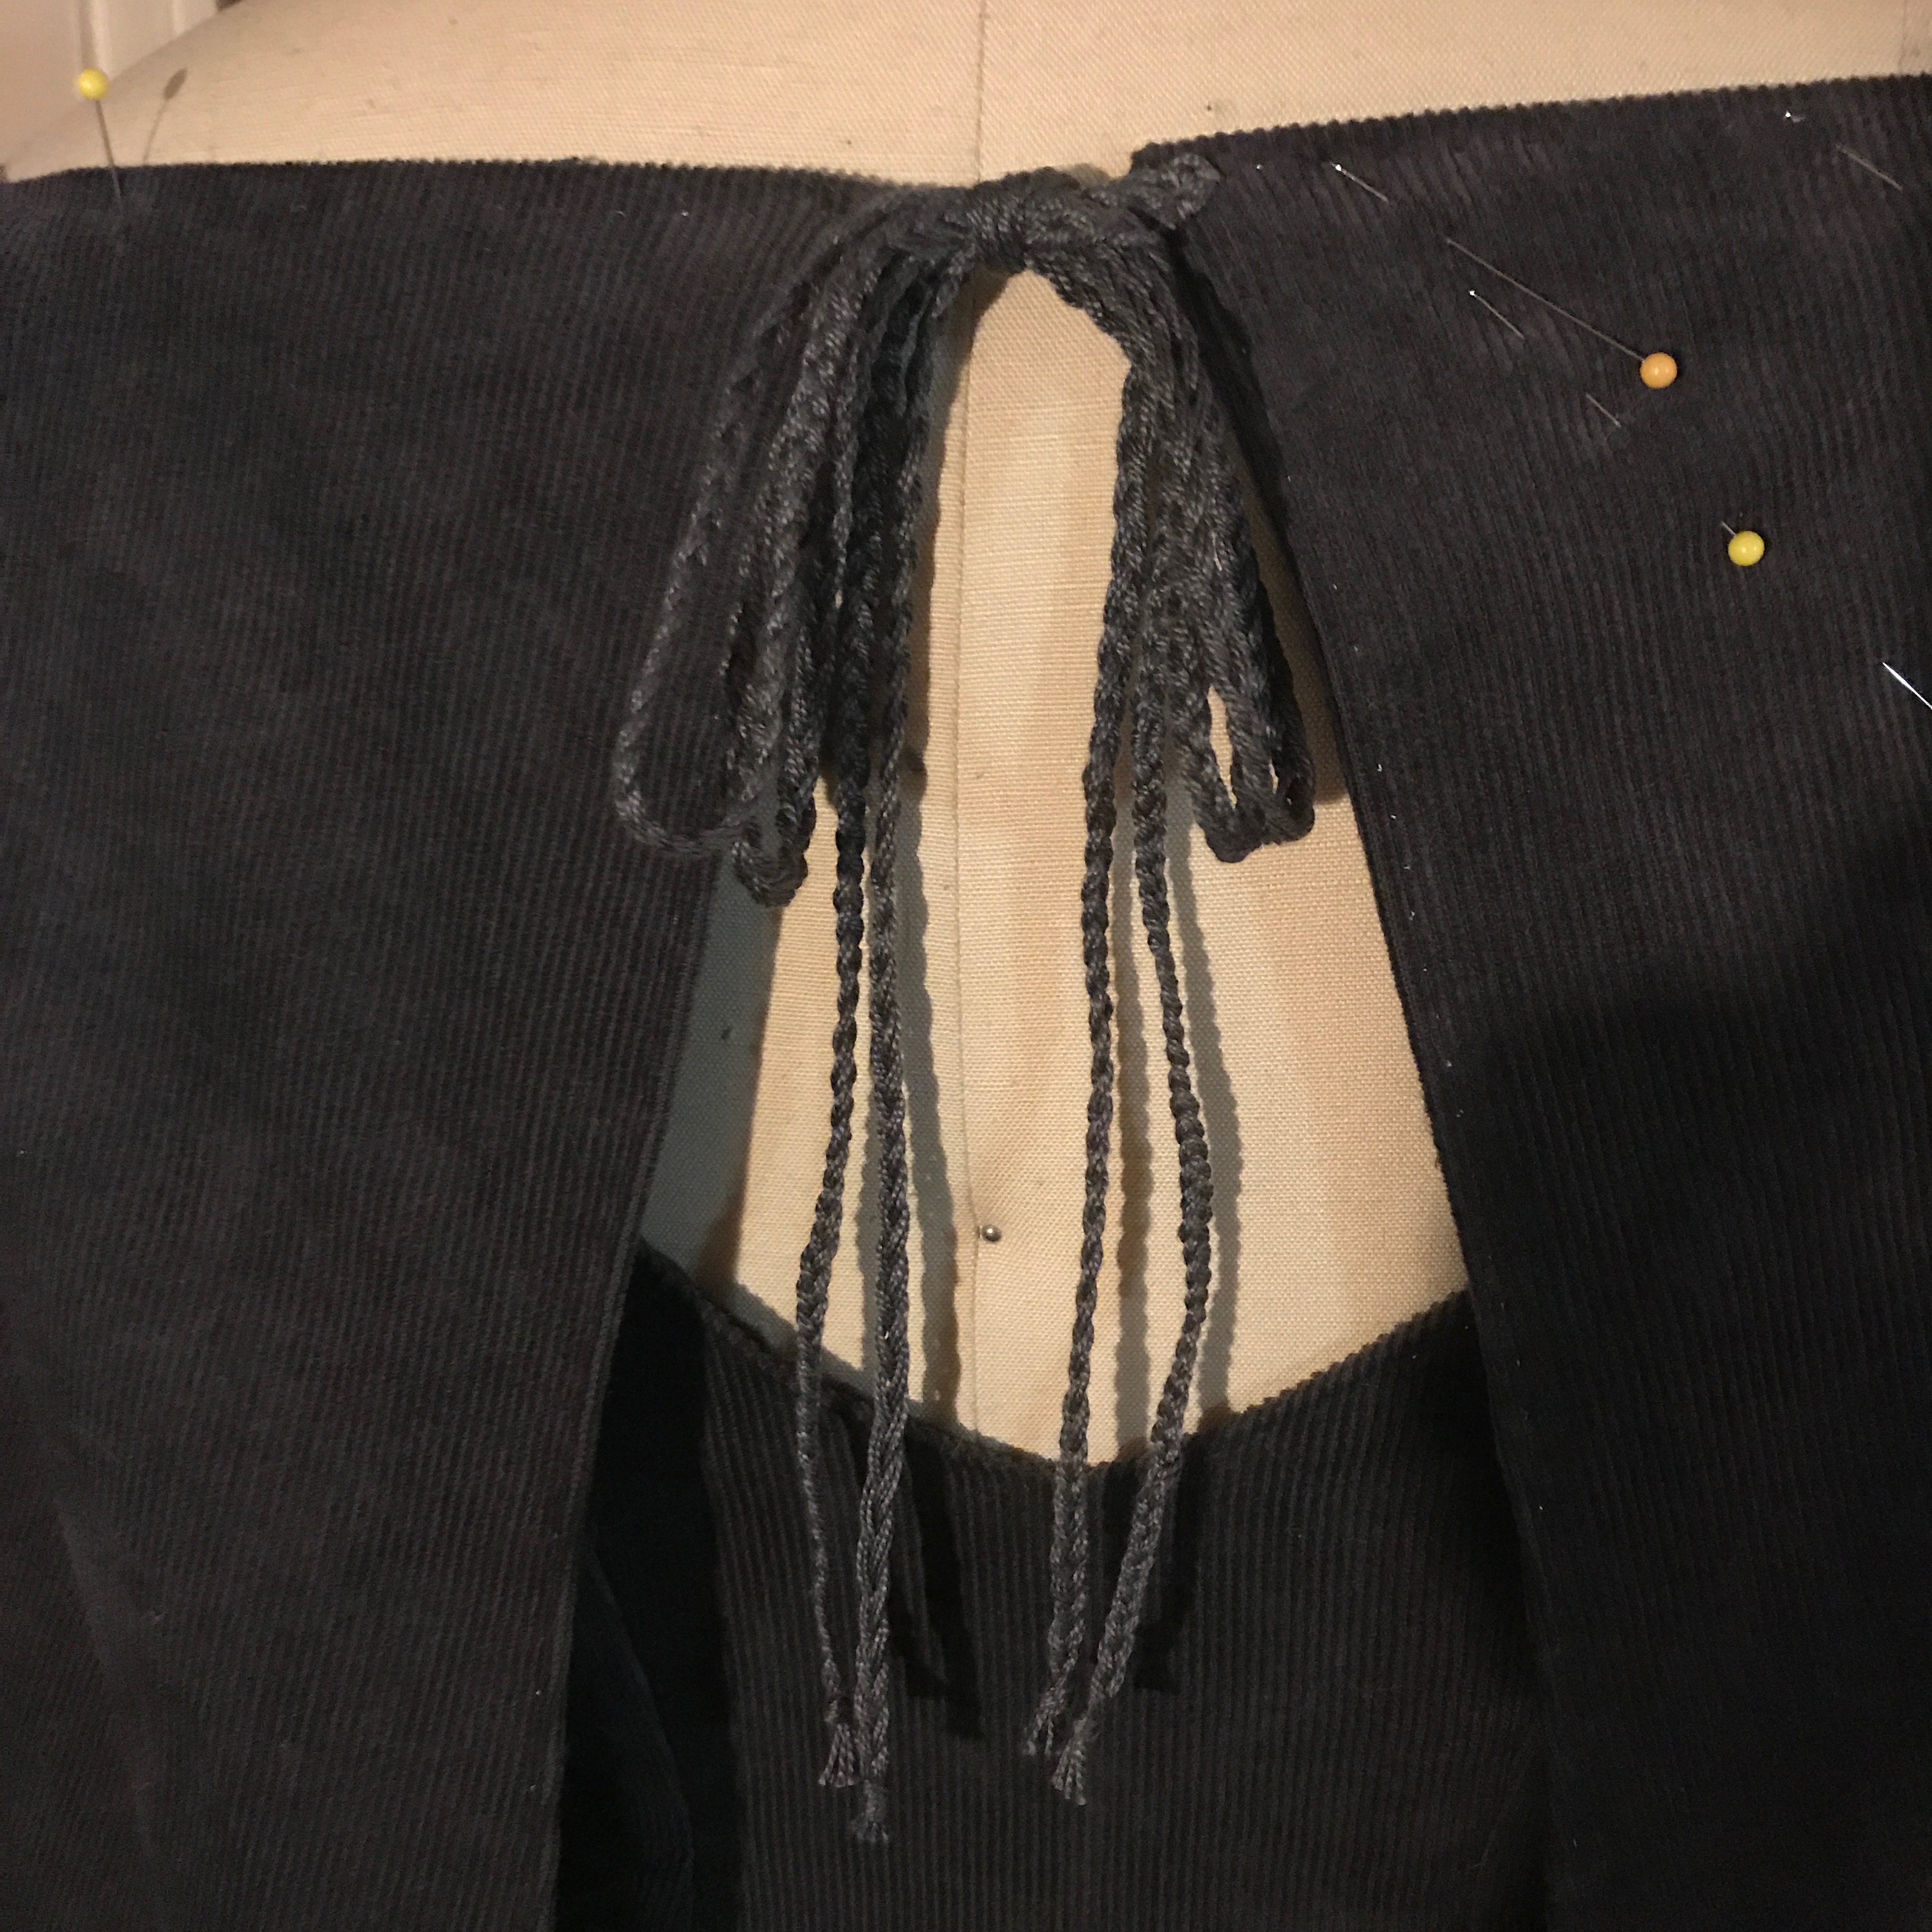
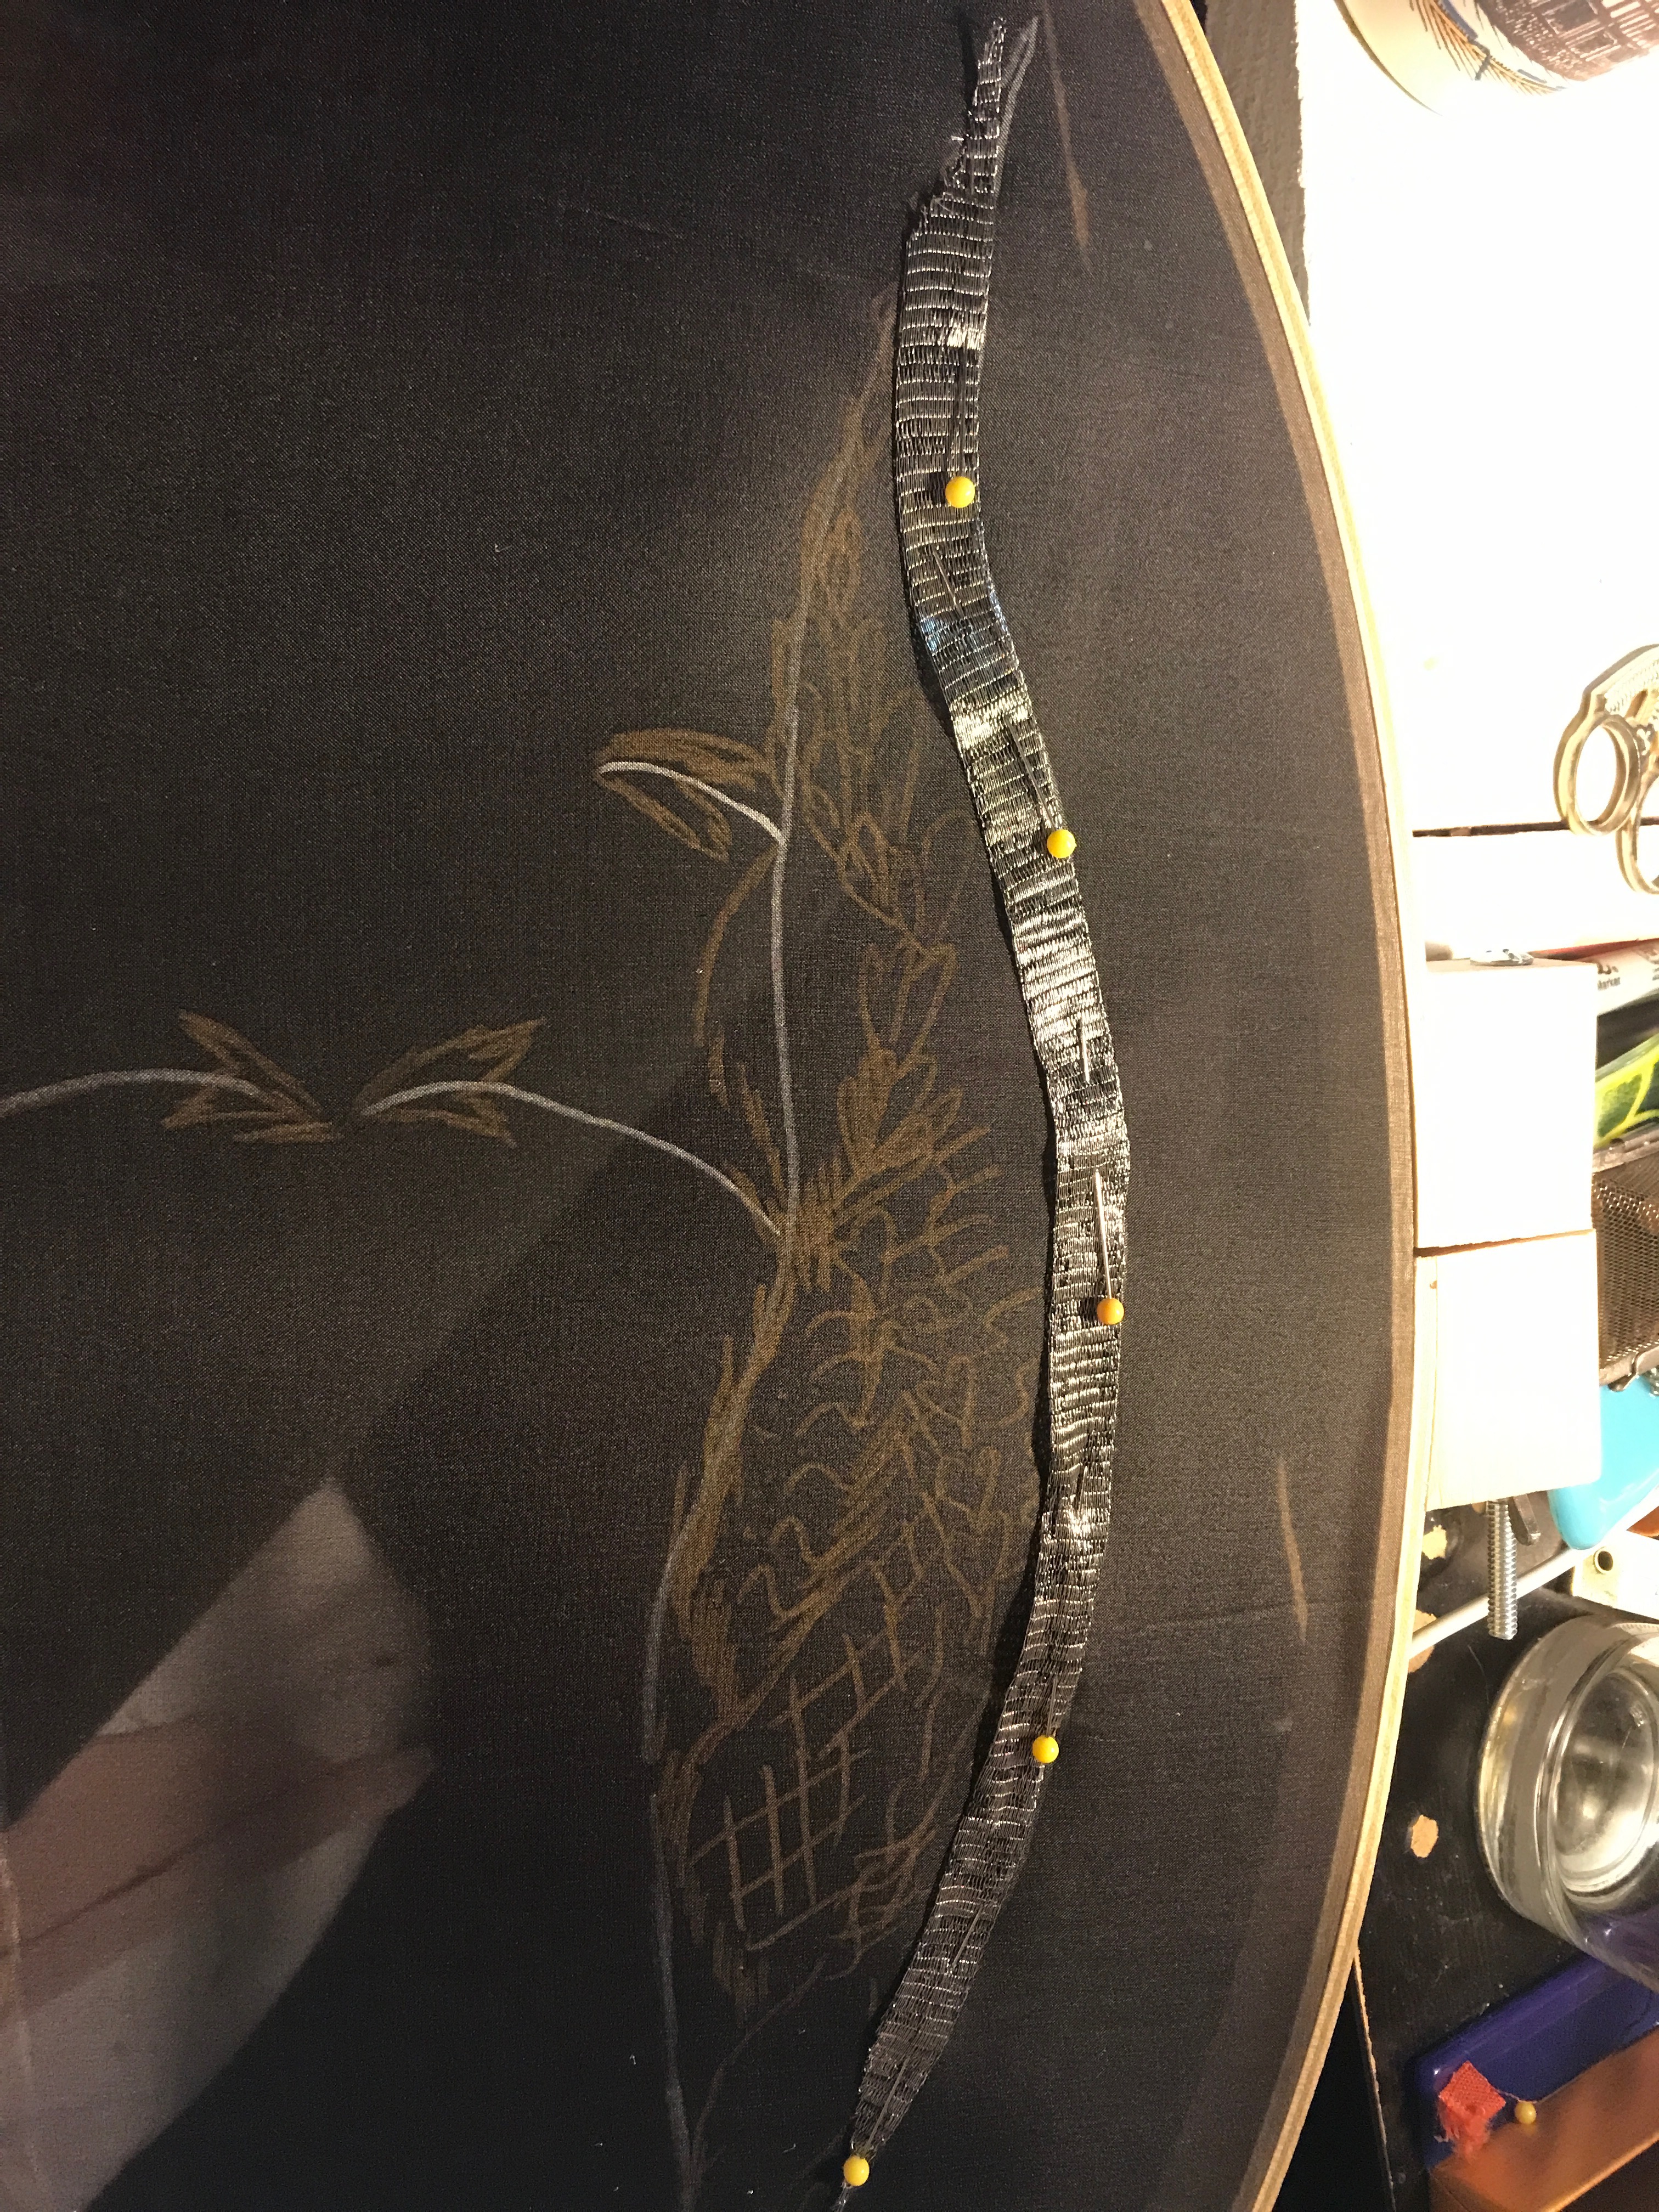
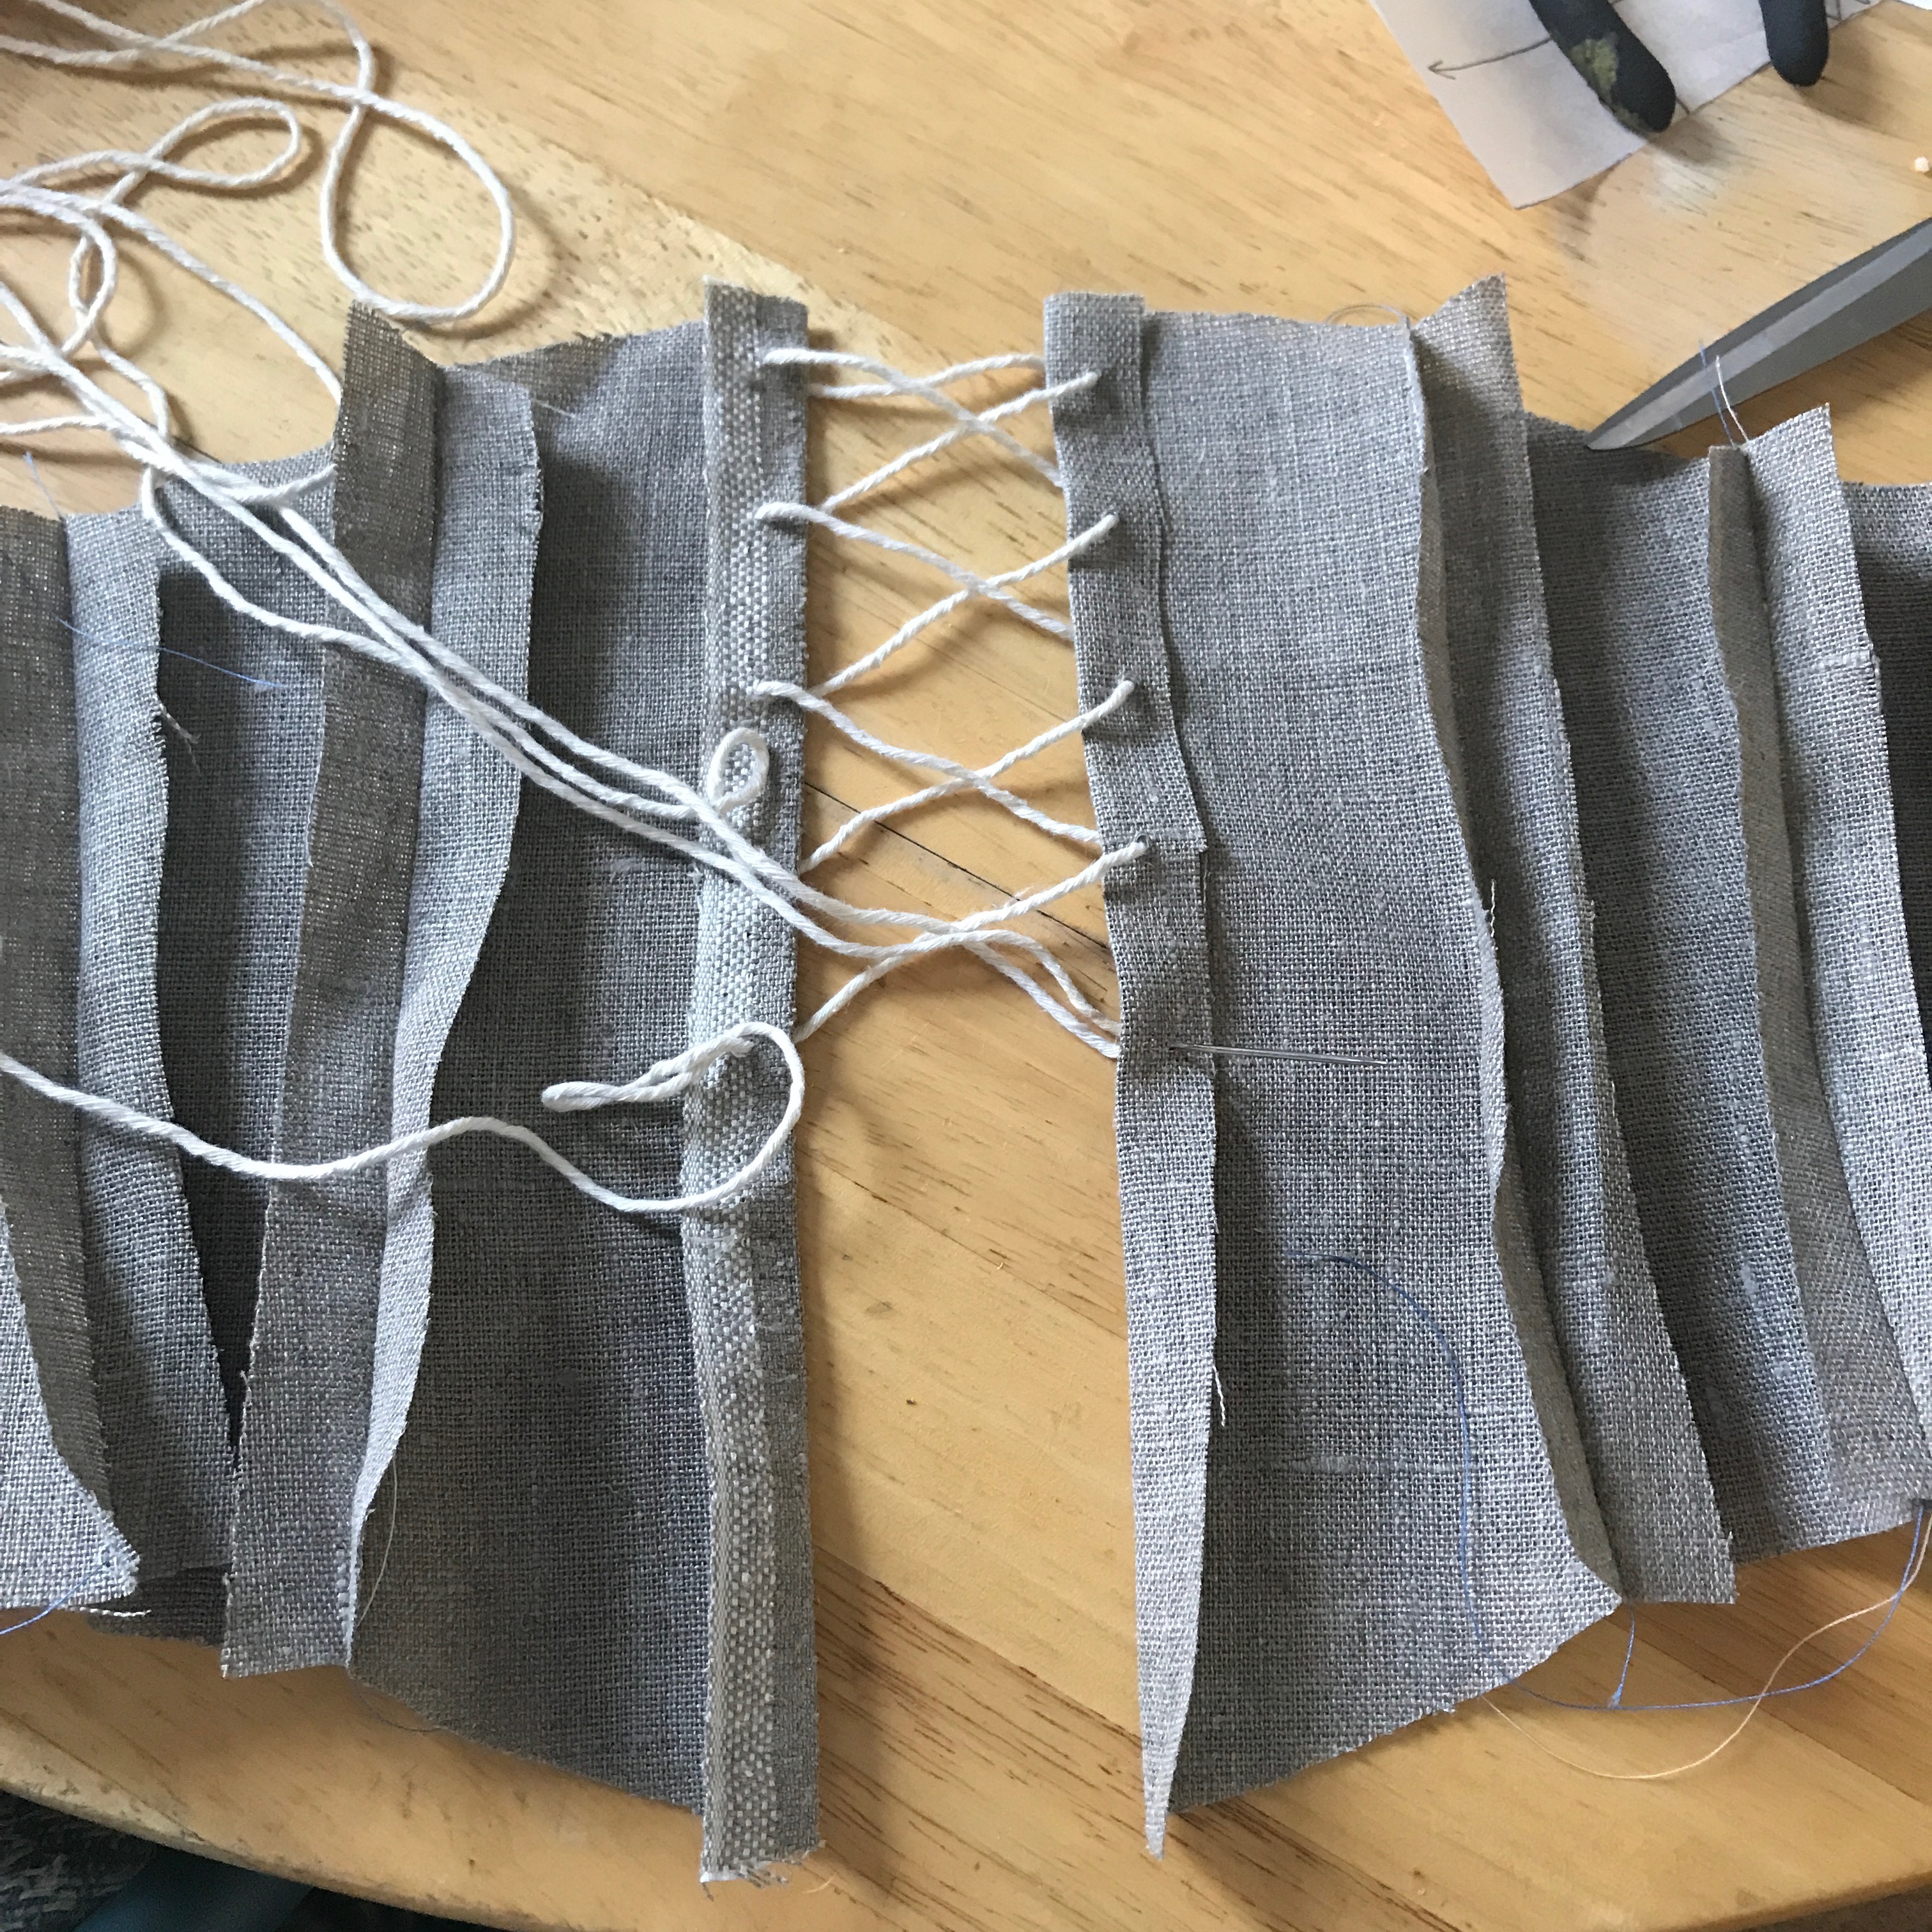
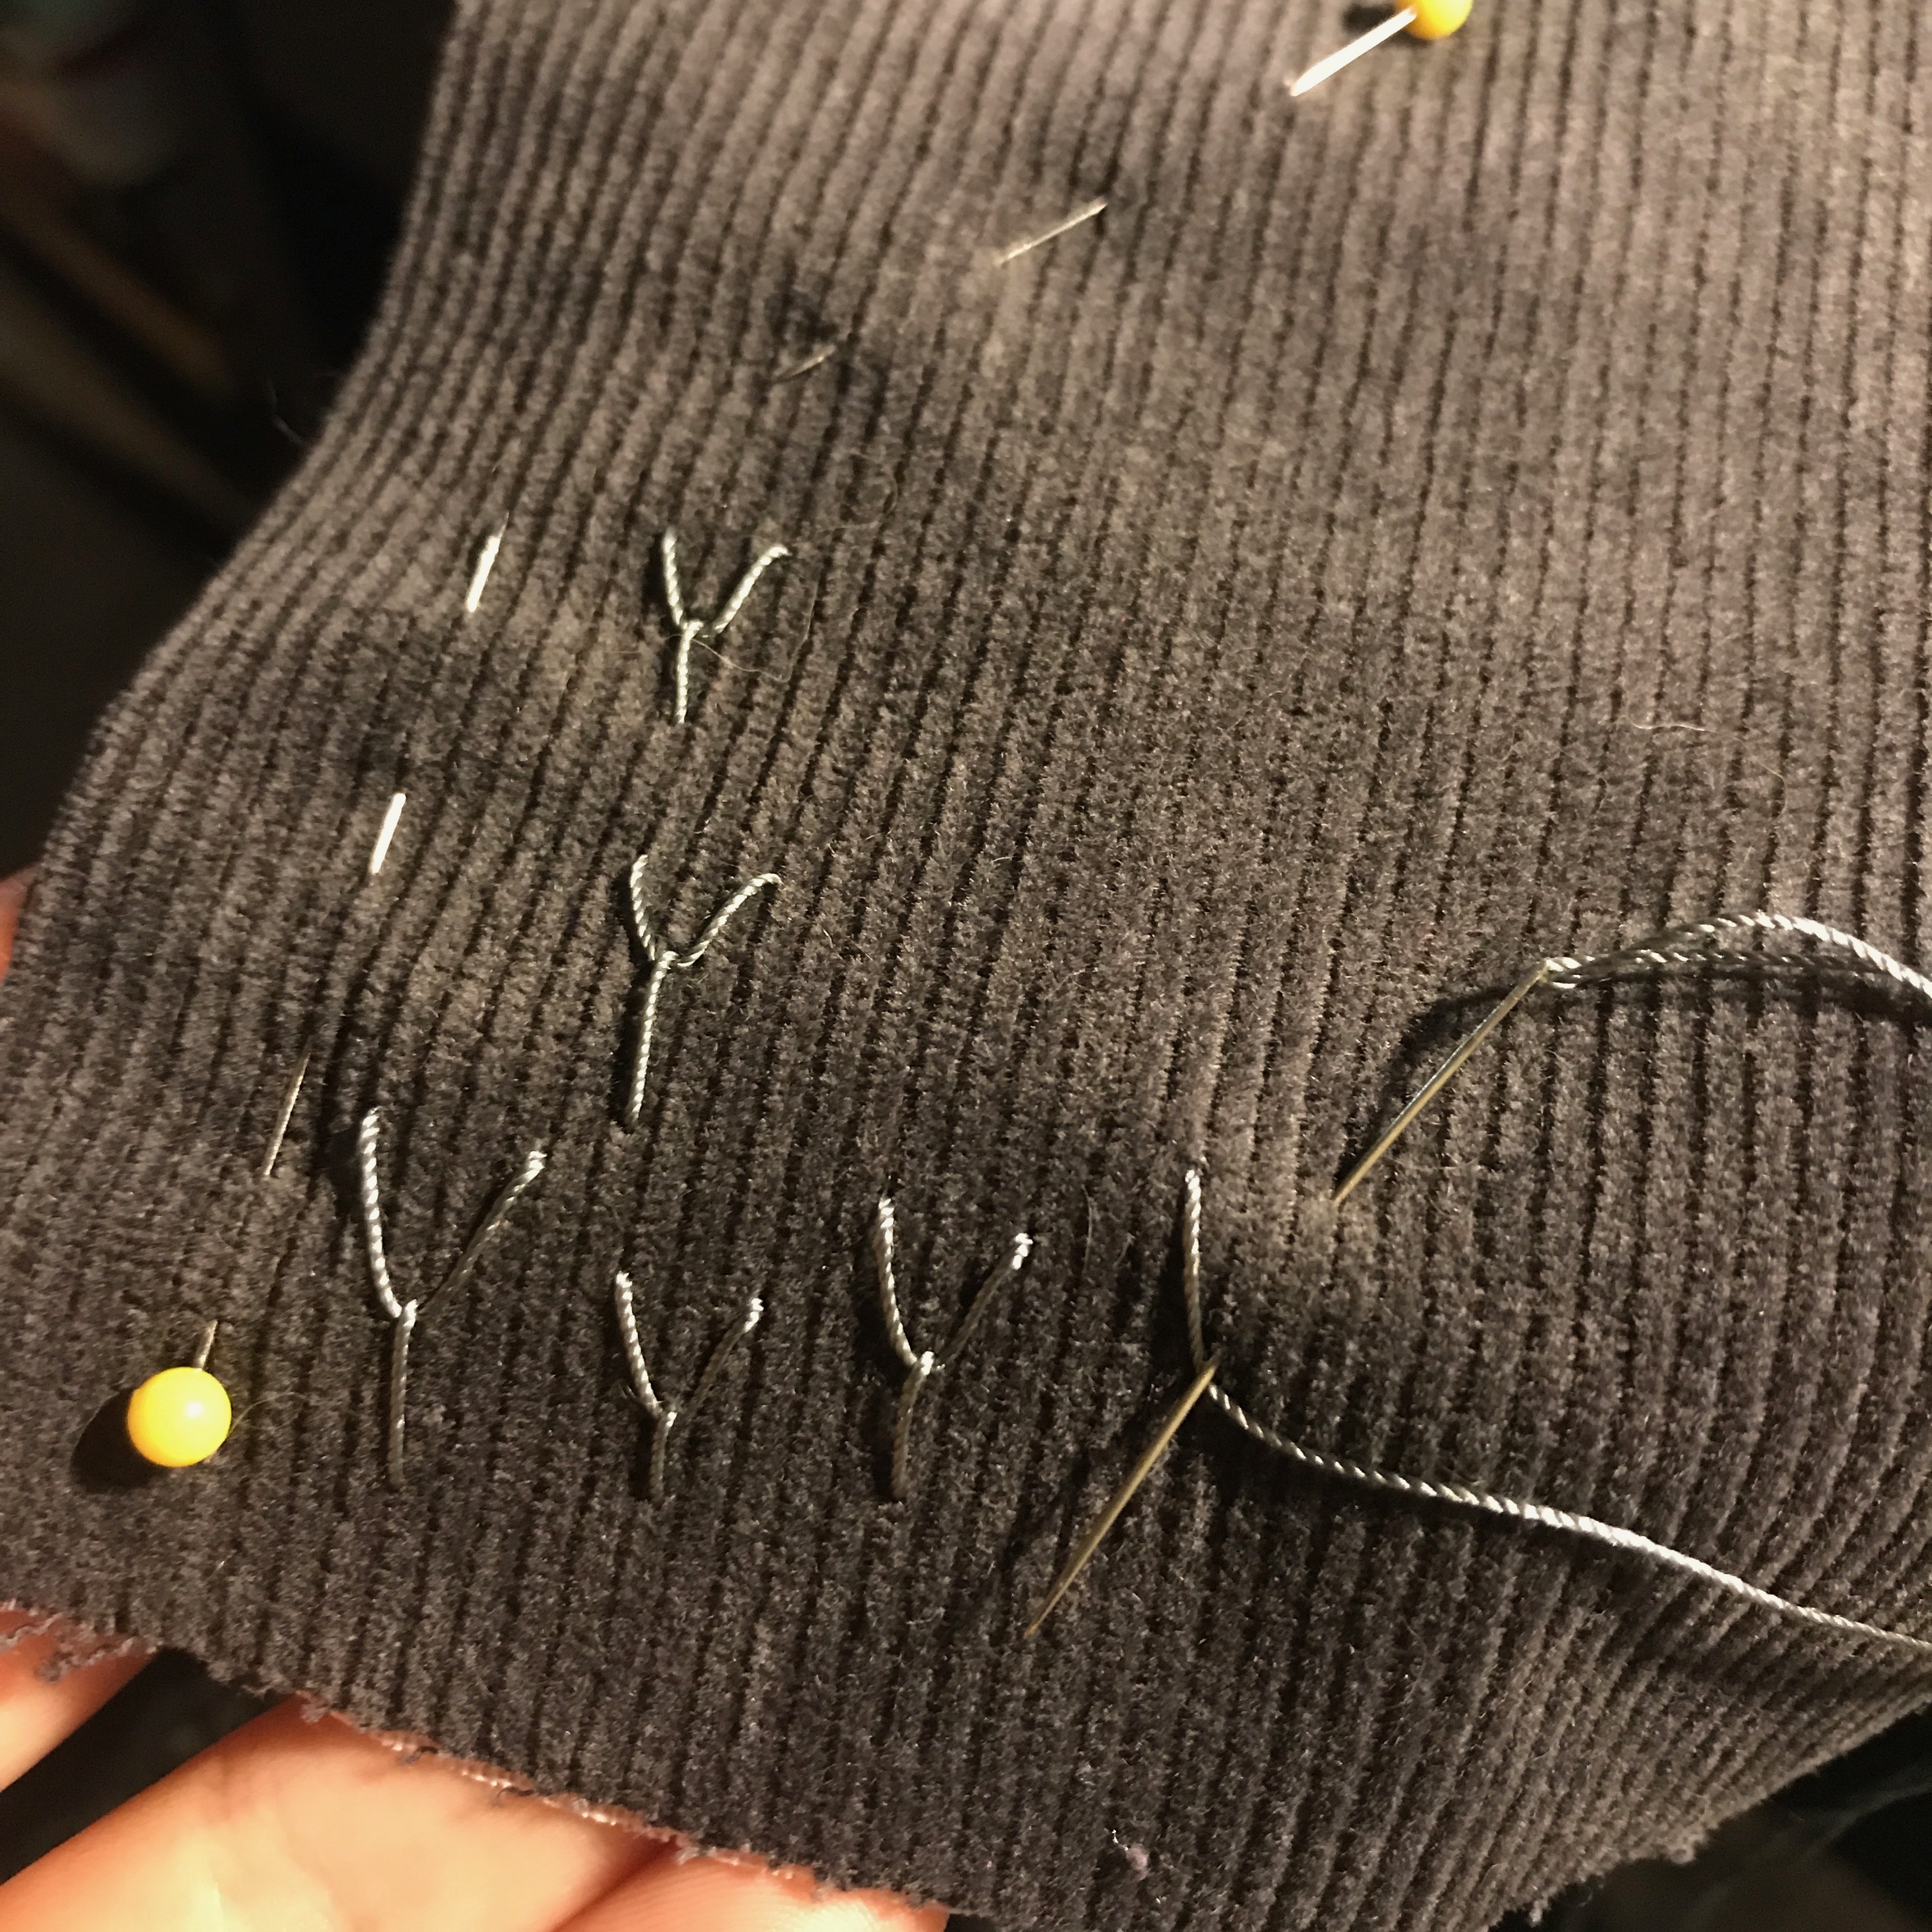
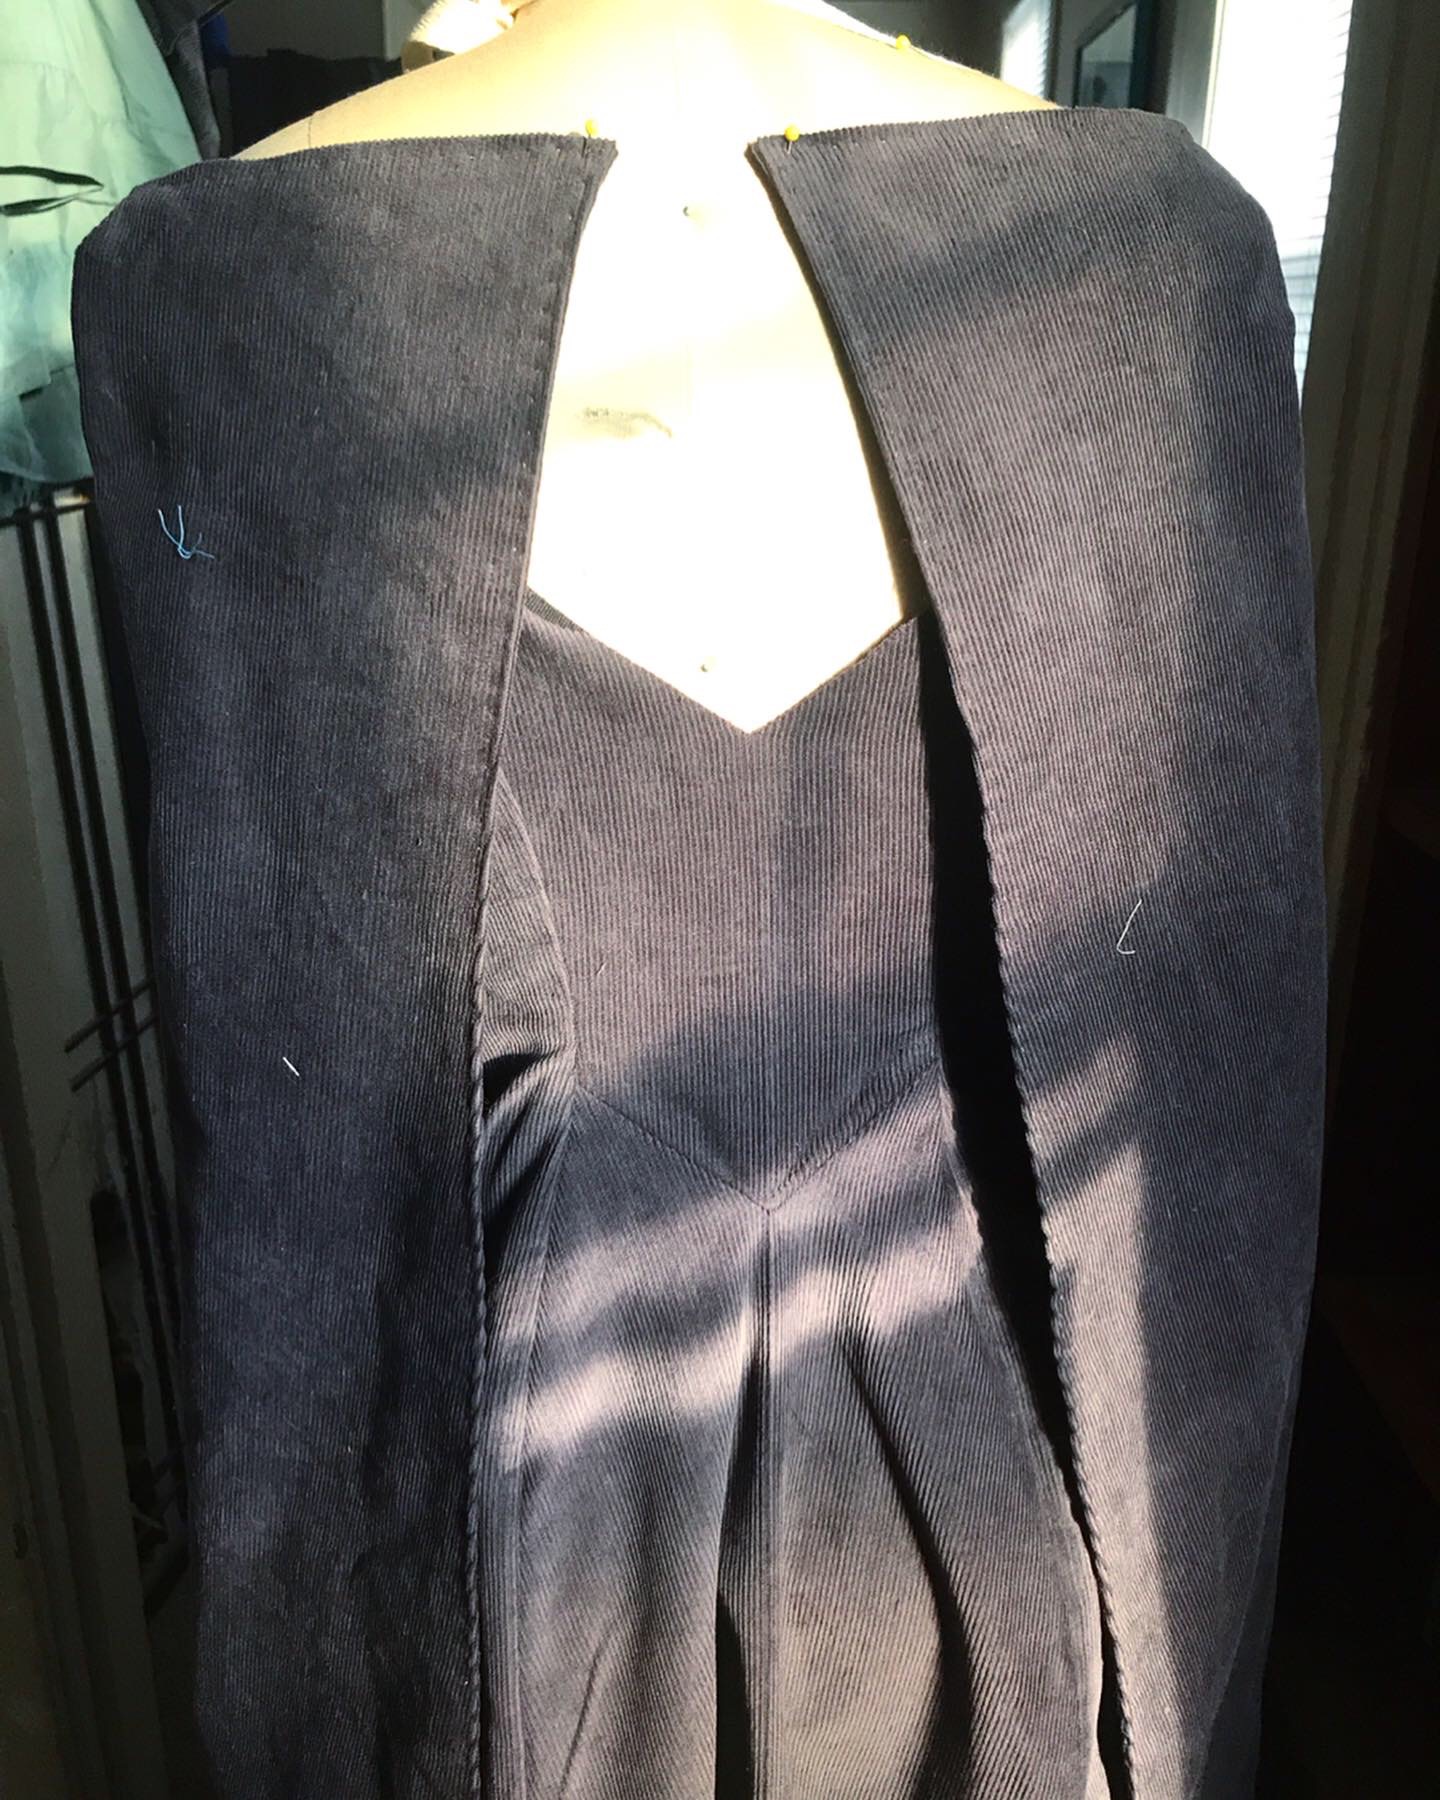
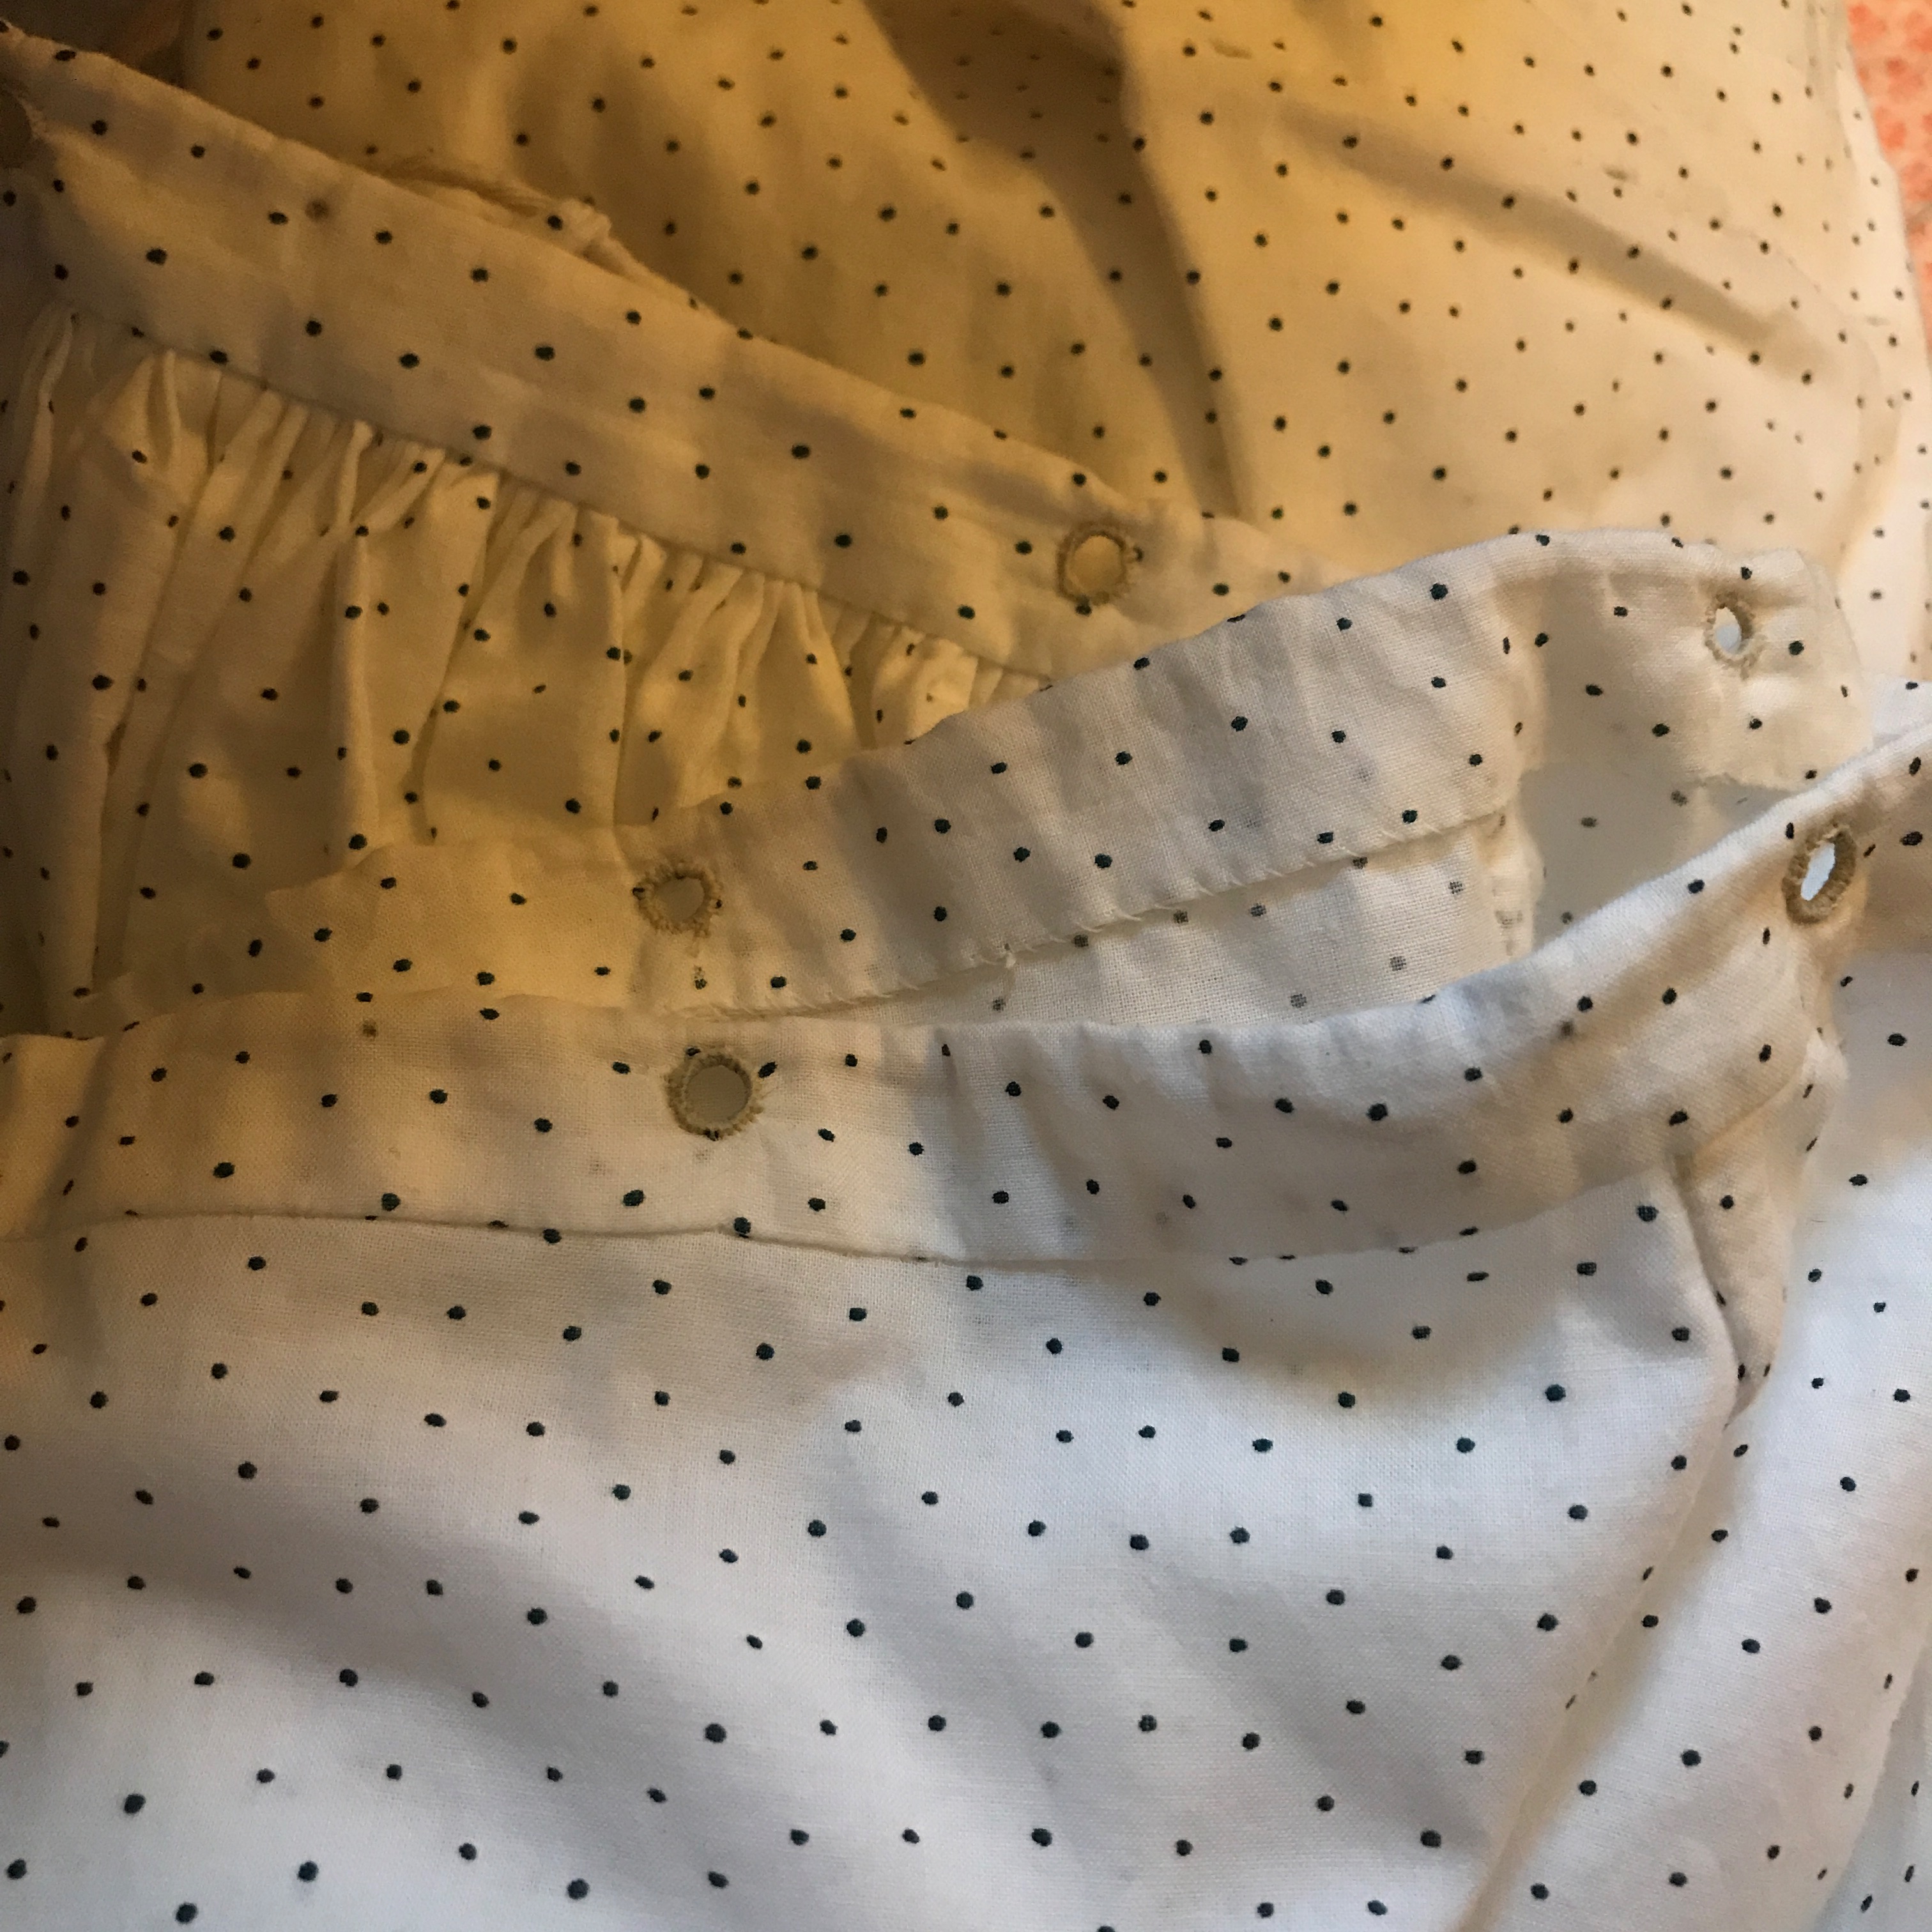
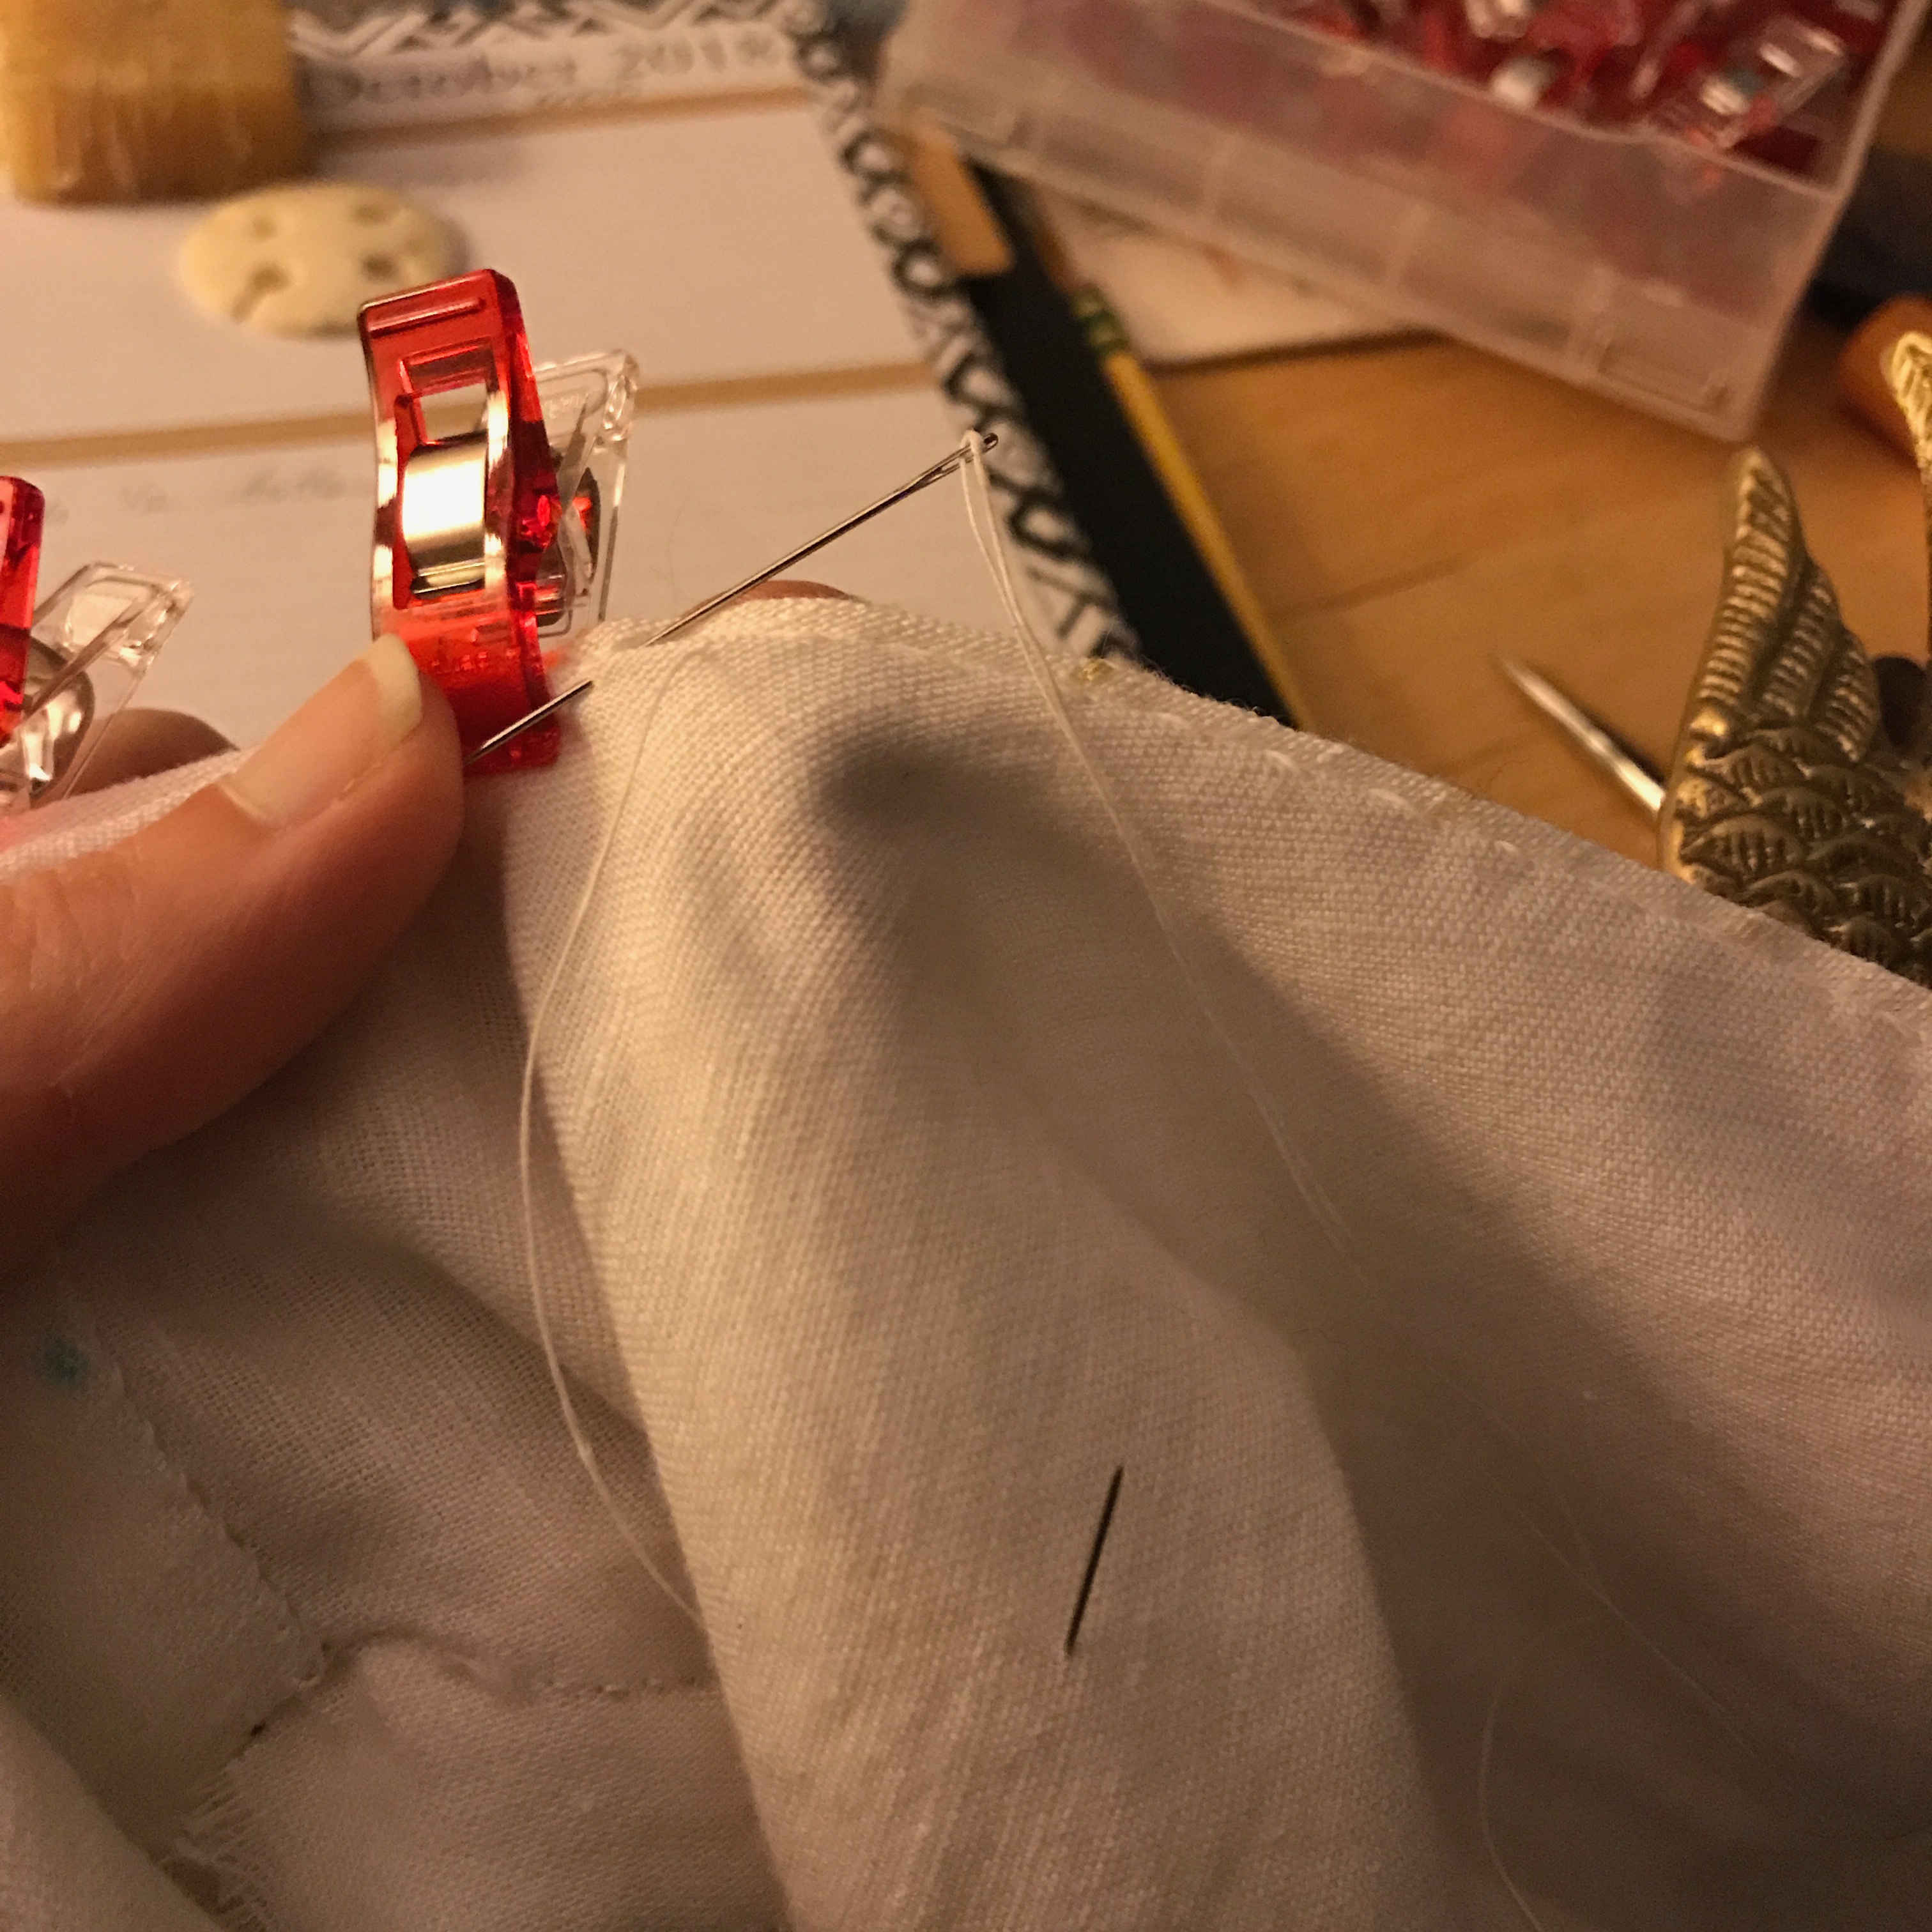
“English” Stitch
Sews and finishes fabric and lining concurrently
I use quotes here because this stitch does not have a name that we know from the period as far as I have seen. It has come to be known as the English stitch in much of the historical costuming community. It is best known from this description in the Workwoman’s Guide from 1840:
The mode of sewing these four thicknesses so as to make them lie flatly when opened, is rather peculiar. Take up with your needle, three of the thicknesses, leaving the fourth unsewed. The next stitch, take again three folds, leaving the other outside one unsewed: continue alternately taking up one side and omitting the other, letting the stitches lie close together: when completed, open the seam, and flatten it with the finger and thumb.”
The Workwoman’s Guide, by a Lady, 1840
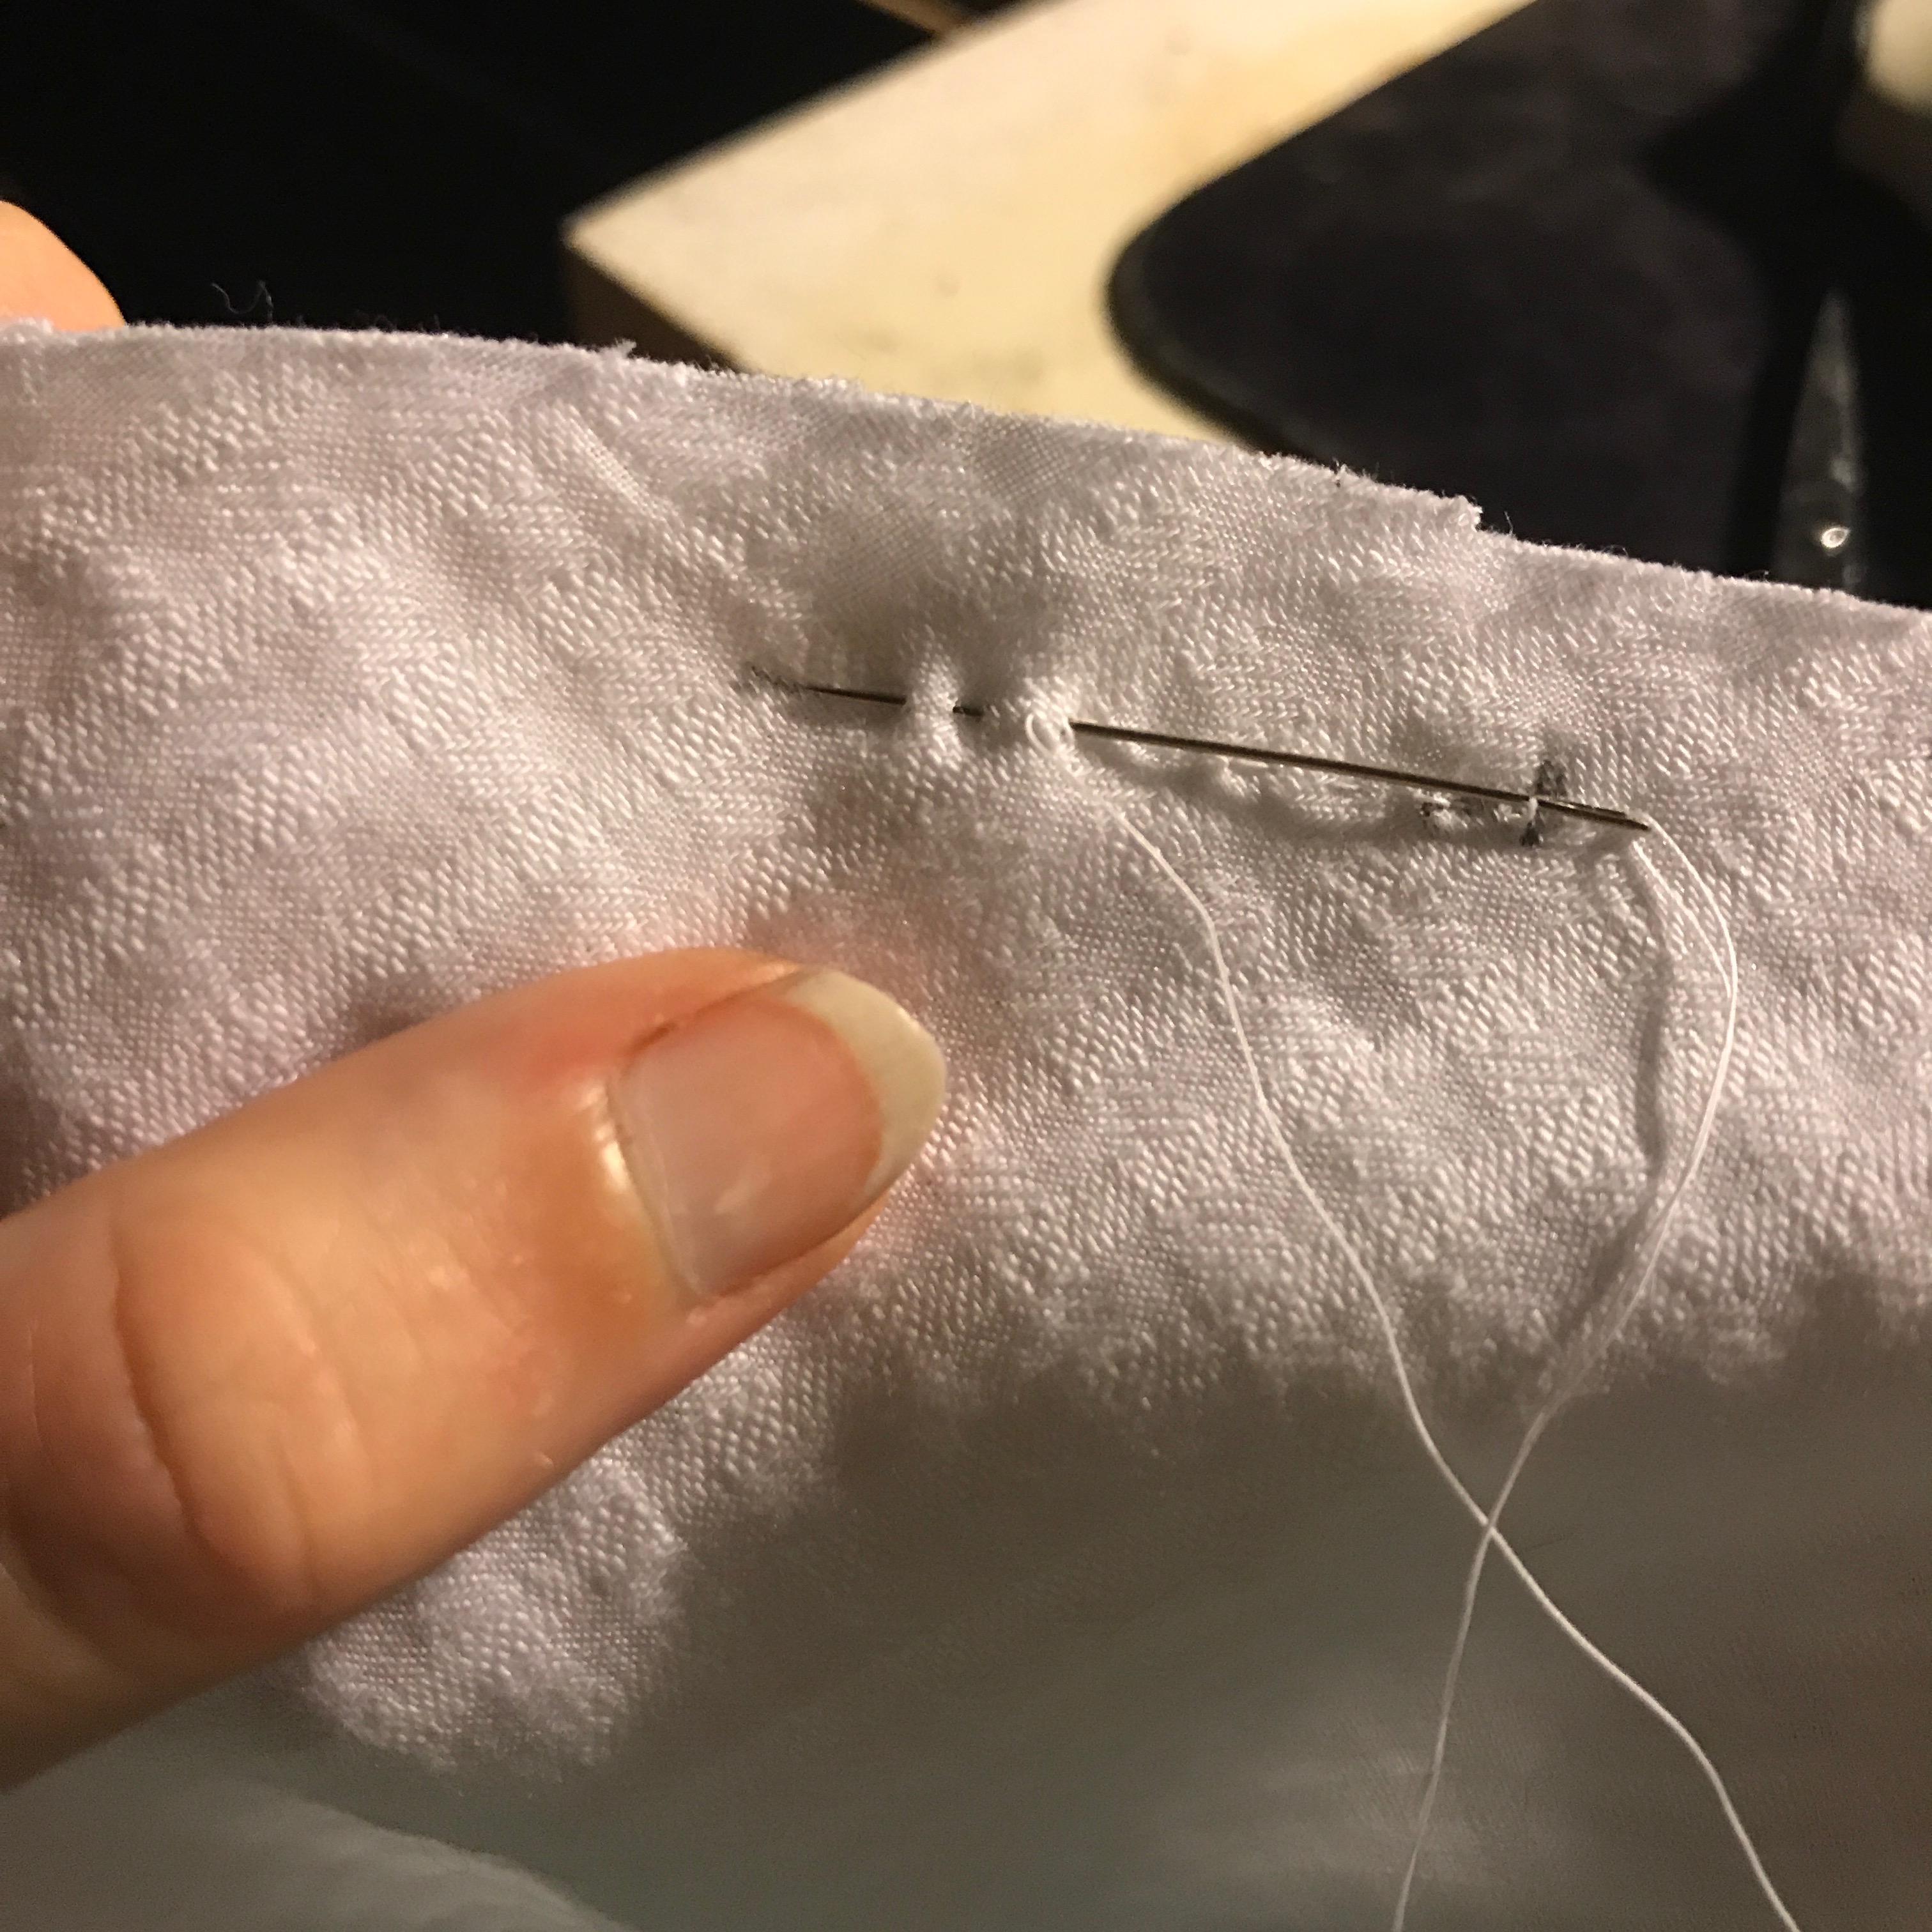
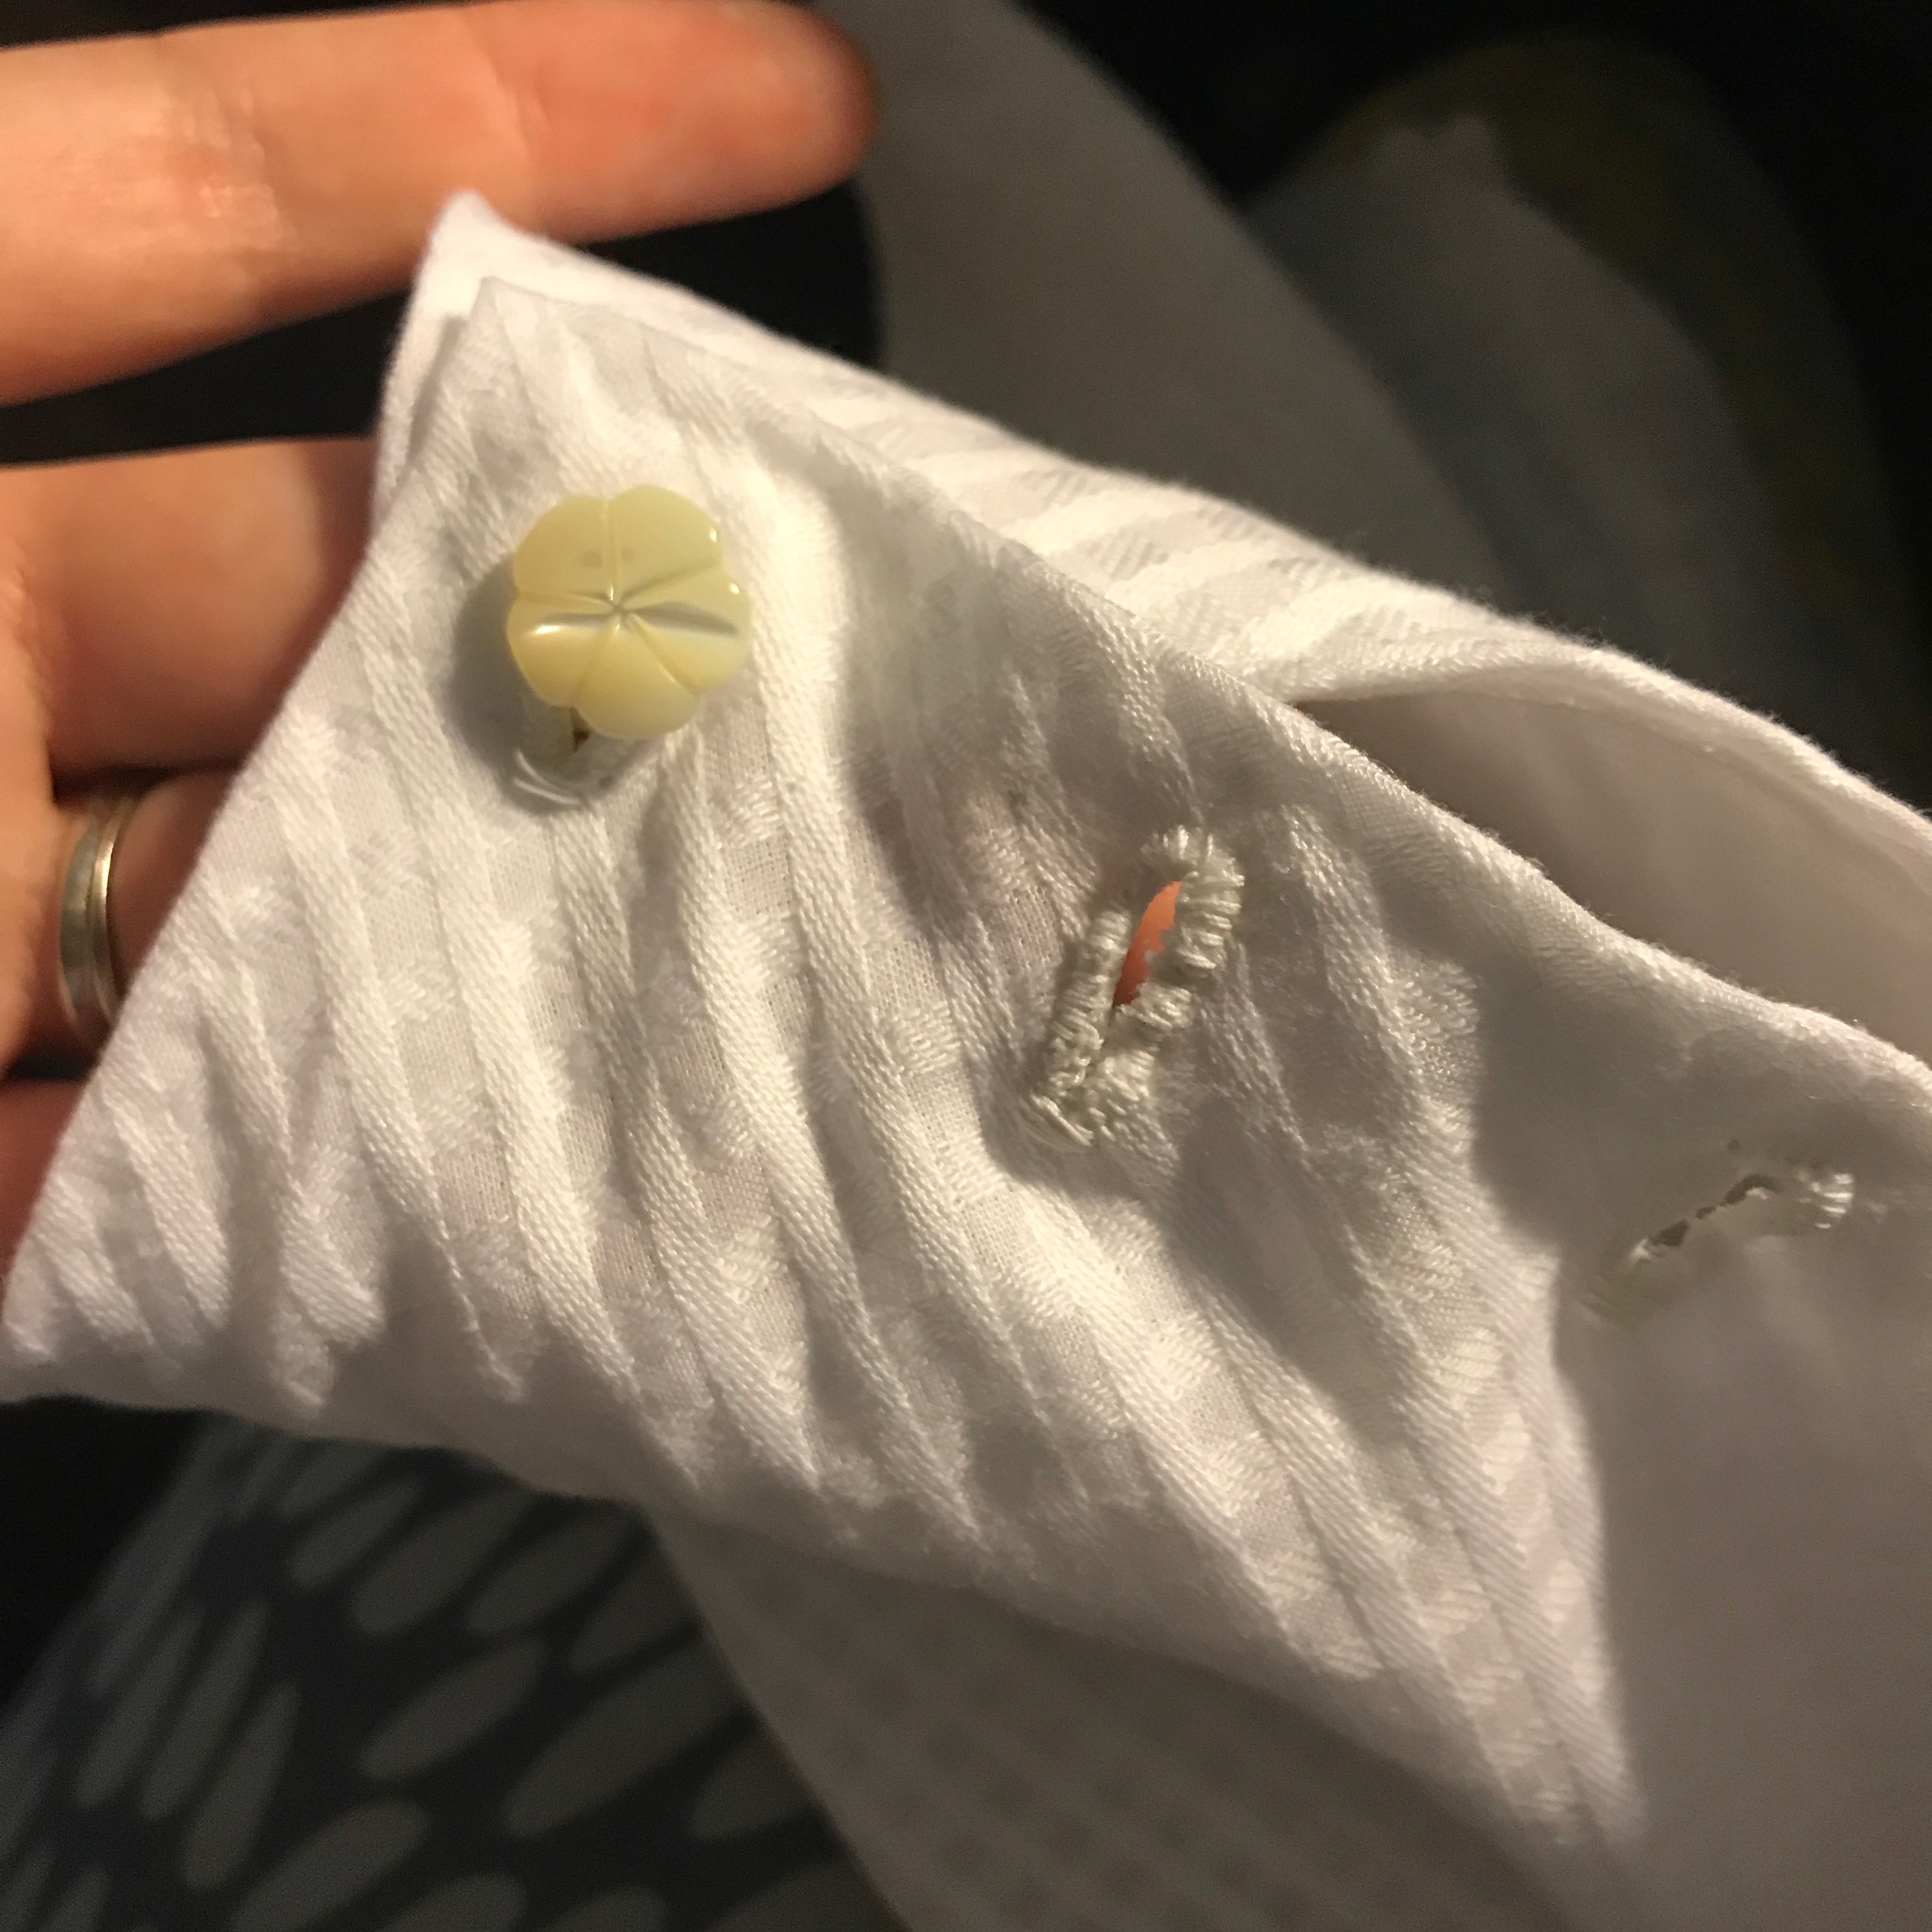
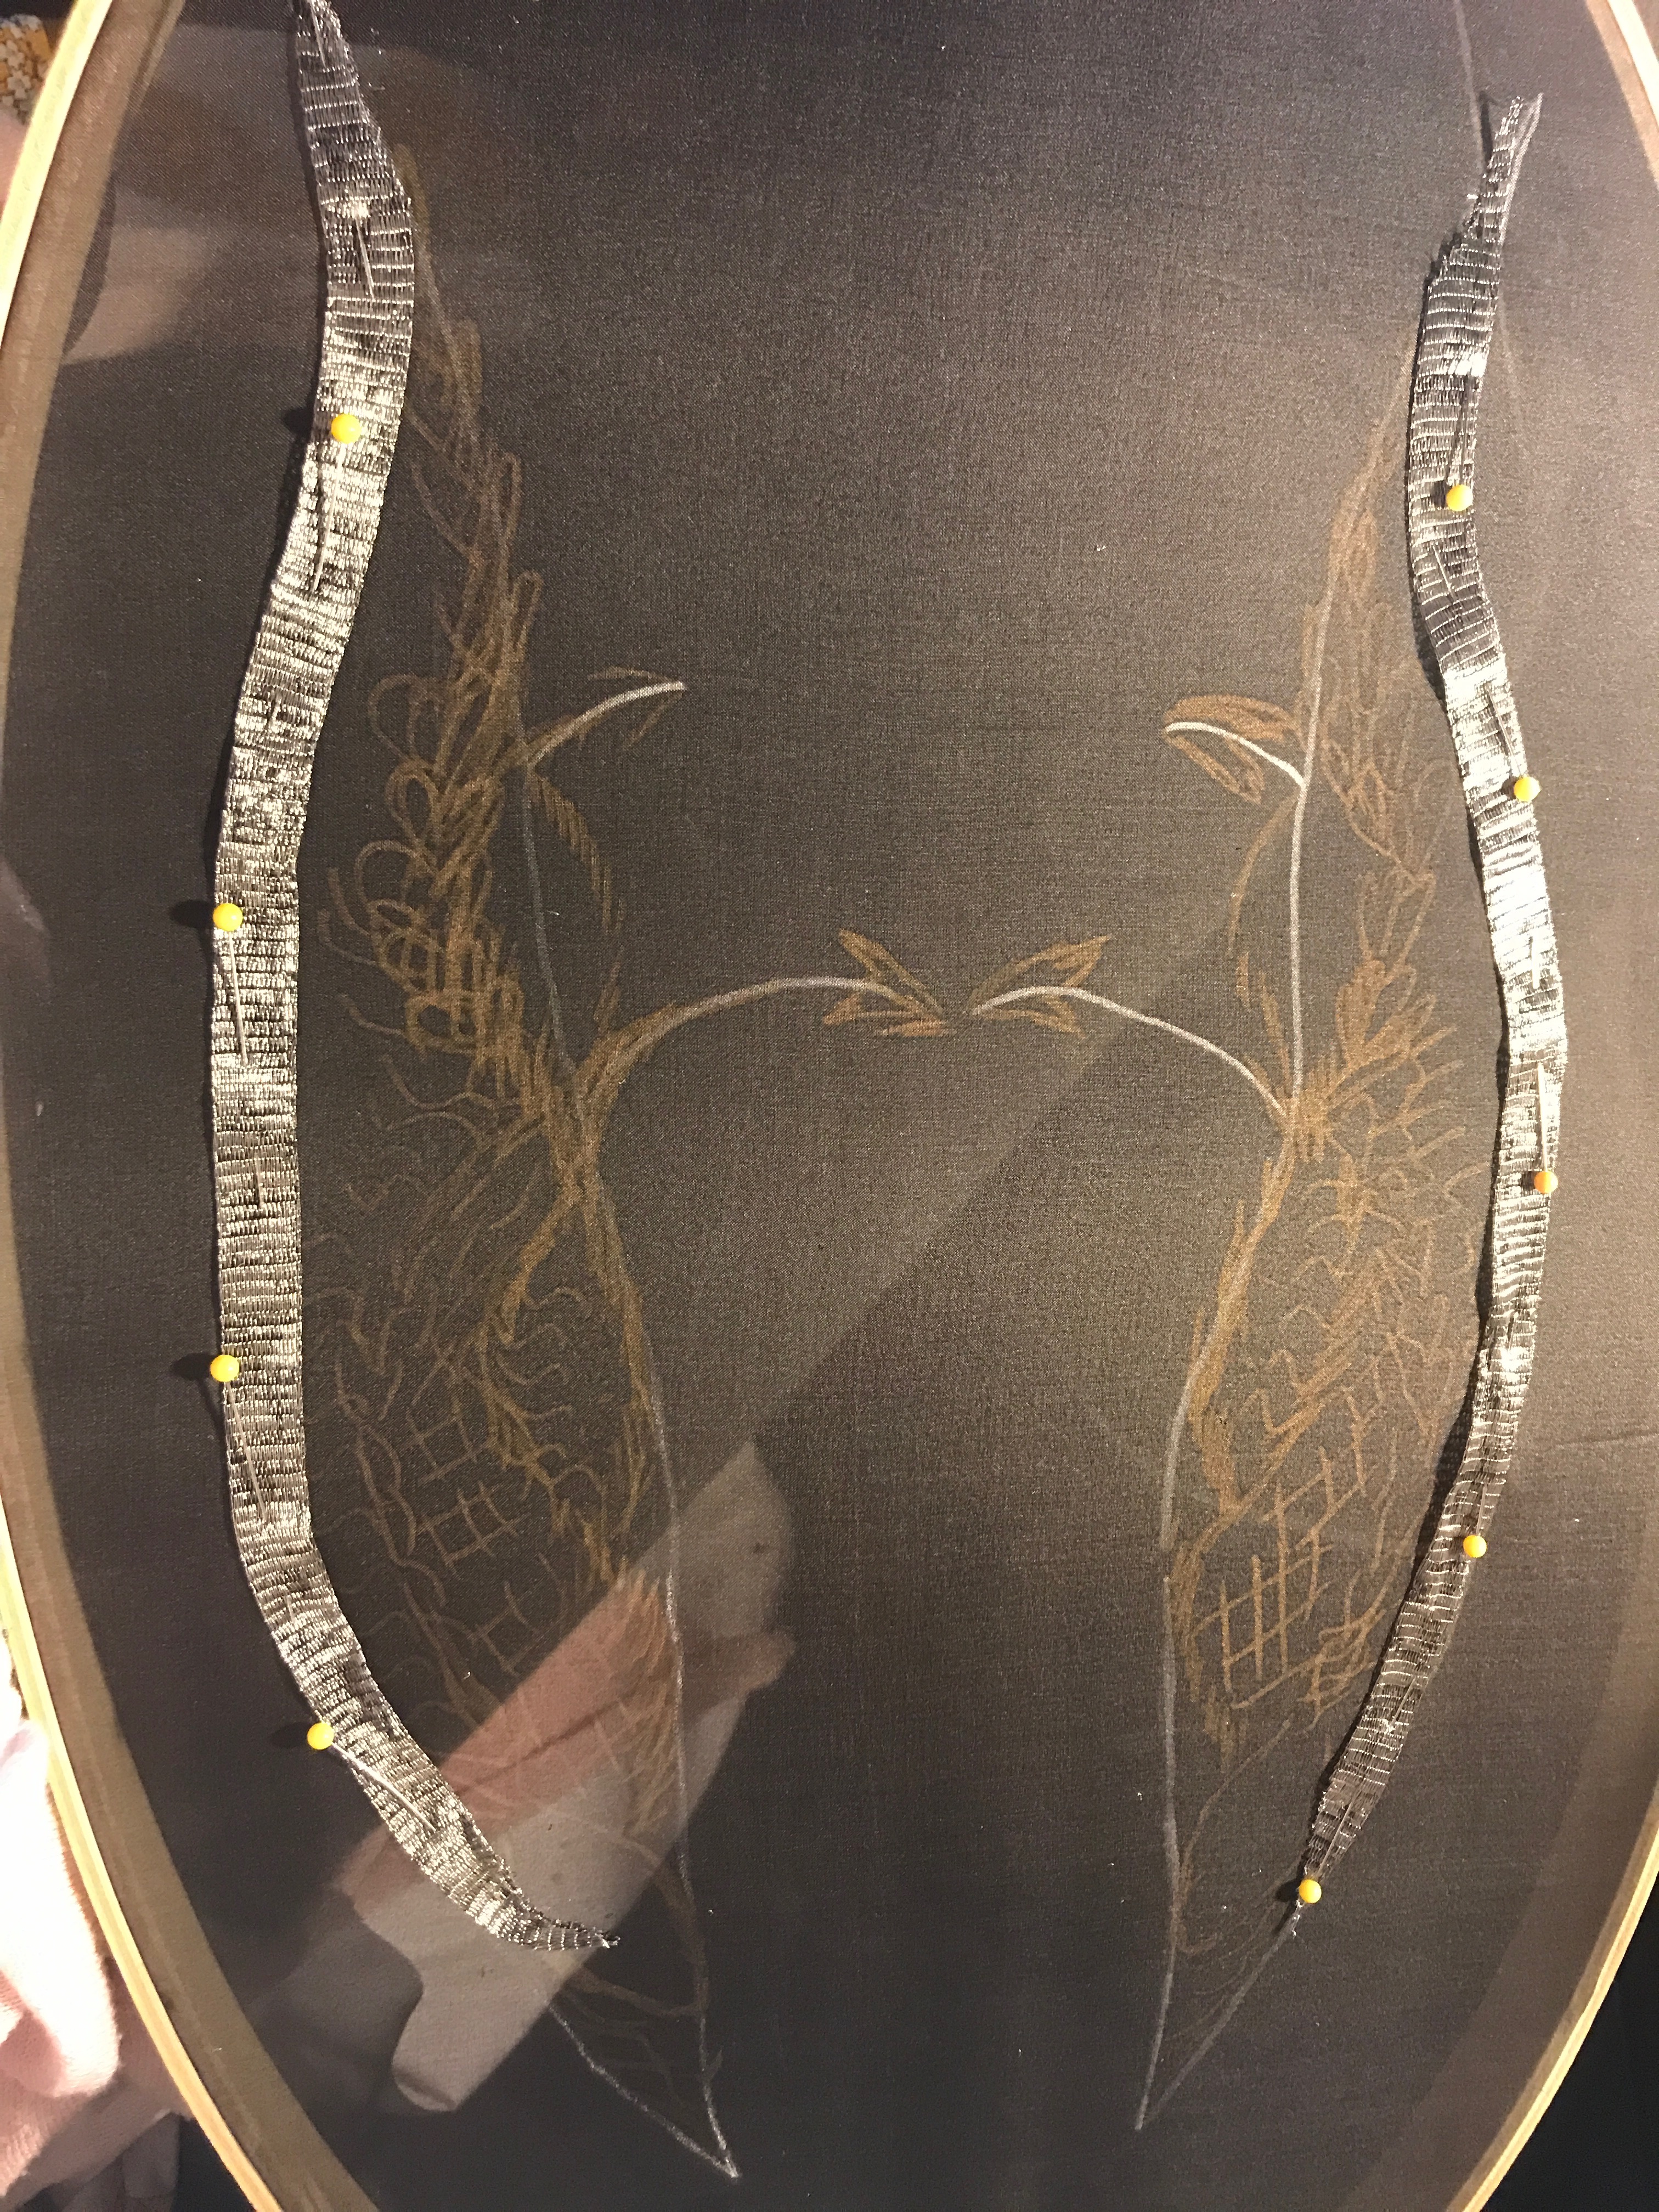
The edges of each piece (fabrics and linings) are turned under, and stitched in a way that sews all four together with raw edges between the layers. It is a very efficient way to sew fabric and lining, and is very useful for 18th and early 19th century gowns.


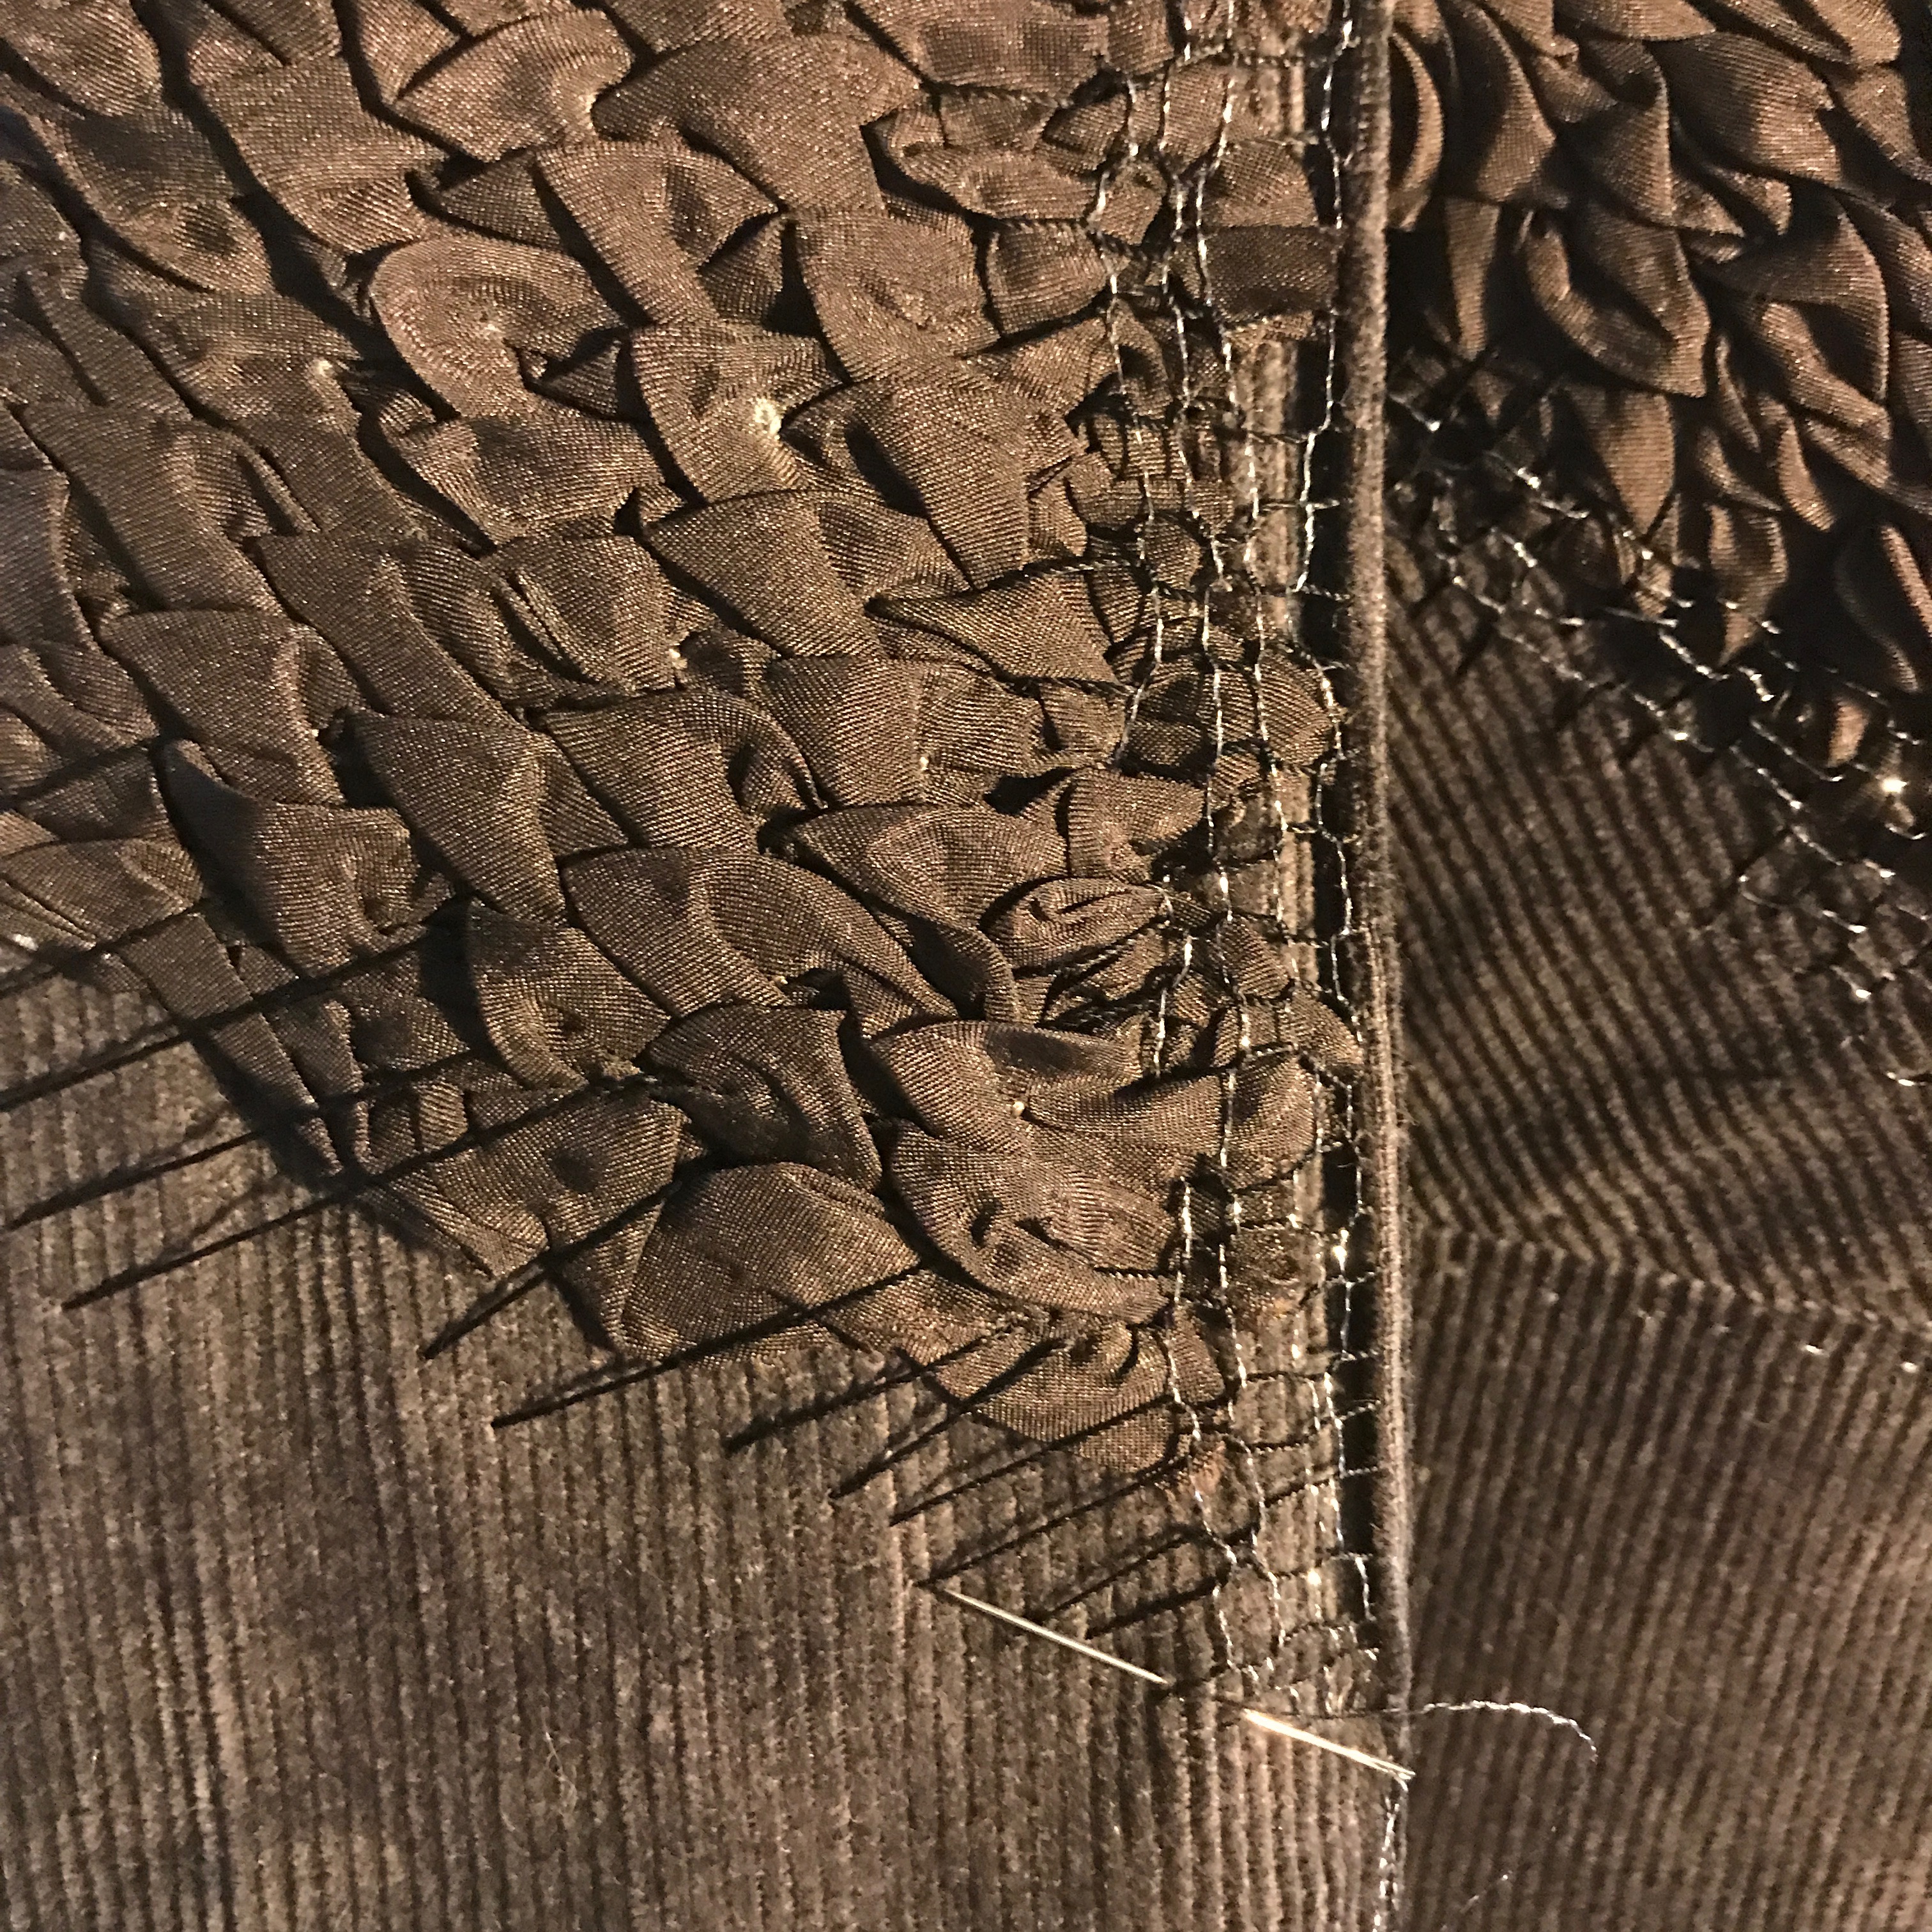
Finished: Wrong Side 
Finished: Right Side 
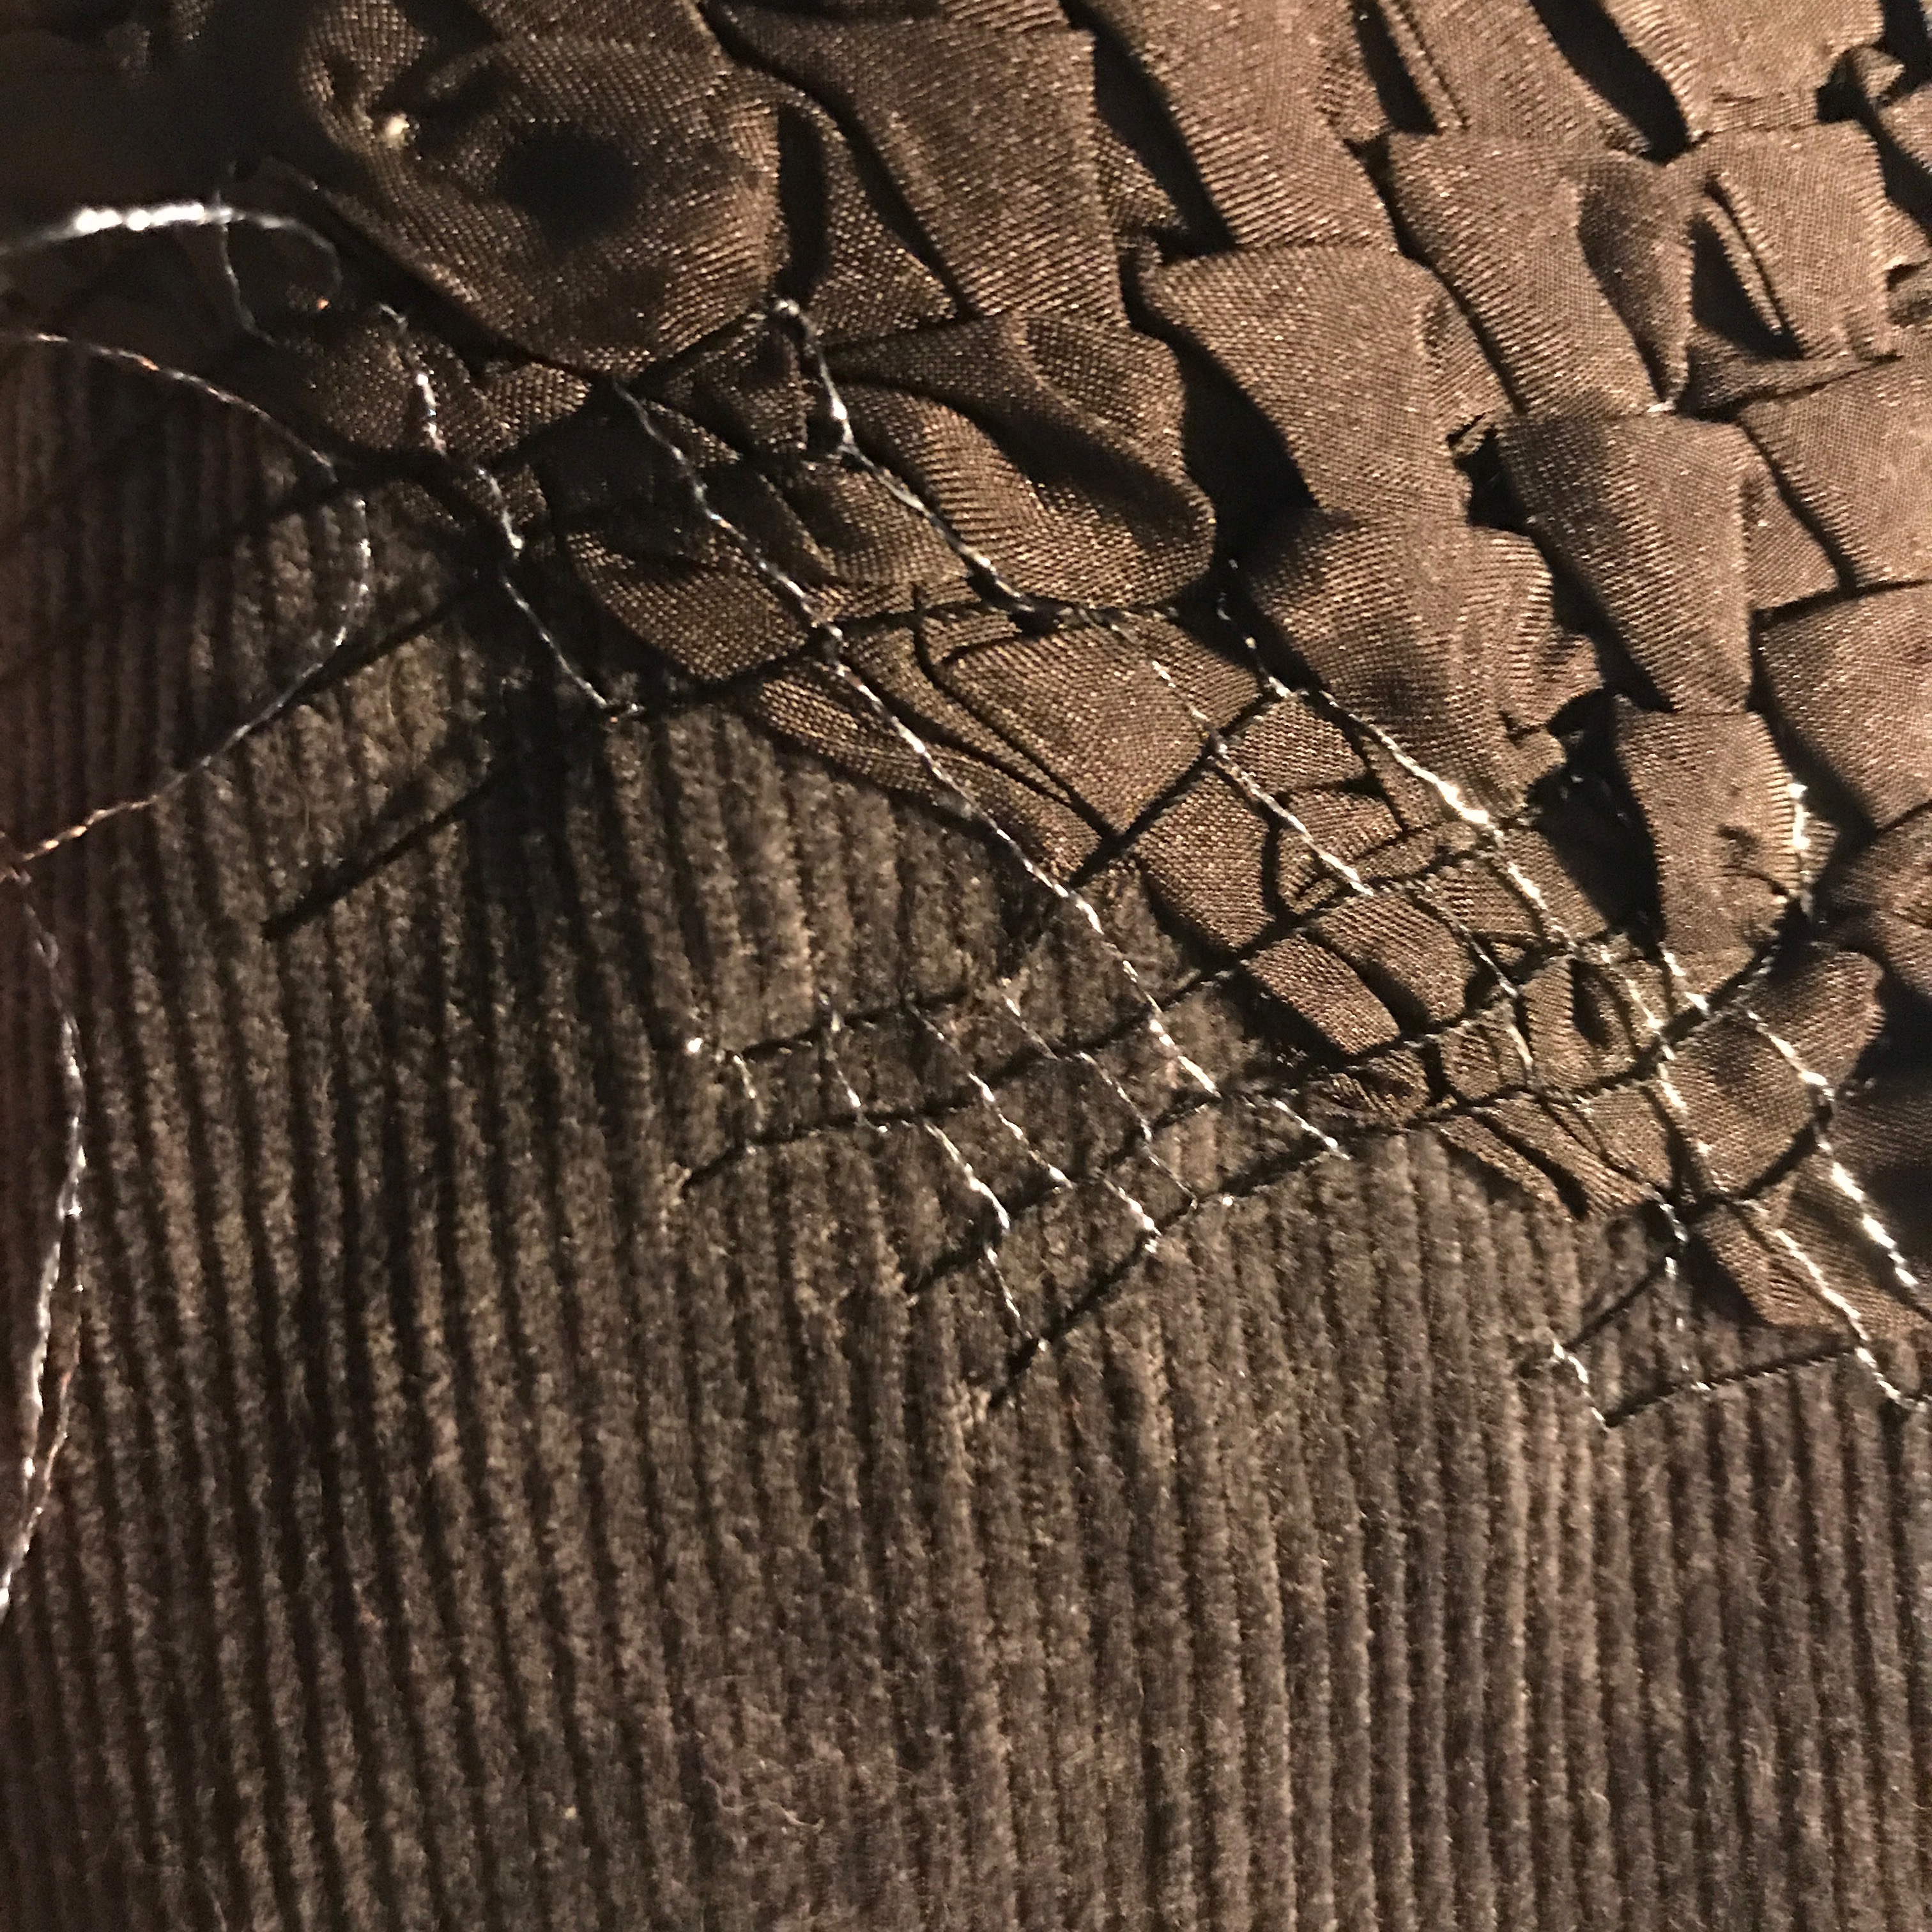
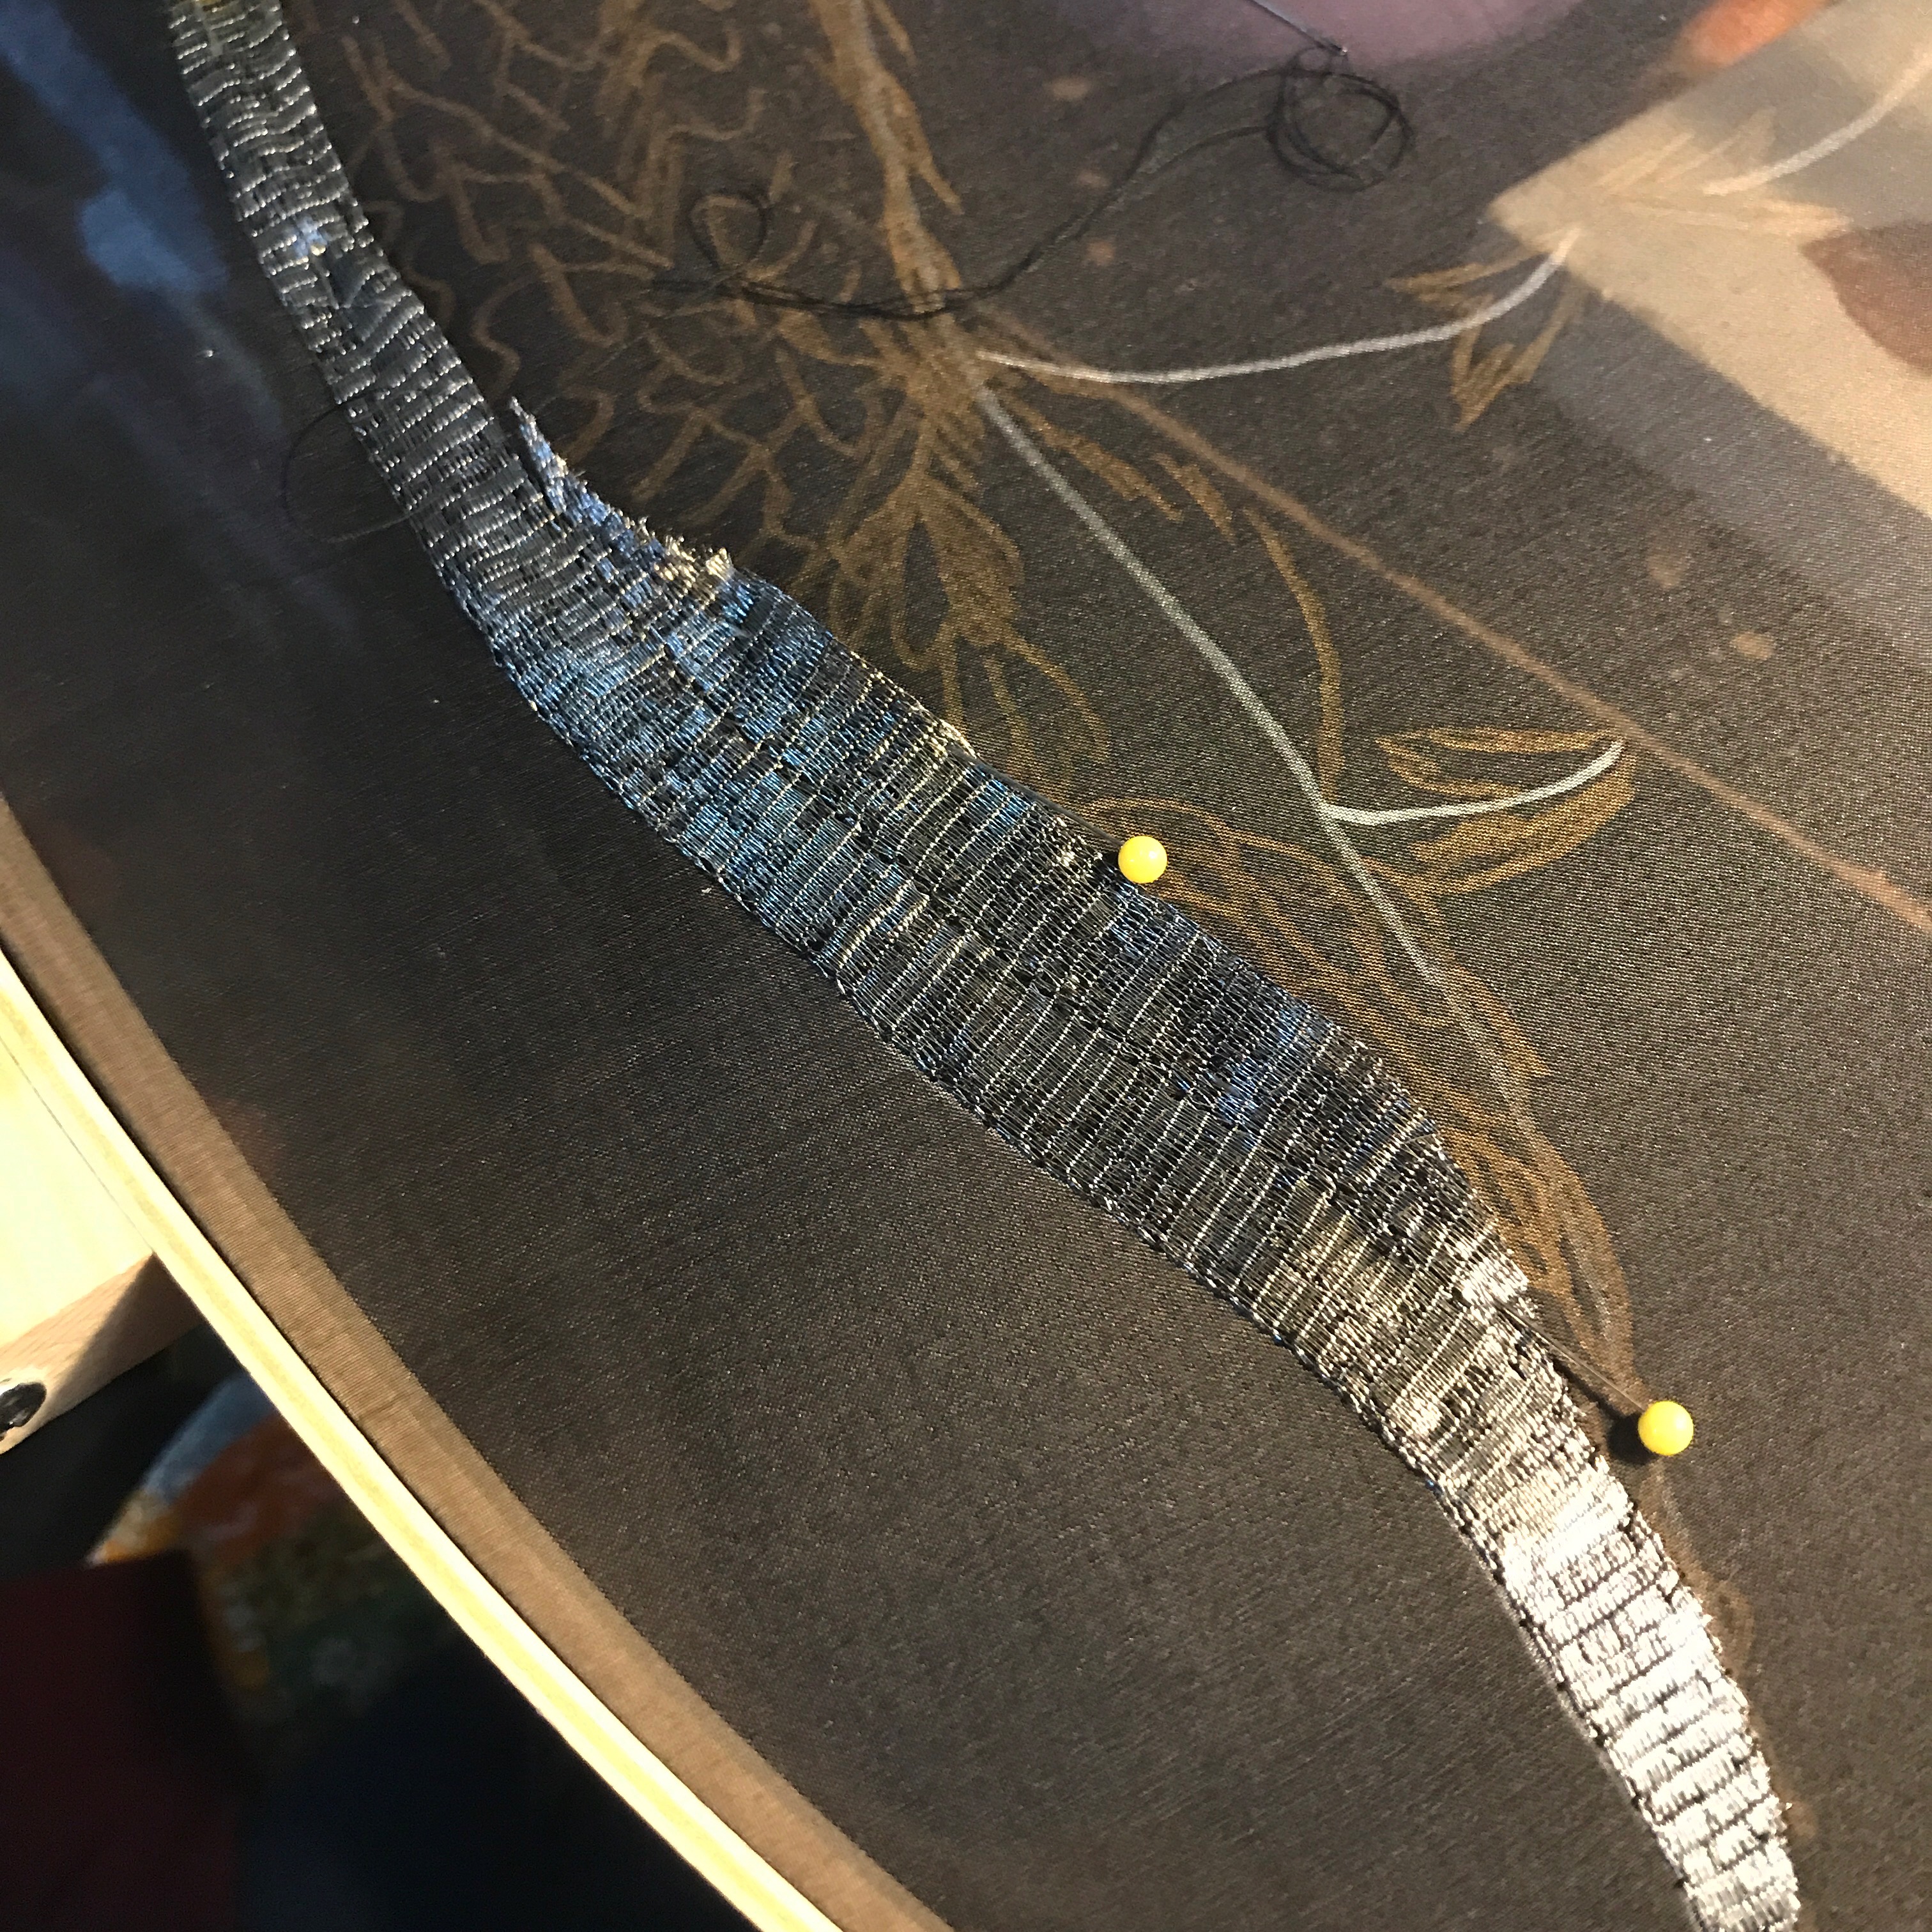
Close up of finished stitch.
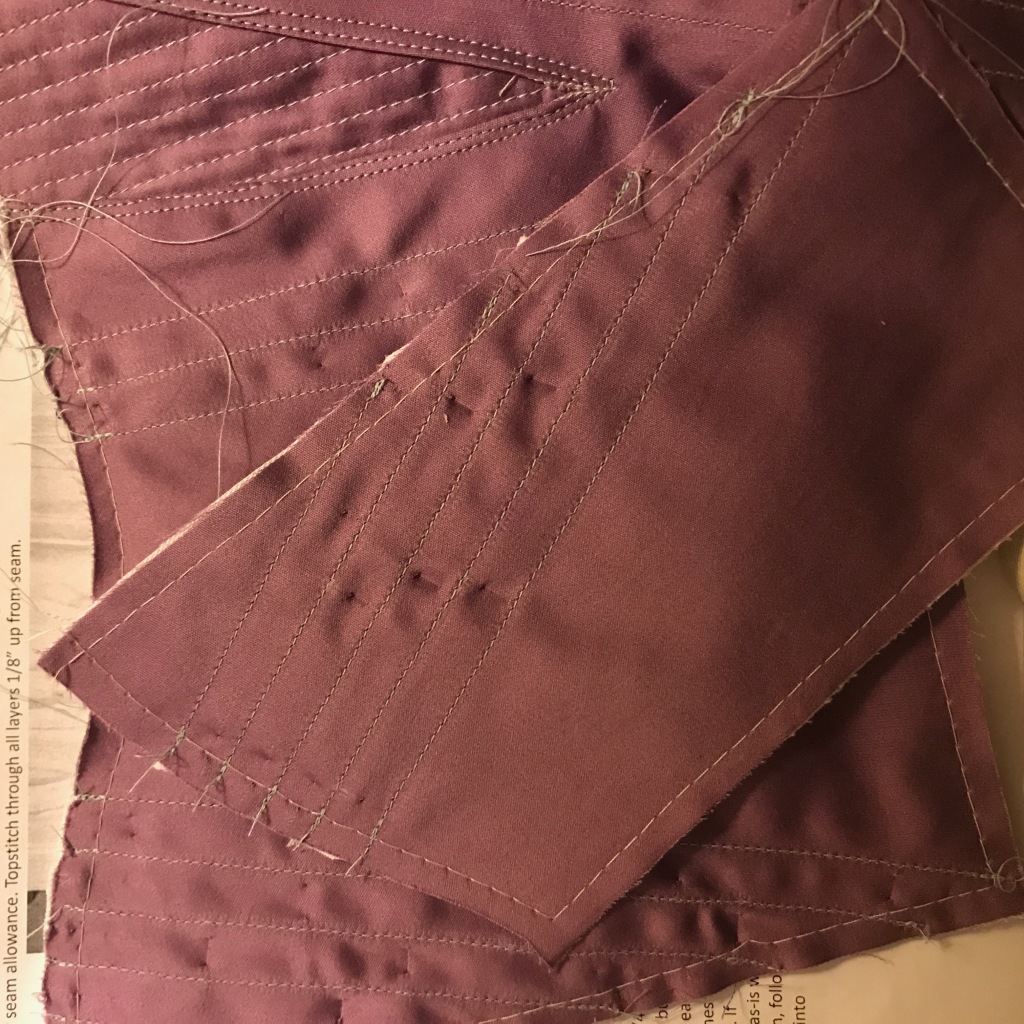
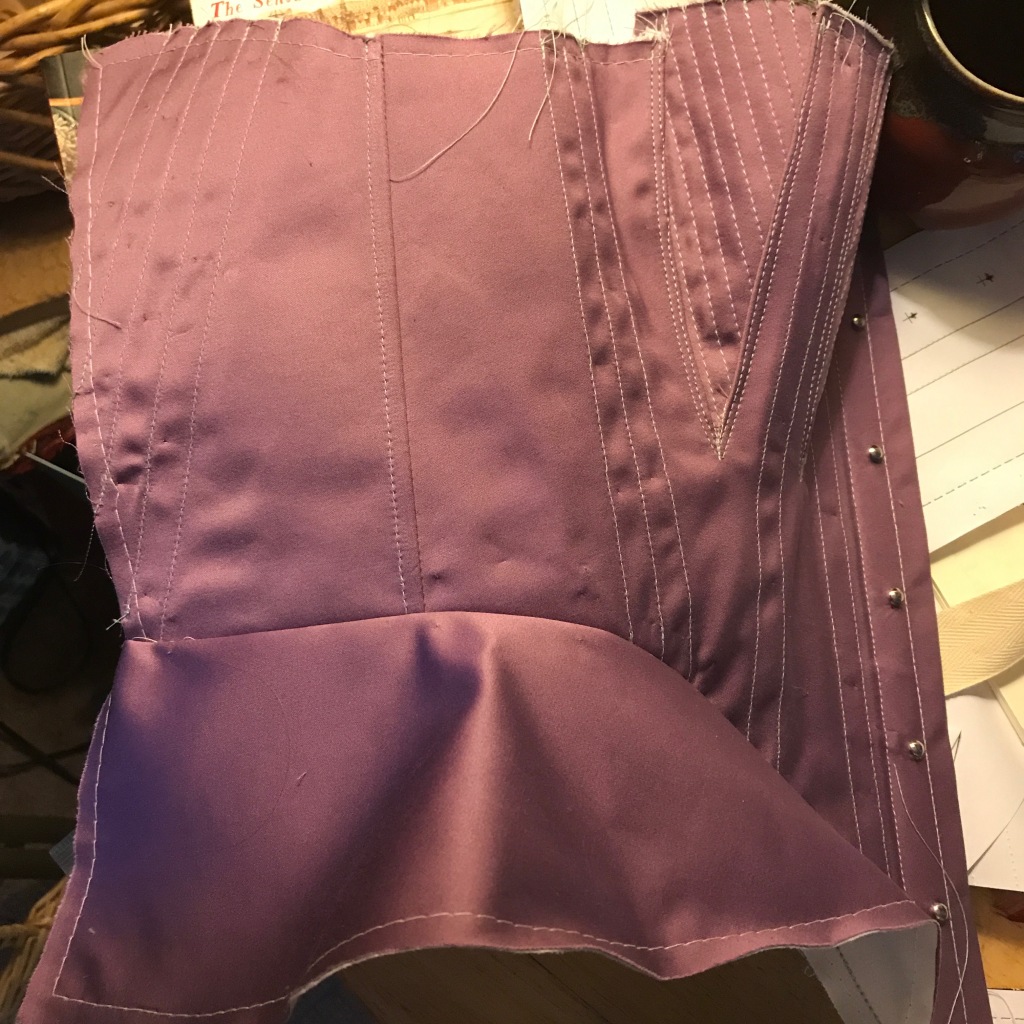
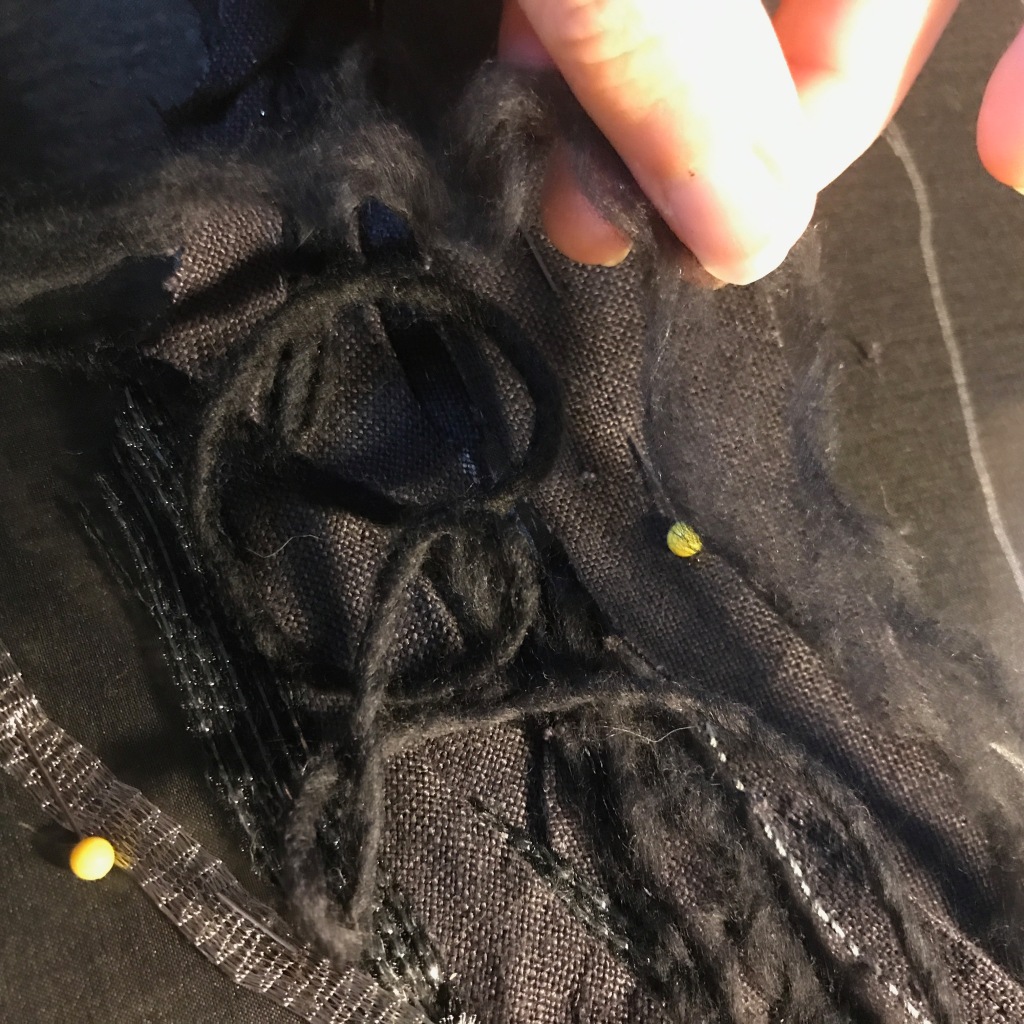
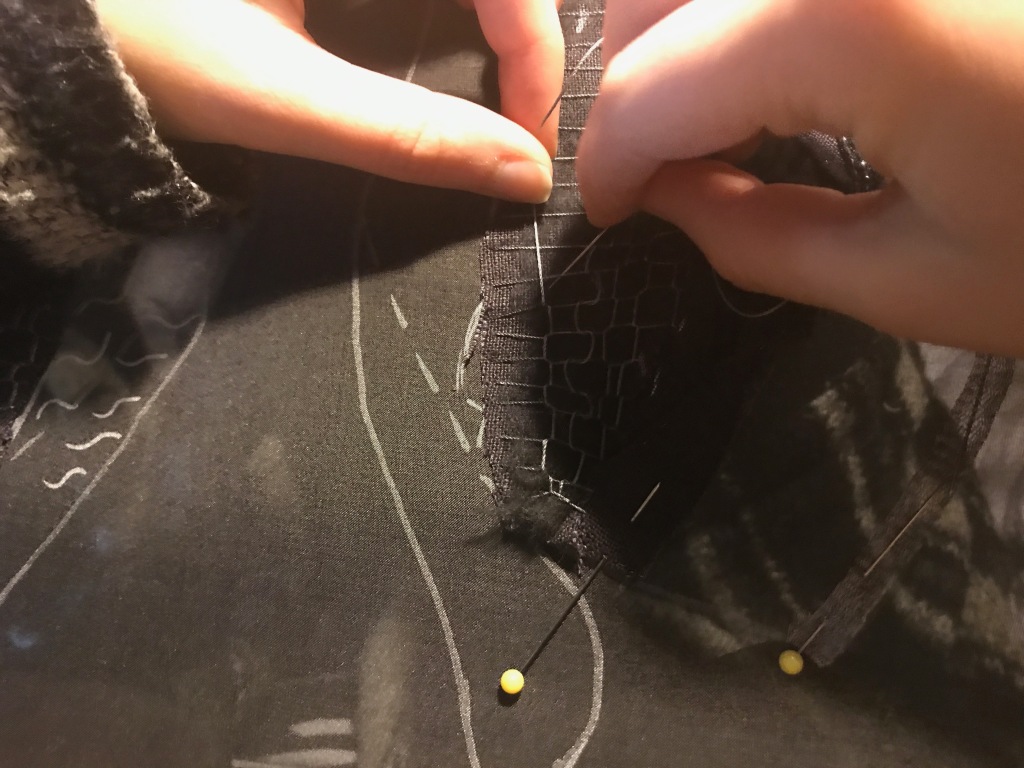
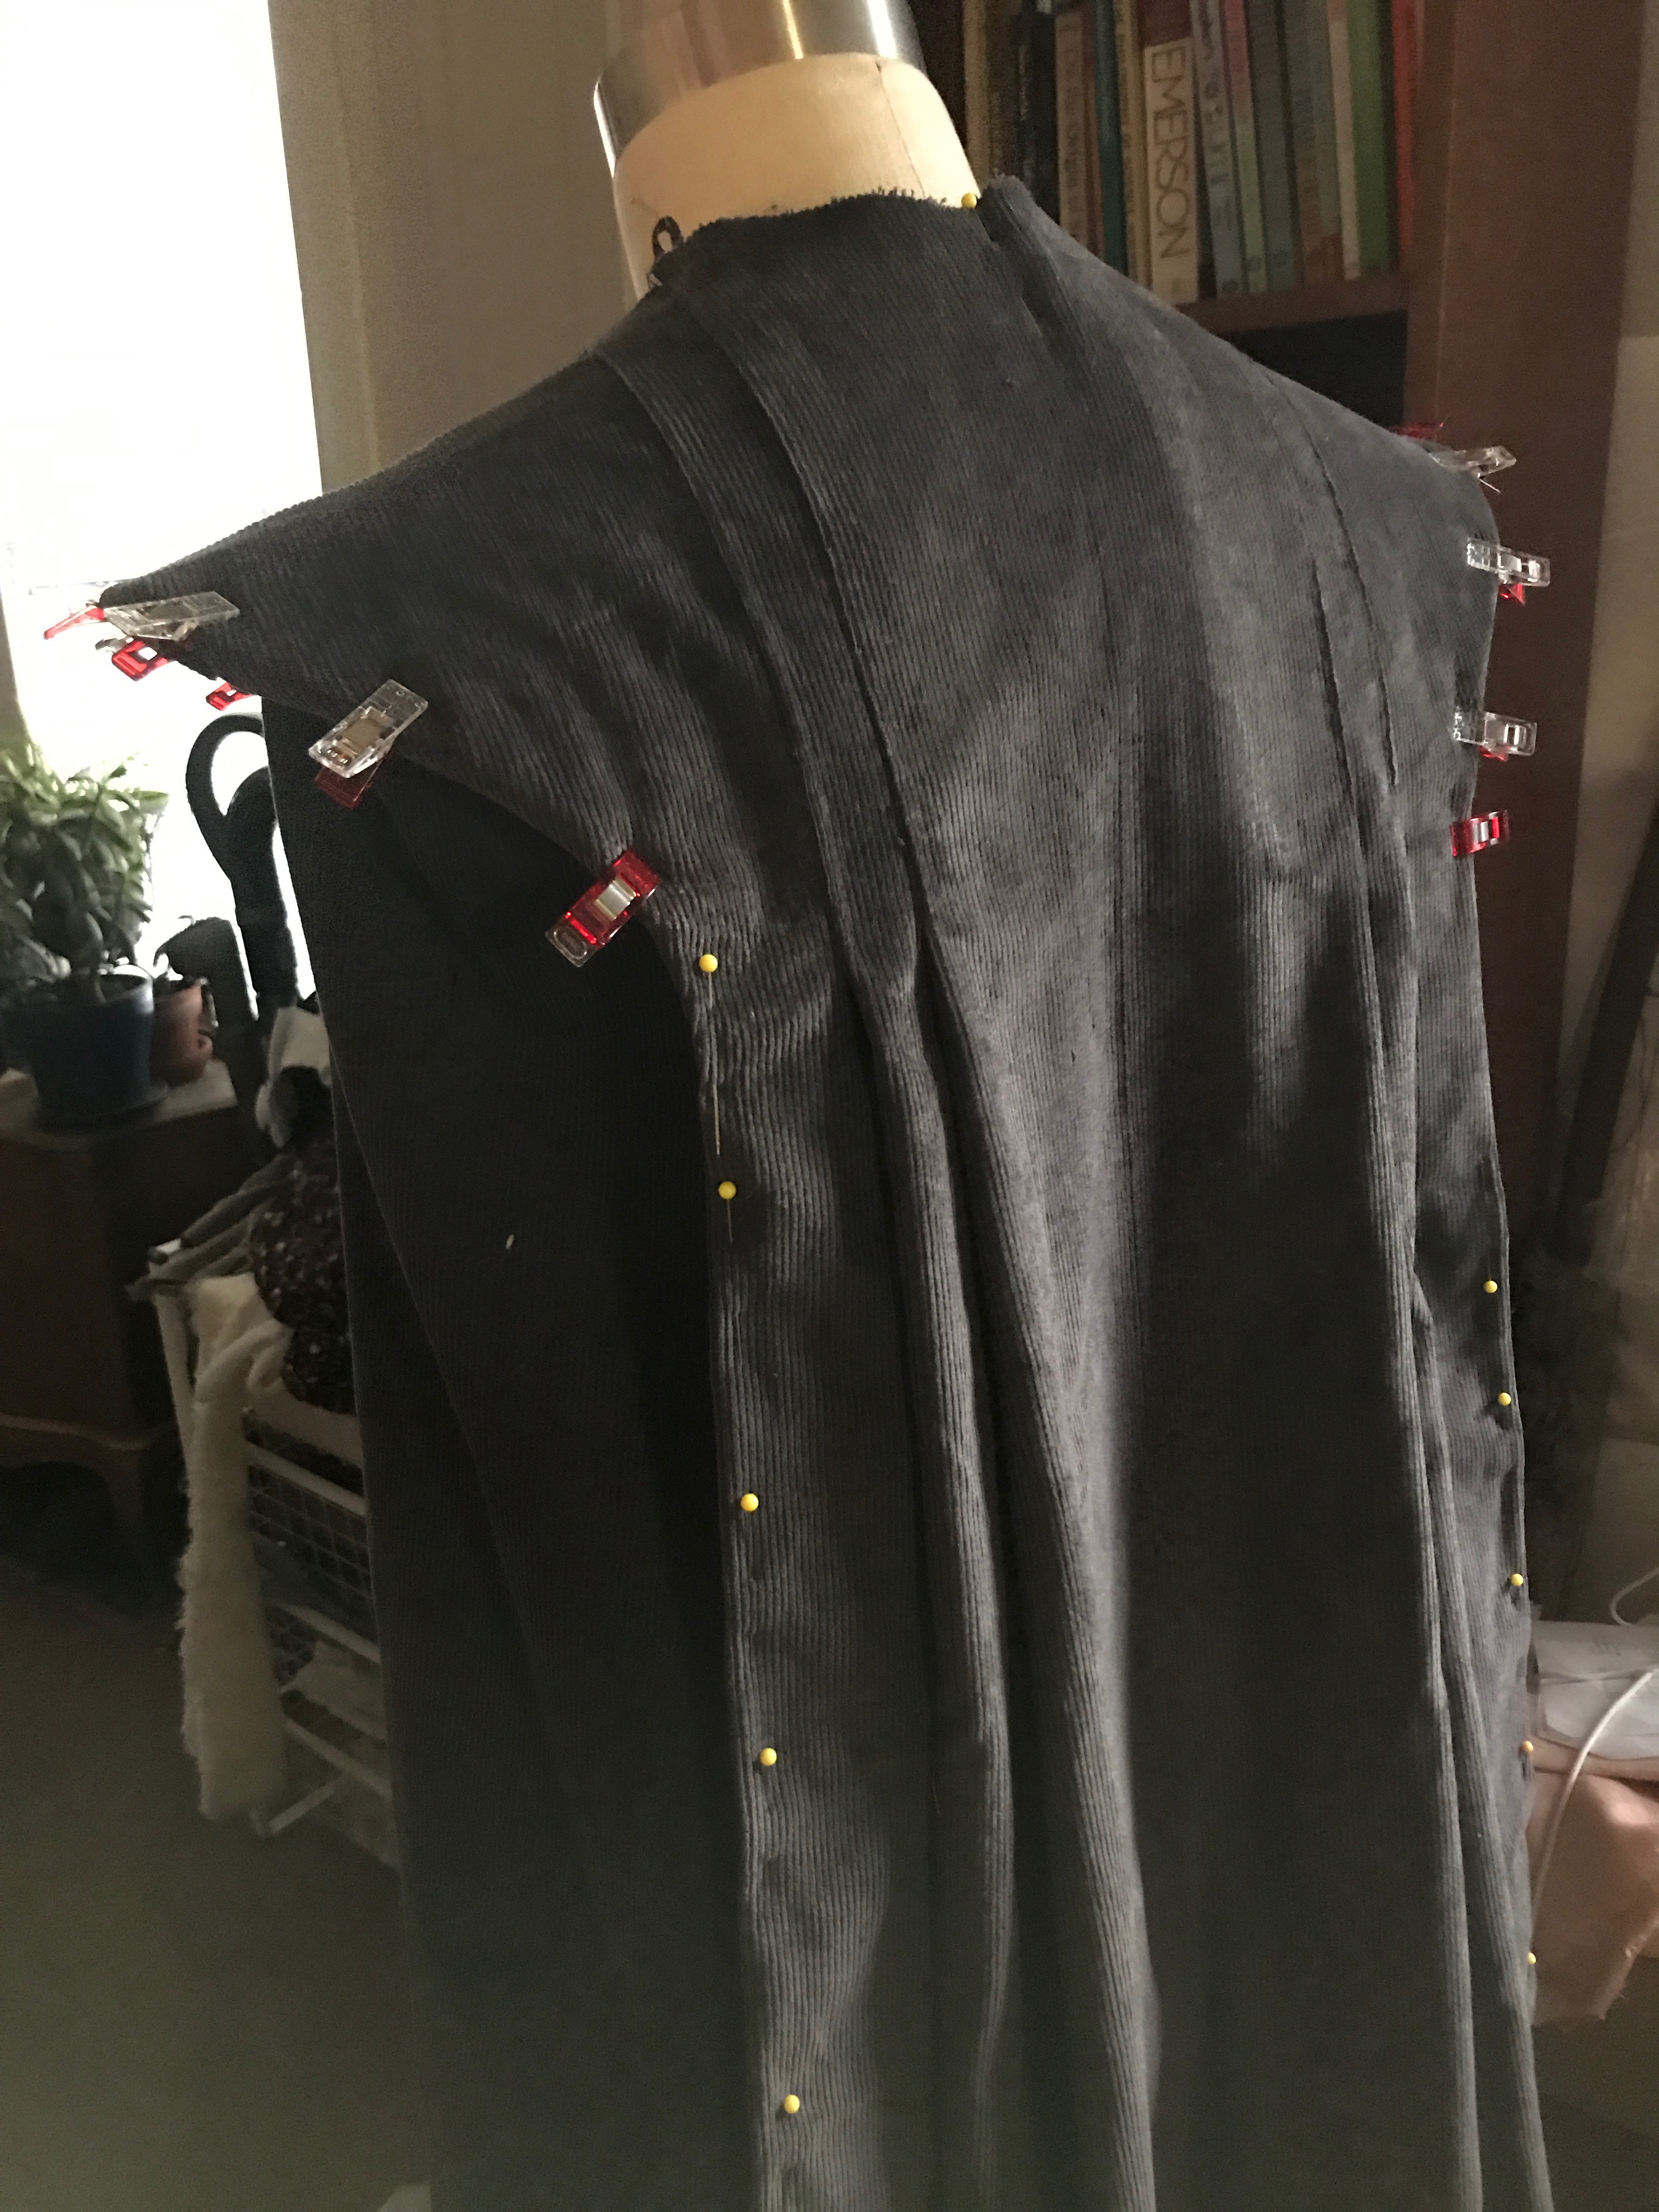
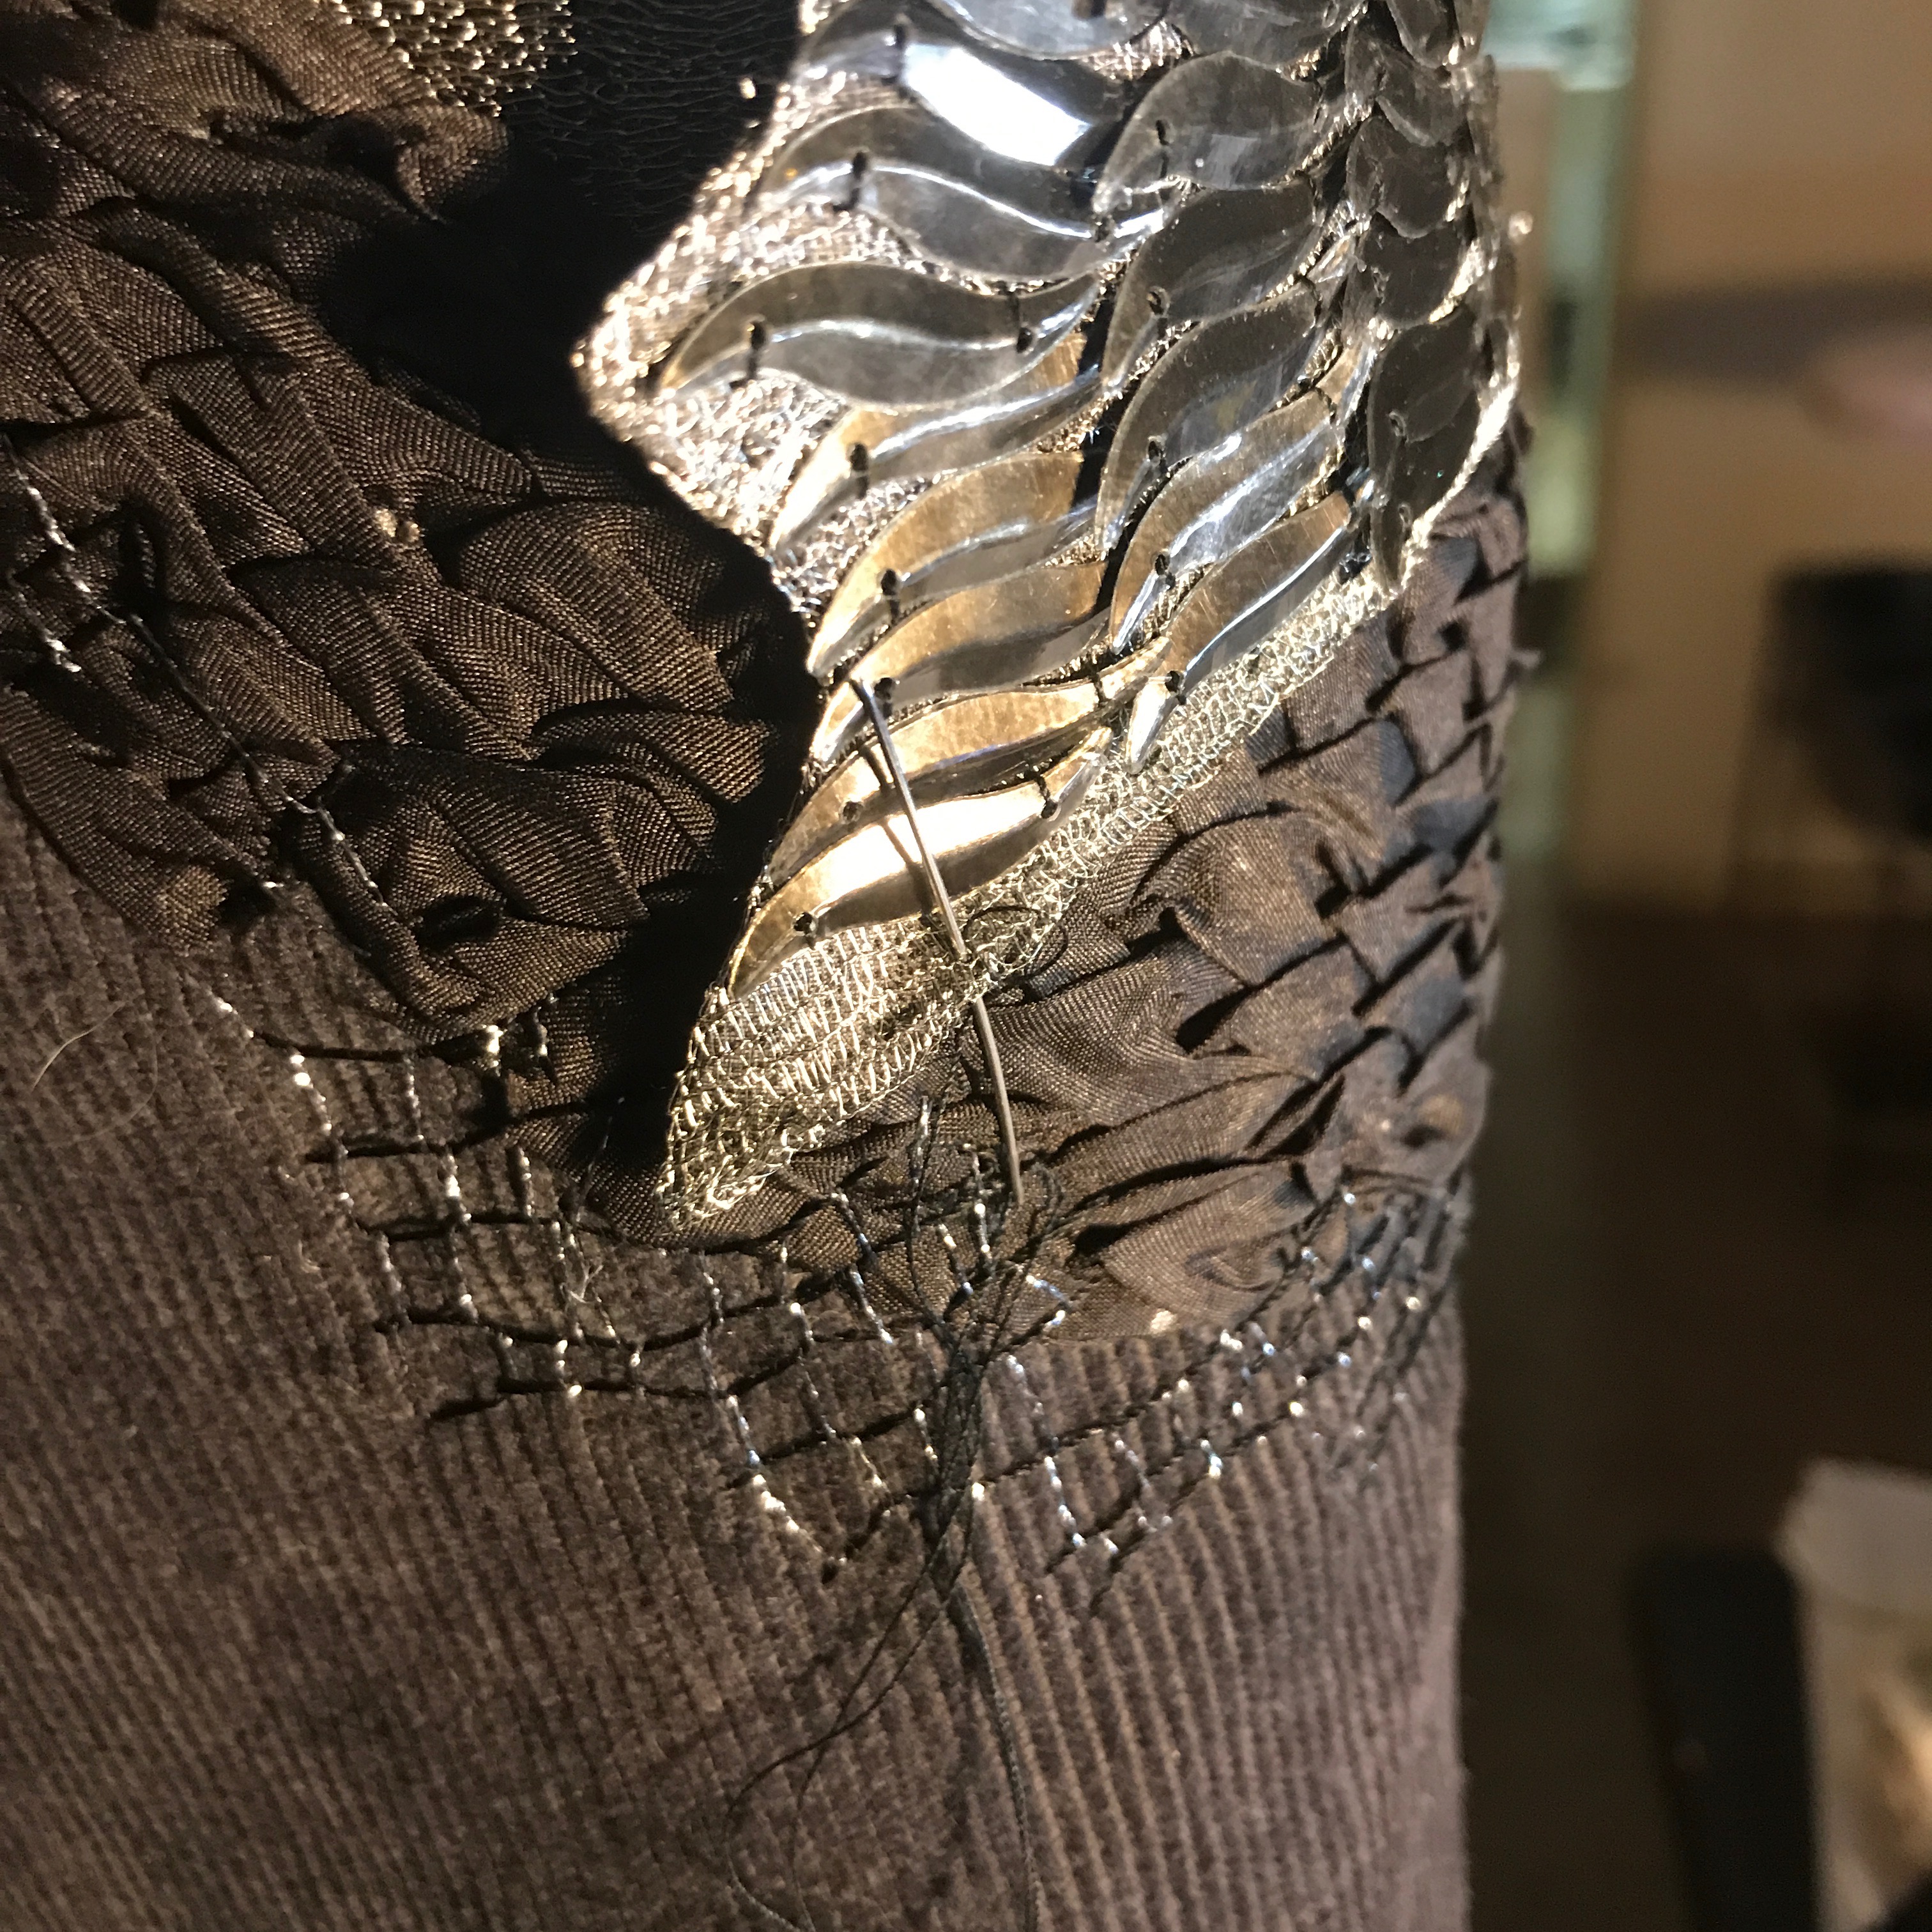
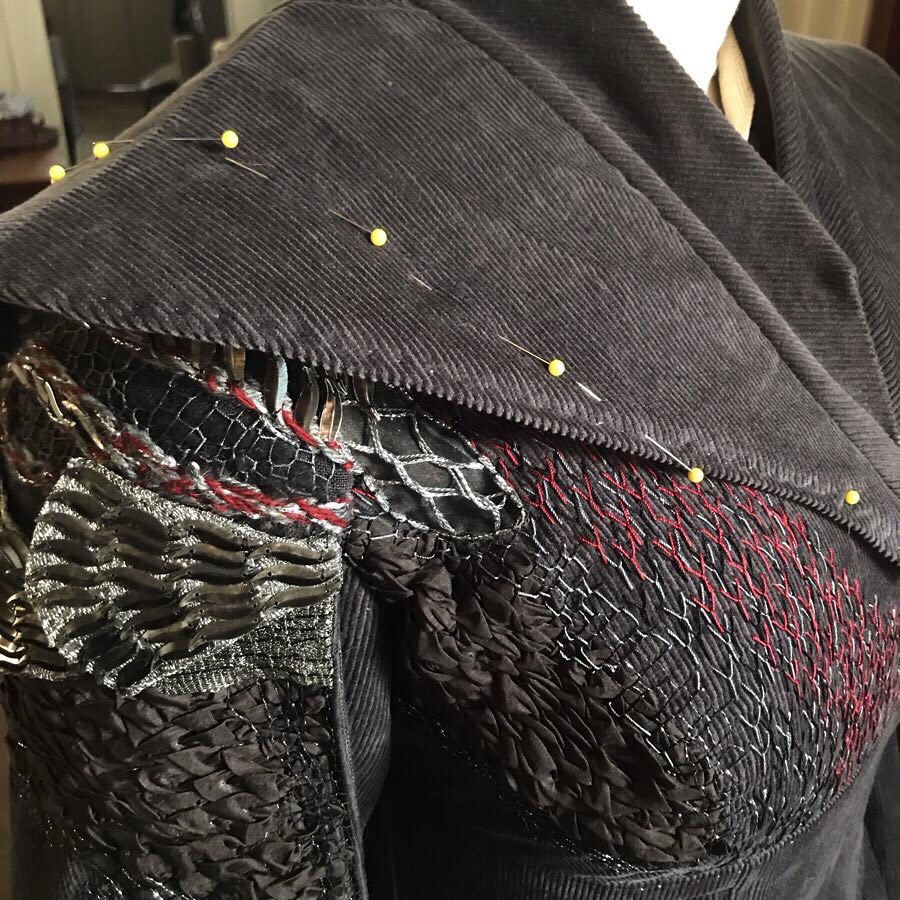
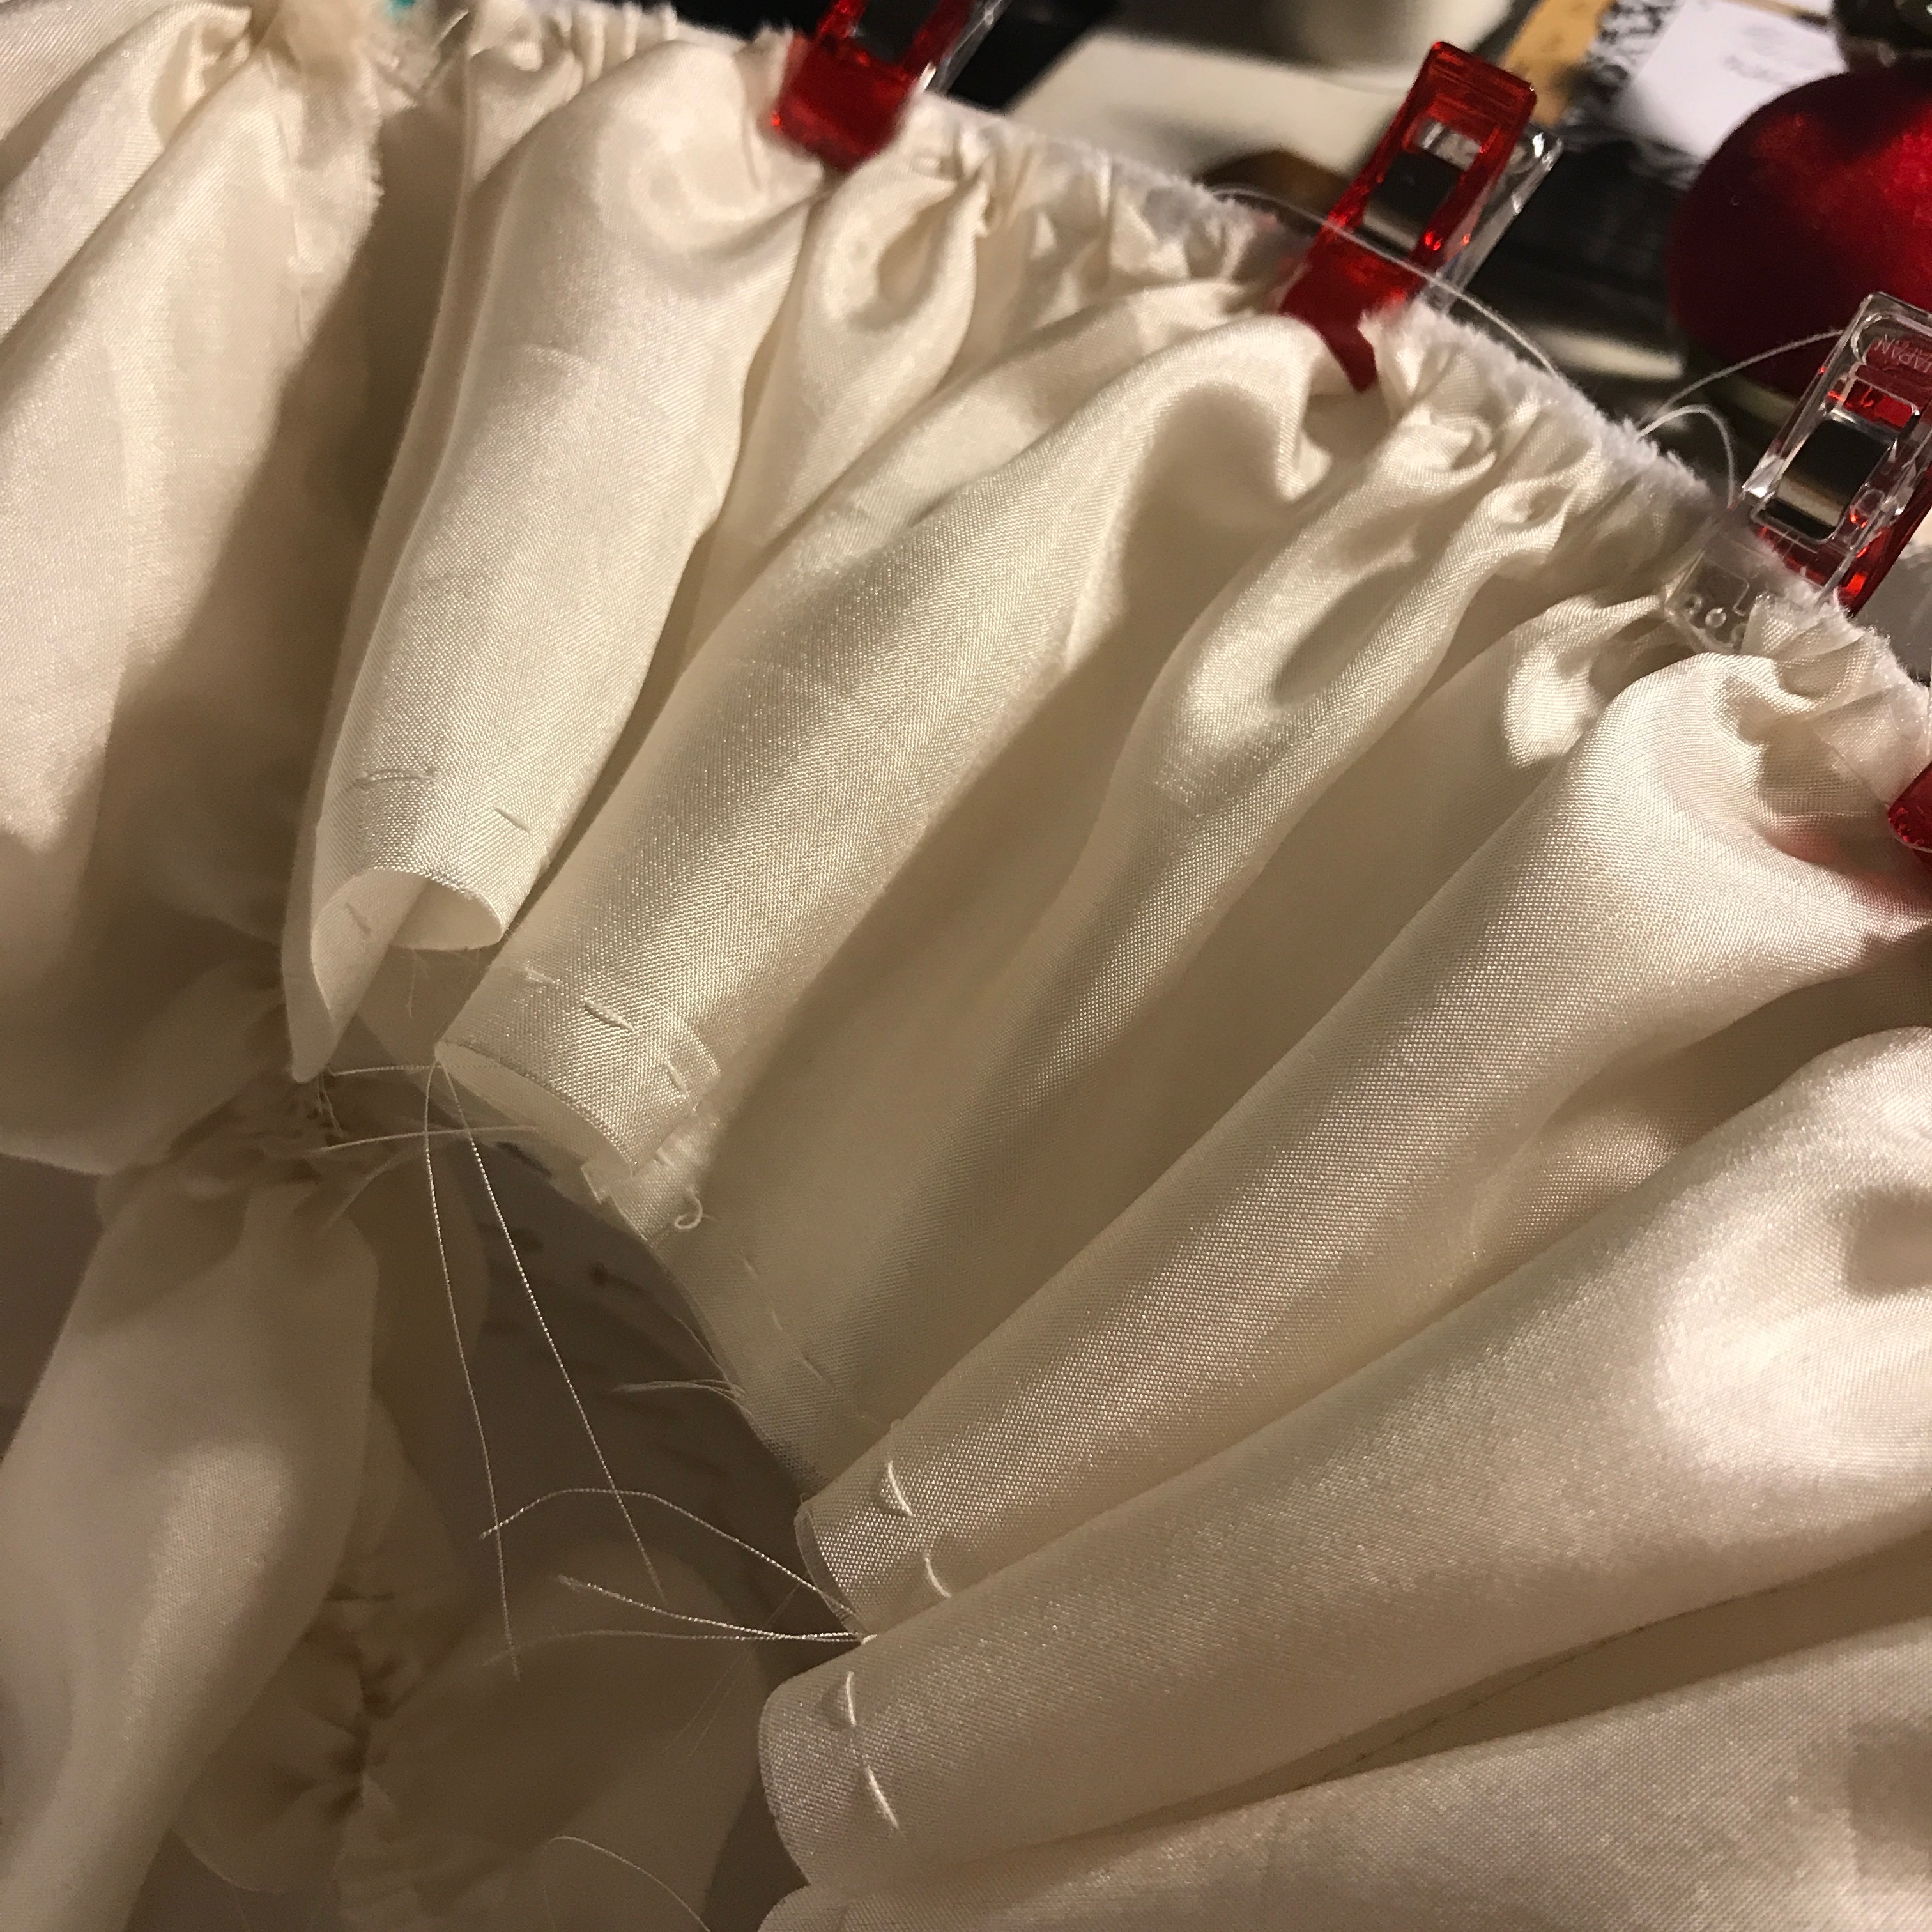
“Stacked” Seam
Sews and finishes fabric and lining concurrently
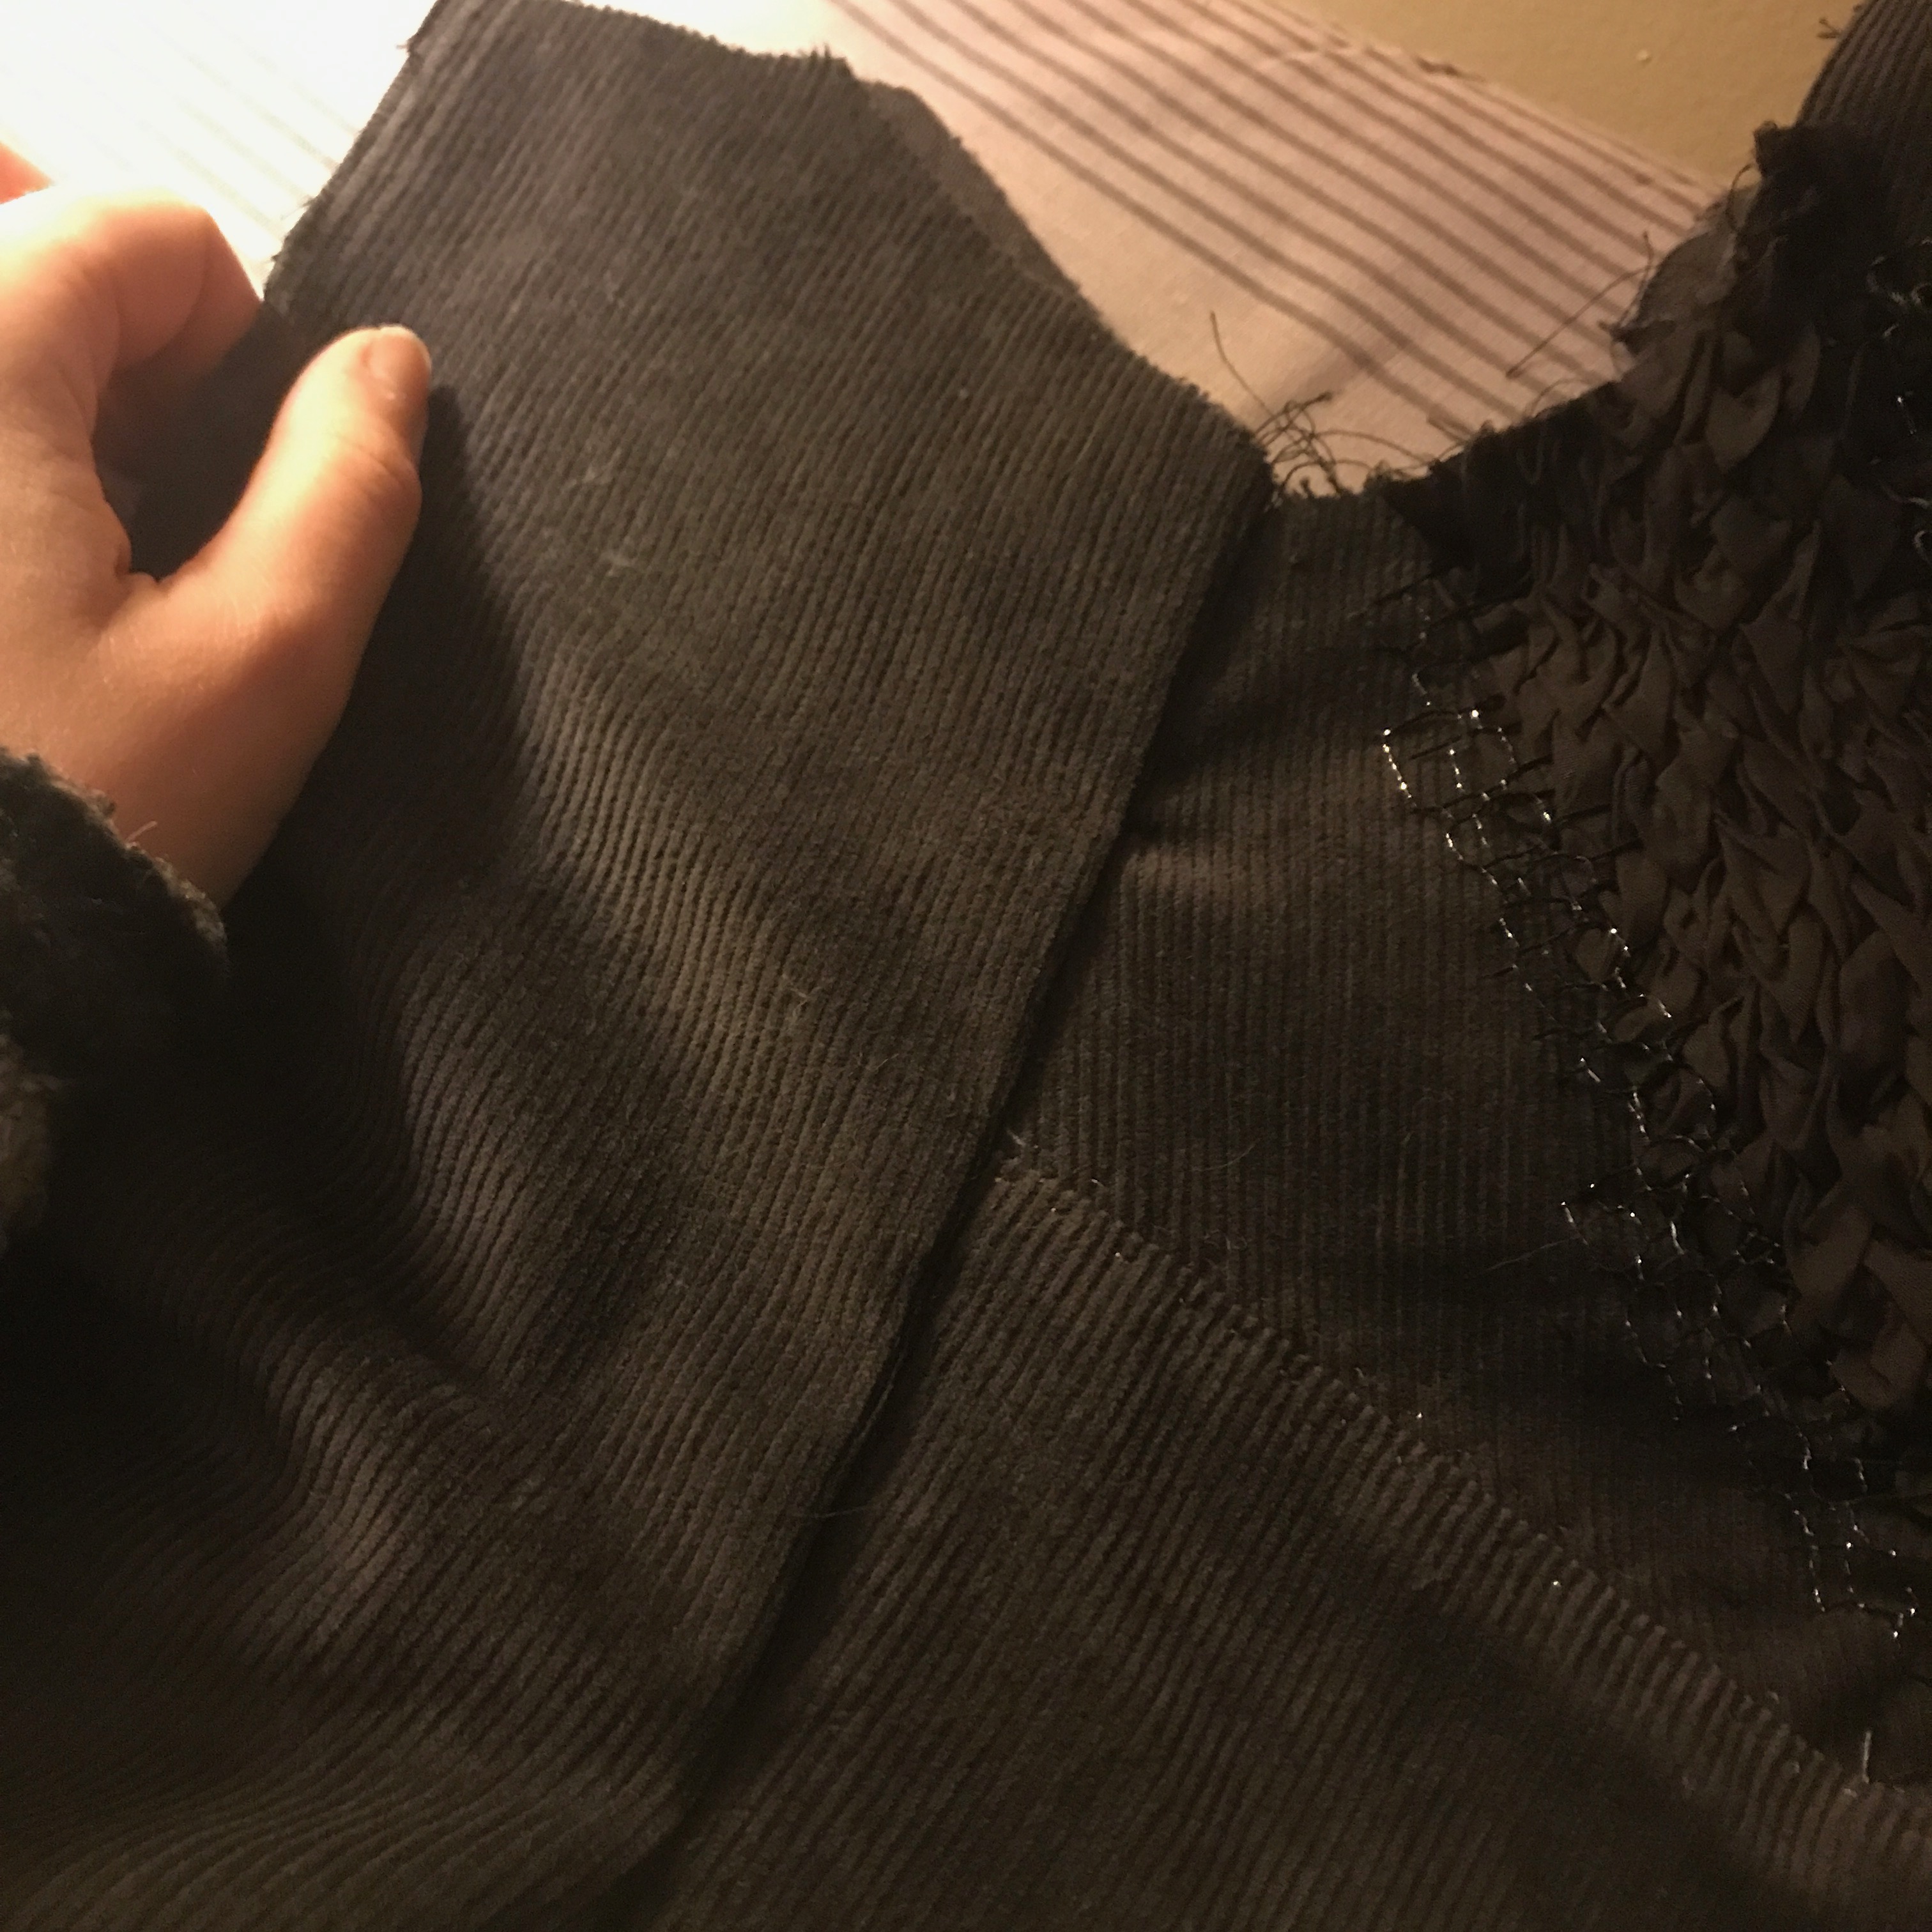
This one is in quotes because I have no idea whether this technique has a name. It is another one that is useful for lined 18th and early 19th century garments. I also use it for a lot of my cosplays and modern sewing. It again sews the seam at the same time as encasing the raw edges, with the extra advantage that (unlike the English stitch) it can be done by machine as well as by hand. It does leave all four seam allowances running in the same direction, rather than opened out, so consider that when choosing between it and the English stitch. All four fabric thicknesses are stacked in such a way that the seam can be sewn all in one, and the lining and fabric will open out, covering the raw edges and leaving a nice, finished seam. It’s amazing how fast a lined bodice or dress can go together when using this technique.
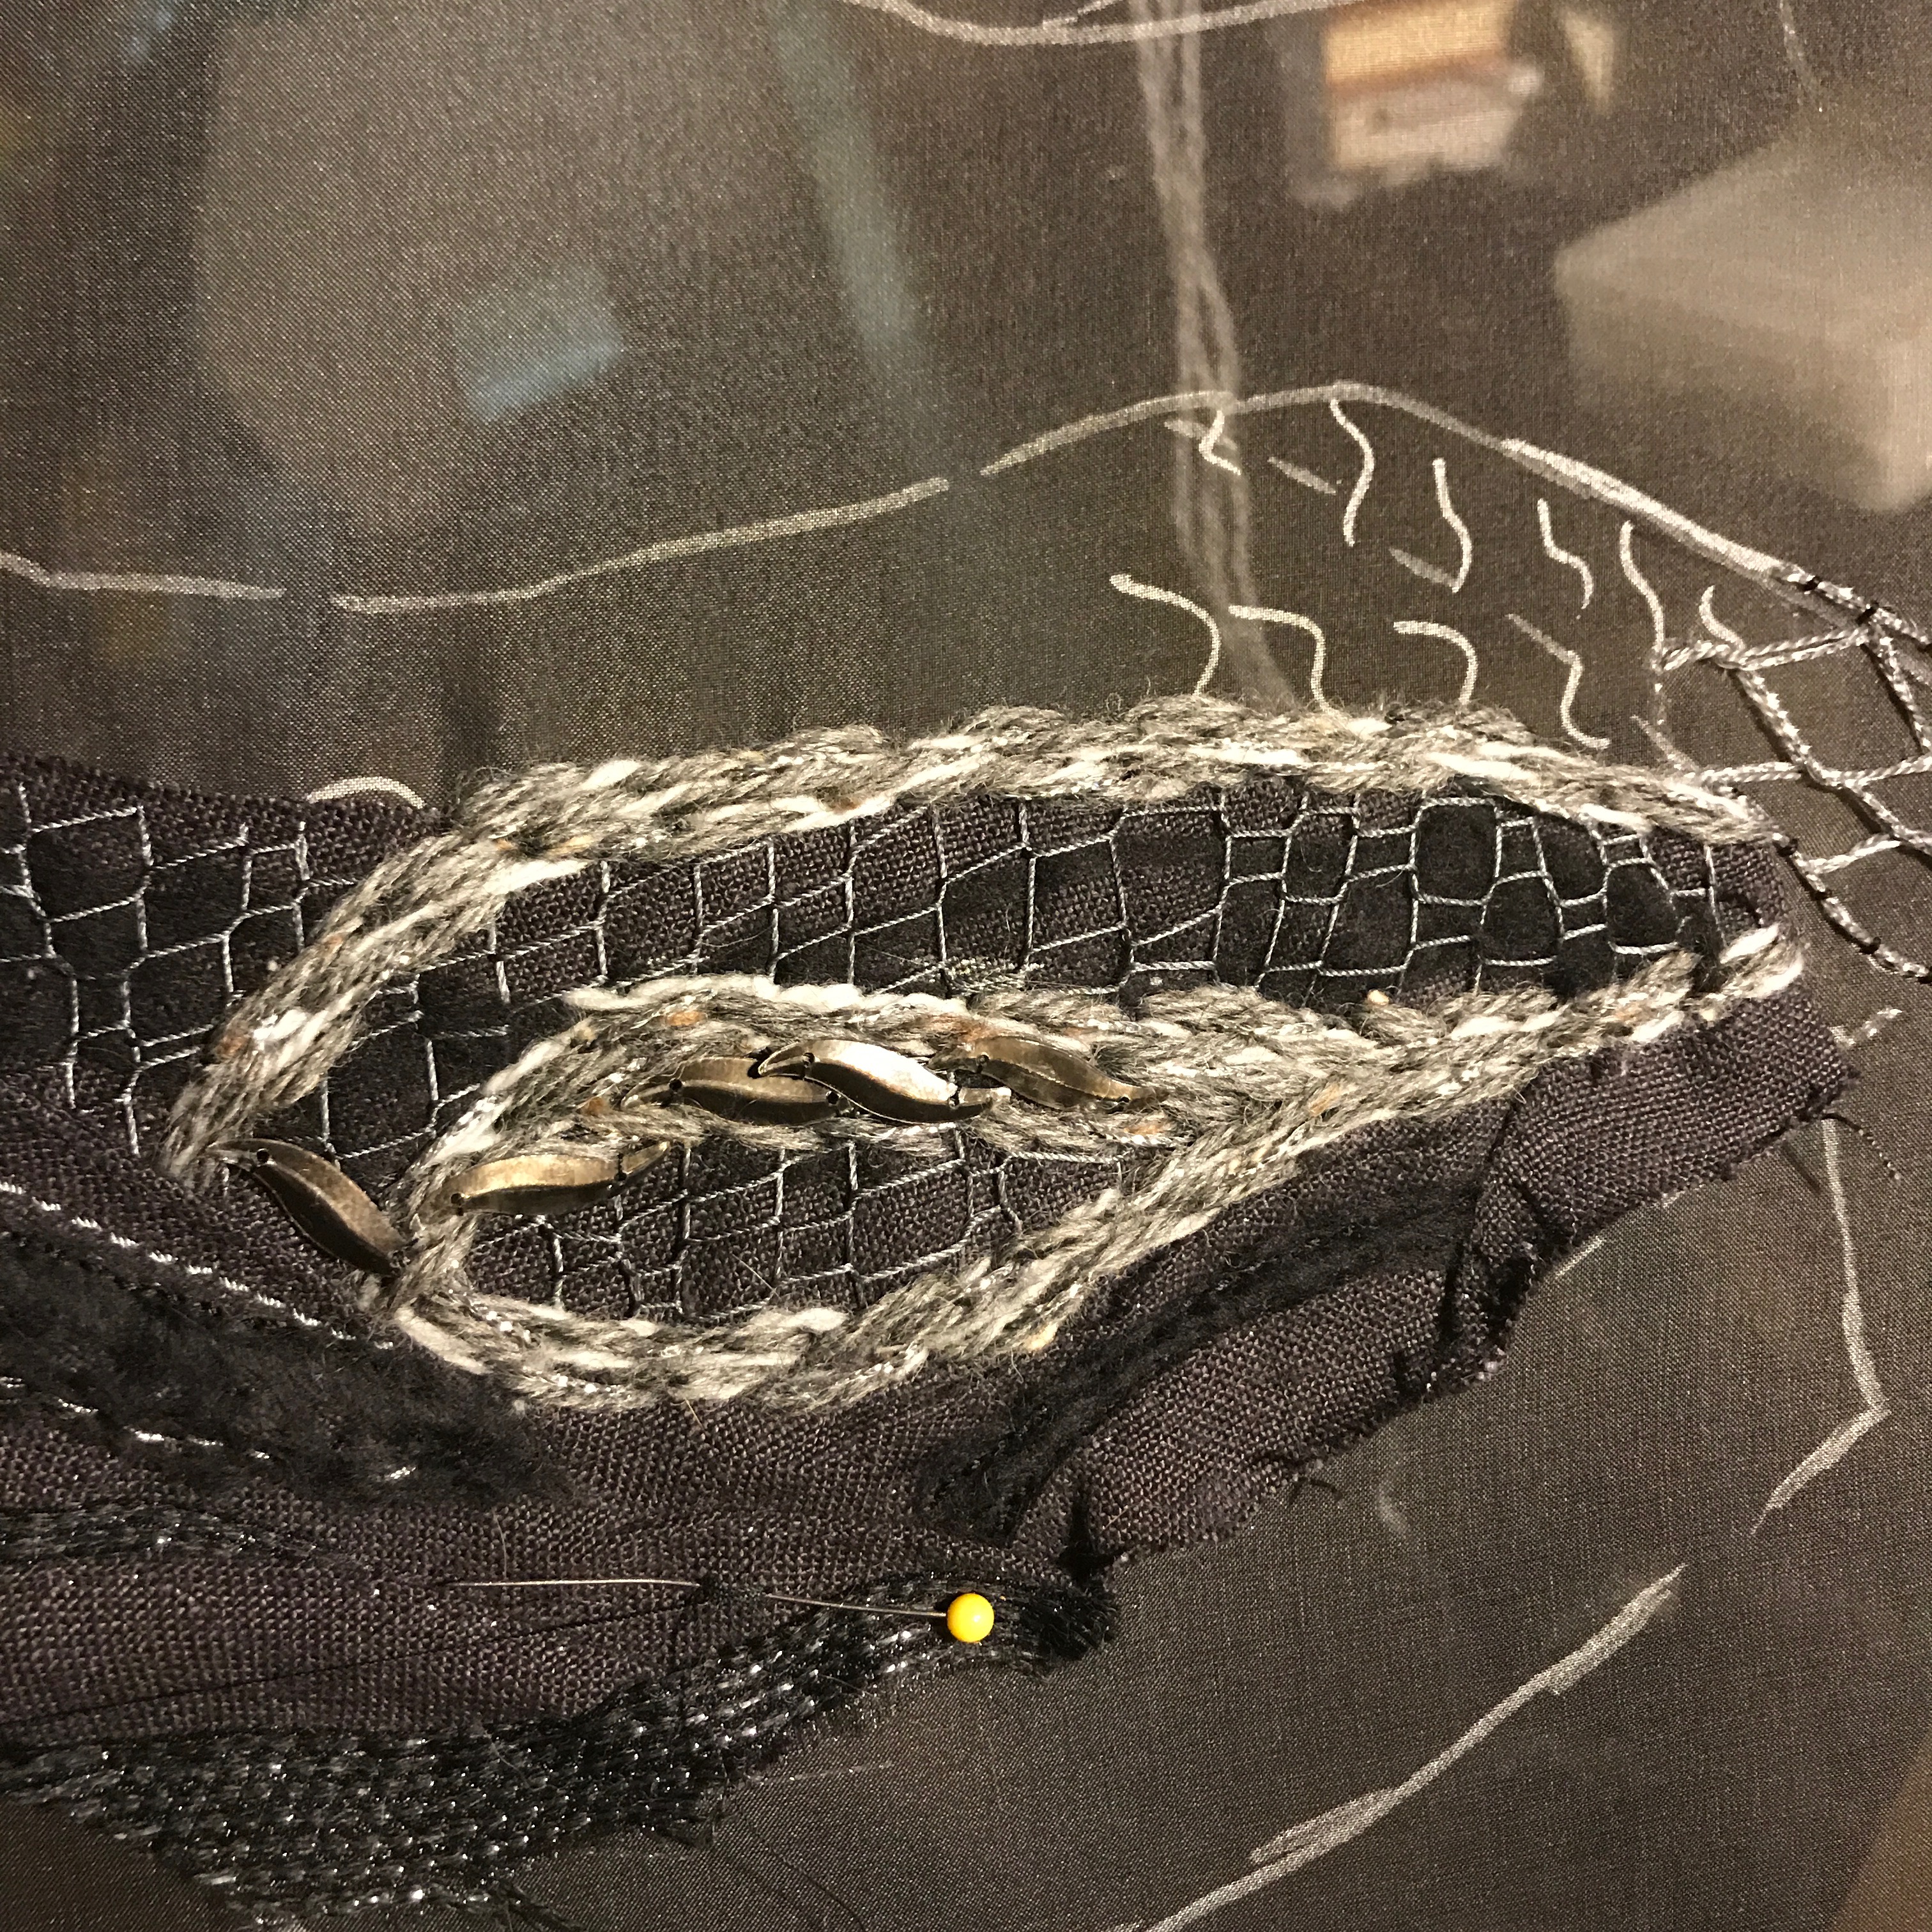
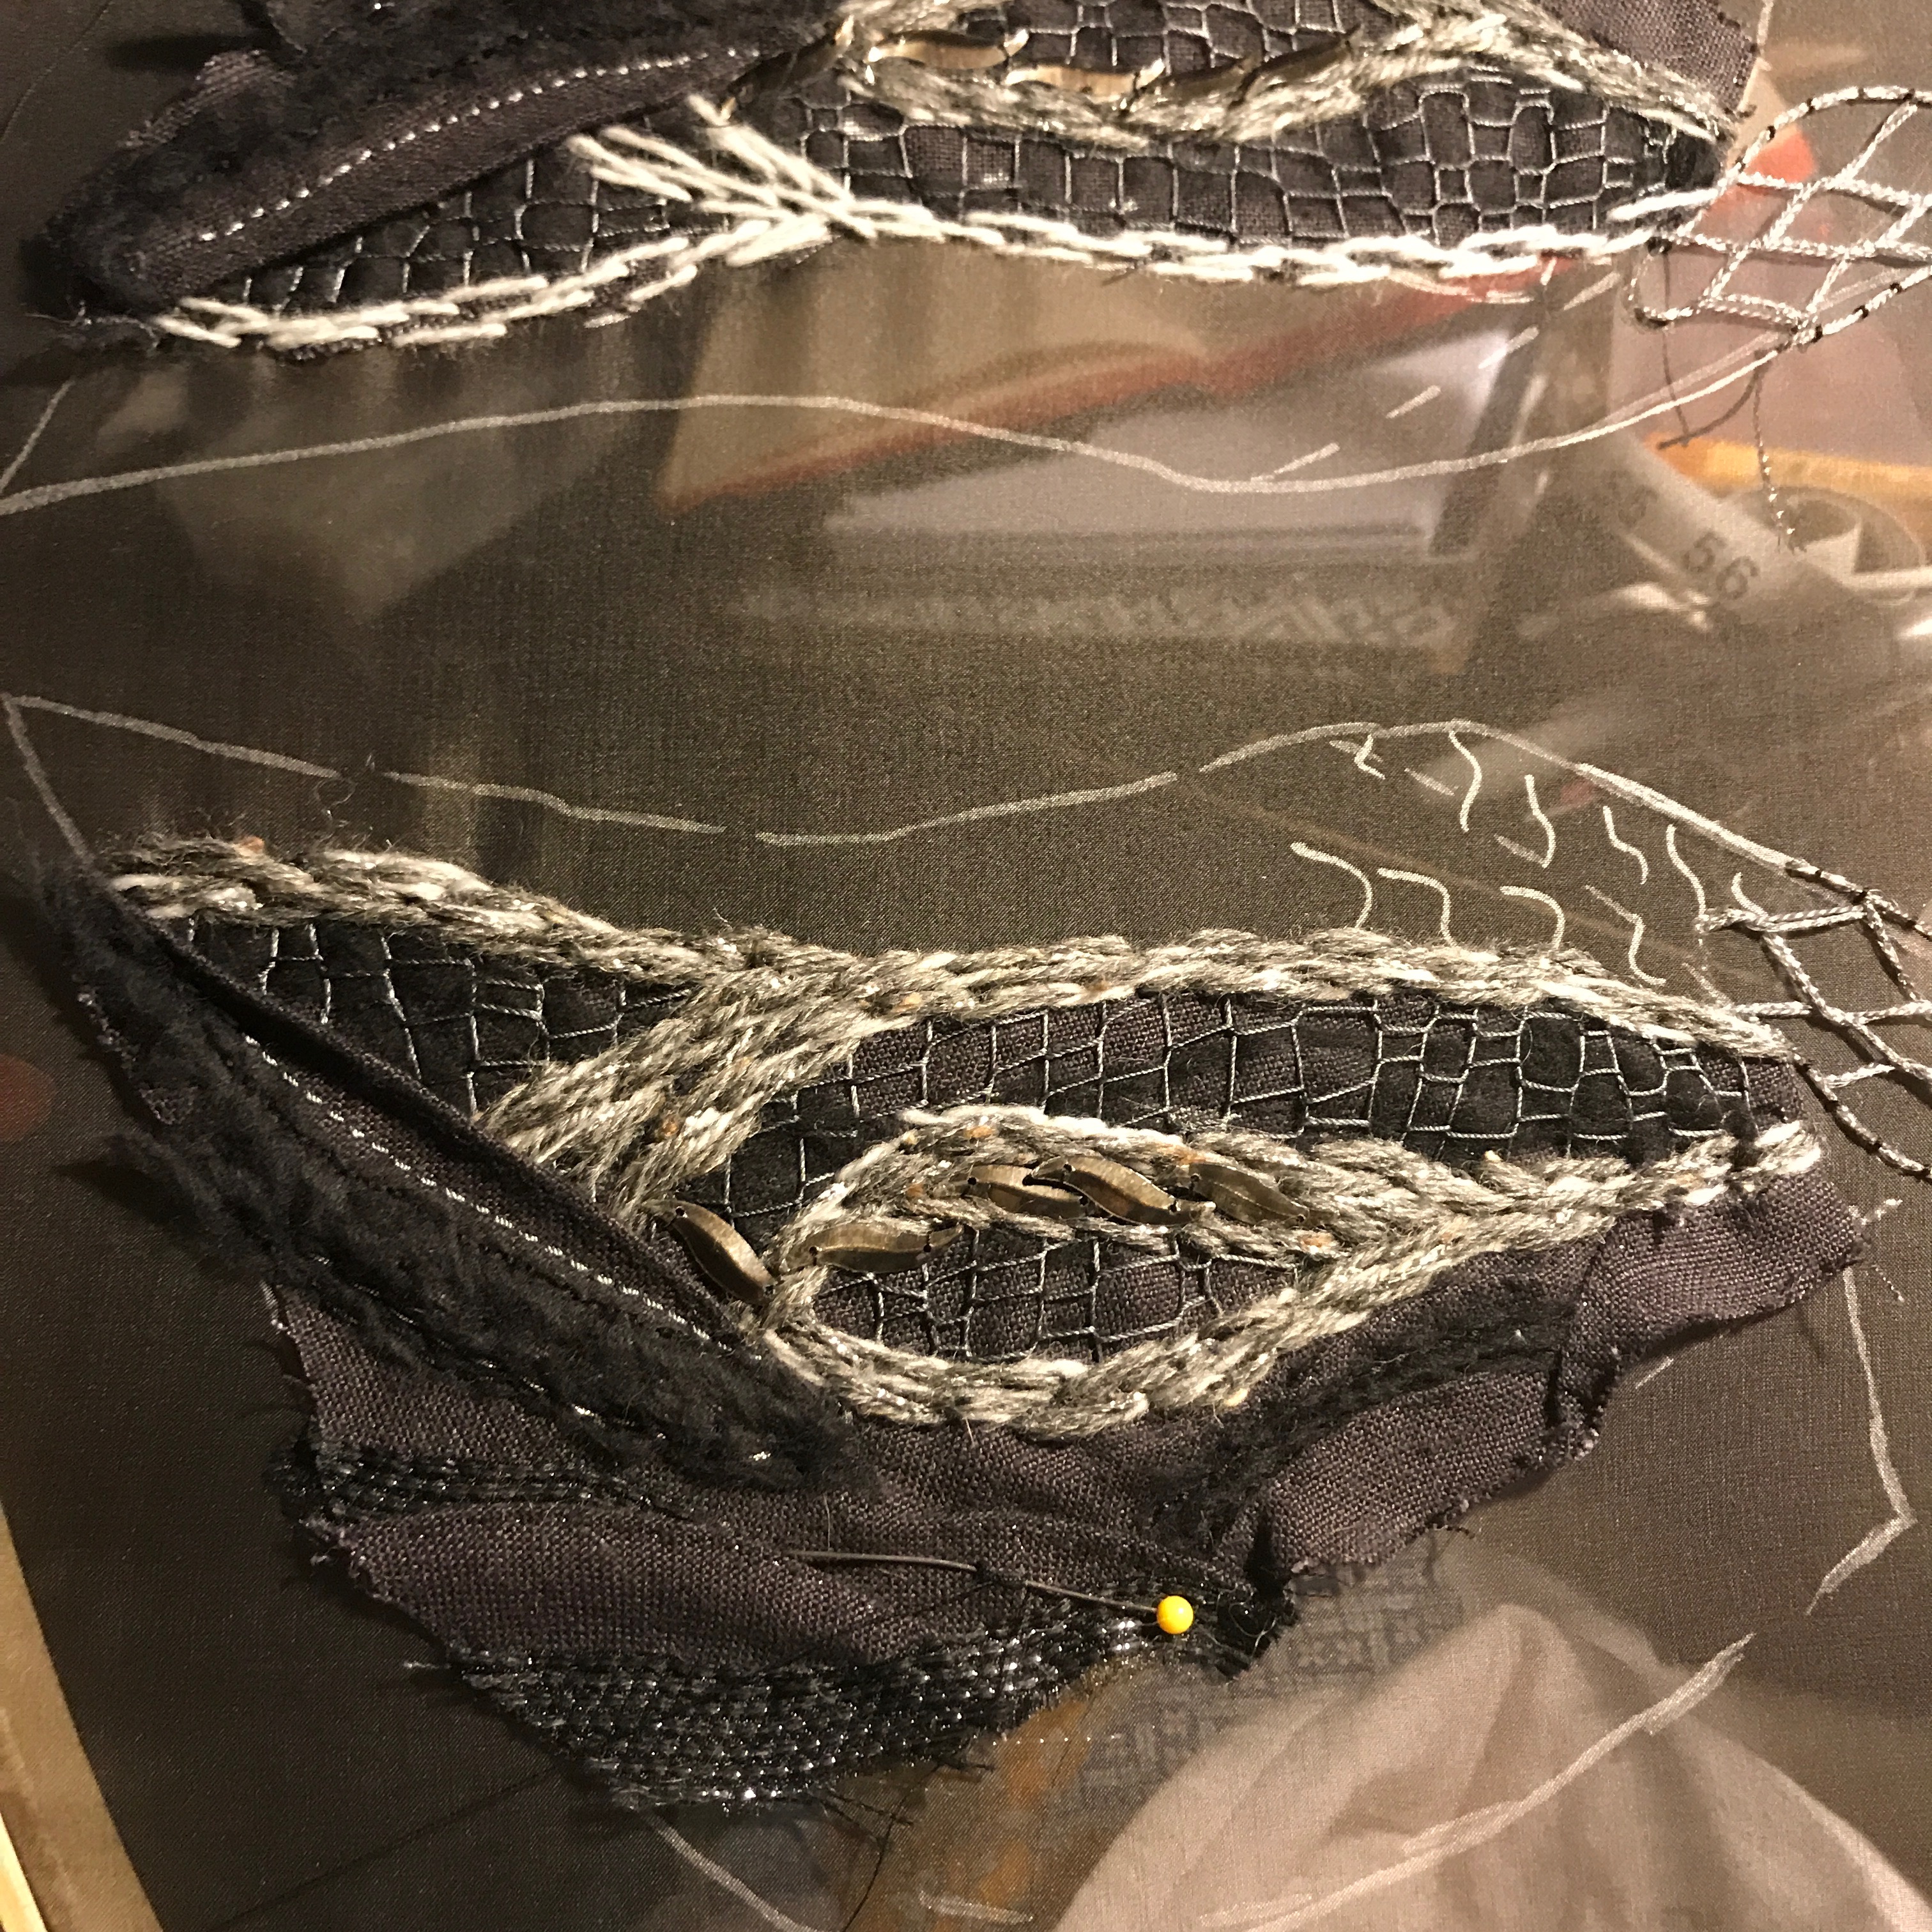
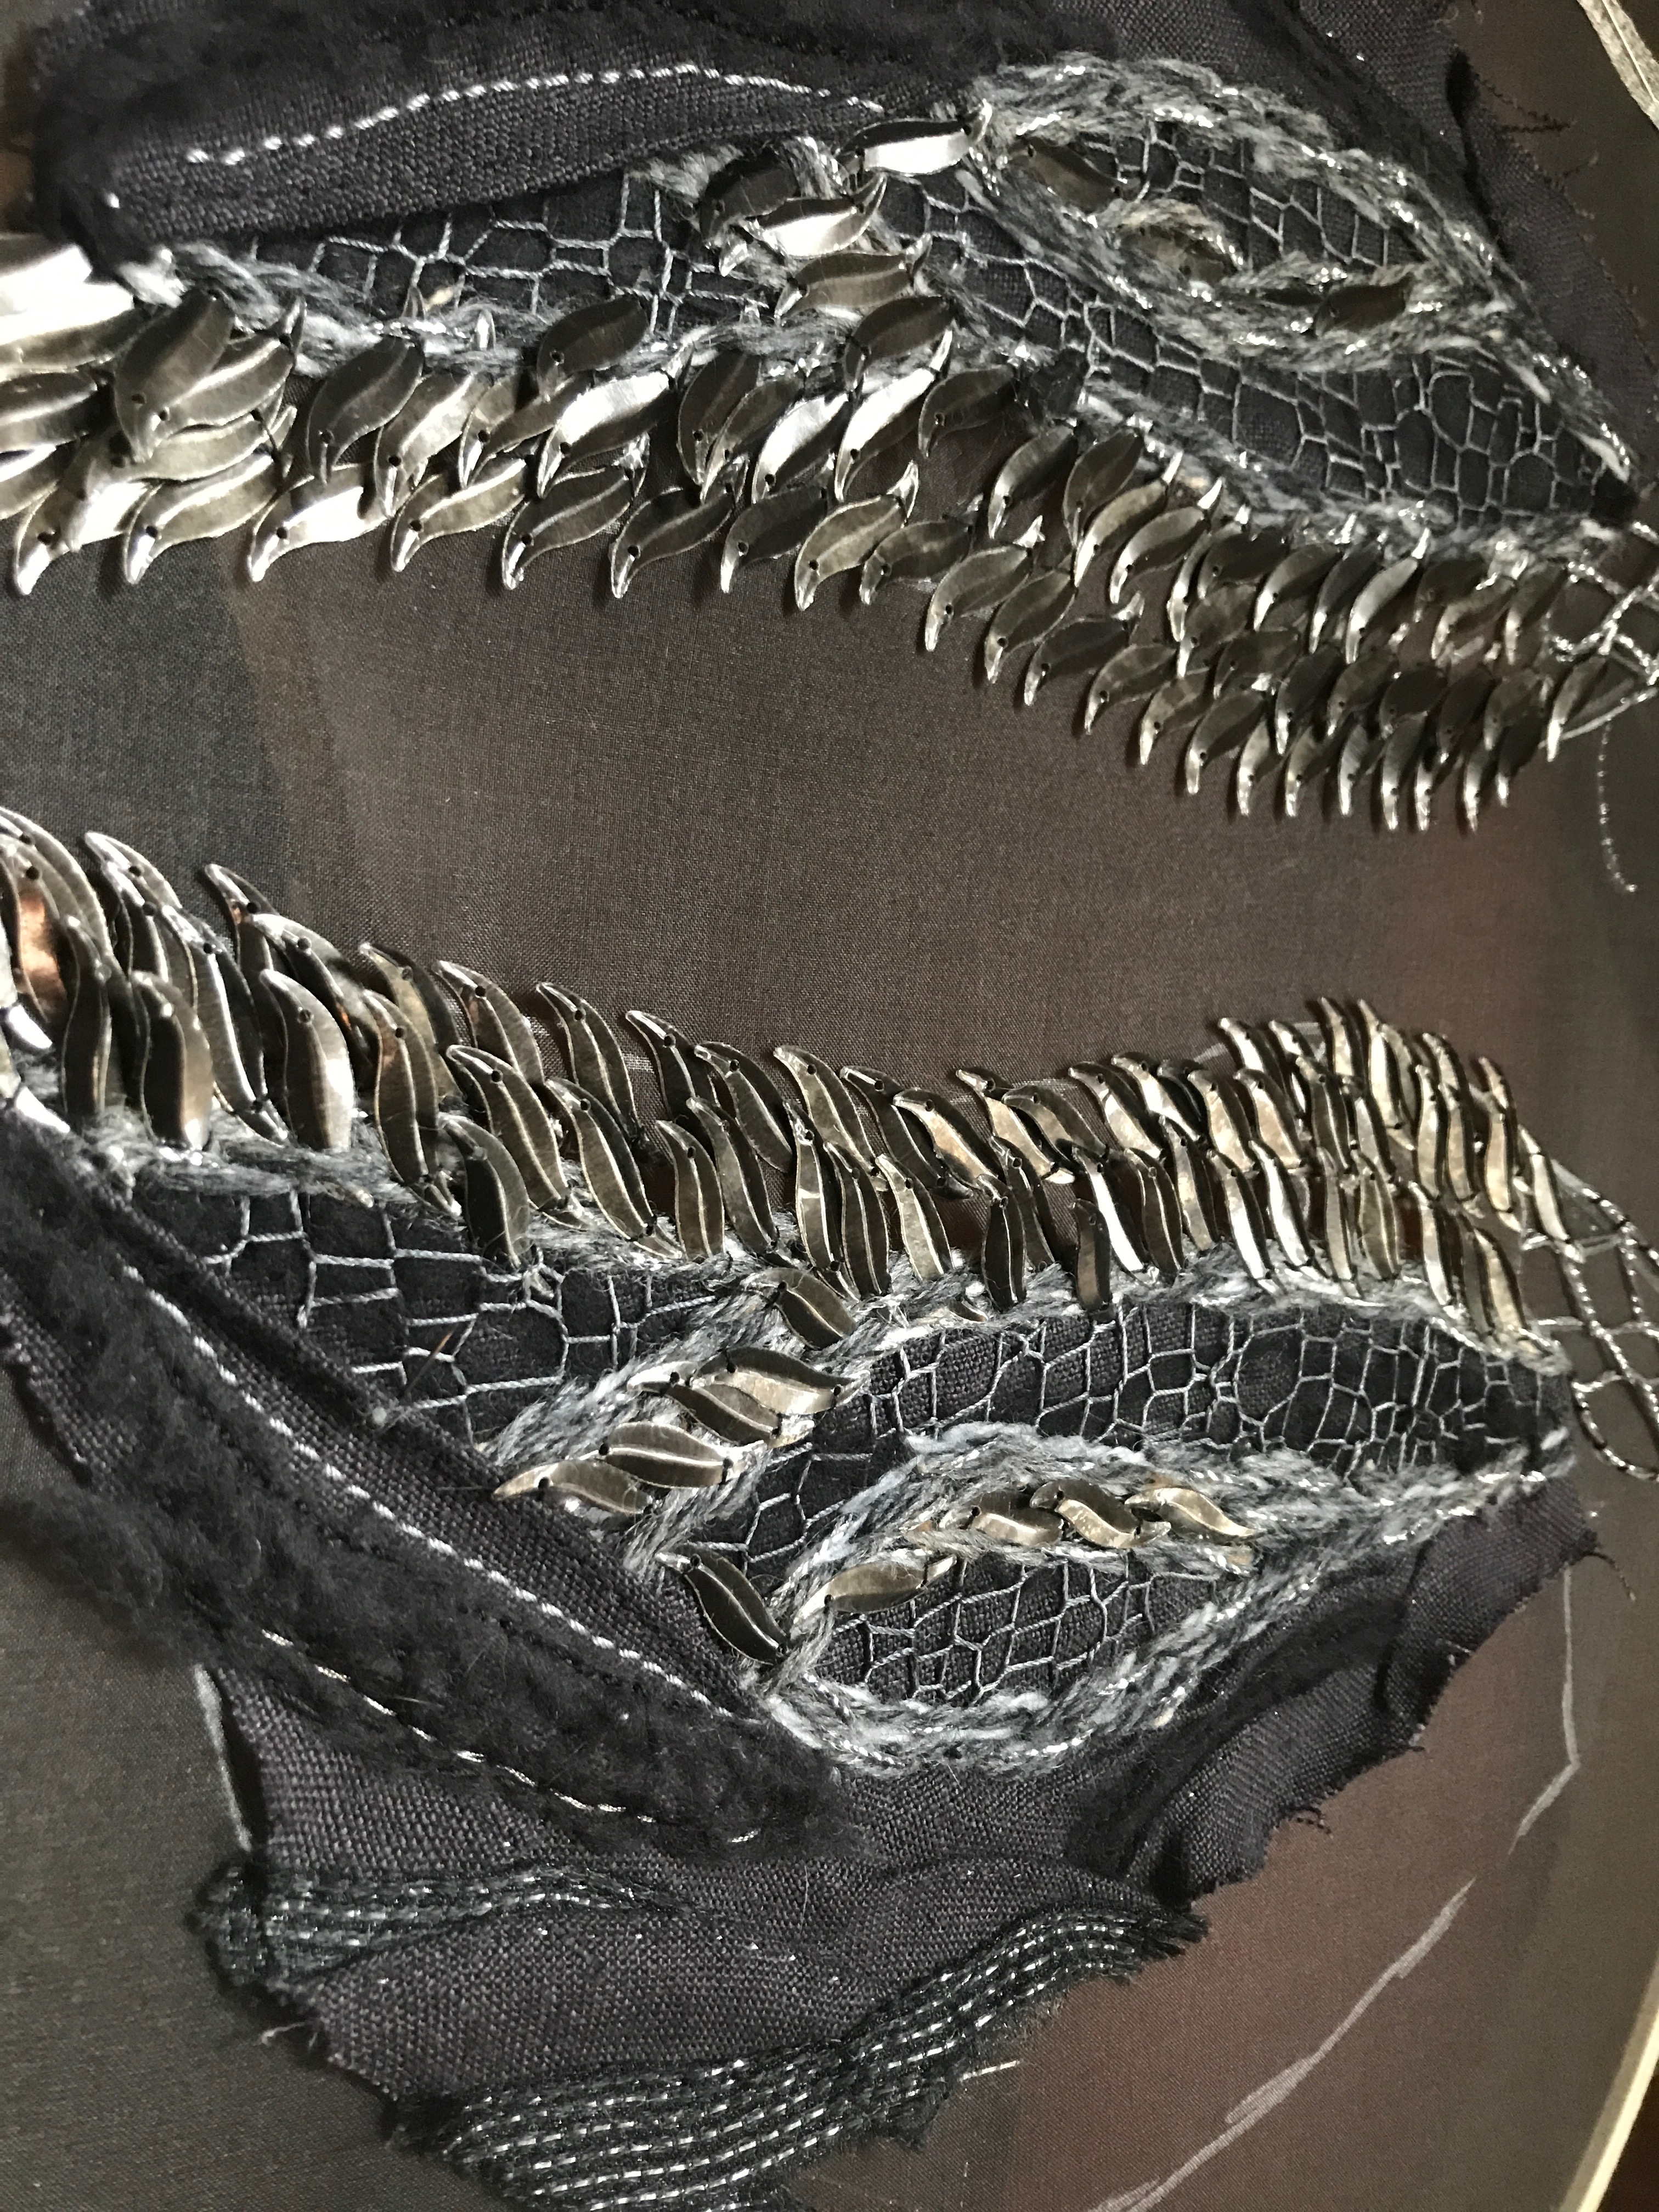
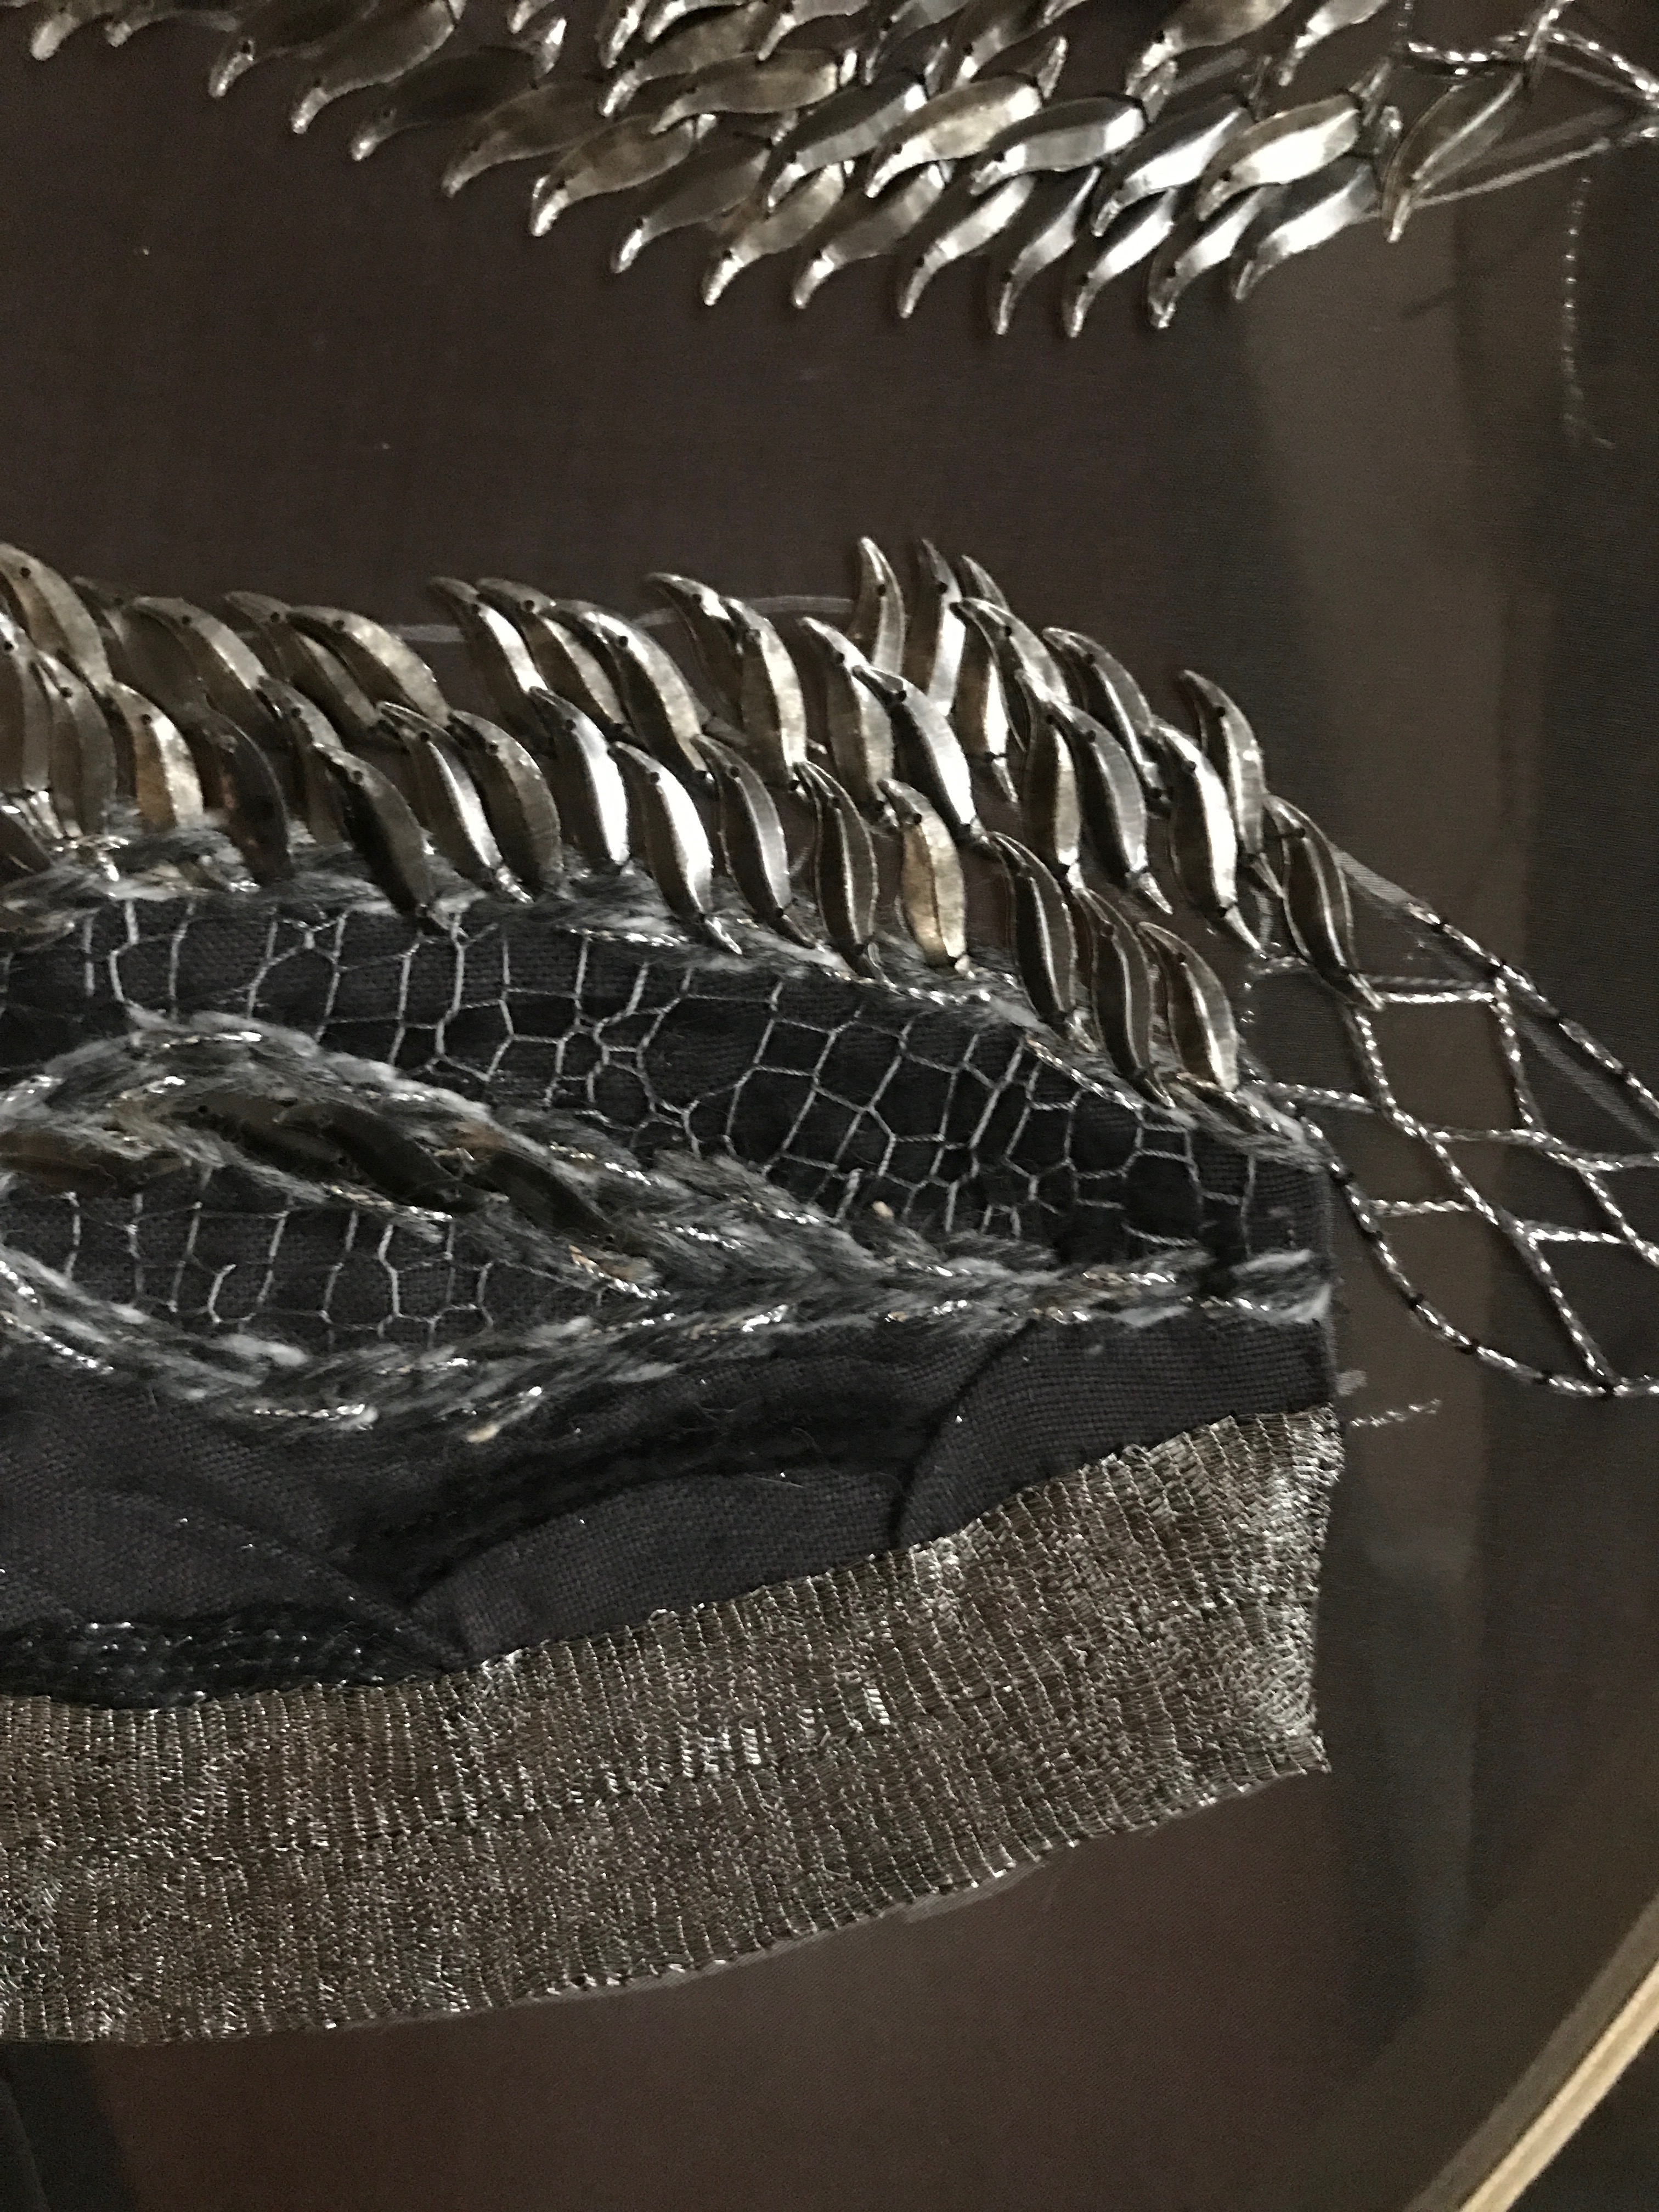
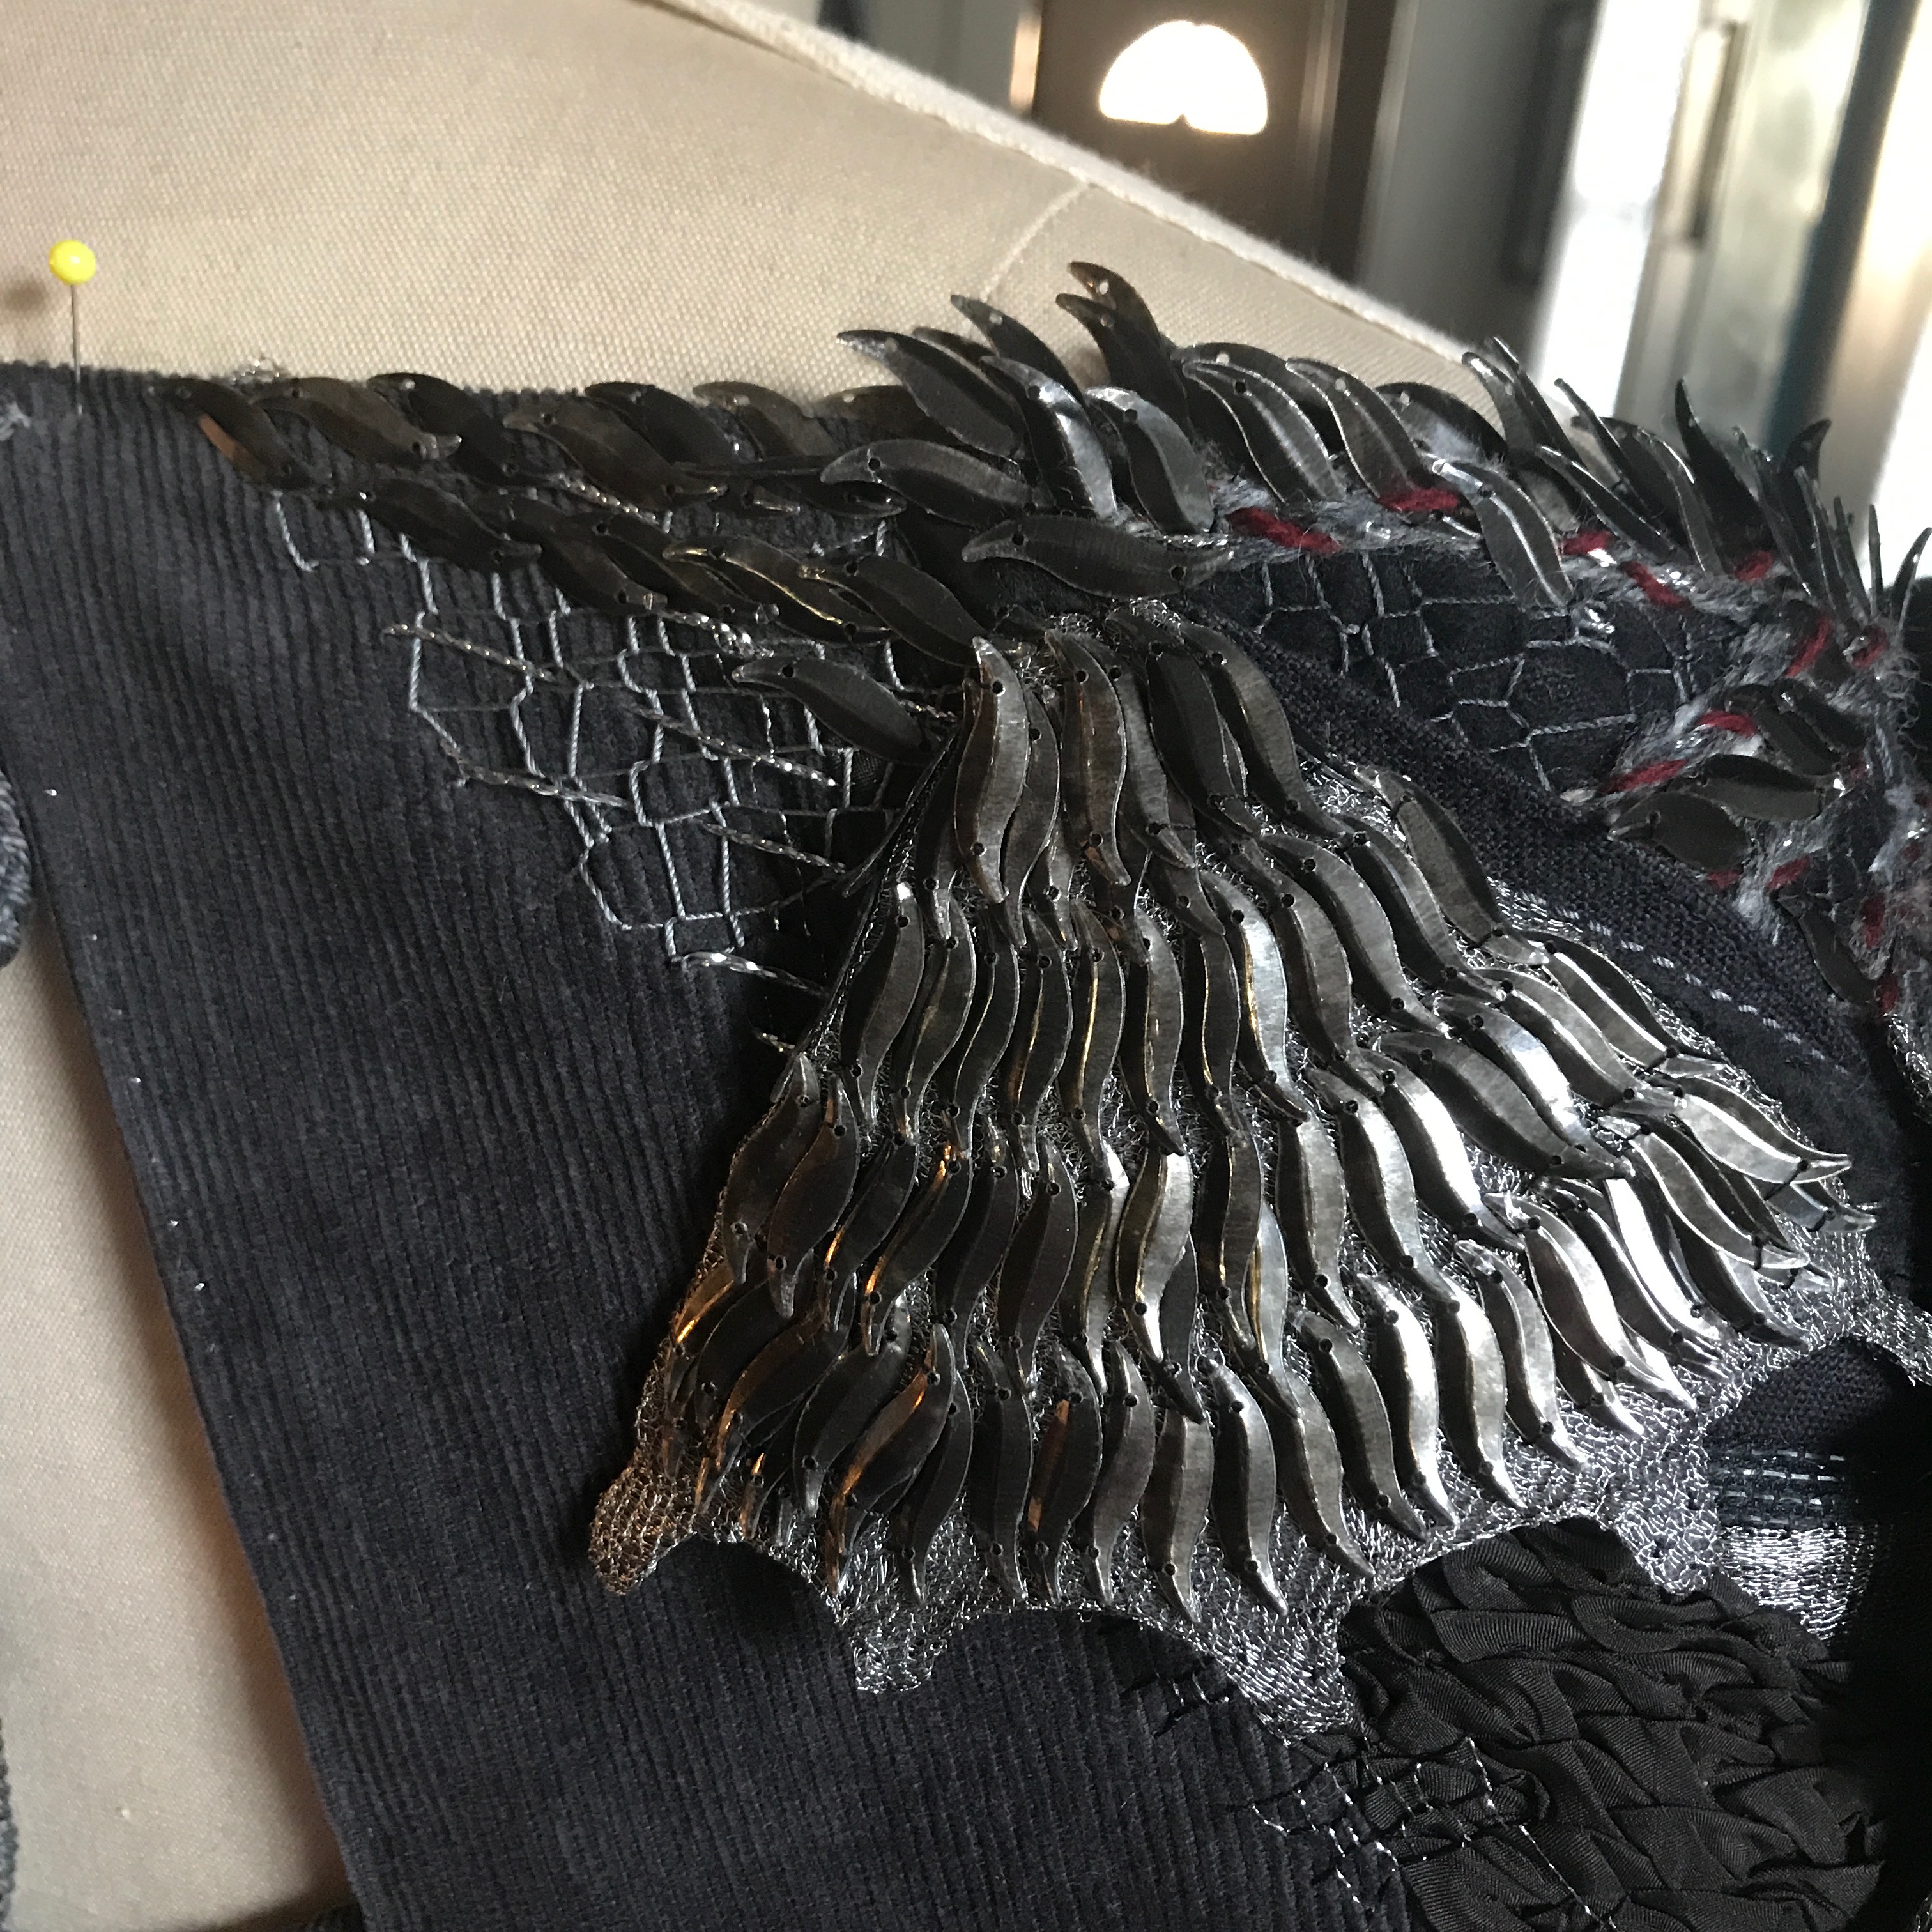
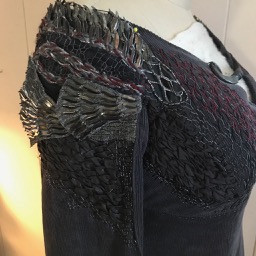
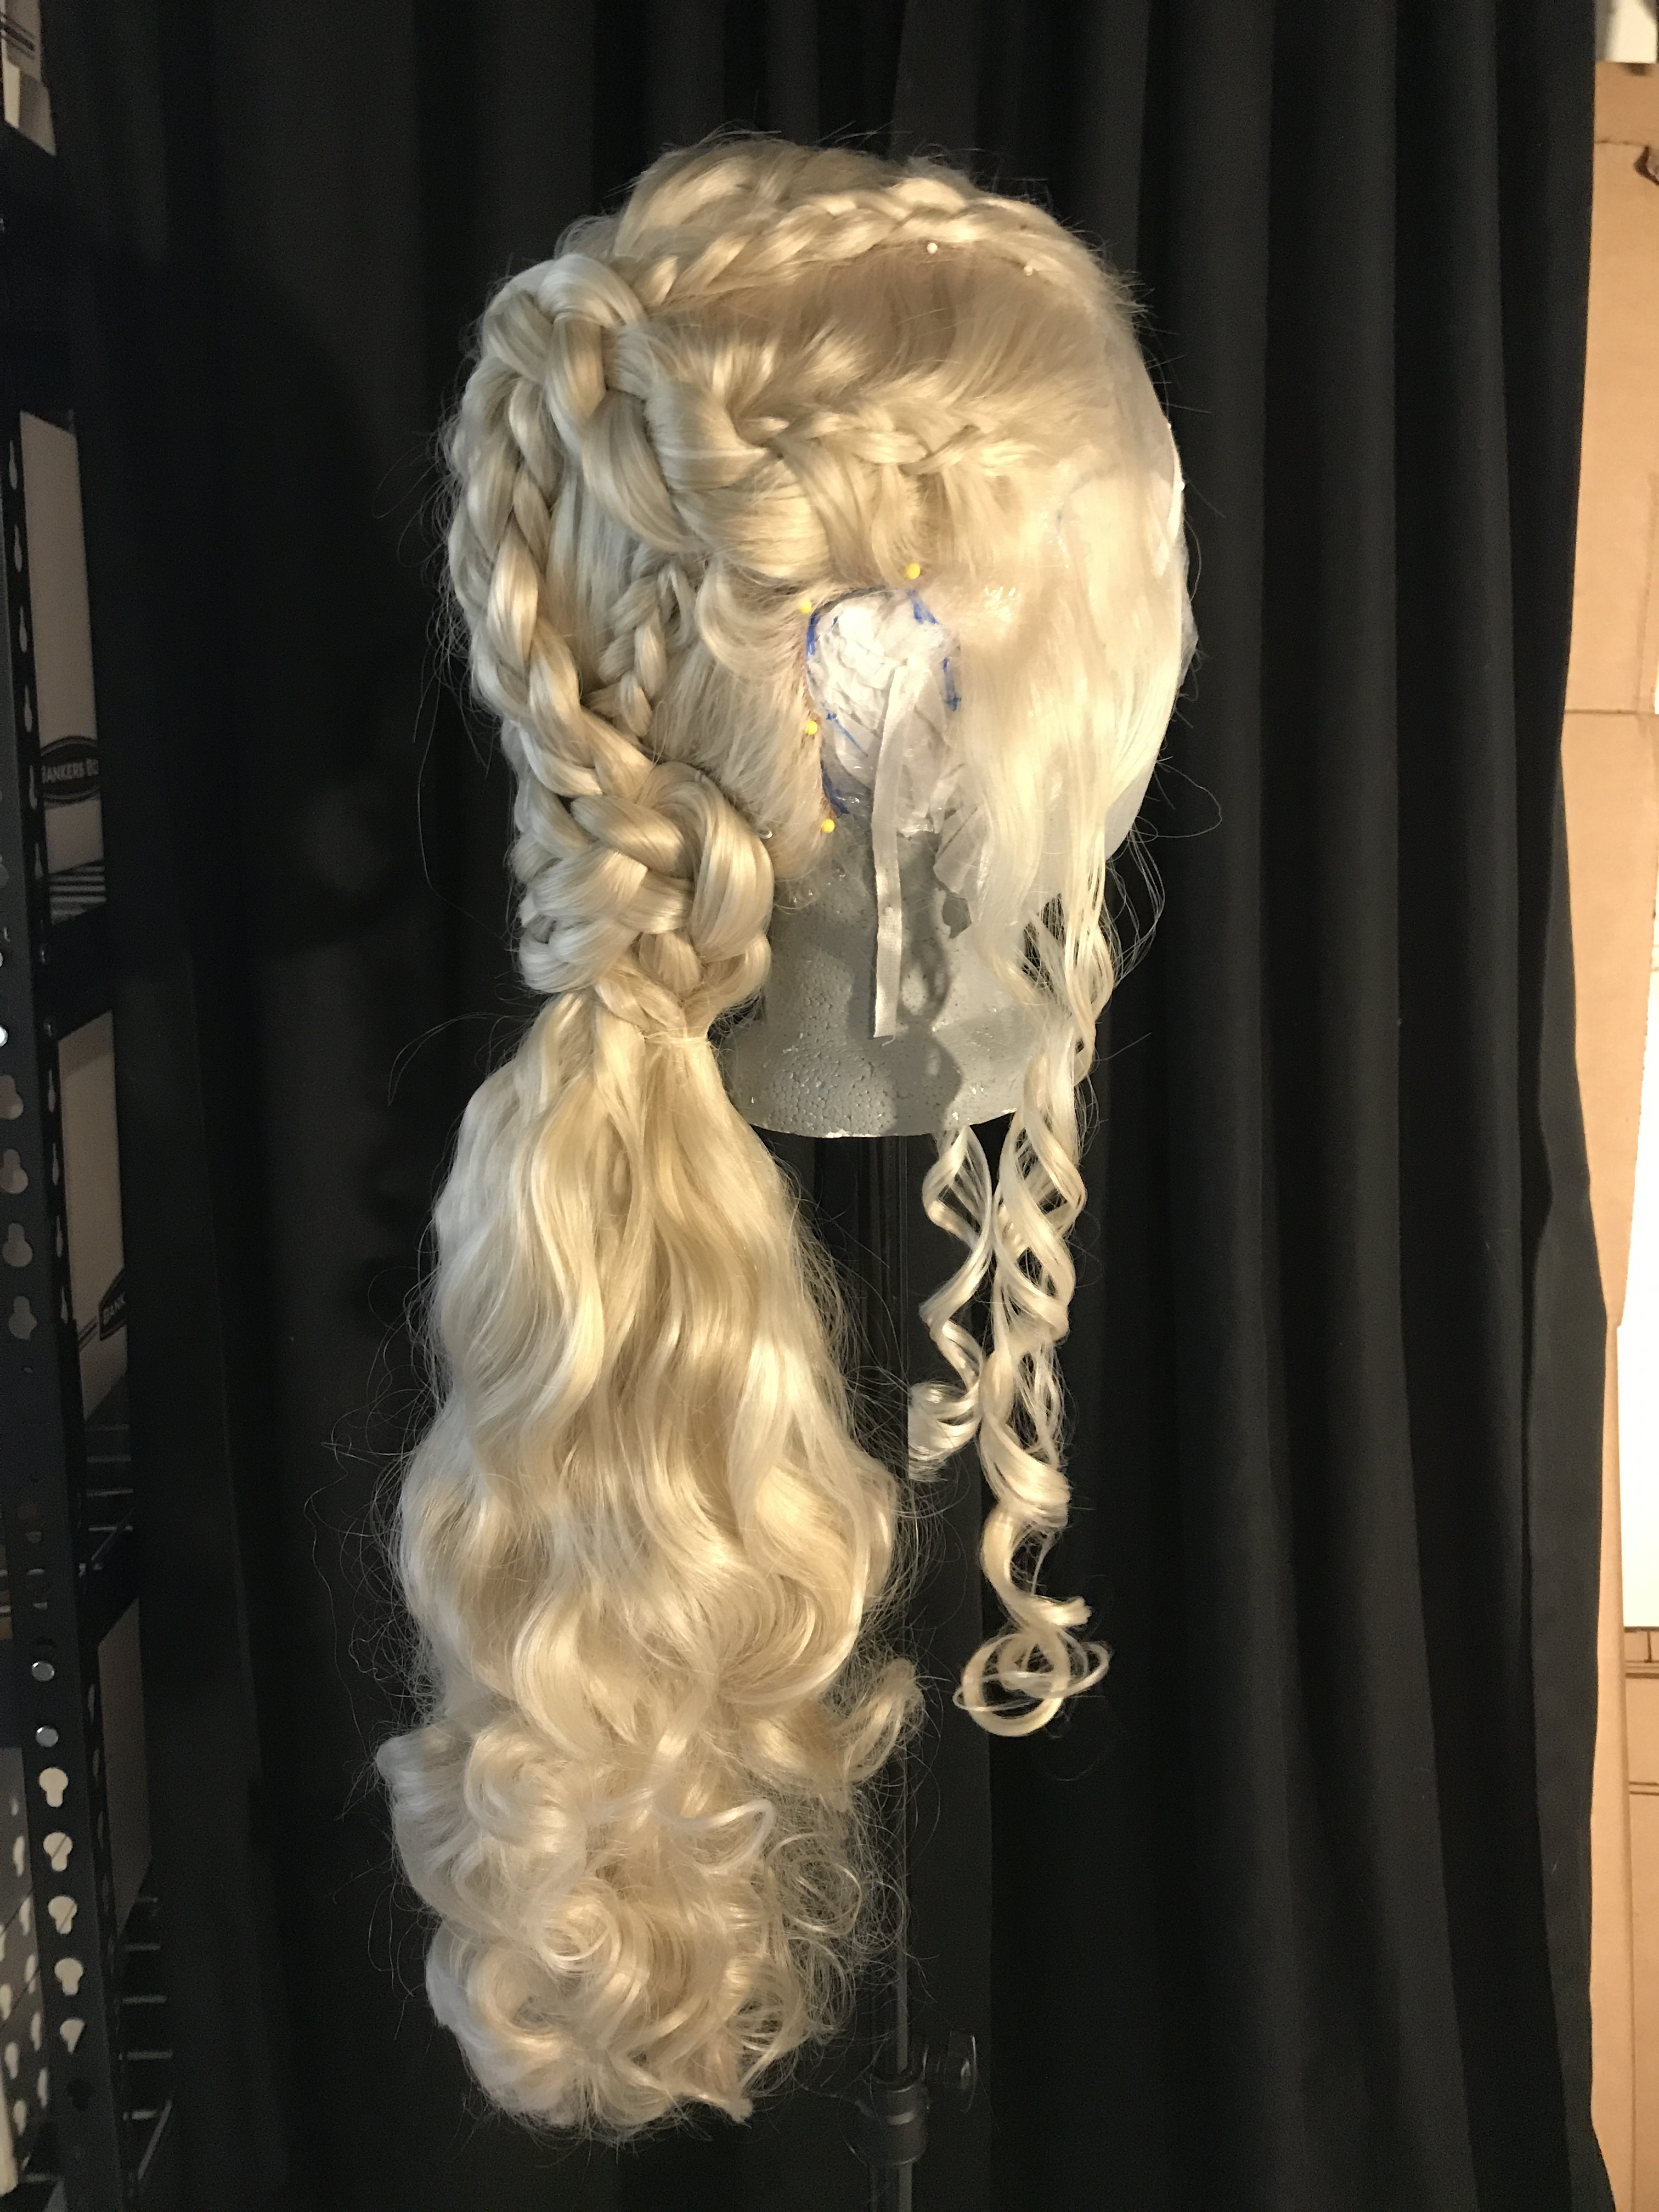
Fun fact: most of the seams in my Dragonstone Landing dress are sewn this way.


Finished: Wrong Side 
Finished: Right Side
There you have it: six different historical methods of sewing and finishing seams.