
I may have gone a little insane when I was making Brandon’s Christmas present this year. My intention was to make him a new green linen Regency tailcoat, since most of our events are in the muggy Kentucky summer. But, I wanted to do a new style for him, which meant making some changes to the pattern. For that, I needed to be able to try a mockup on him. So, I decided to give him the the materials to be made up into a coat in January. But just a pile of fabric and thread and buttons didn’t seem like a very fun present, so I thought, the fashion plate I’m working off of has some really great trousers too, why not make him a pair of trousers so that he has something finished to open as well? Great, trousers don’t take too long to make, what a great plan.
So, I’m partway through making the trousers, when I happen to be digging through my stash and notice some Robin’s egg blue linen that I’ve been meaning to make into a waistcoat, and I think how nice the Robin’s egg blue would look with the rest of the outfit. So, in a moment of insanity, I stop working on the trousers and start making a waistcoat instead. At the moment, I cannot remember my justification for needing to put down the trousers in order to make the waistcoat first, but that’s what I did. So, in short, Brandon got an entire new outfit for Christmas. The outfit is based off of this fashion plate from 1814:

Since I was working on the waistcoat and trousers in secret, I didn’t take many pictures of the process, but here are the few that I have:
Here I’m working on the waistcoat pockets.


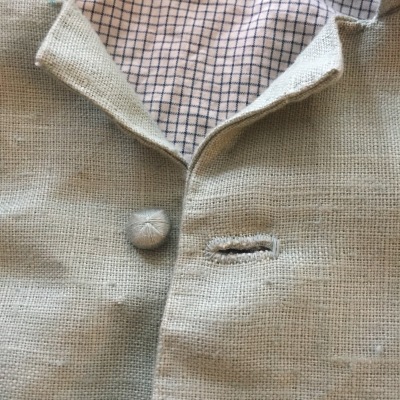
And here’s the finished pocket:

I made Death’s Head buttons for the waistcoat. It’s always fun to learn a new skill, and it was a fun demo to do while interpreting at Locust Grove!
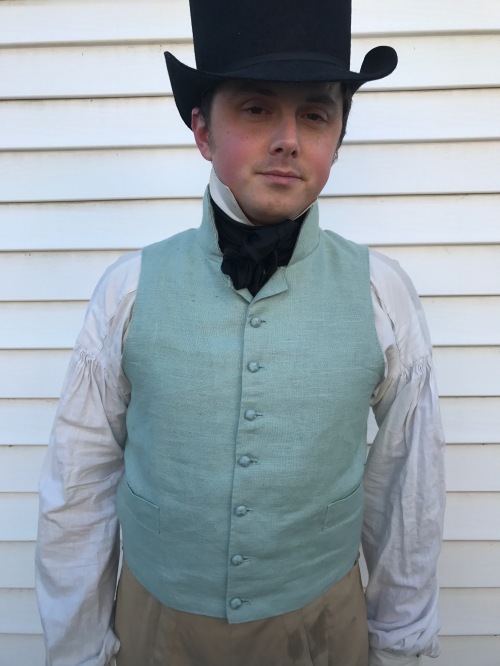
And here’s the finished waistcoat! It’s made with the Kannik’s Korner Single-Breasted Man’s Waistcoat pattern. Next time I make one, I’ll have to do a better job of taking progress photos.
Next came the trousers. They are Past Pattern’s Small Fall Trowsers with a slight adjustment to raise the fall high enough to be covered by the high waistlines of 1816.


Here are the finished trousers (I haven’t put suspender buttons on them yet, so they’re a tad droopy):

Once we got back from our Christmas trip home to Michigan, I could begin work on the coat. I started with Laughing Moon #122, then modified to the front to close all the way up at an angle and lowered the waist so that it would cover the bottom of the waistcoat, as in the fashion plate above.


Somewhere between the second and third photos I made a mockup and tried it on Brandon, then made more adjustments to the pattern piece. Once I was happy with how the mockup fit, I got to start working with the real fabric, a gorgeous evergreen linen from Renaissance Fabrics.
If you’ve ever done any tailoring you know that putting the pieces together is the bit that takes the least time! Most of the work happens when prepping the individual pieces for assembly: padstitching collars and lapels, interfacing pieces, adding pockets, it all adds up, and you’re halfway through a project before it starts to look like anything’s happened!


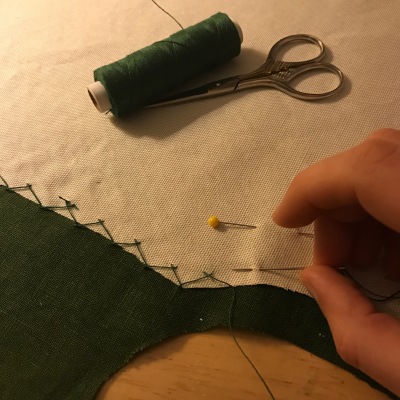
Catchstitching is the magical technique that keeps your interfacing firmly in place and flat while not showing as a tell-tale line on the outside of your garment.
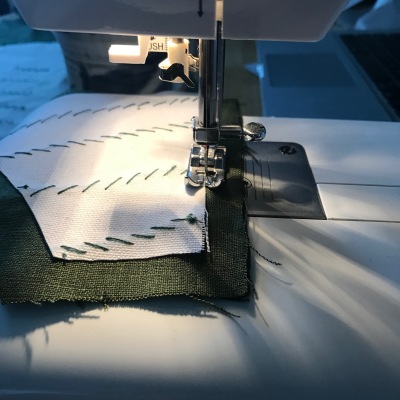
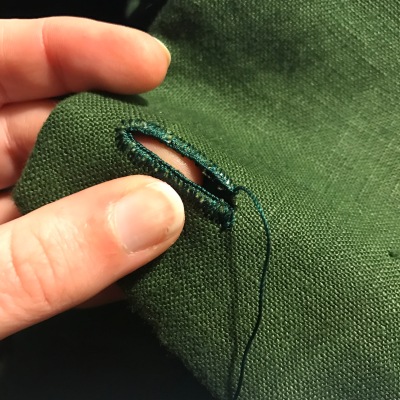
The tail pockets in this pattern are an odd little precursor to welt pockets. Here, I’ve attached the inner flap to the tail, and am about to attach the pocket bag by stitching on the blue lines. When that’s done, I slash down the middle and push the entire pocket bag through the slit, which finishes the edges, although not particularly nicely. There’s a reason we invented welt pockets.

Here’s the finished pocket with both flaps:


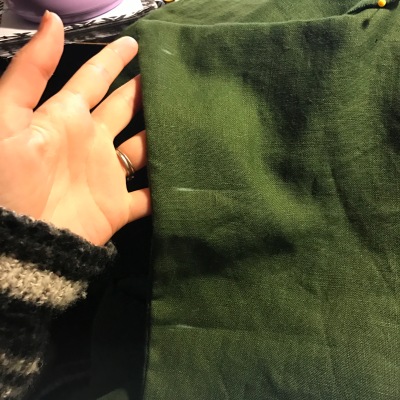
You must also interface the facing! Jacket fronts must be stiff or you look like a schlump! Since this part has to go over the shoulder, I padstitch over my leg, which forces the piece to take on a curve. You can see that it’s nice and smooth when curved, but when you straighten it out, it gets all puckered.


Once the body was all put together, I tried it on Brandon. The facing was rolling a bit and the collar was being a bit floppy, but nothing a bit of prickstitching won’t fix!


Down to the finishing touches!

Here’s Brandon in the finished ensemble! Can’t wait until he gets to wear that nice linen jacket in the hot KY summer!


Wow that is one dapper dude!
LikeLike
That turned out very nice.
LikeLike
That looks amazing!!
LikeLike
Nice work! I agree, the stitching that happens in those hidden places is oddly satisfying.
LikeLike
I rattling lucky to find this website on bing, just what I was looking for : D too saved to favorites .
LikeLike